My wife wanted a pit couch, and the one she wanted was very expensive, so I said we could make it. When she asked if I hand any experience what so ever at making a couch, my blank stare gave her complete confidence.
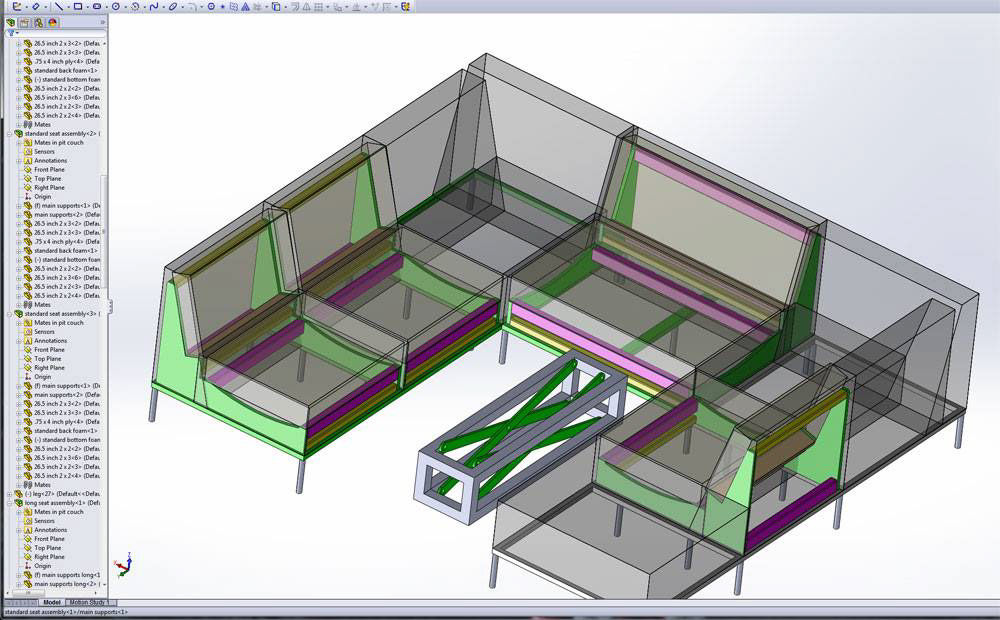
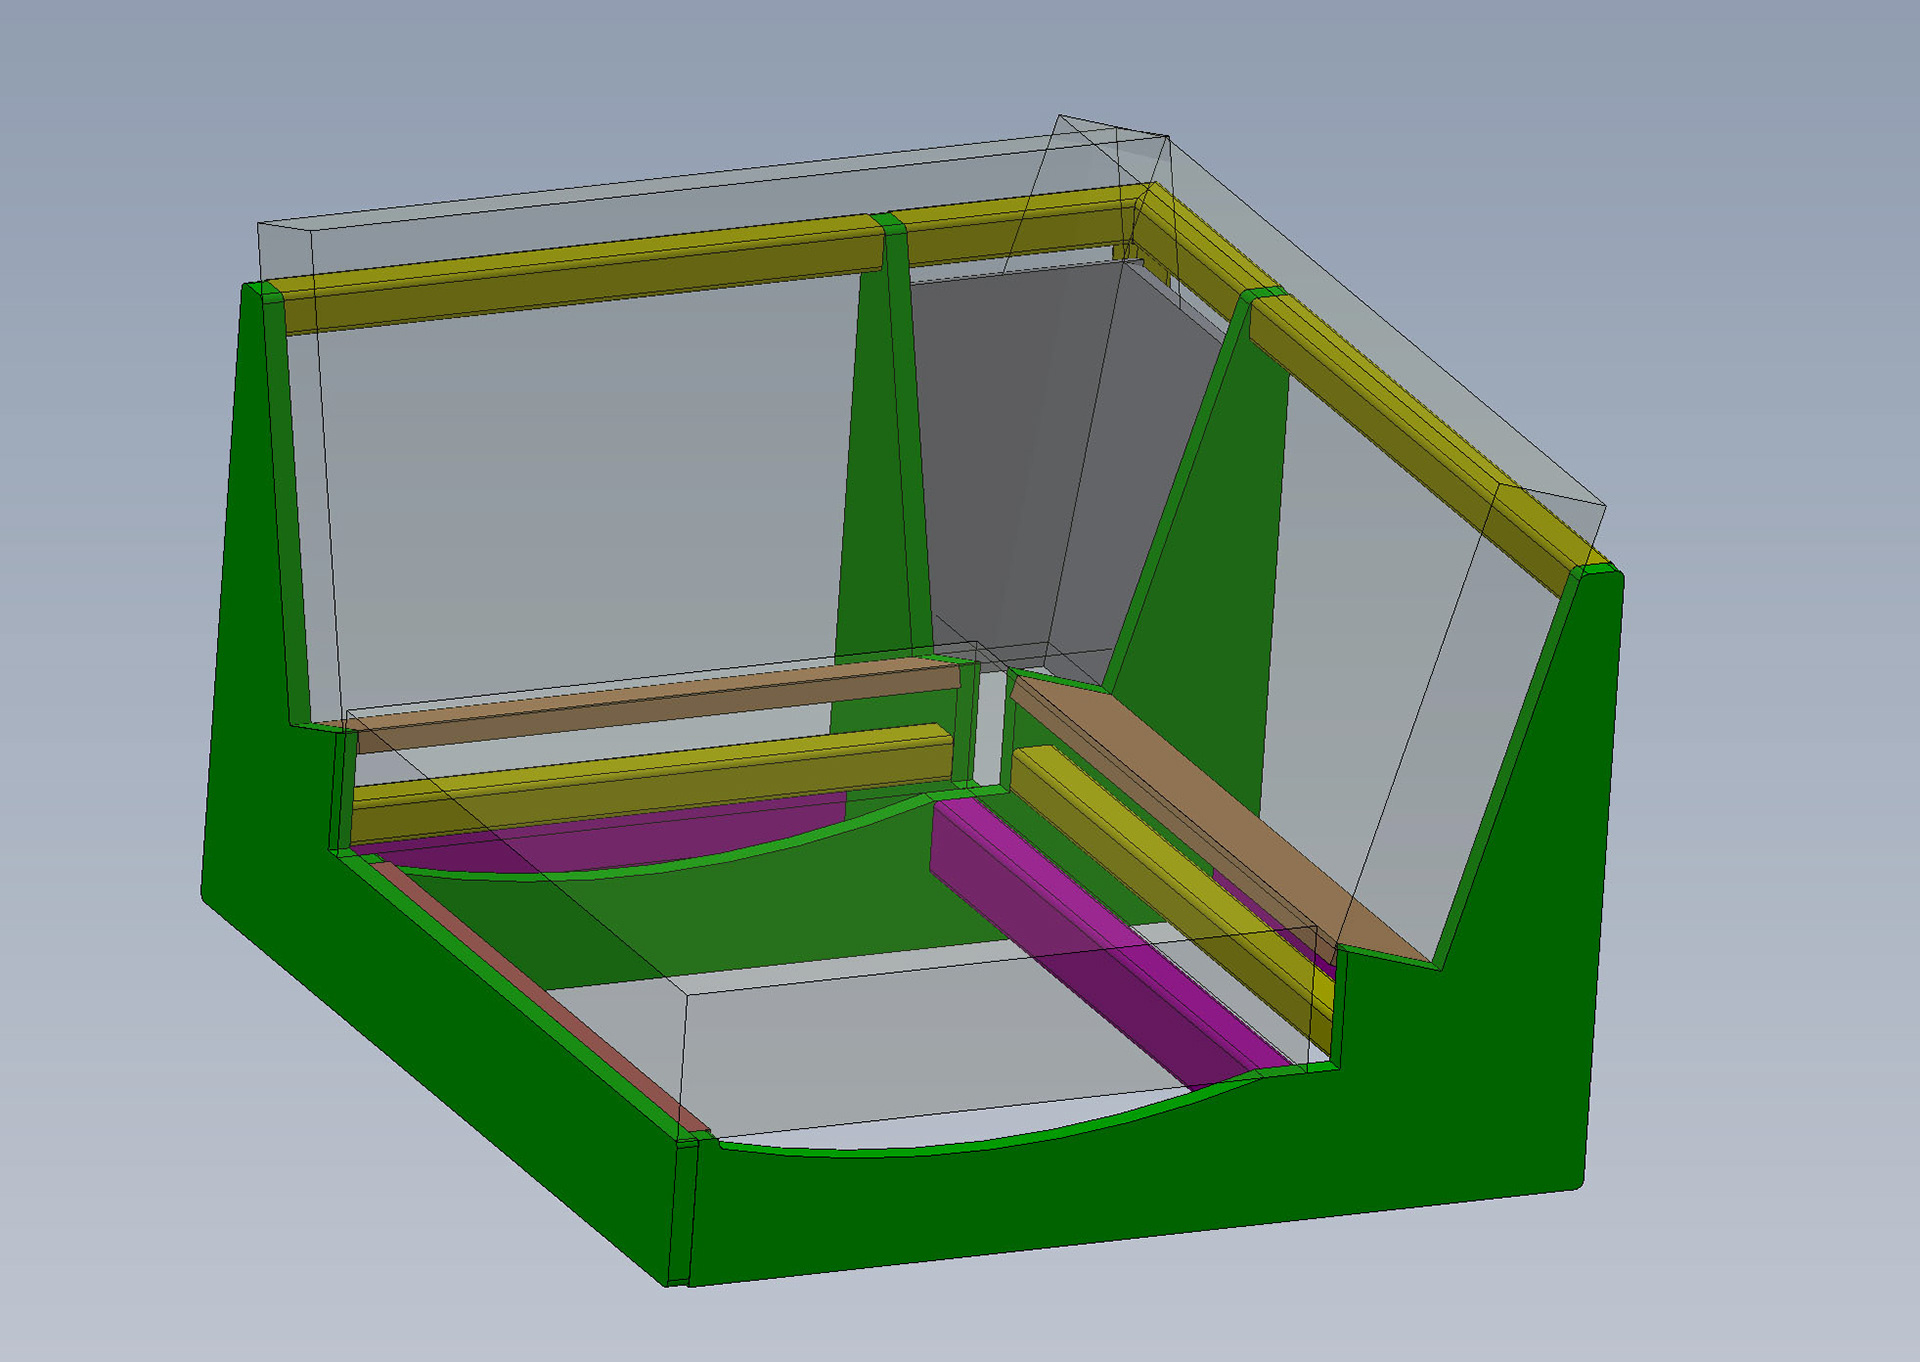
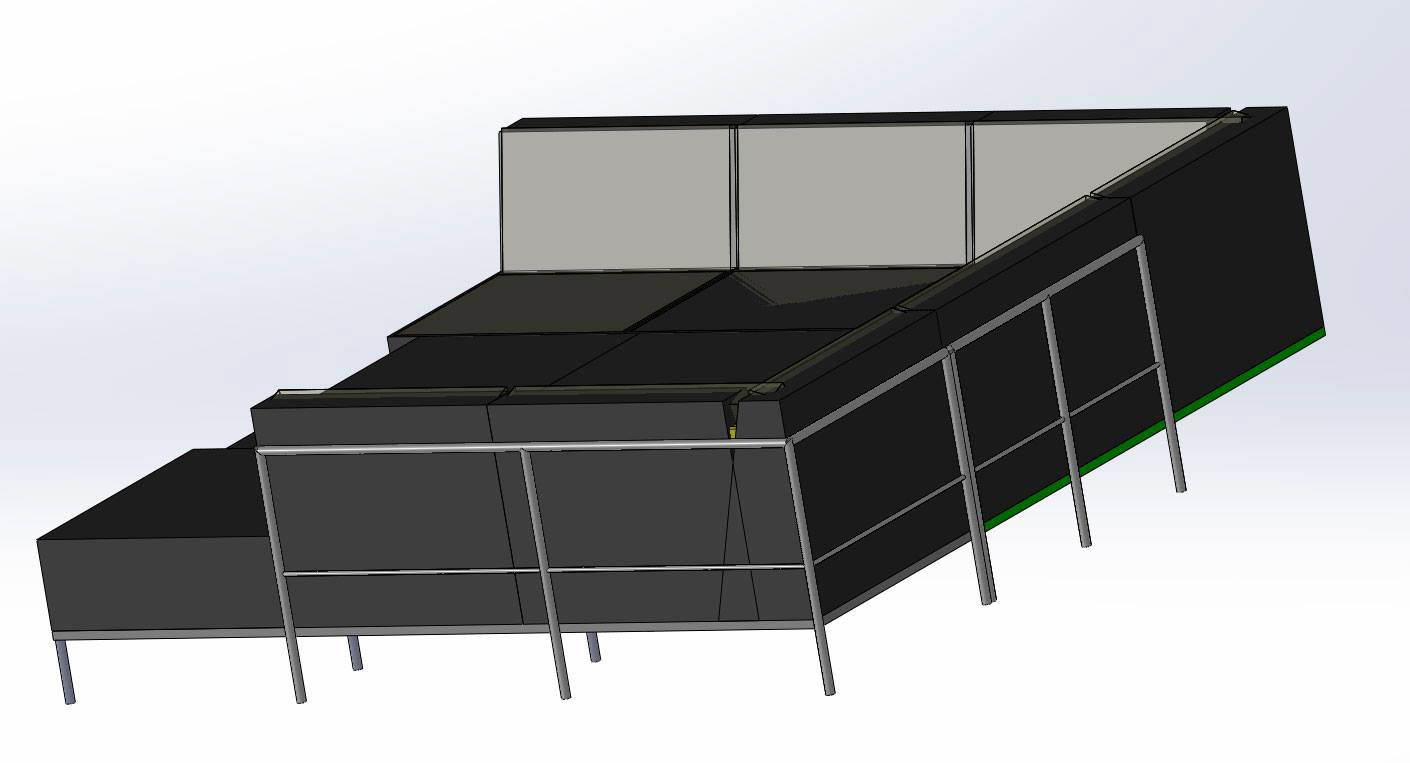
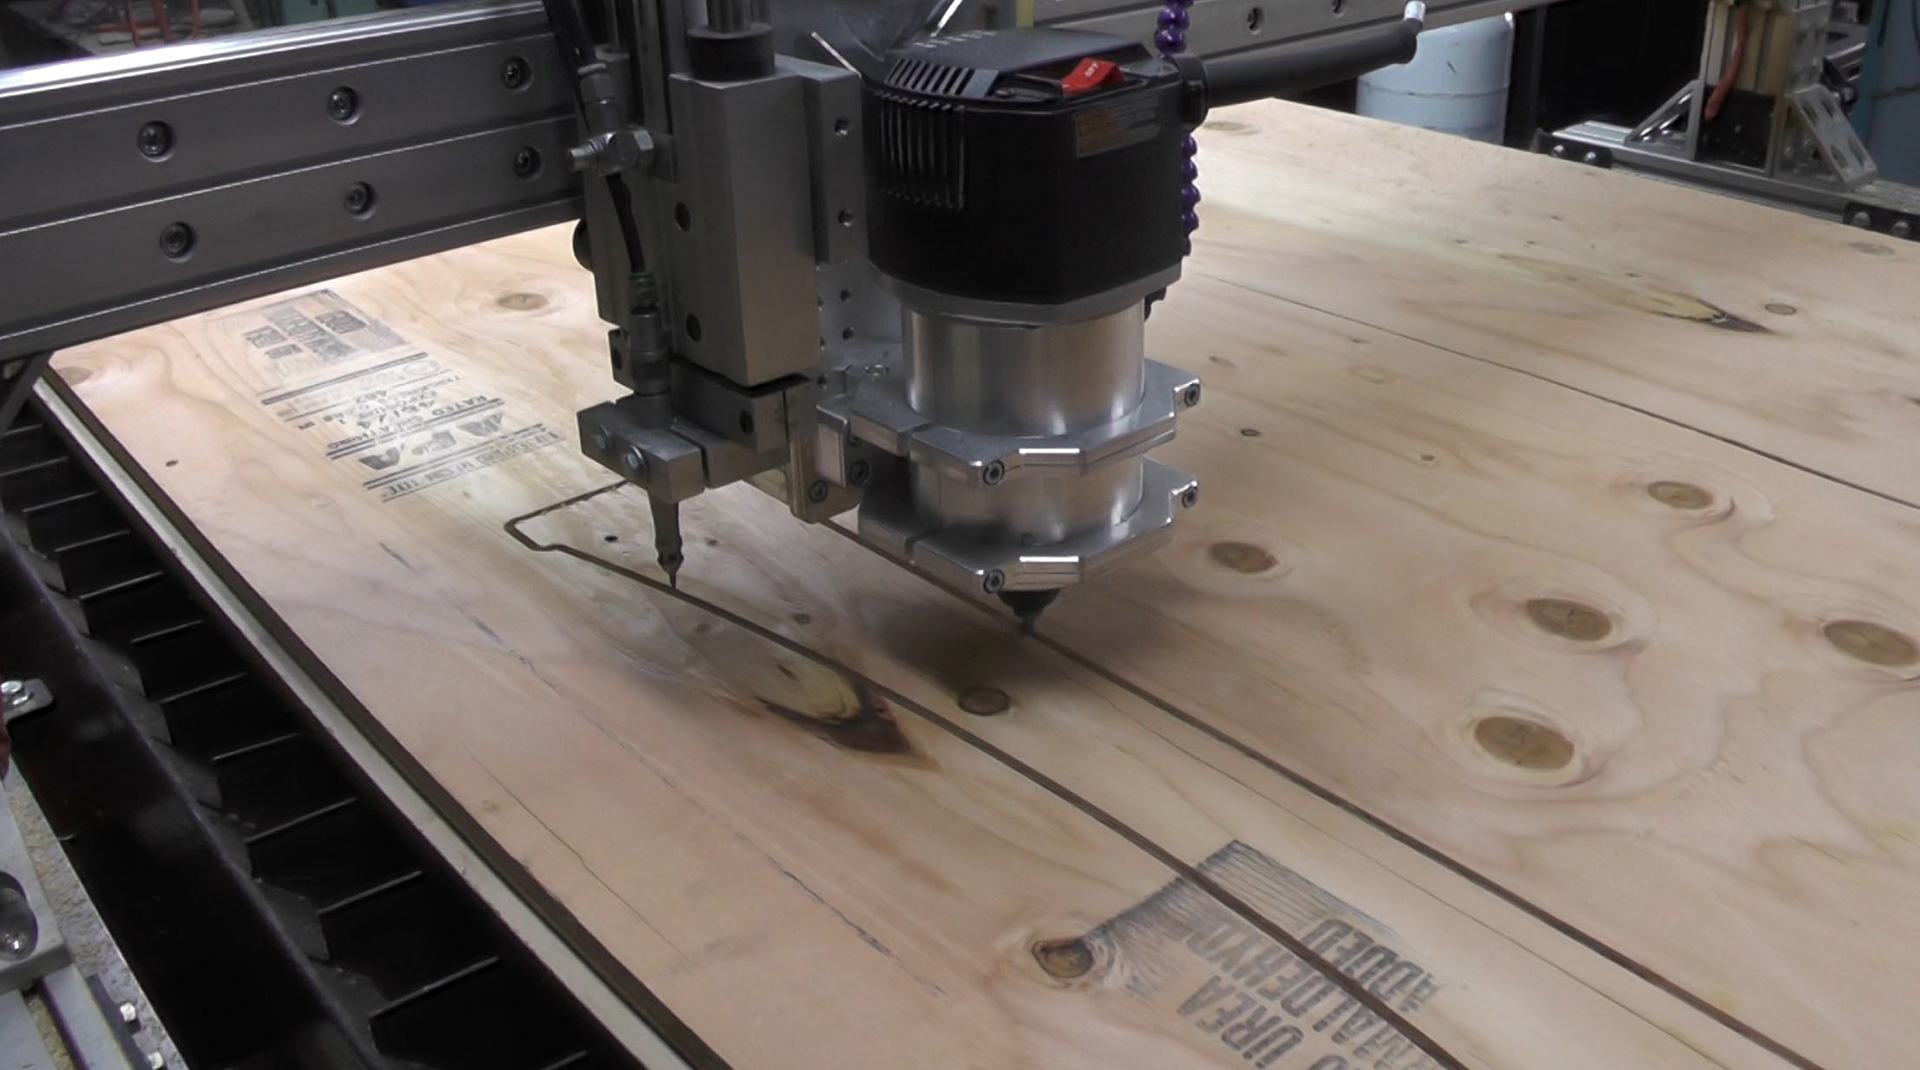
Pretty much any info I could find on upholstered furniture was focused on reupholstering traditional style furniture. We wanted to make it resemble the black leather and stainless contemporary couches we already had. After getting a general idea of what I needed to do from a Google image search, I designed the entire couch in SolidWorks. I cut out the frame from 3/4" plywood with the CNC router I built.
To make the couch more functional, the center 2 cushions are removable and table powered by a linear actuator raises up with the push of a button.
Most of my photos are stills pulled from video, so the quality is not ideal, but hopefully you can follow along.
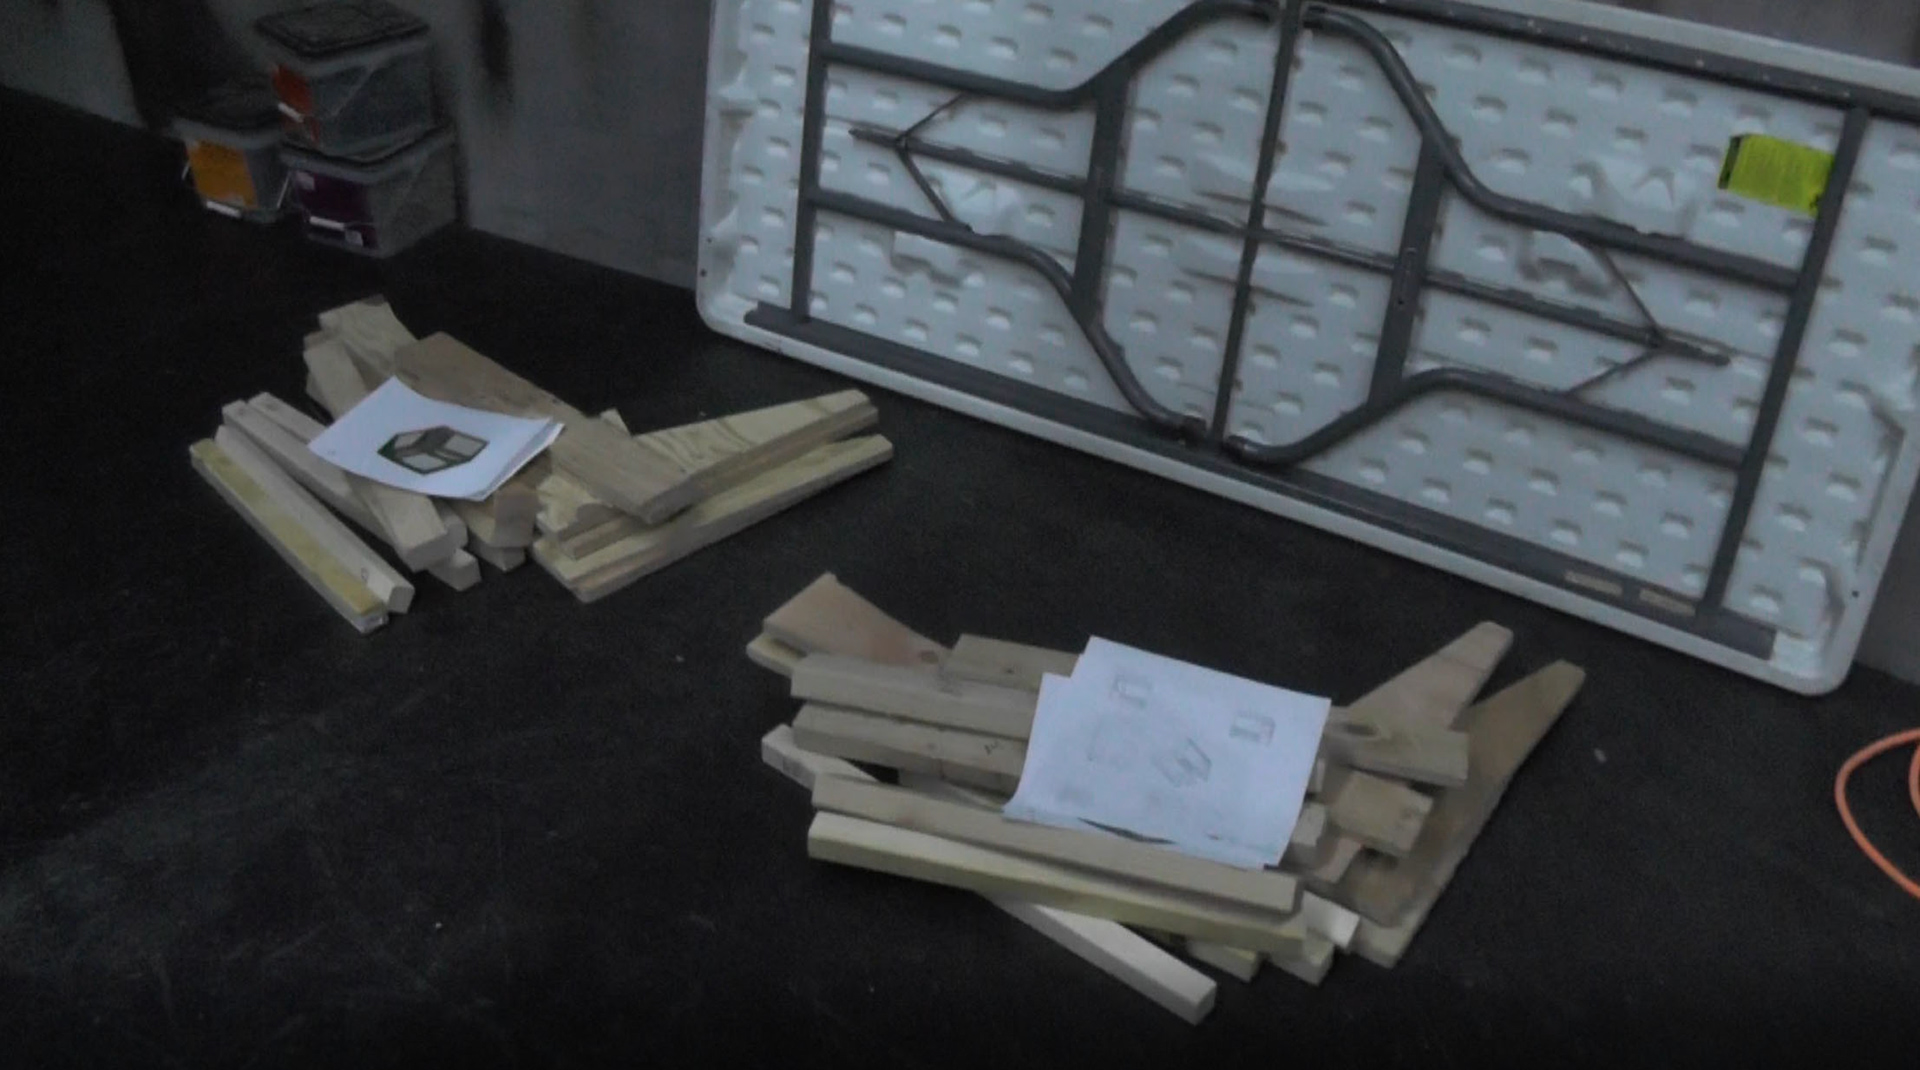
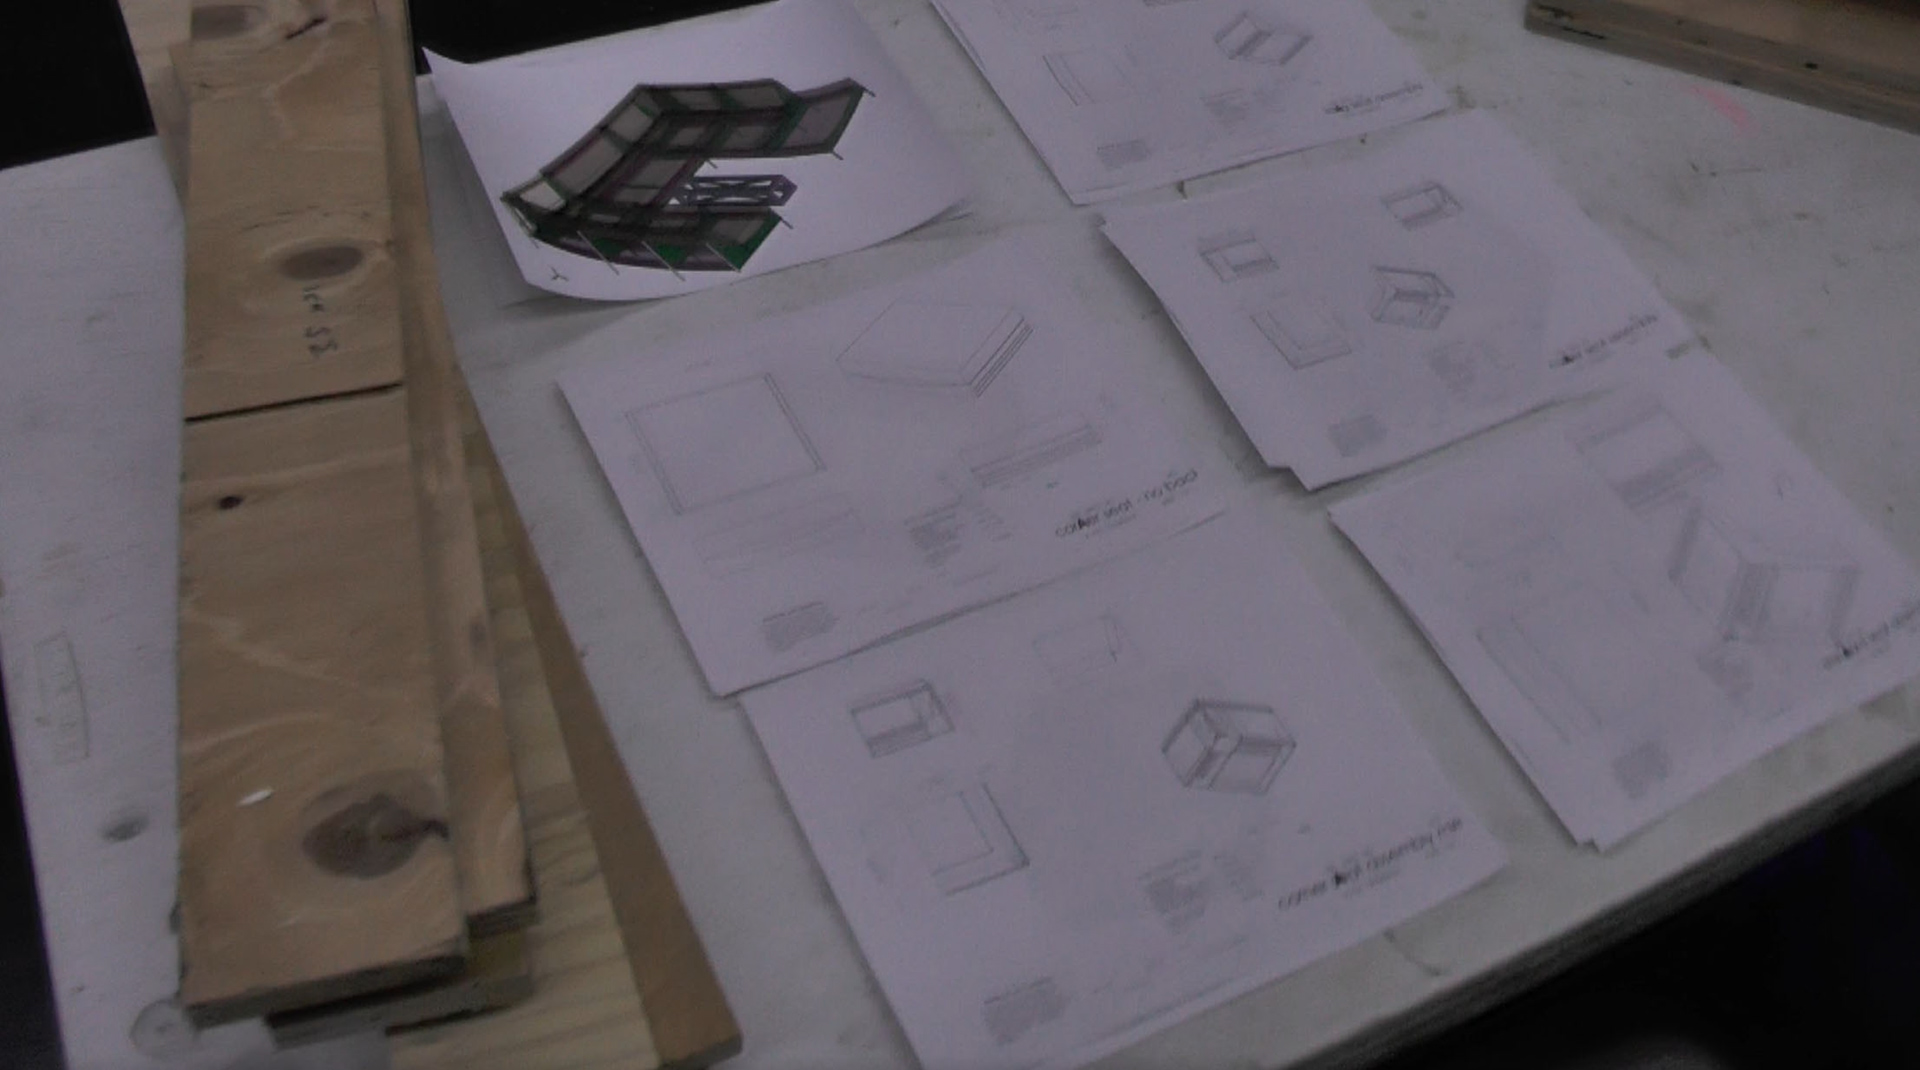
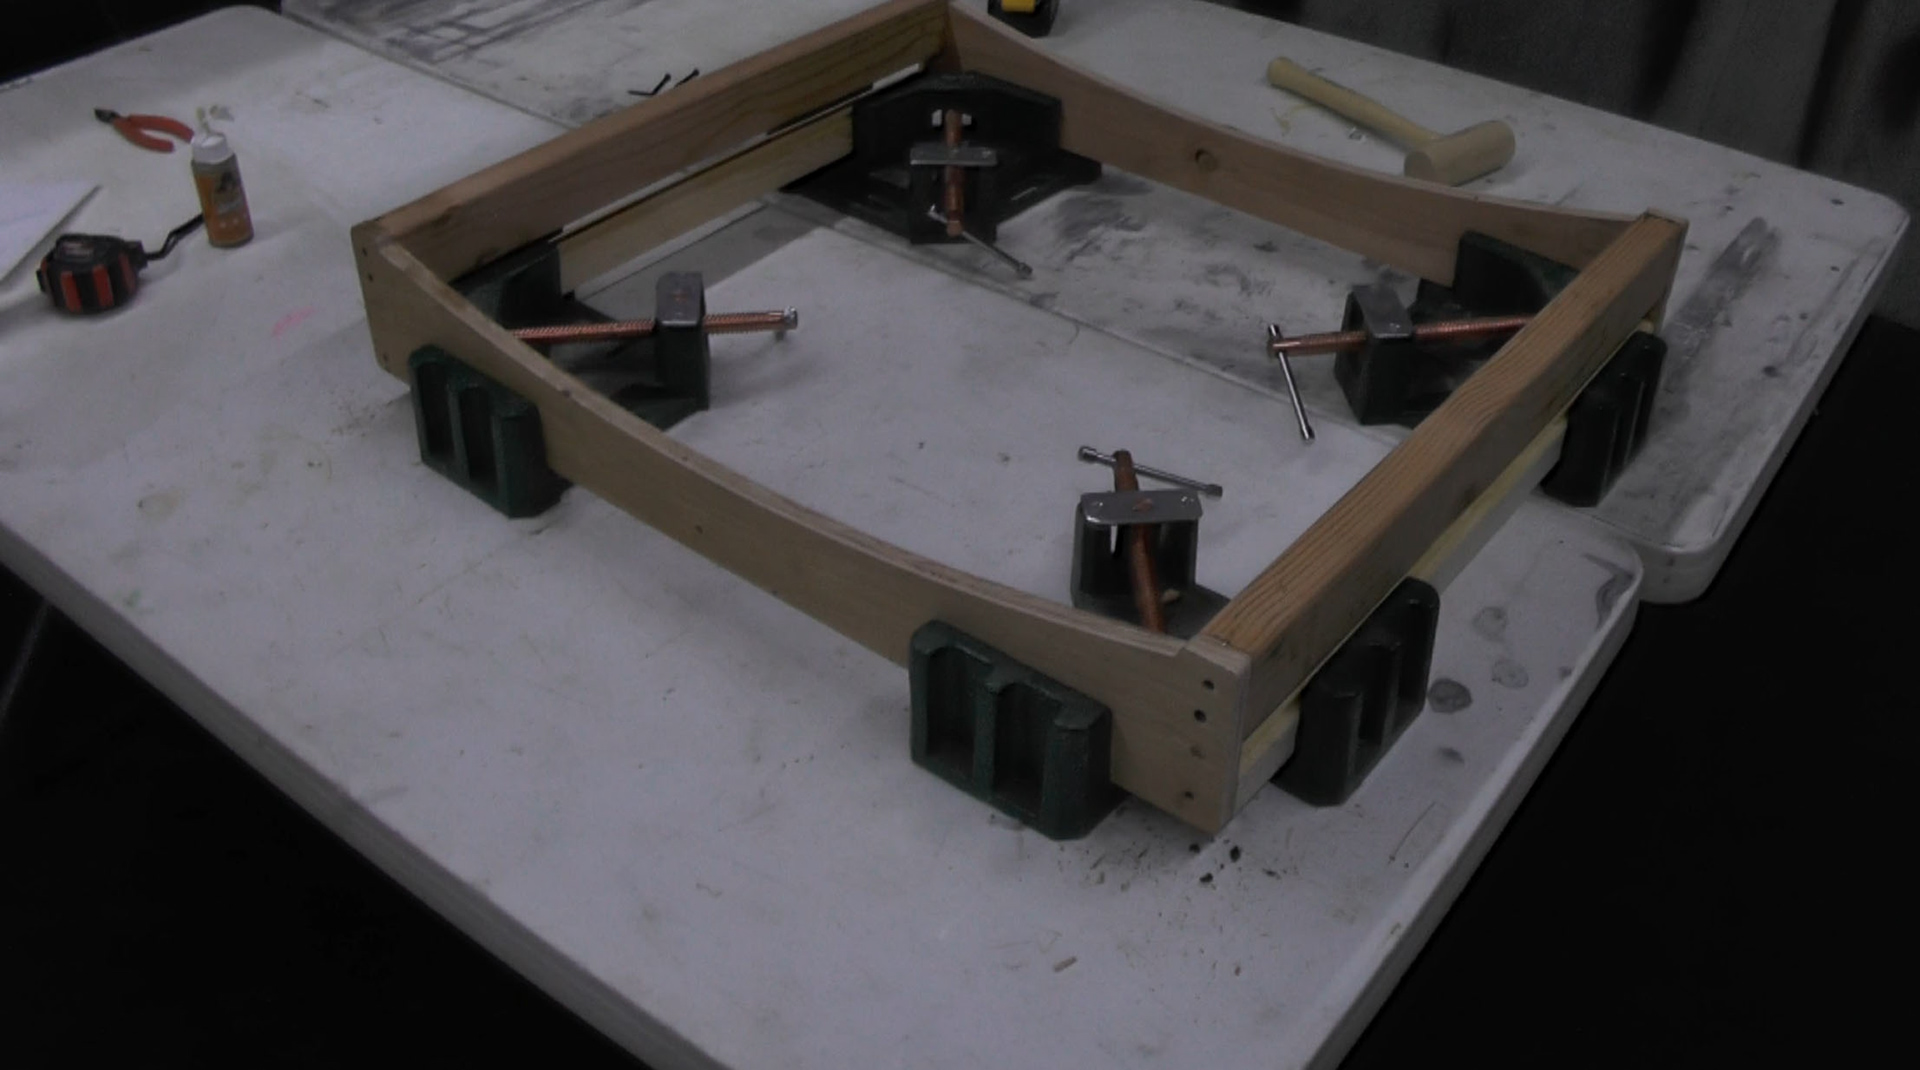
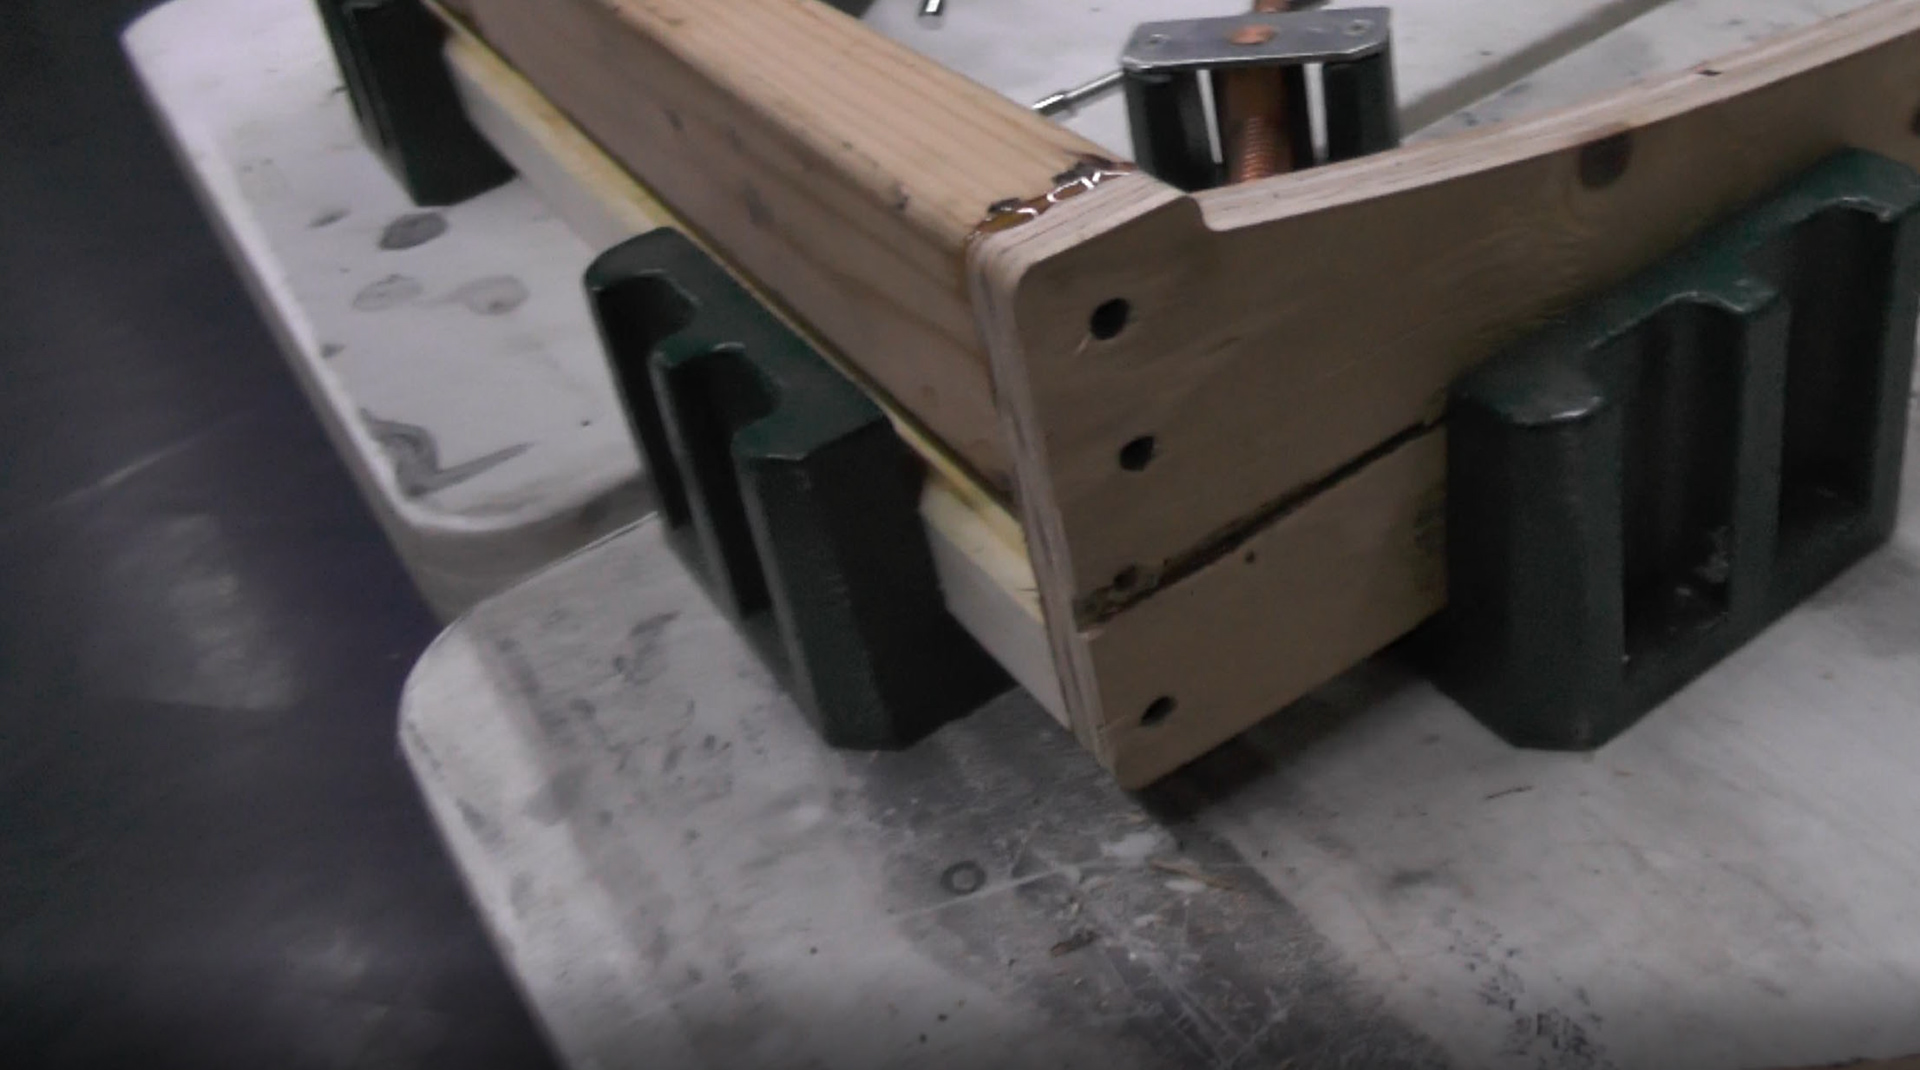
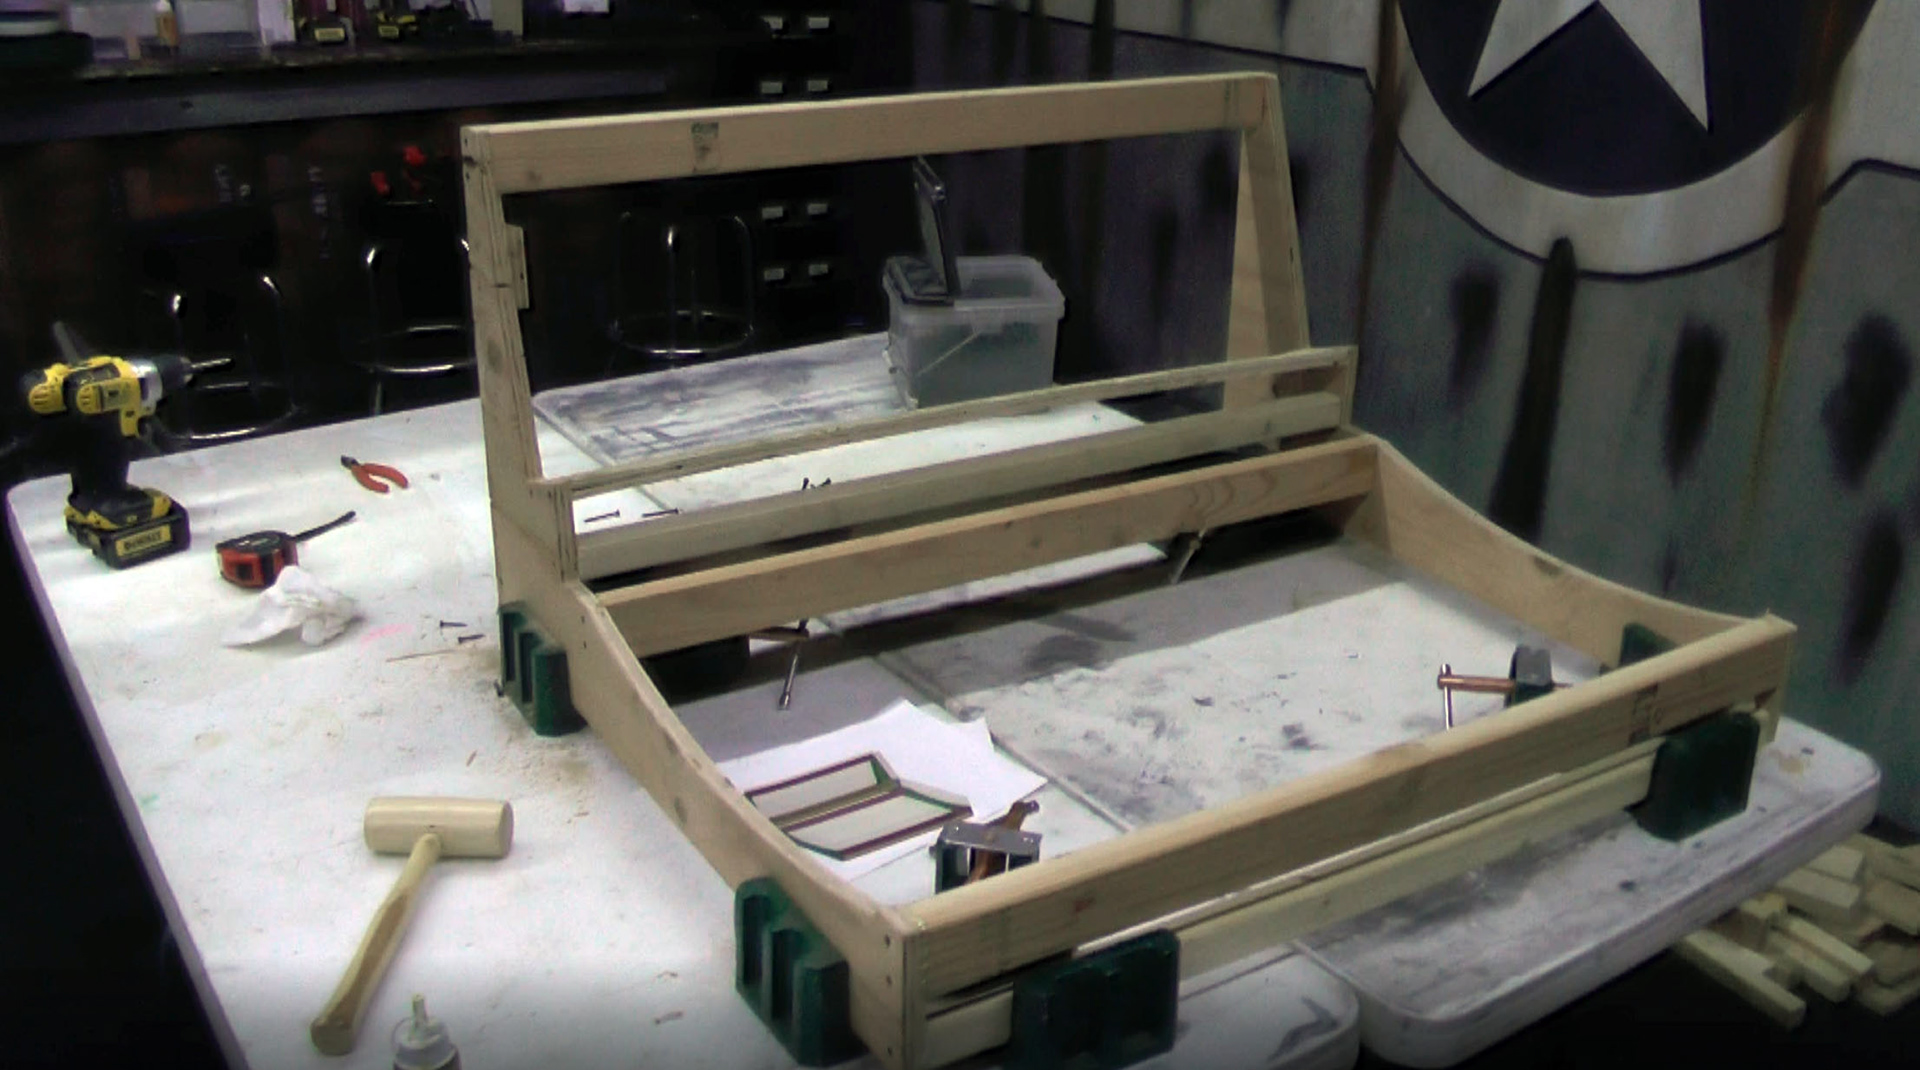
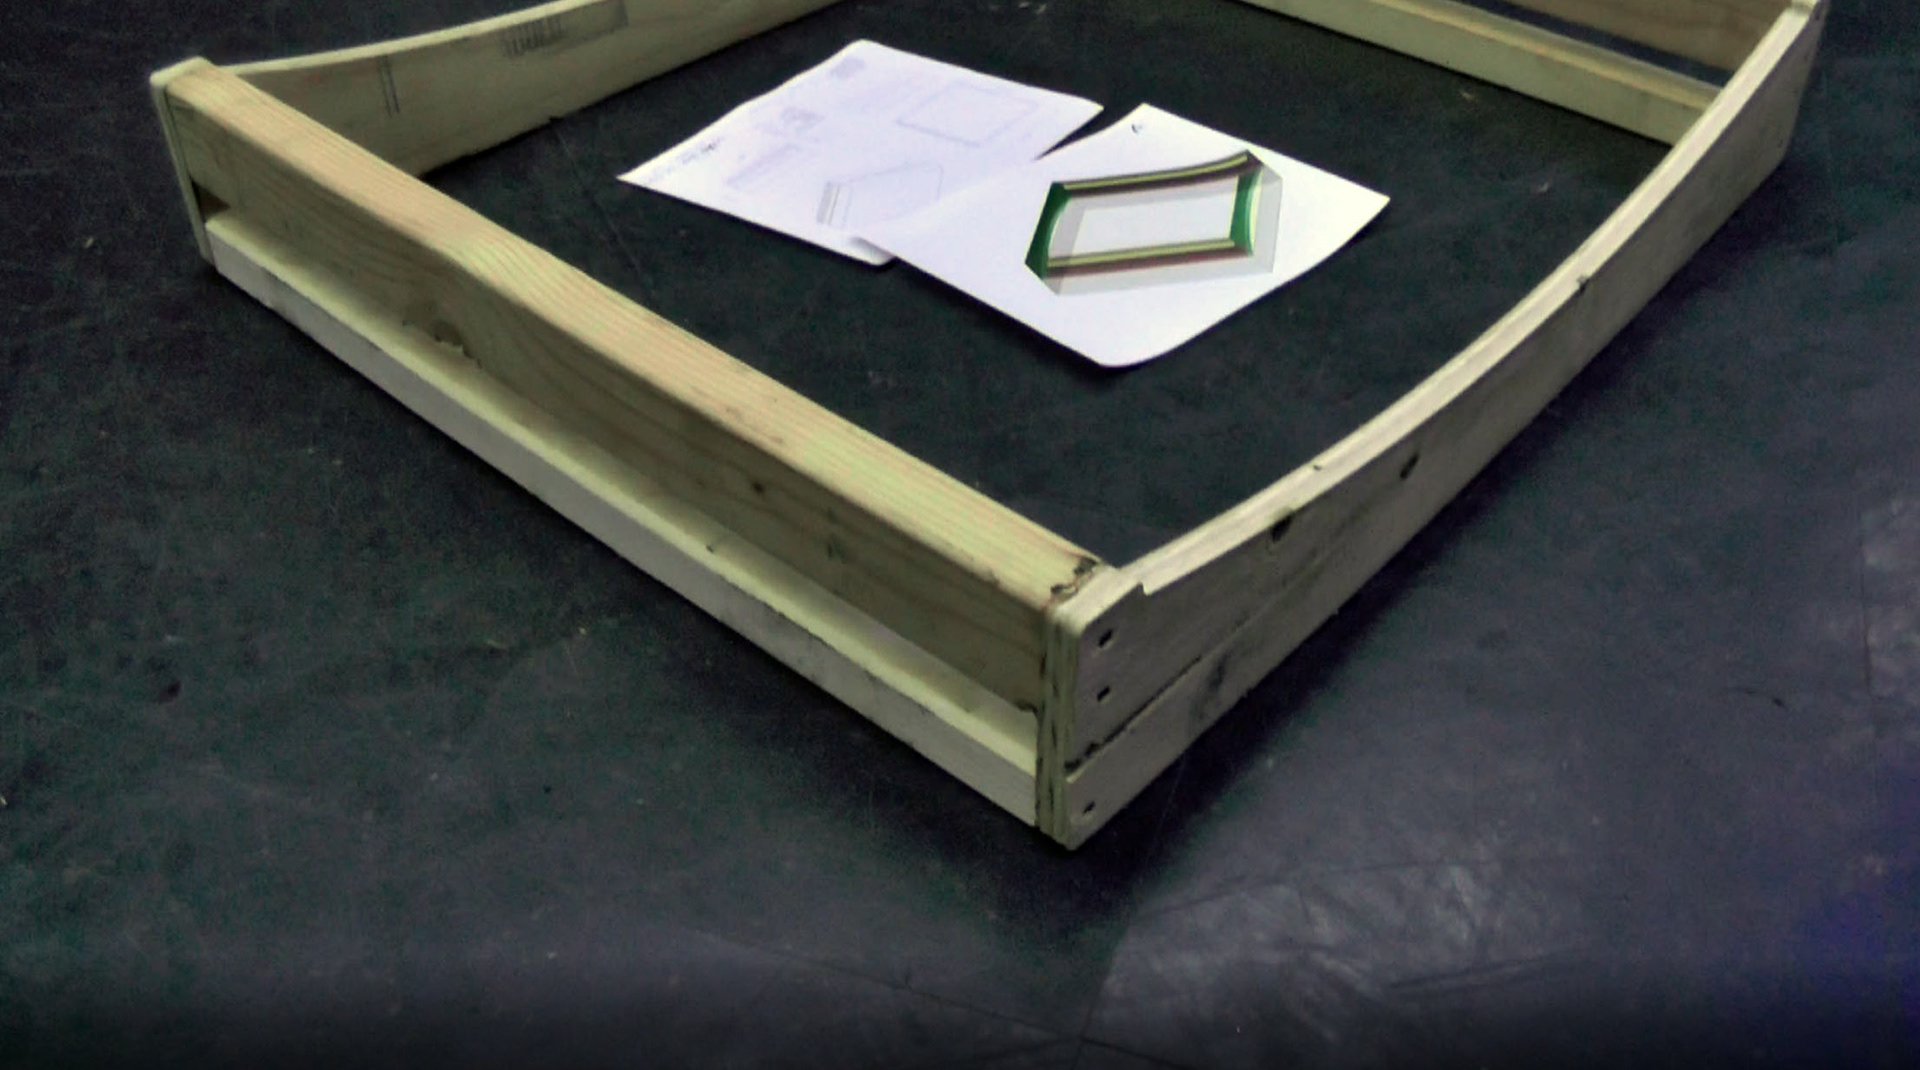
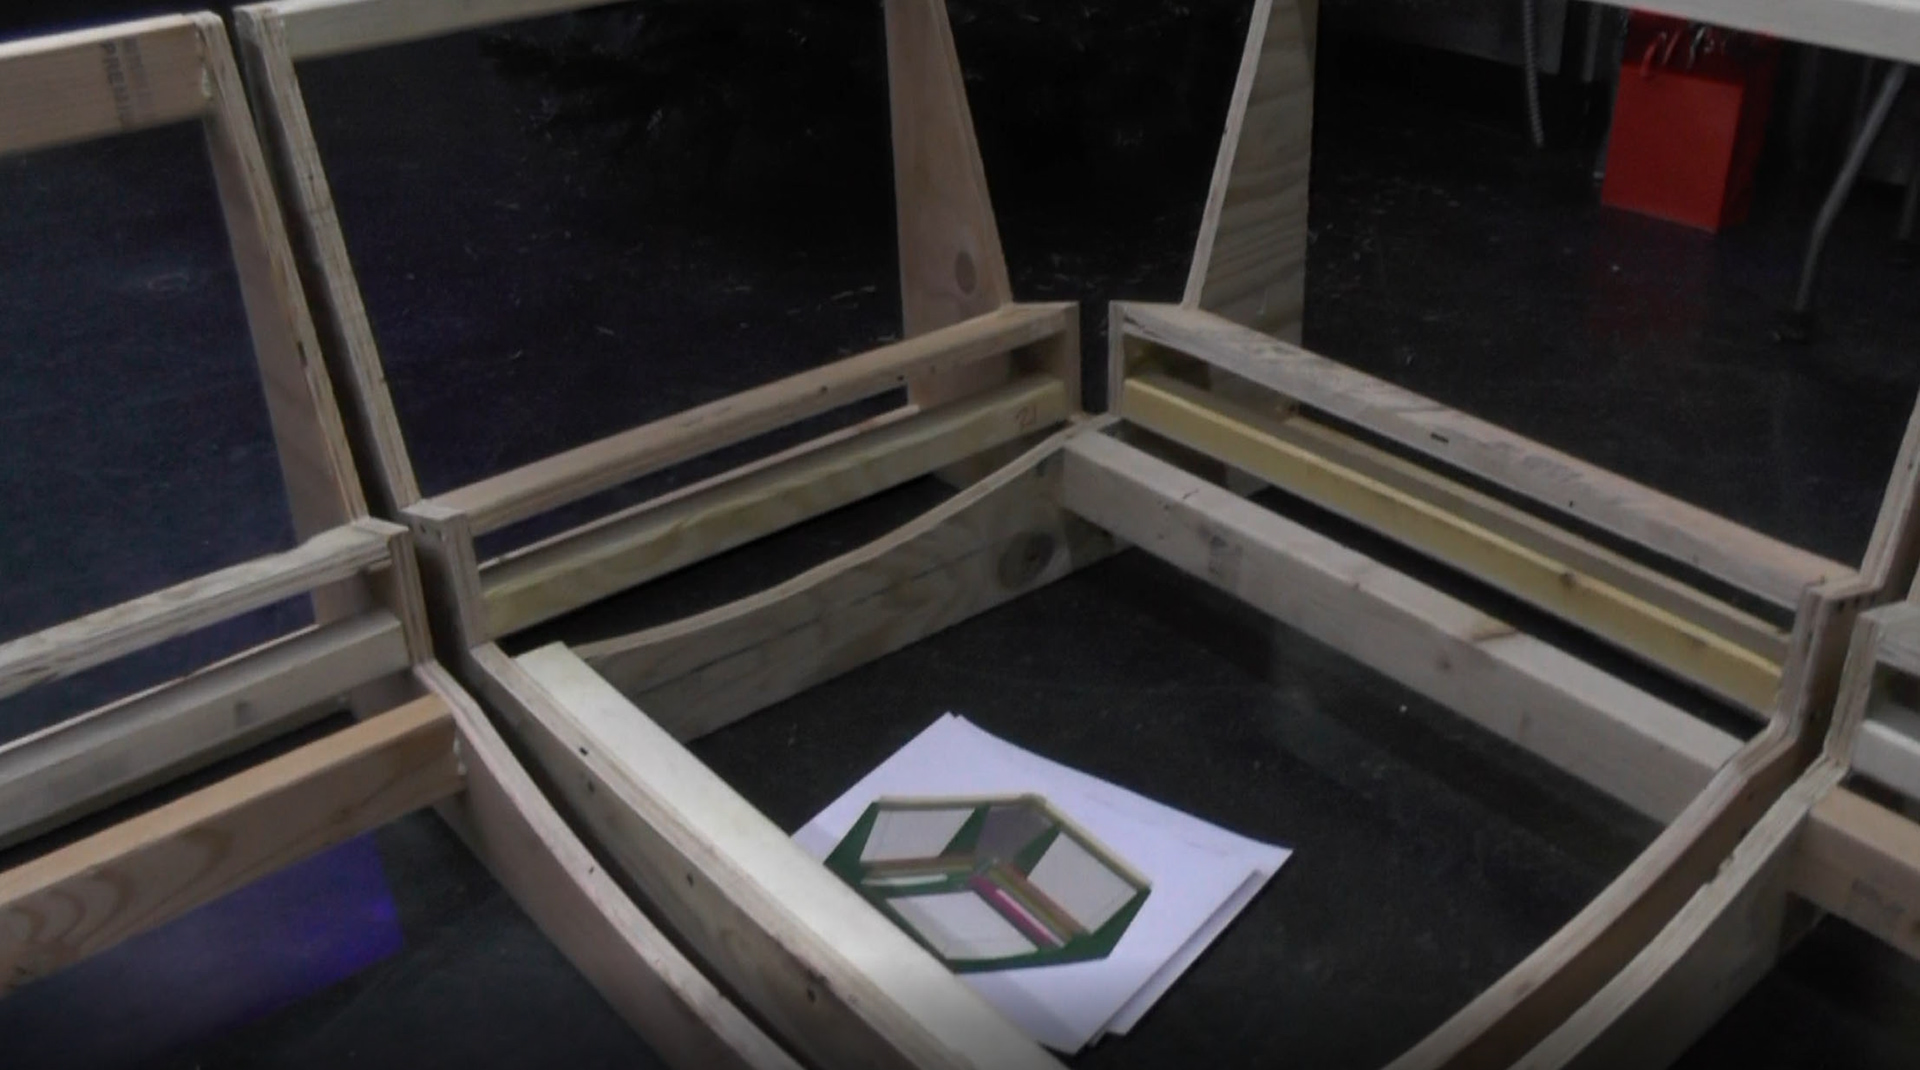
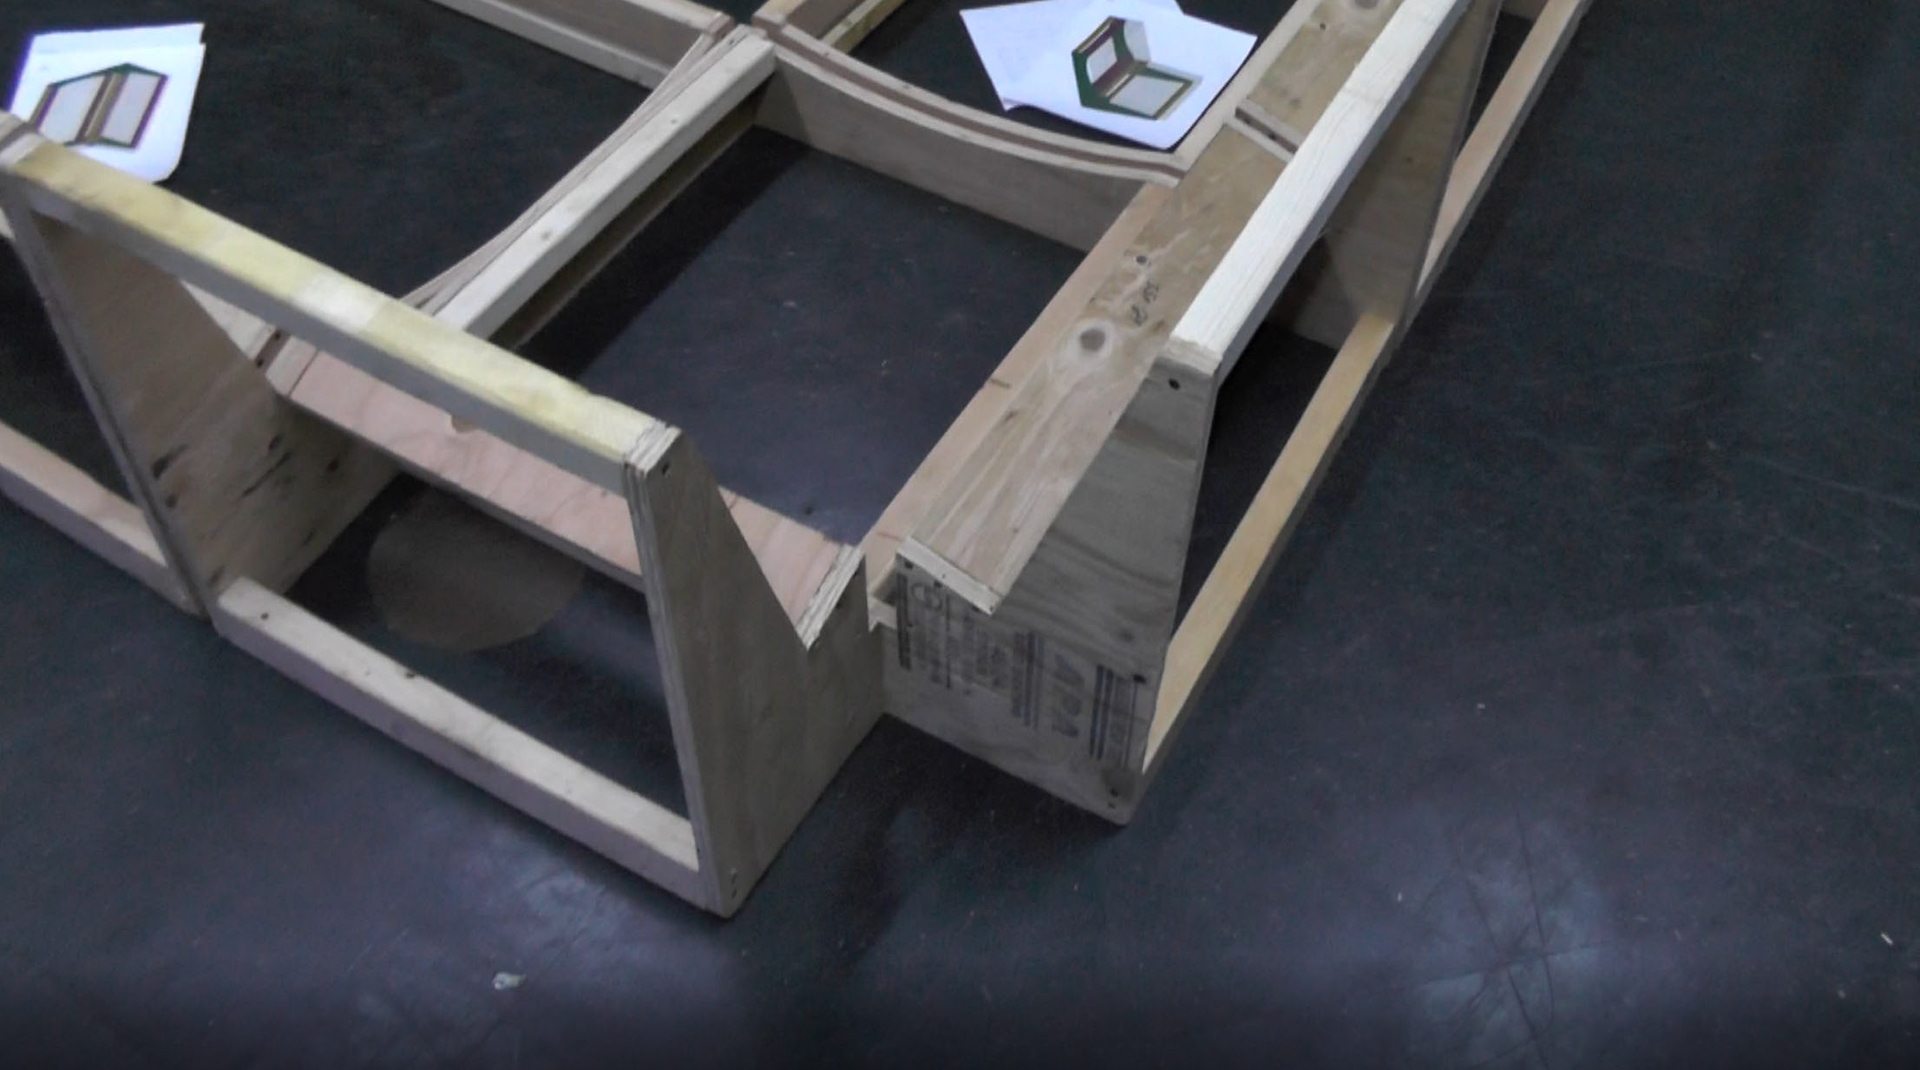
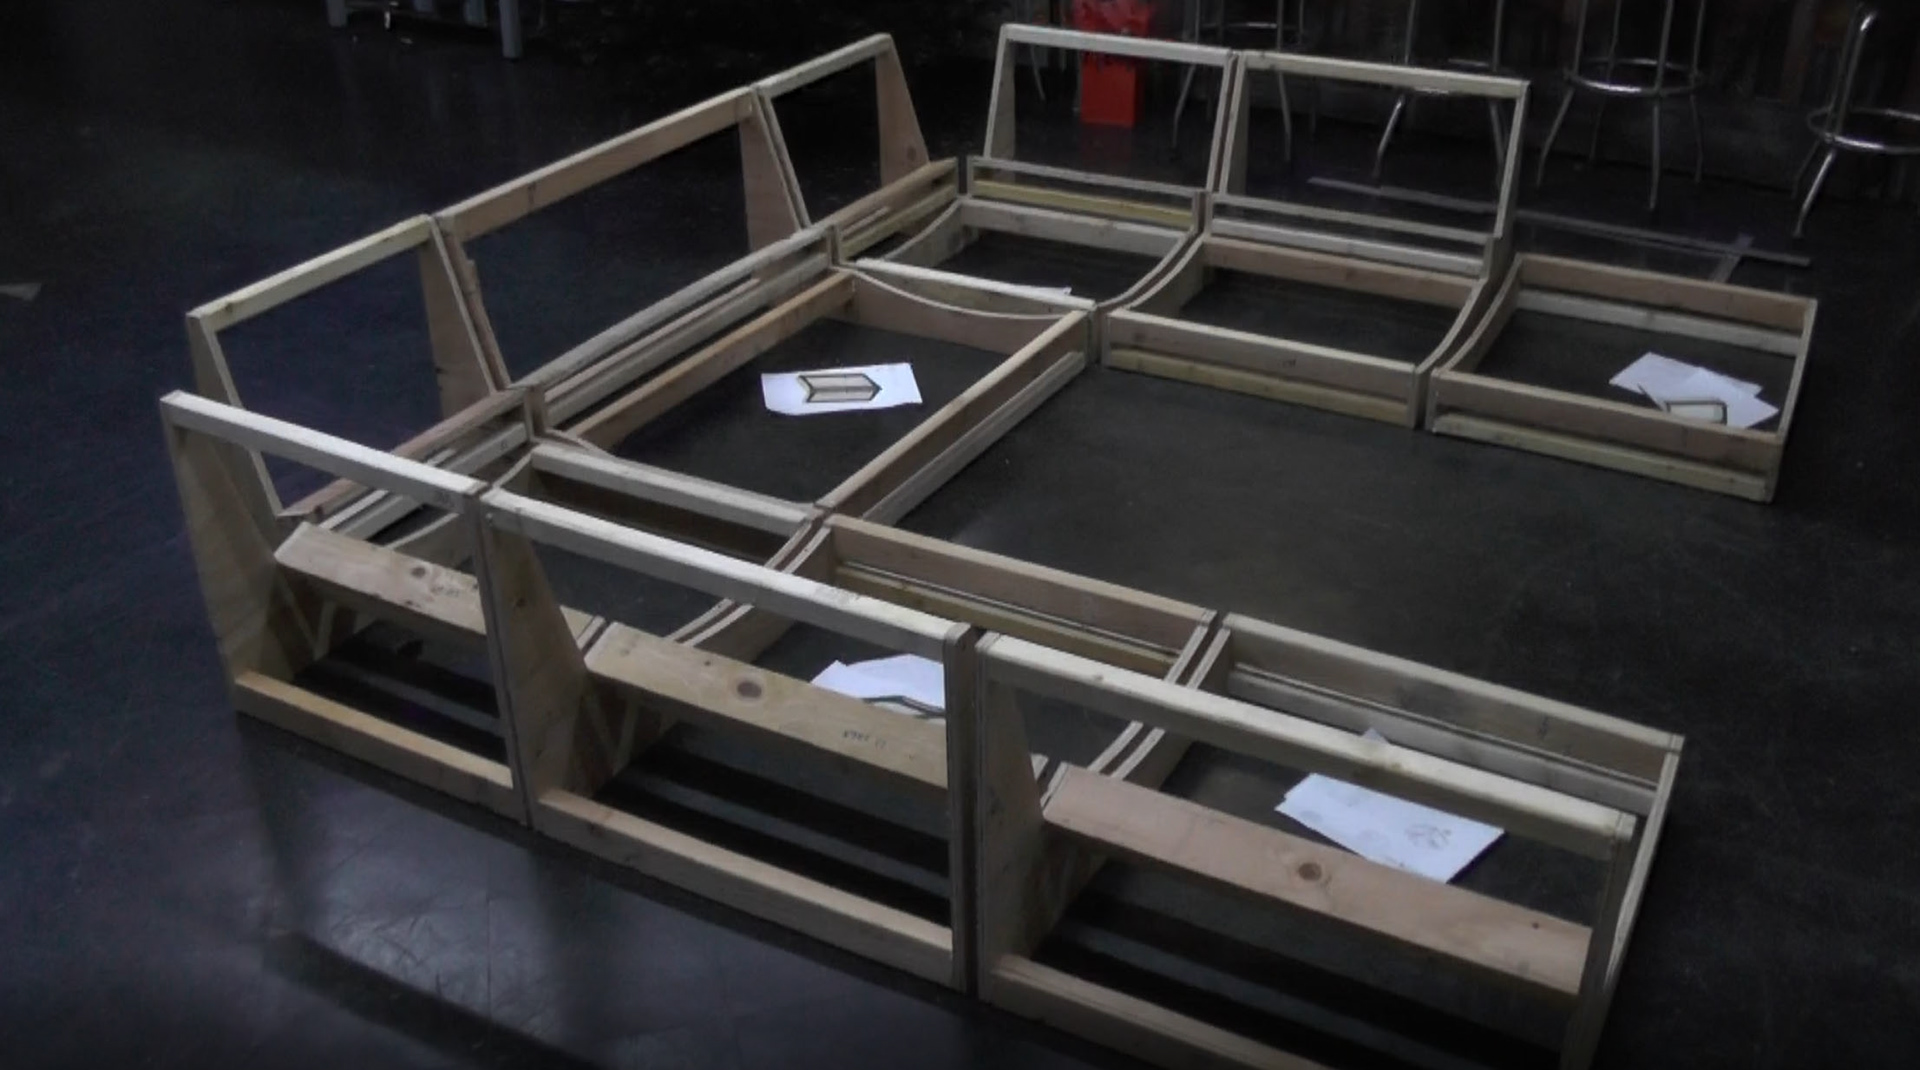
The first step after cutting out all the wood was to build the frames.
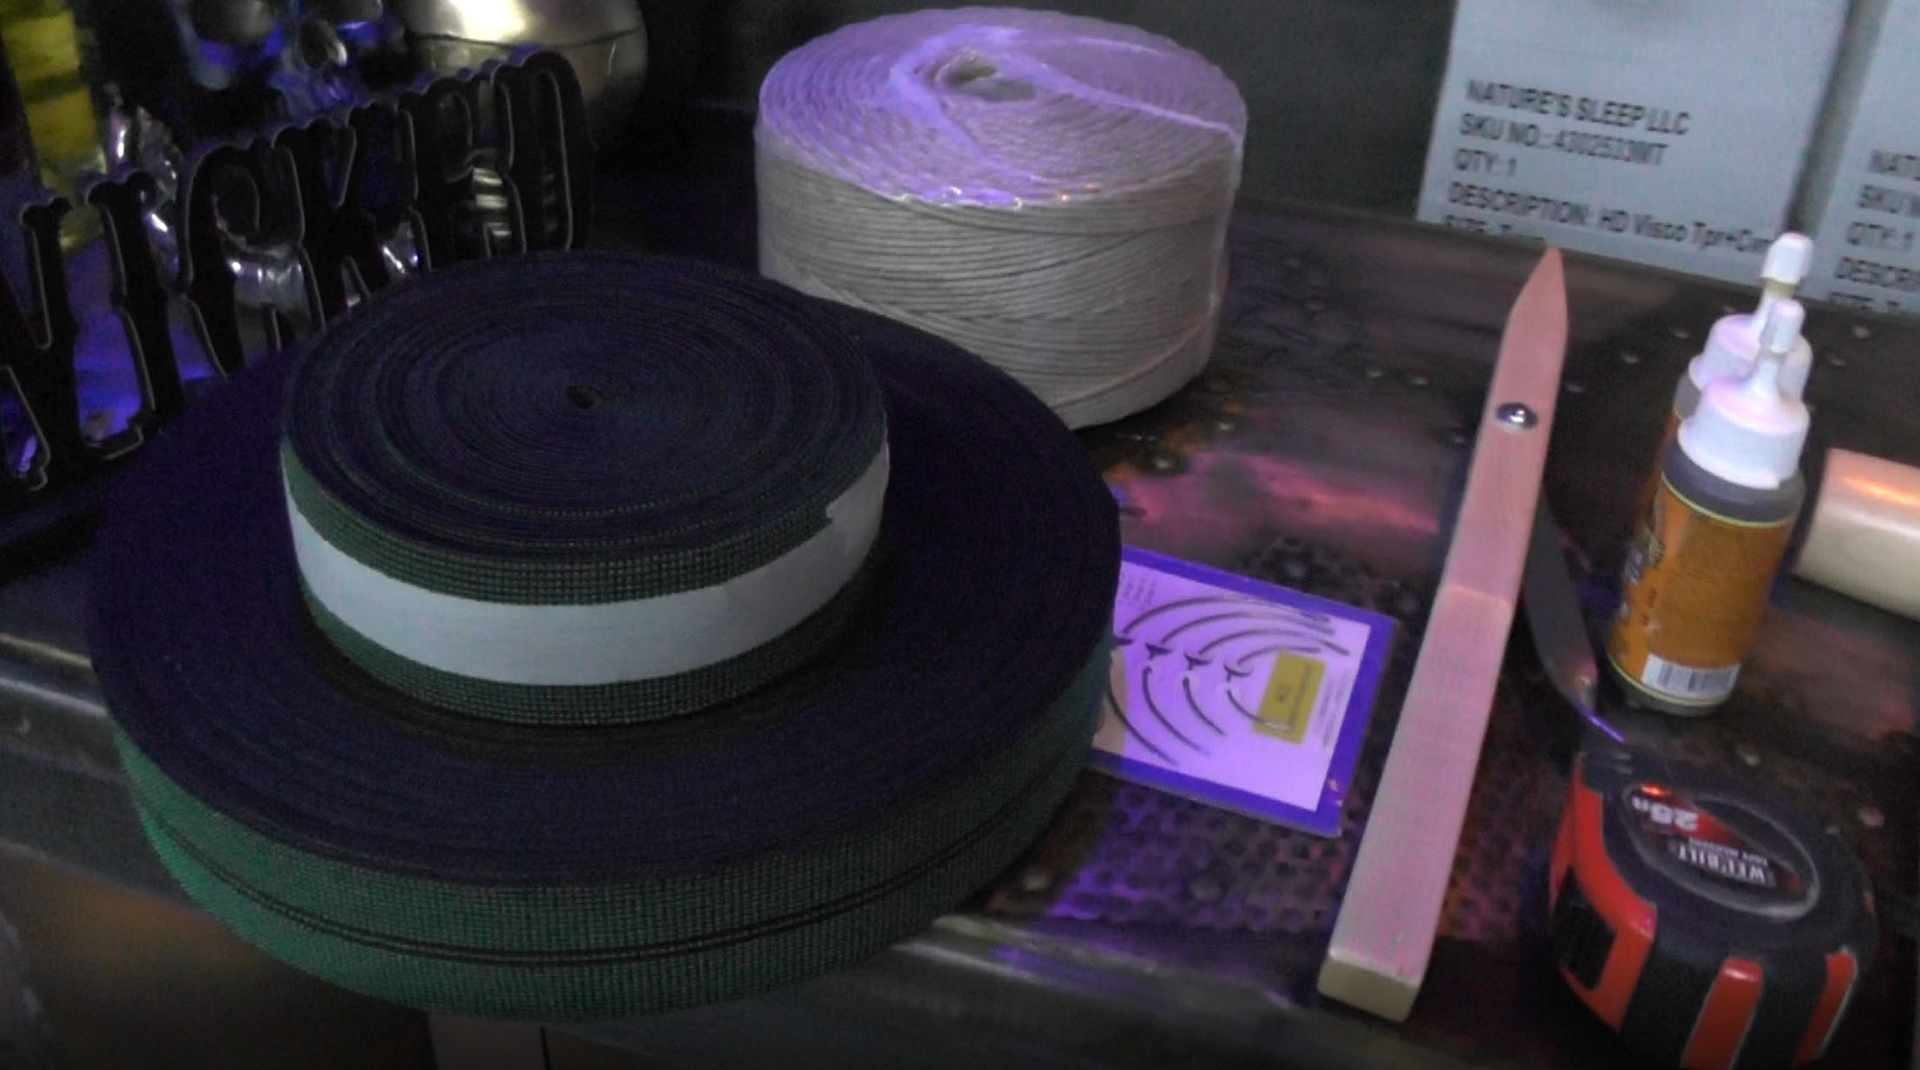
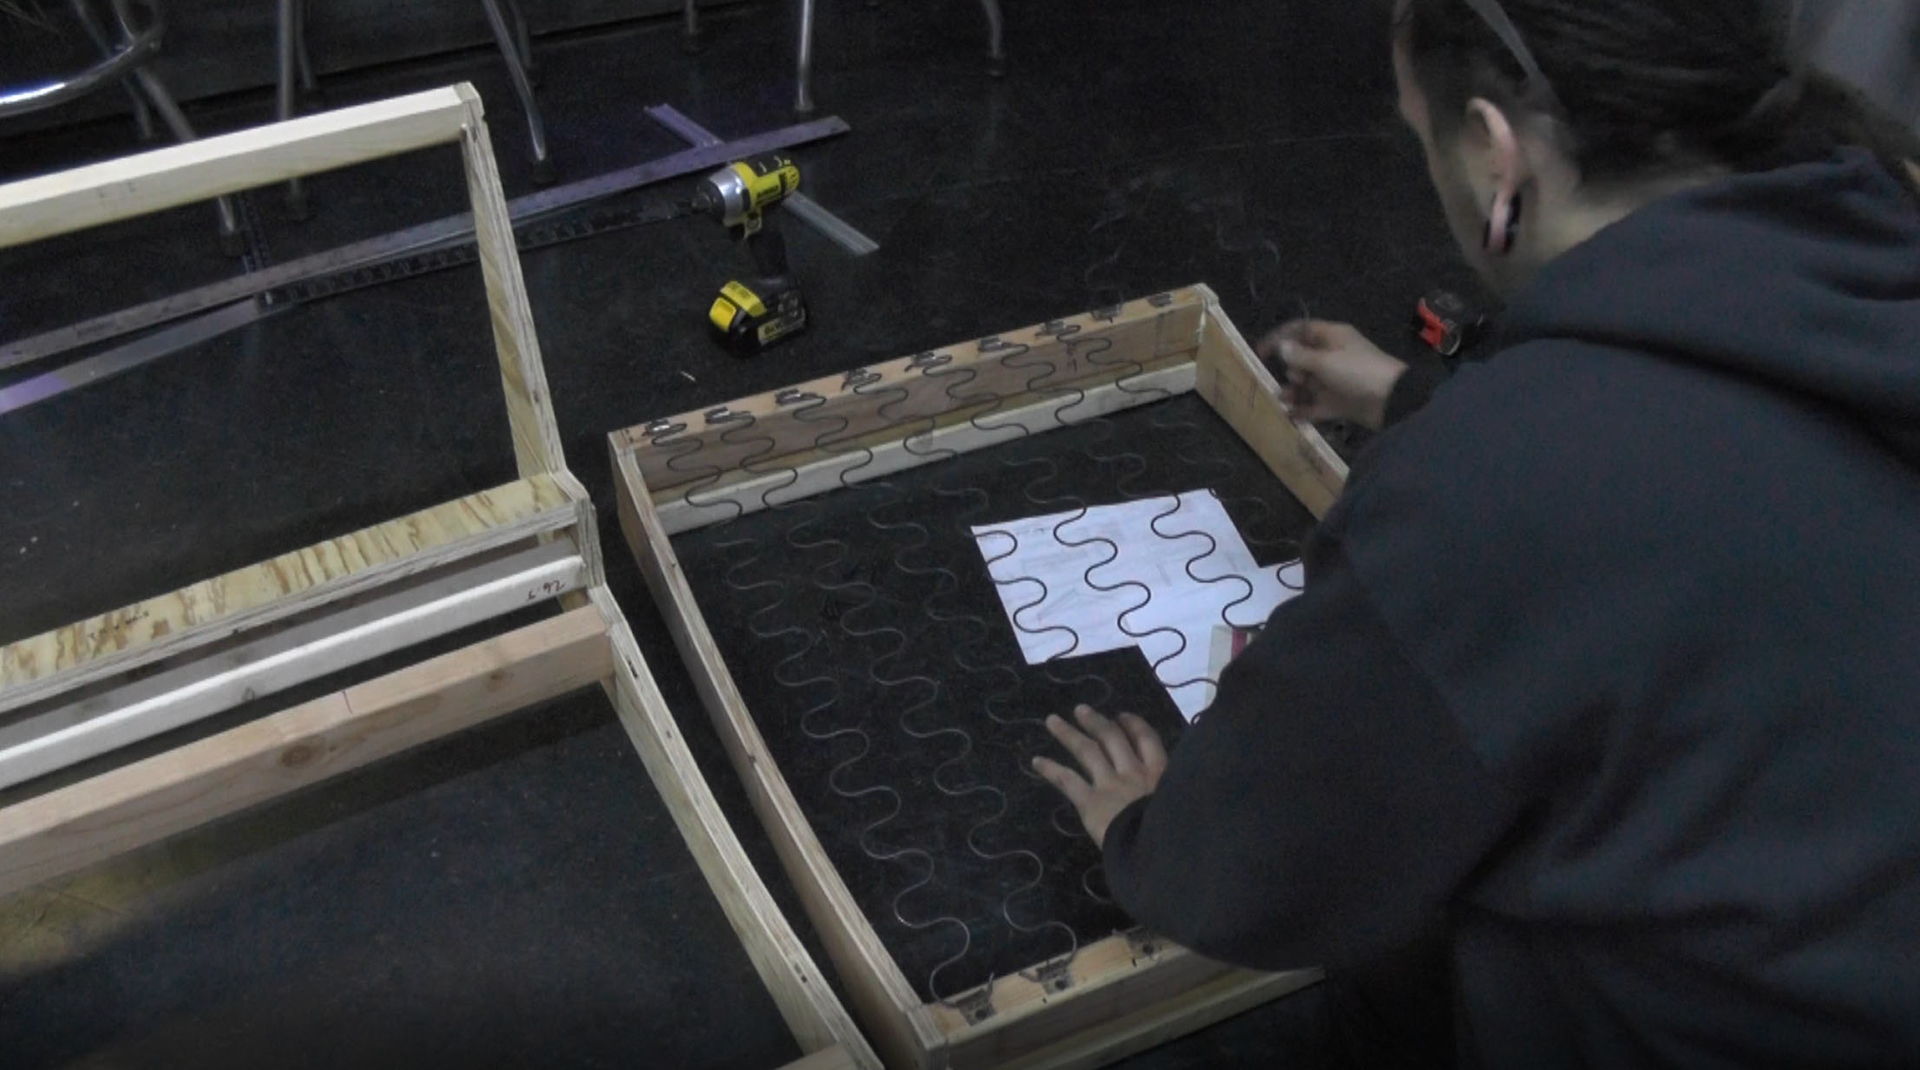
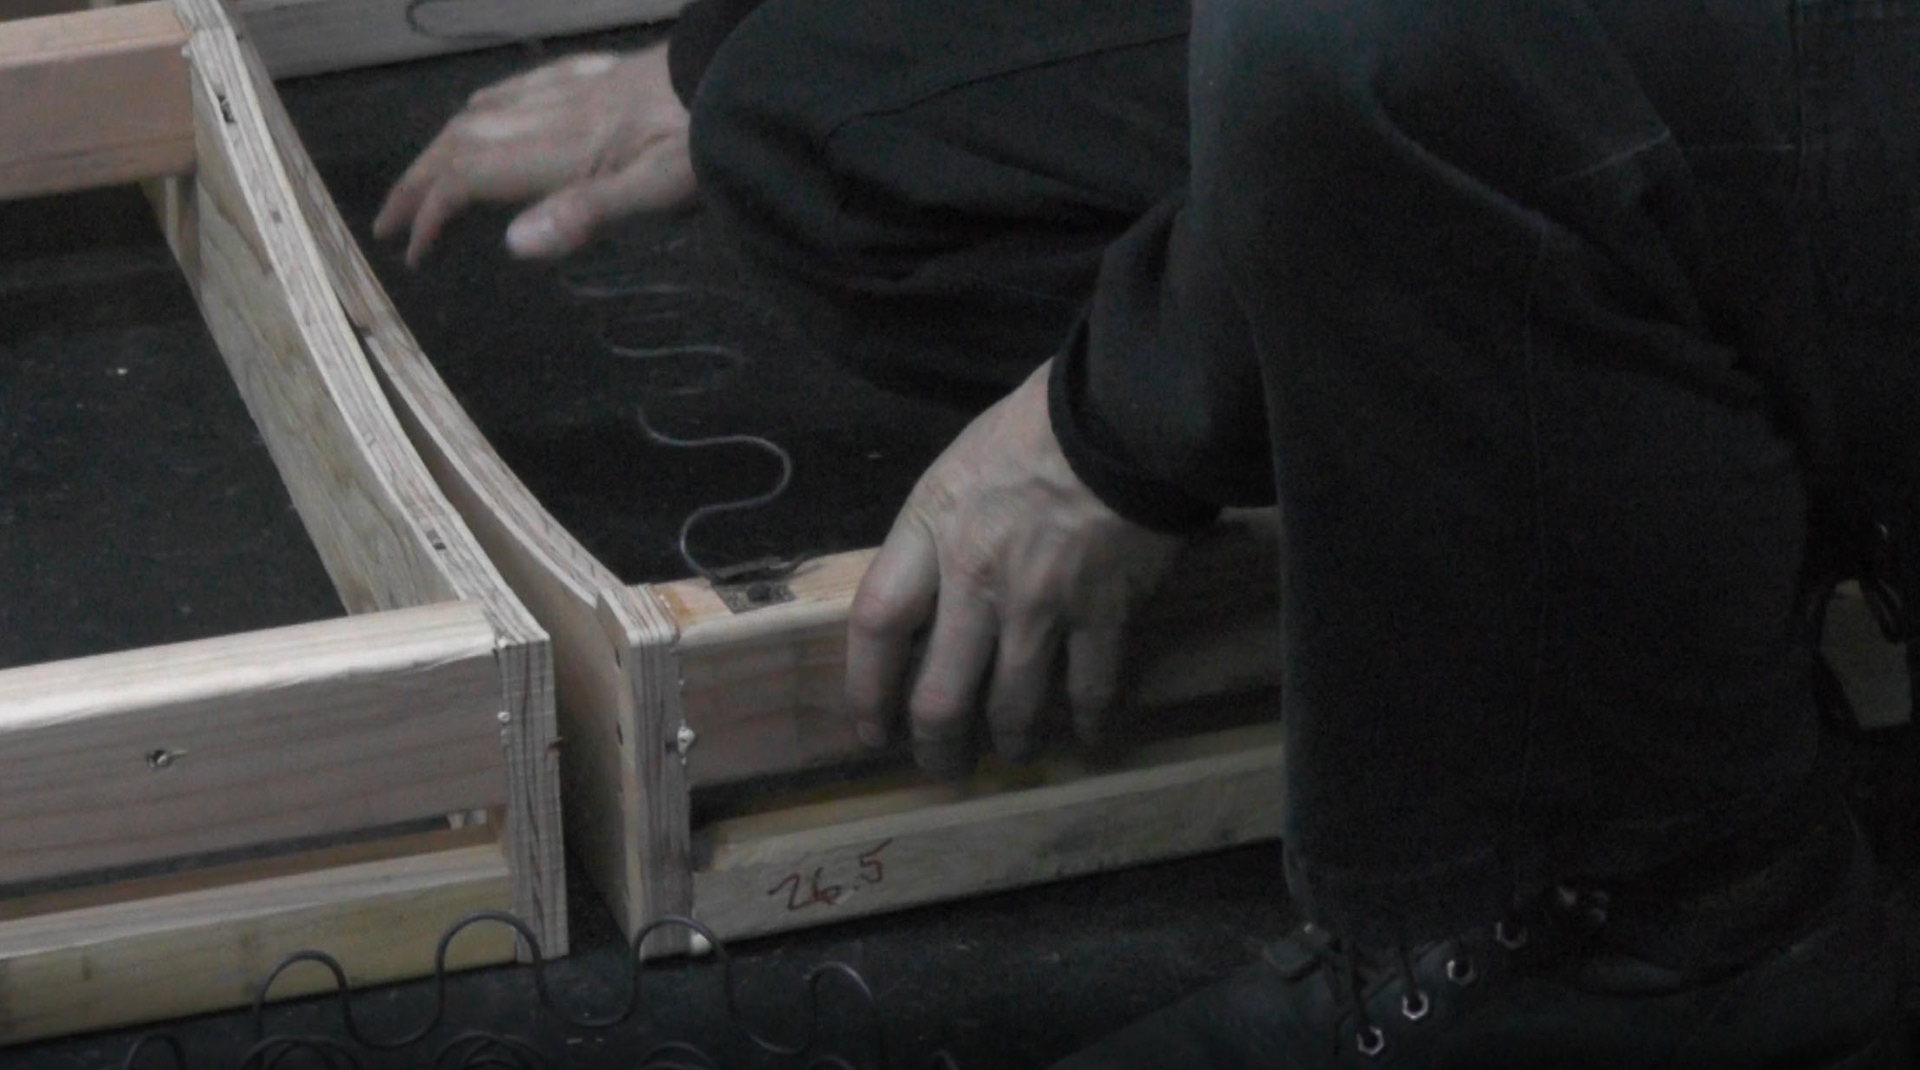
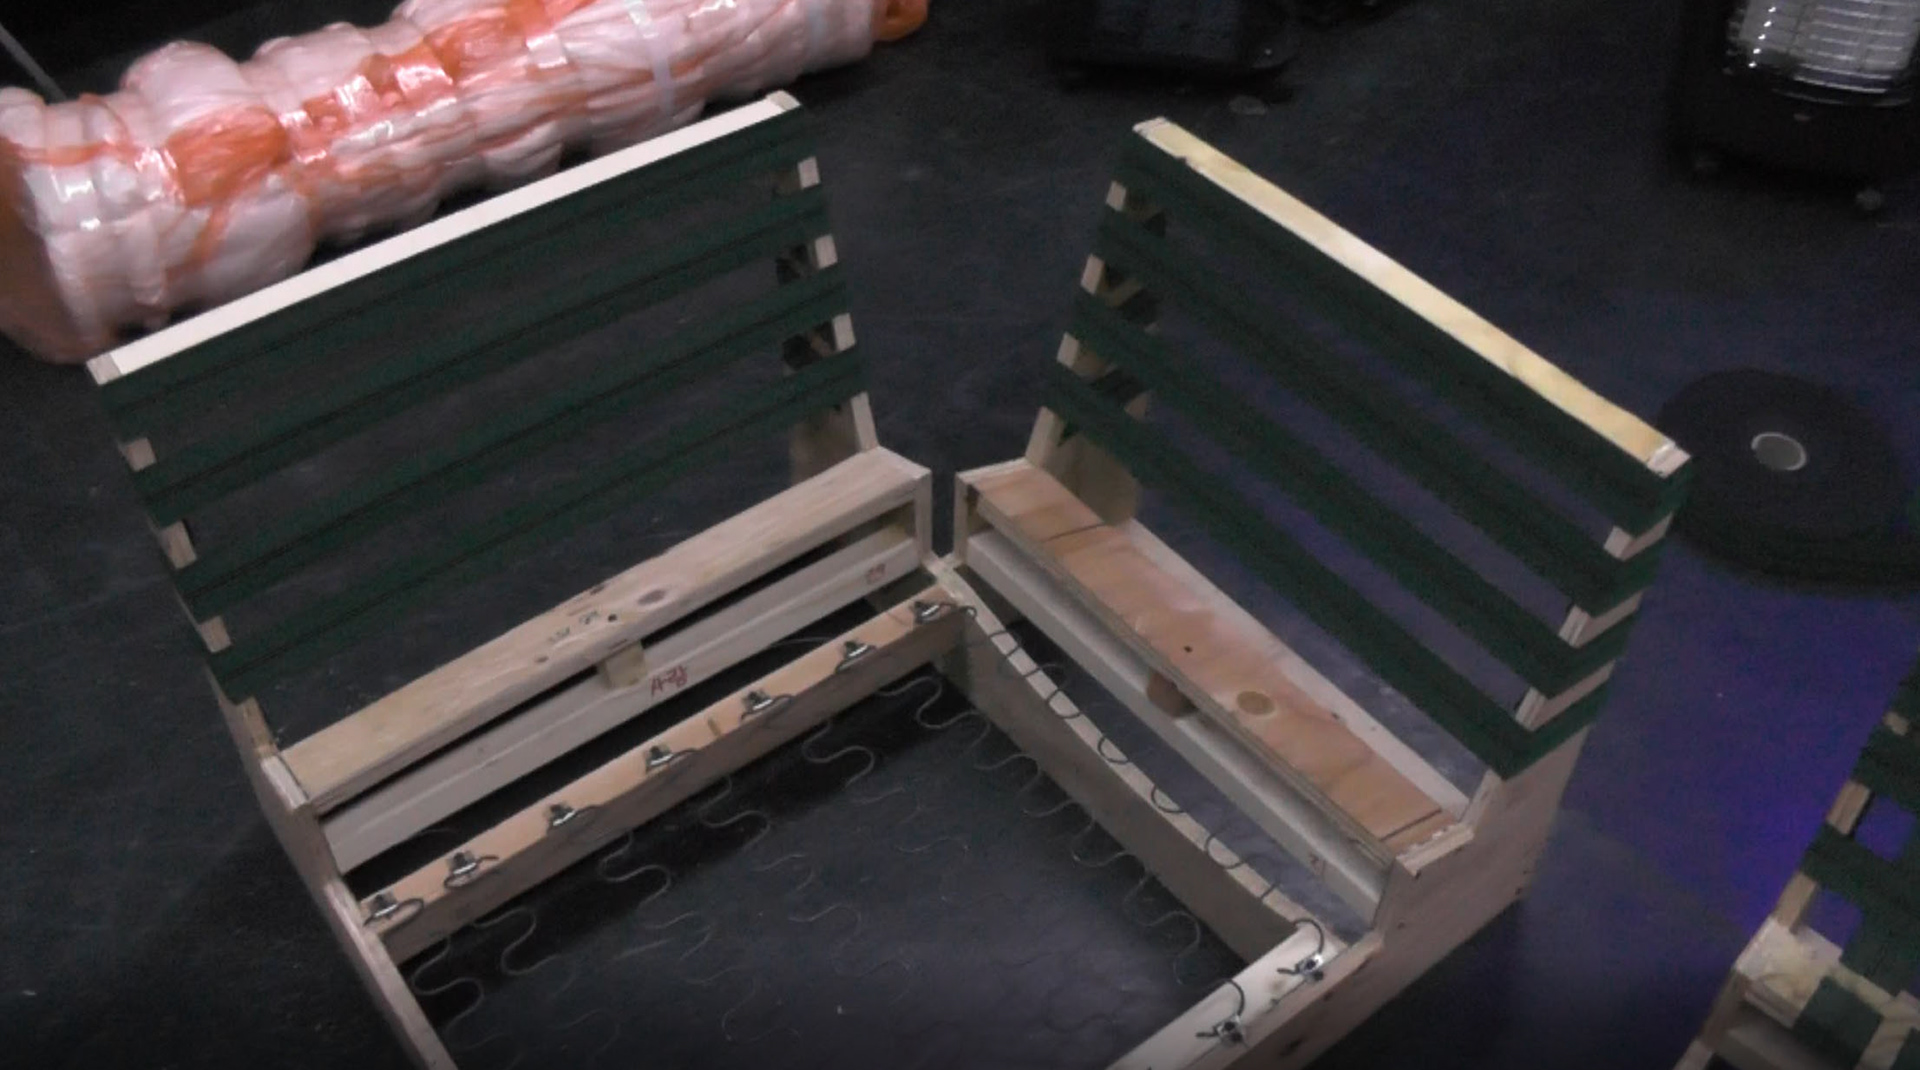
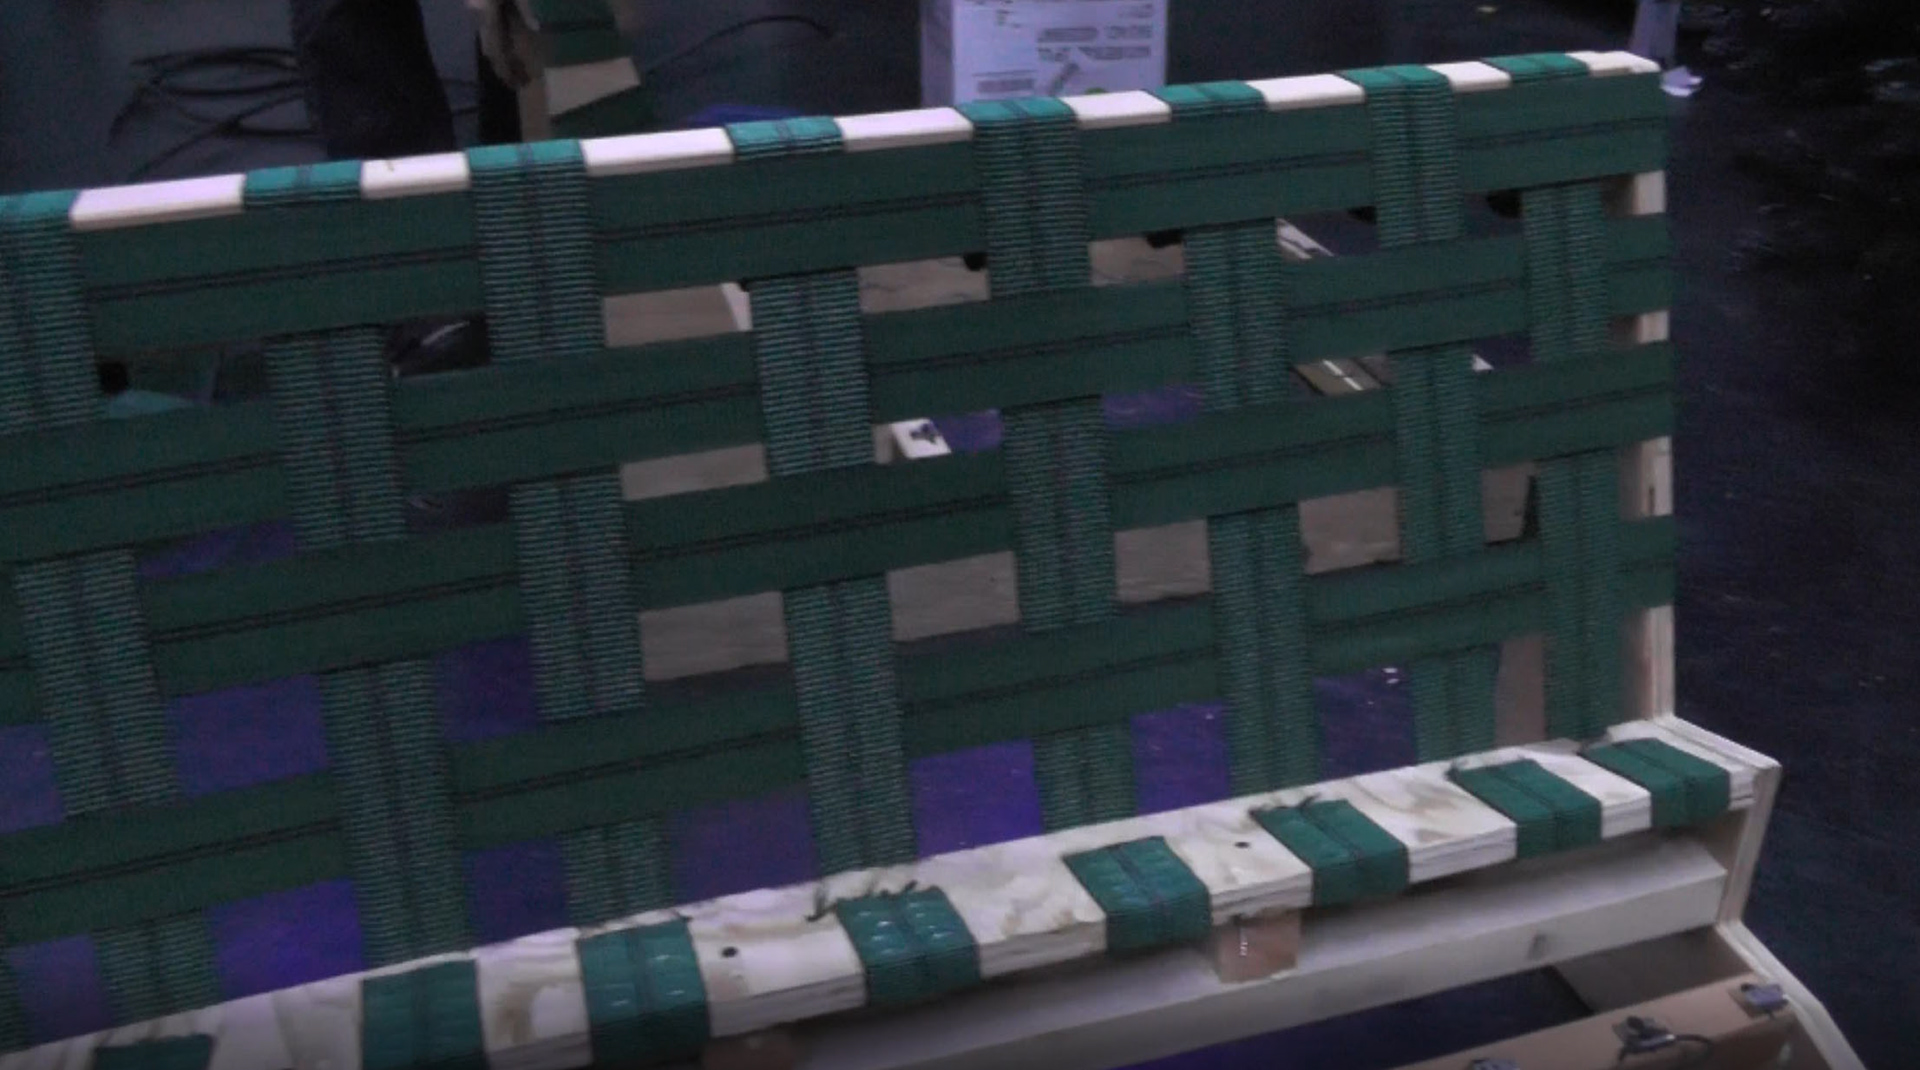
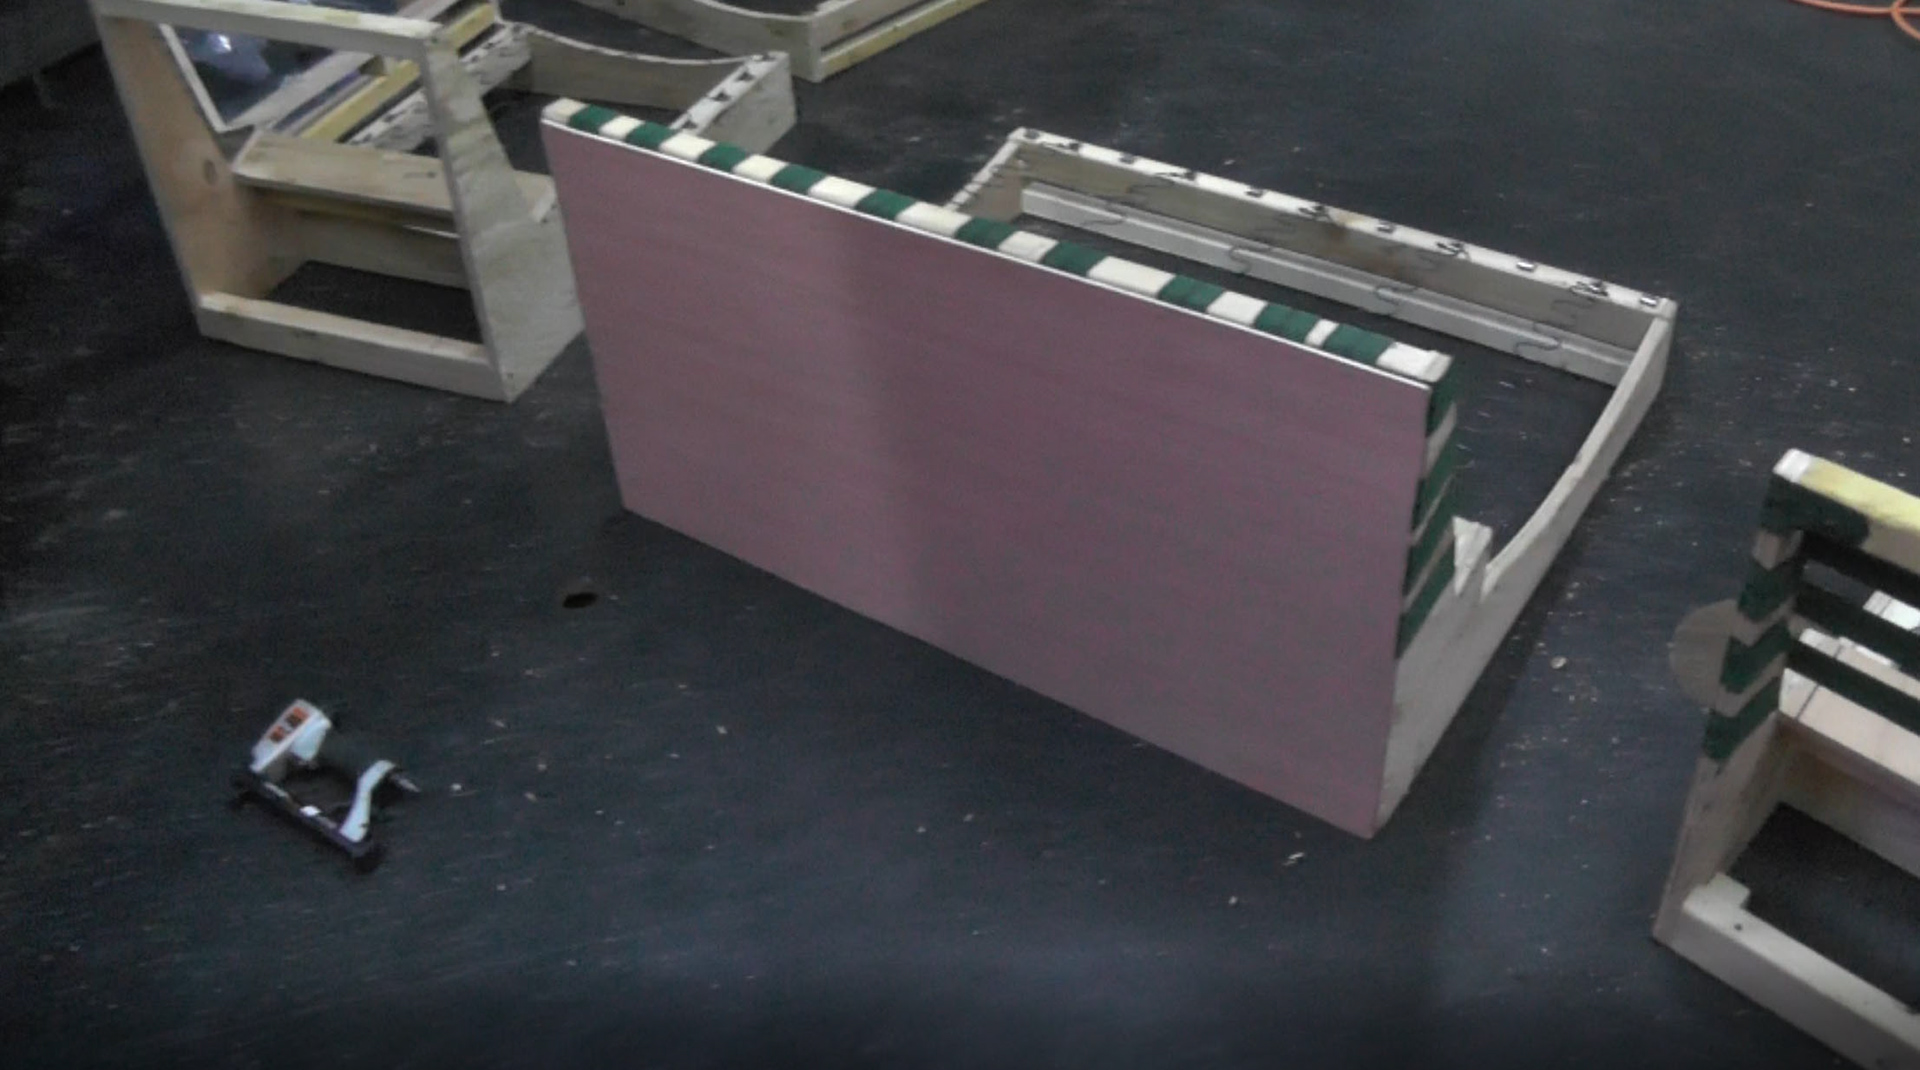
The next step was to add spring to the base and webbing to the backs.
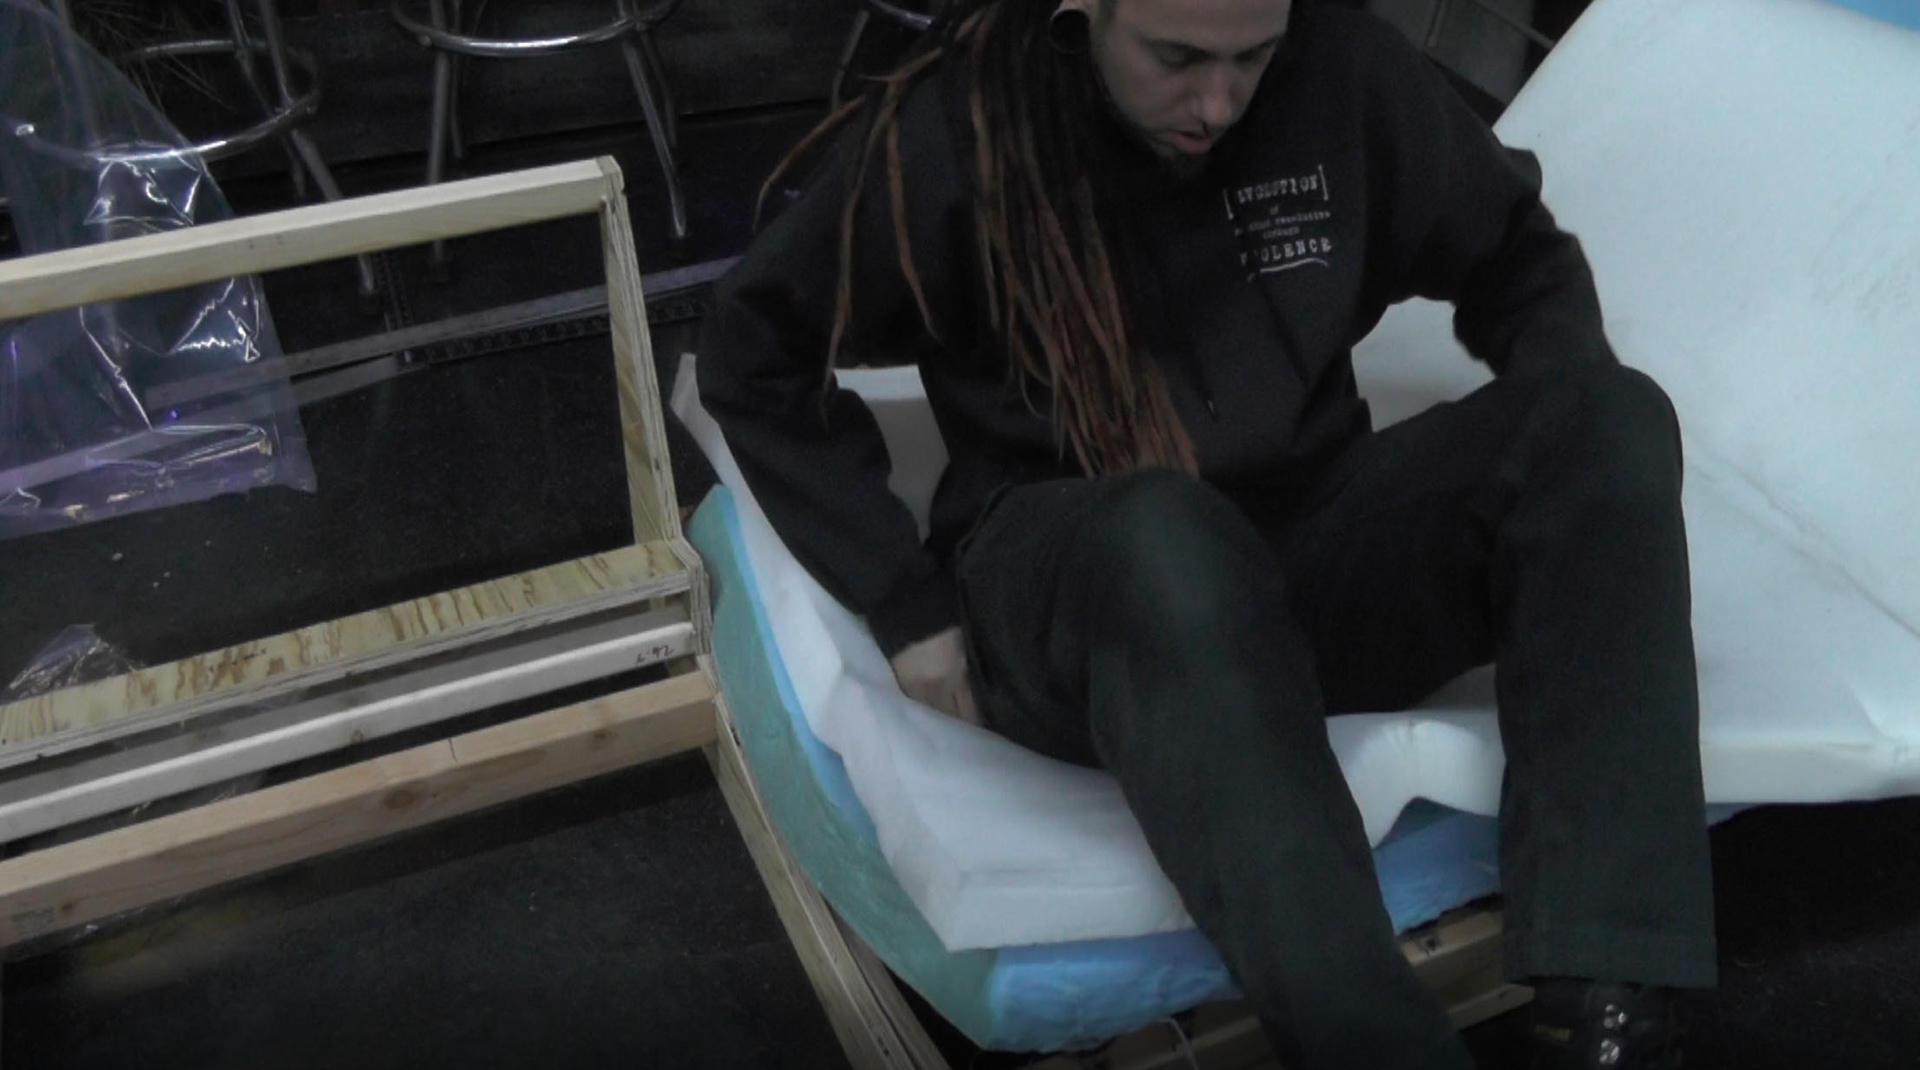
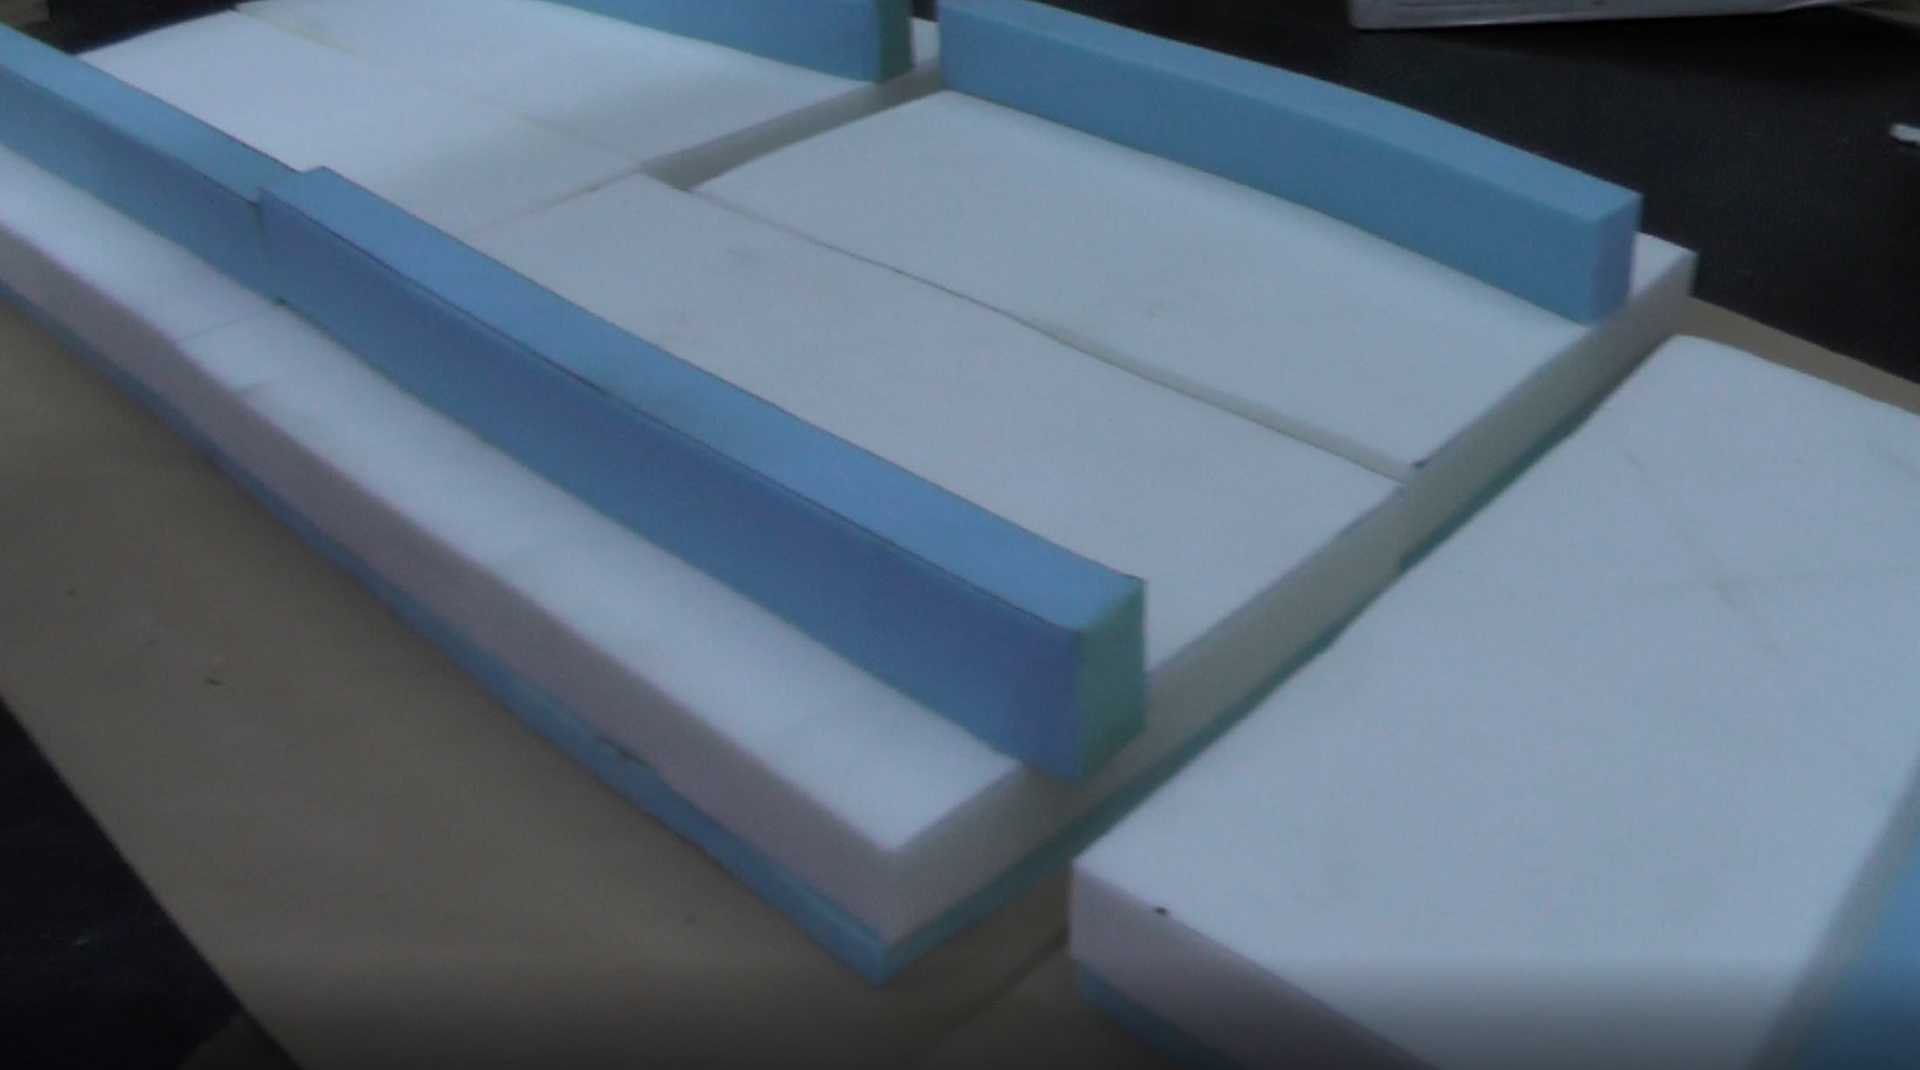
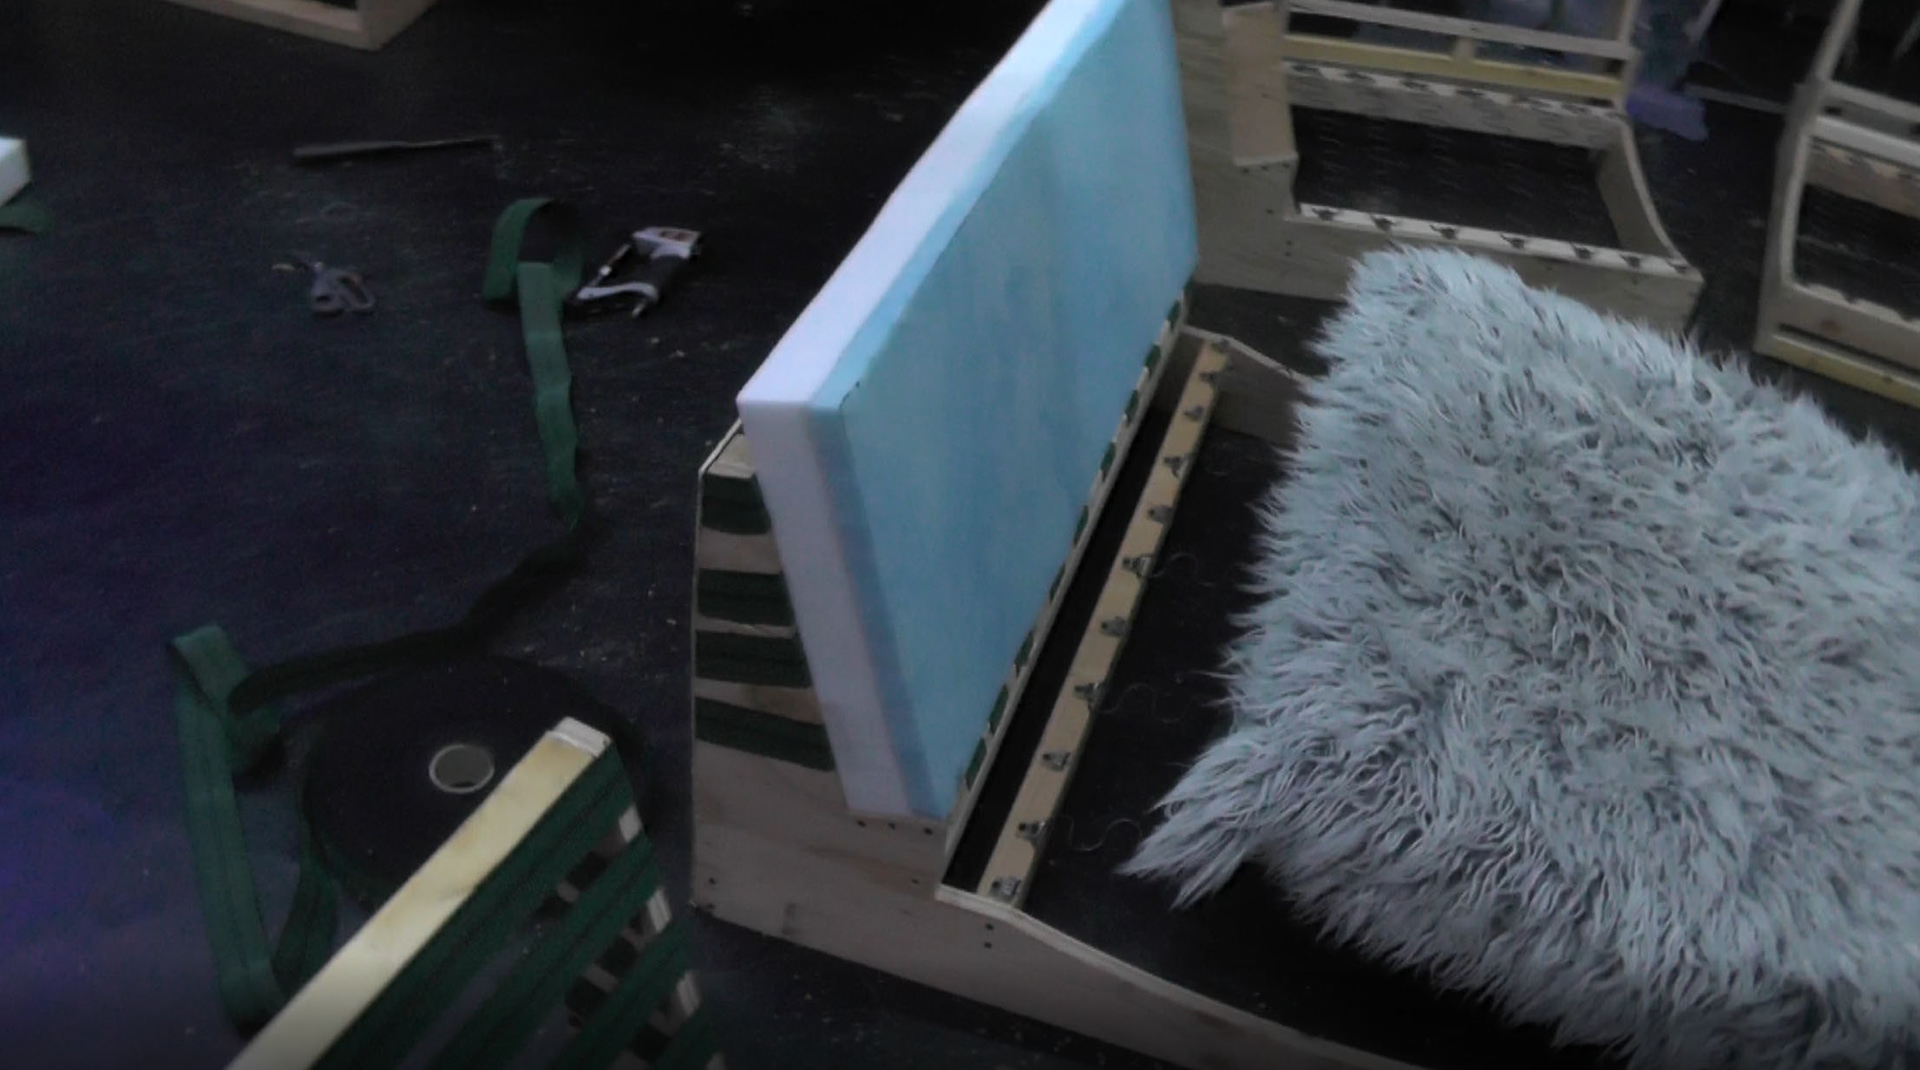
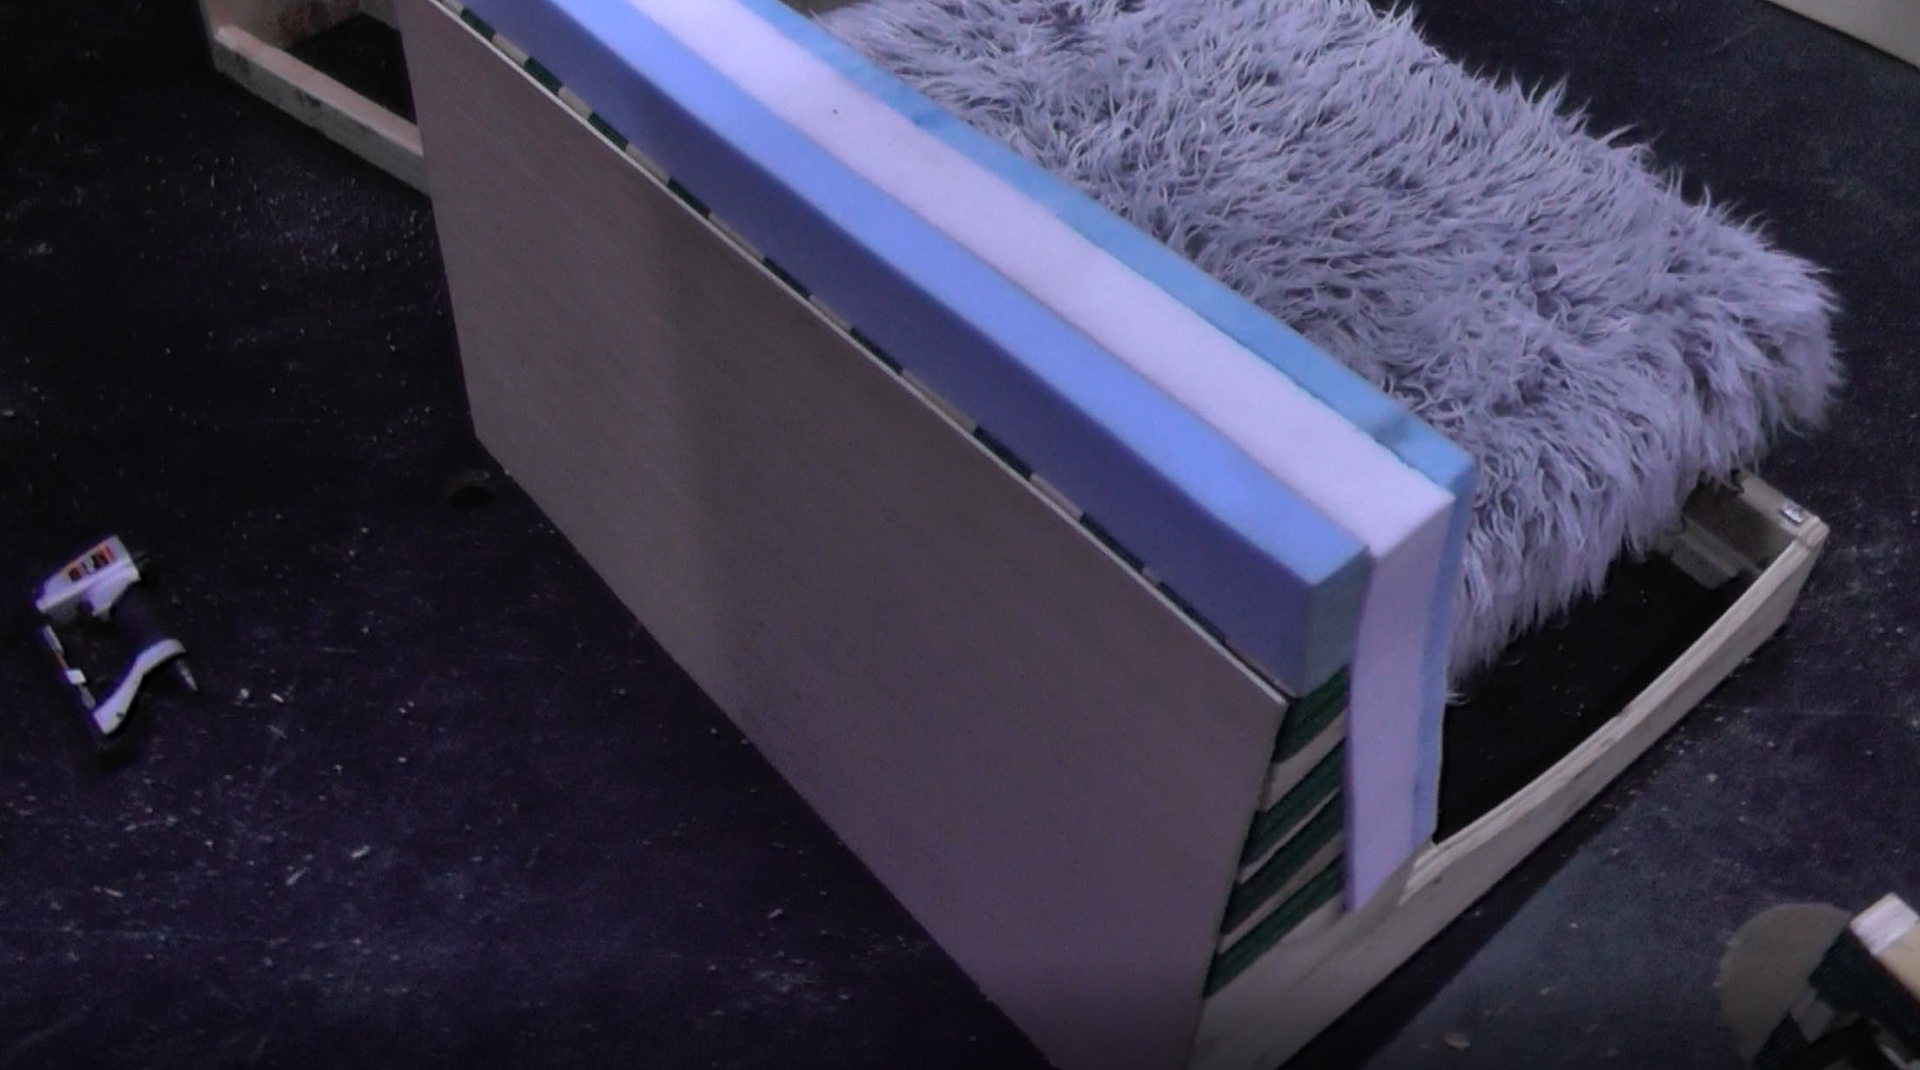
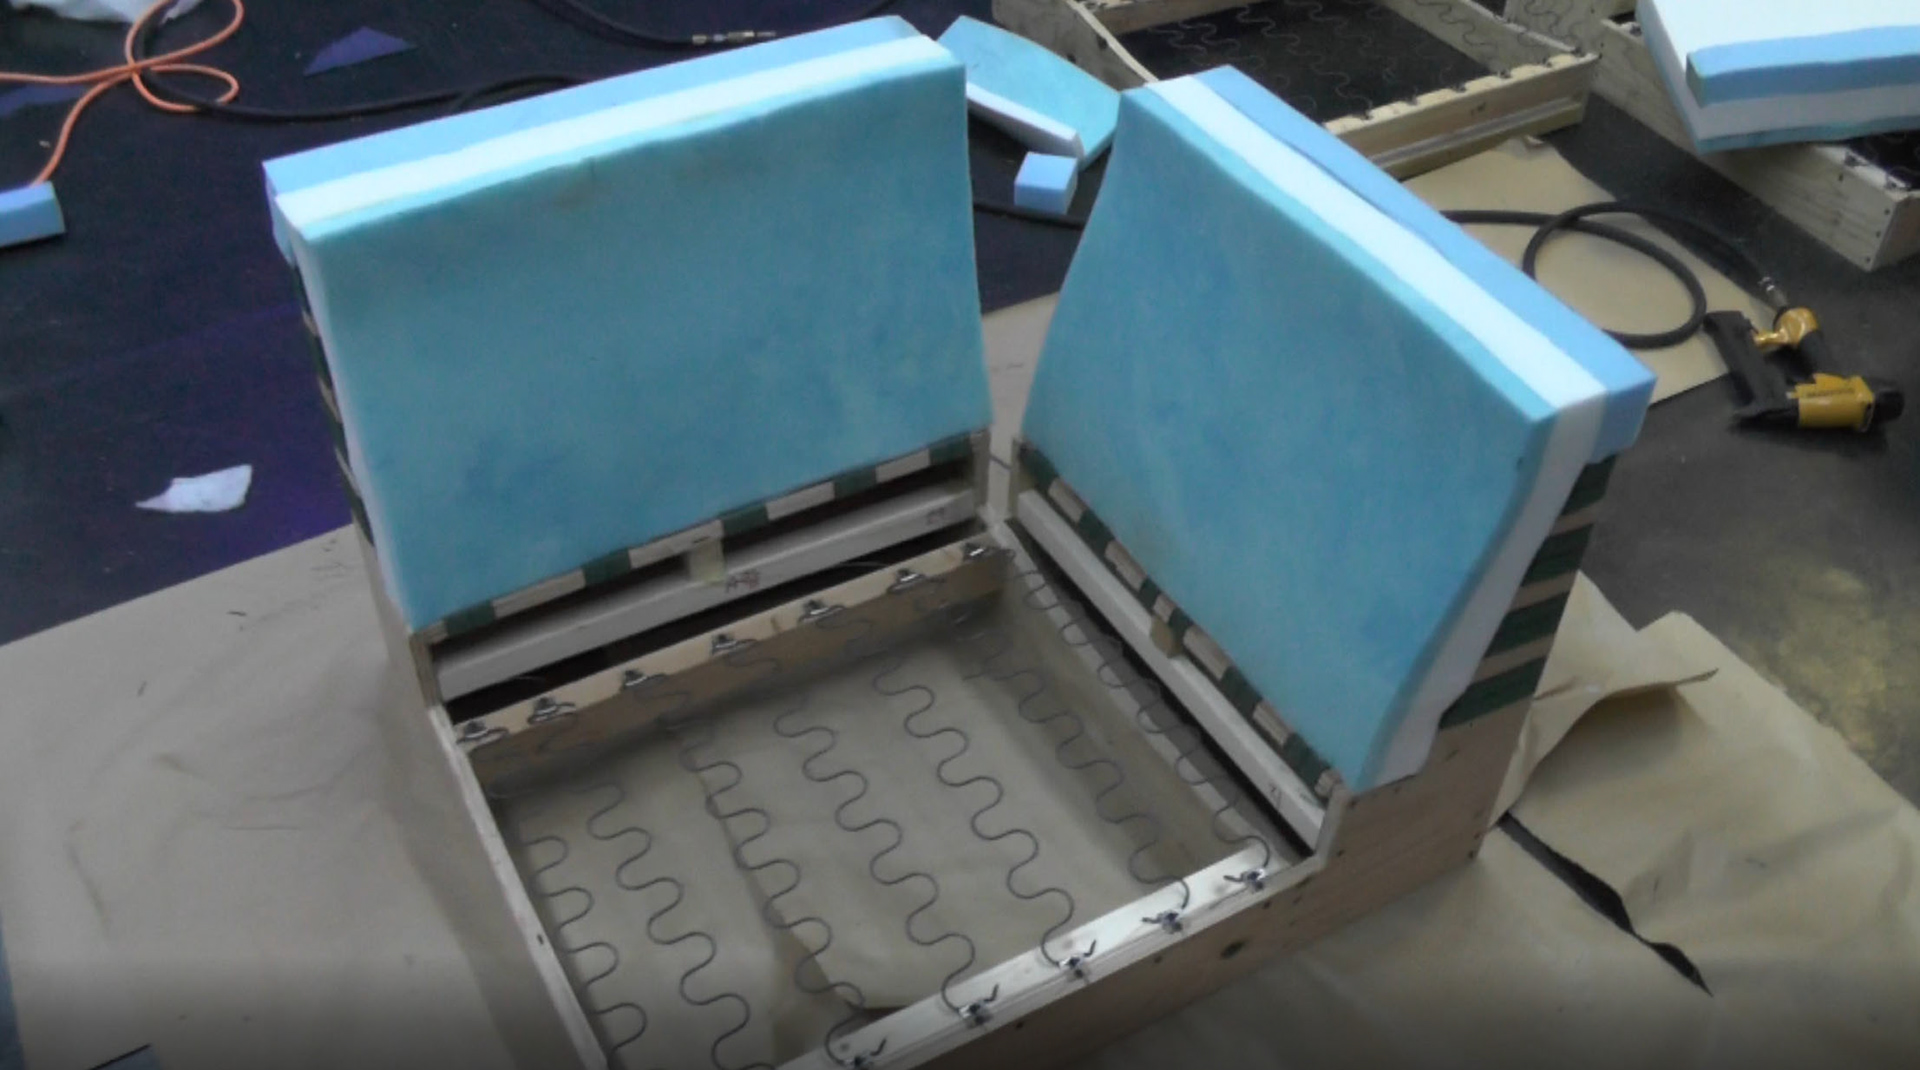
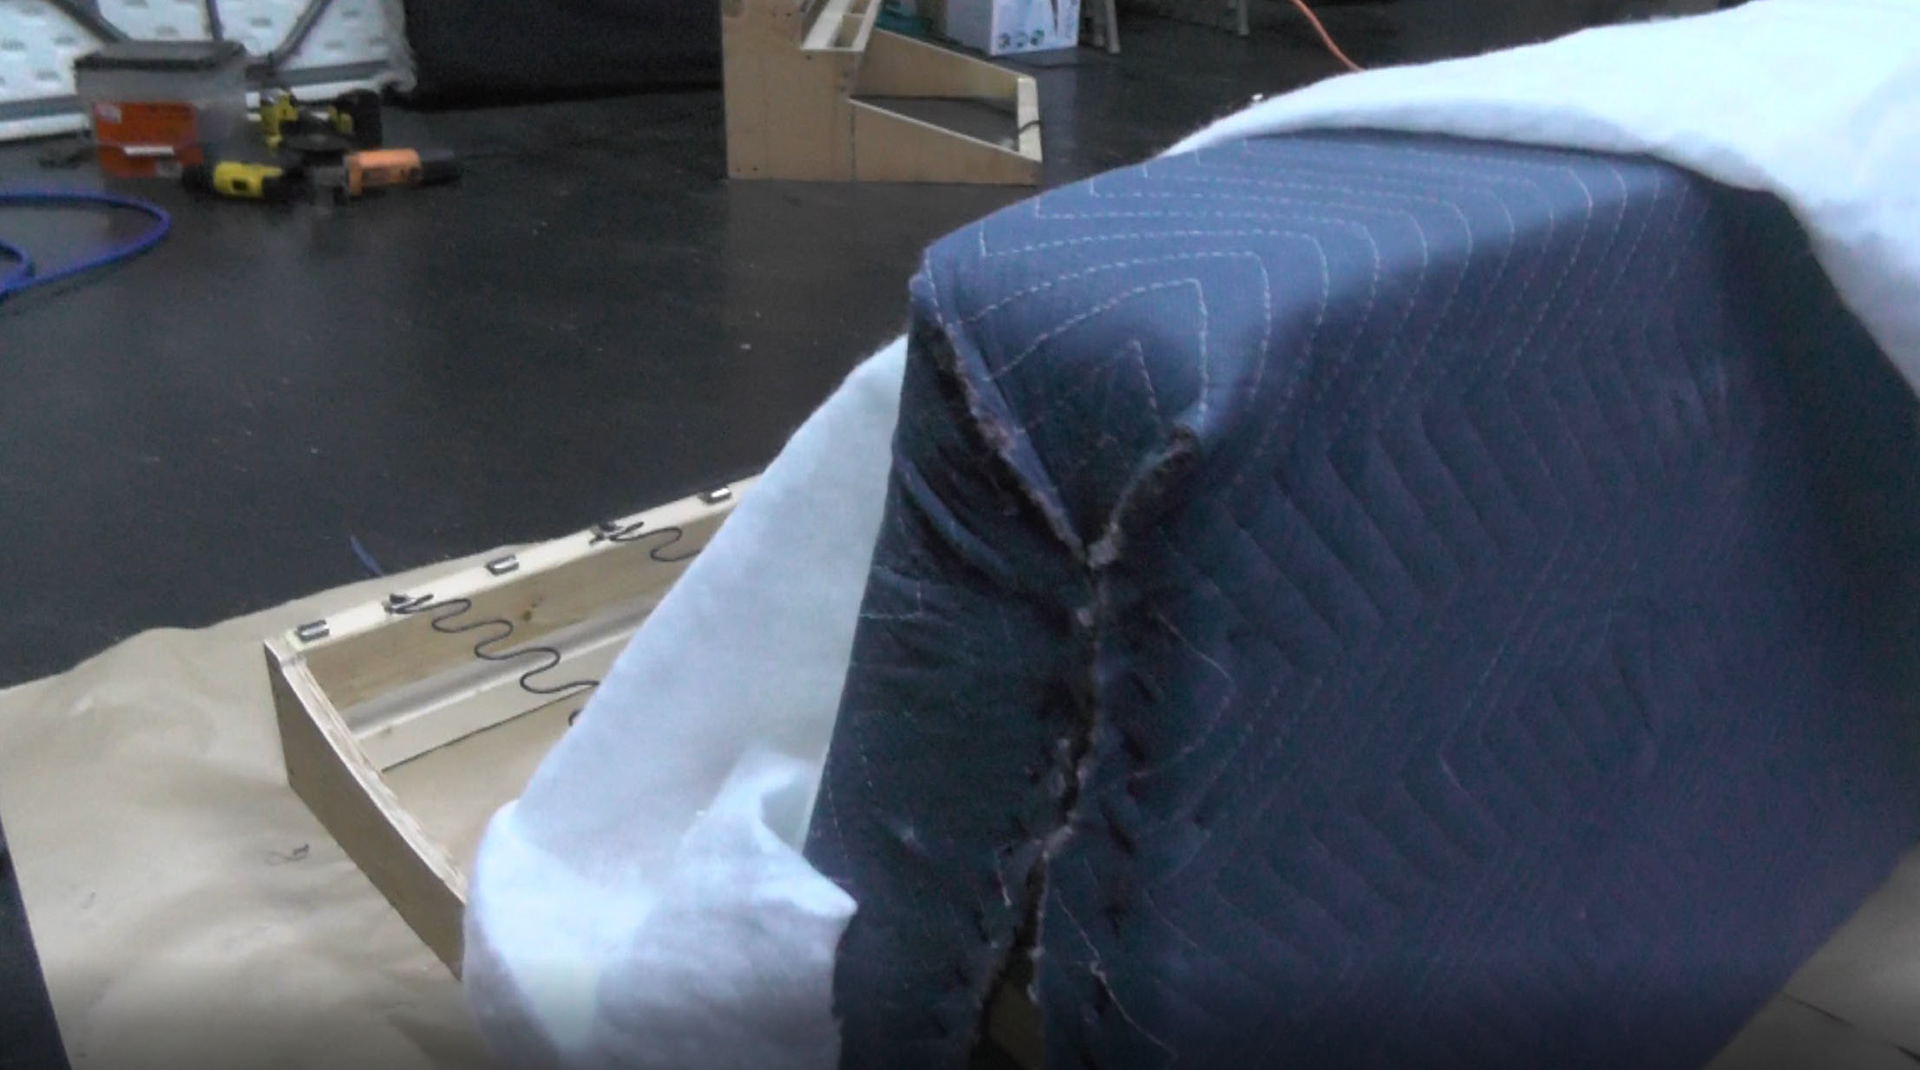
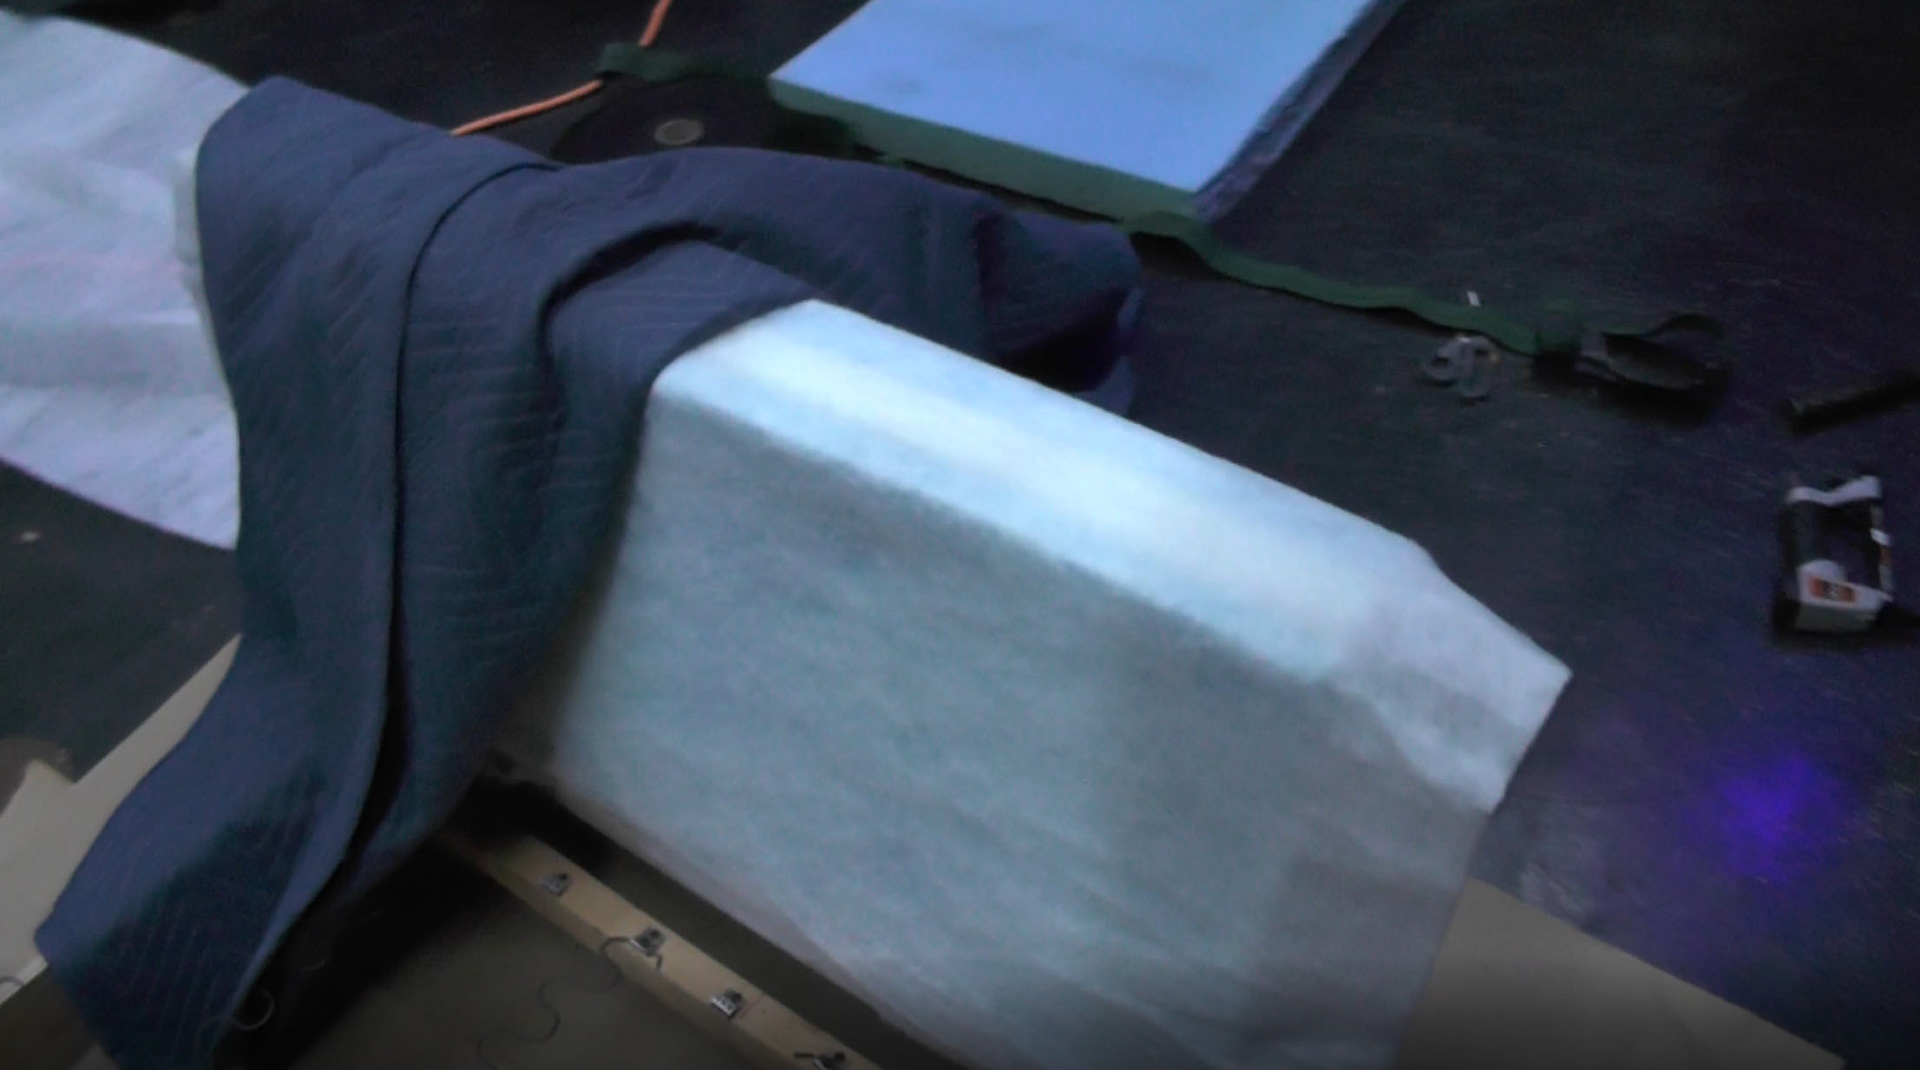
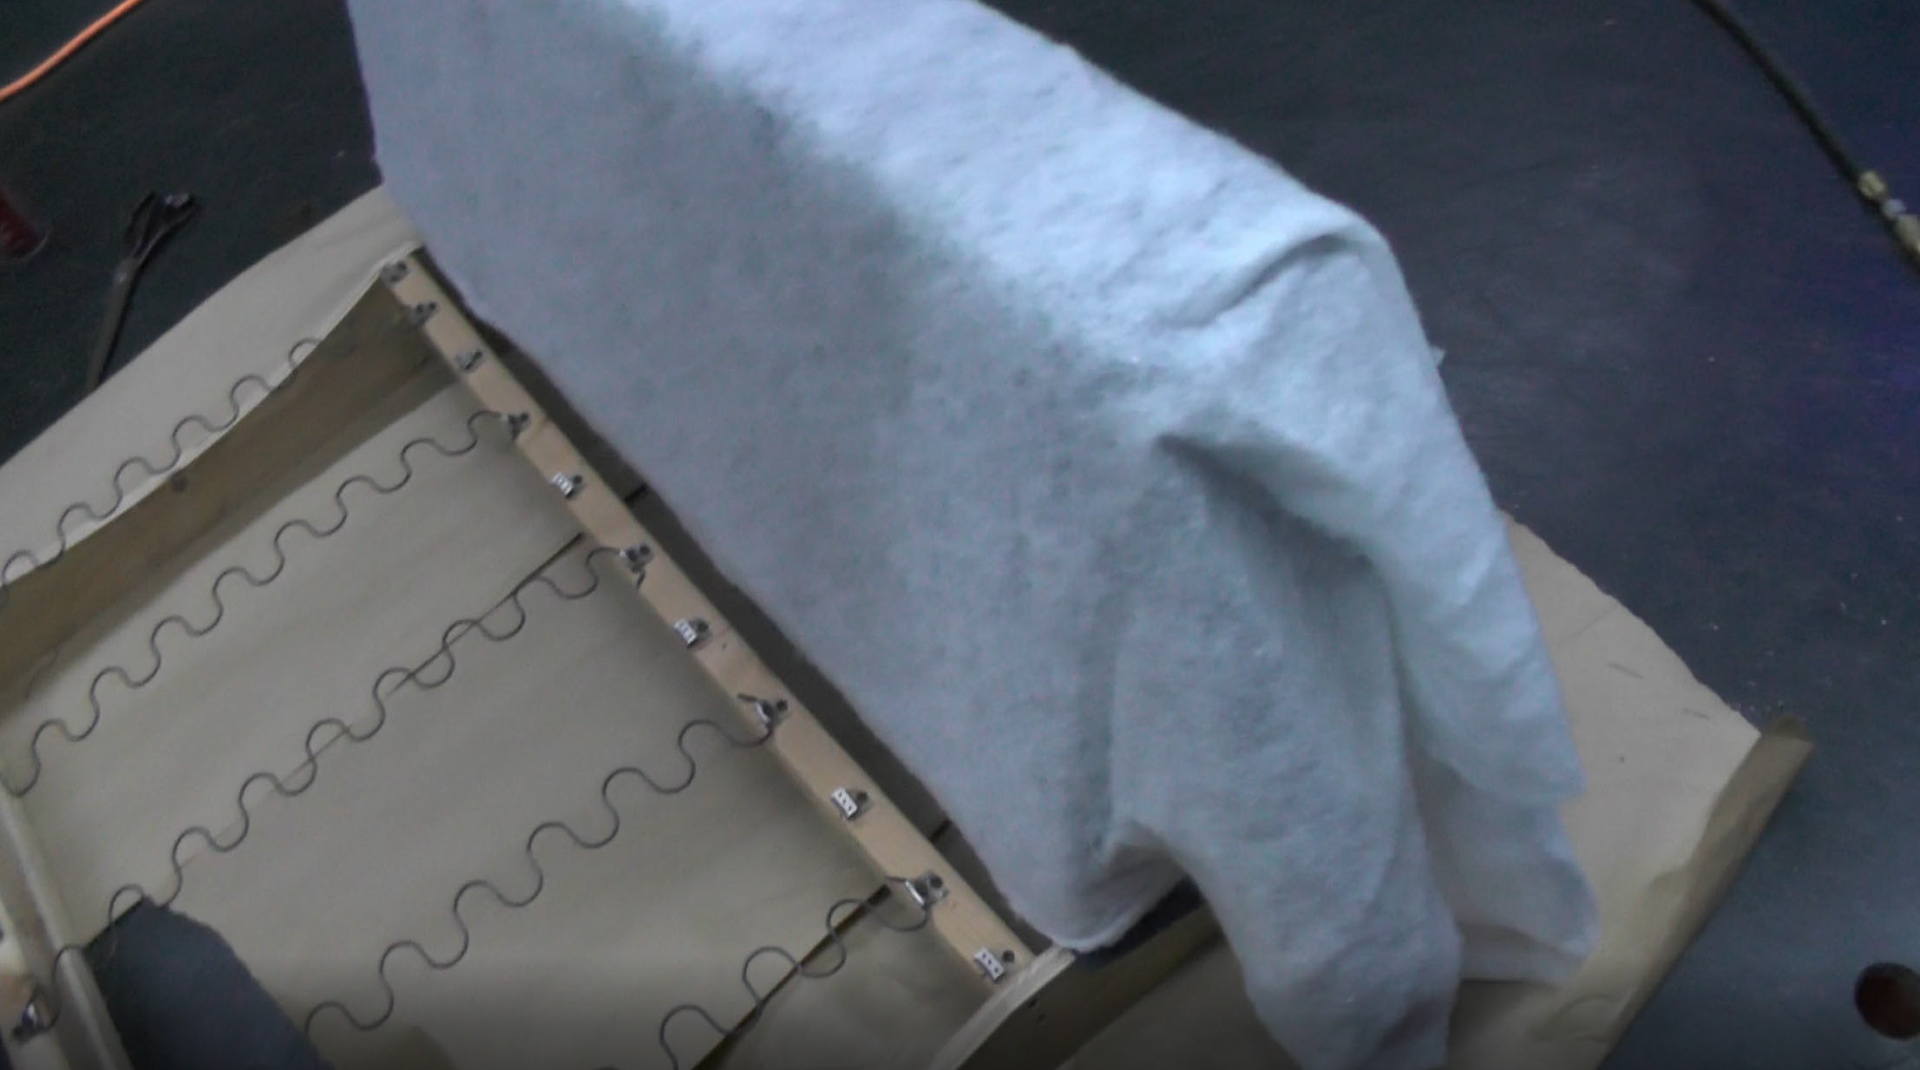
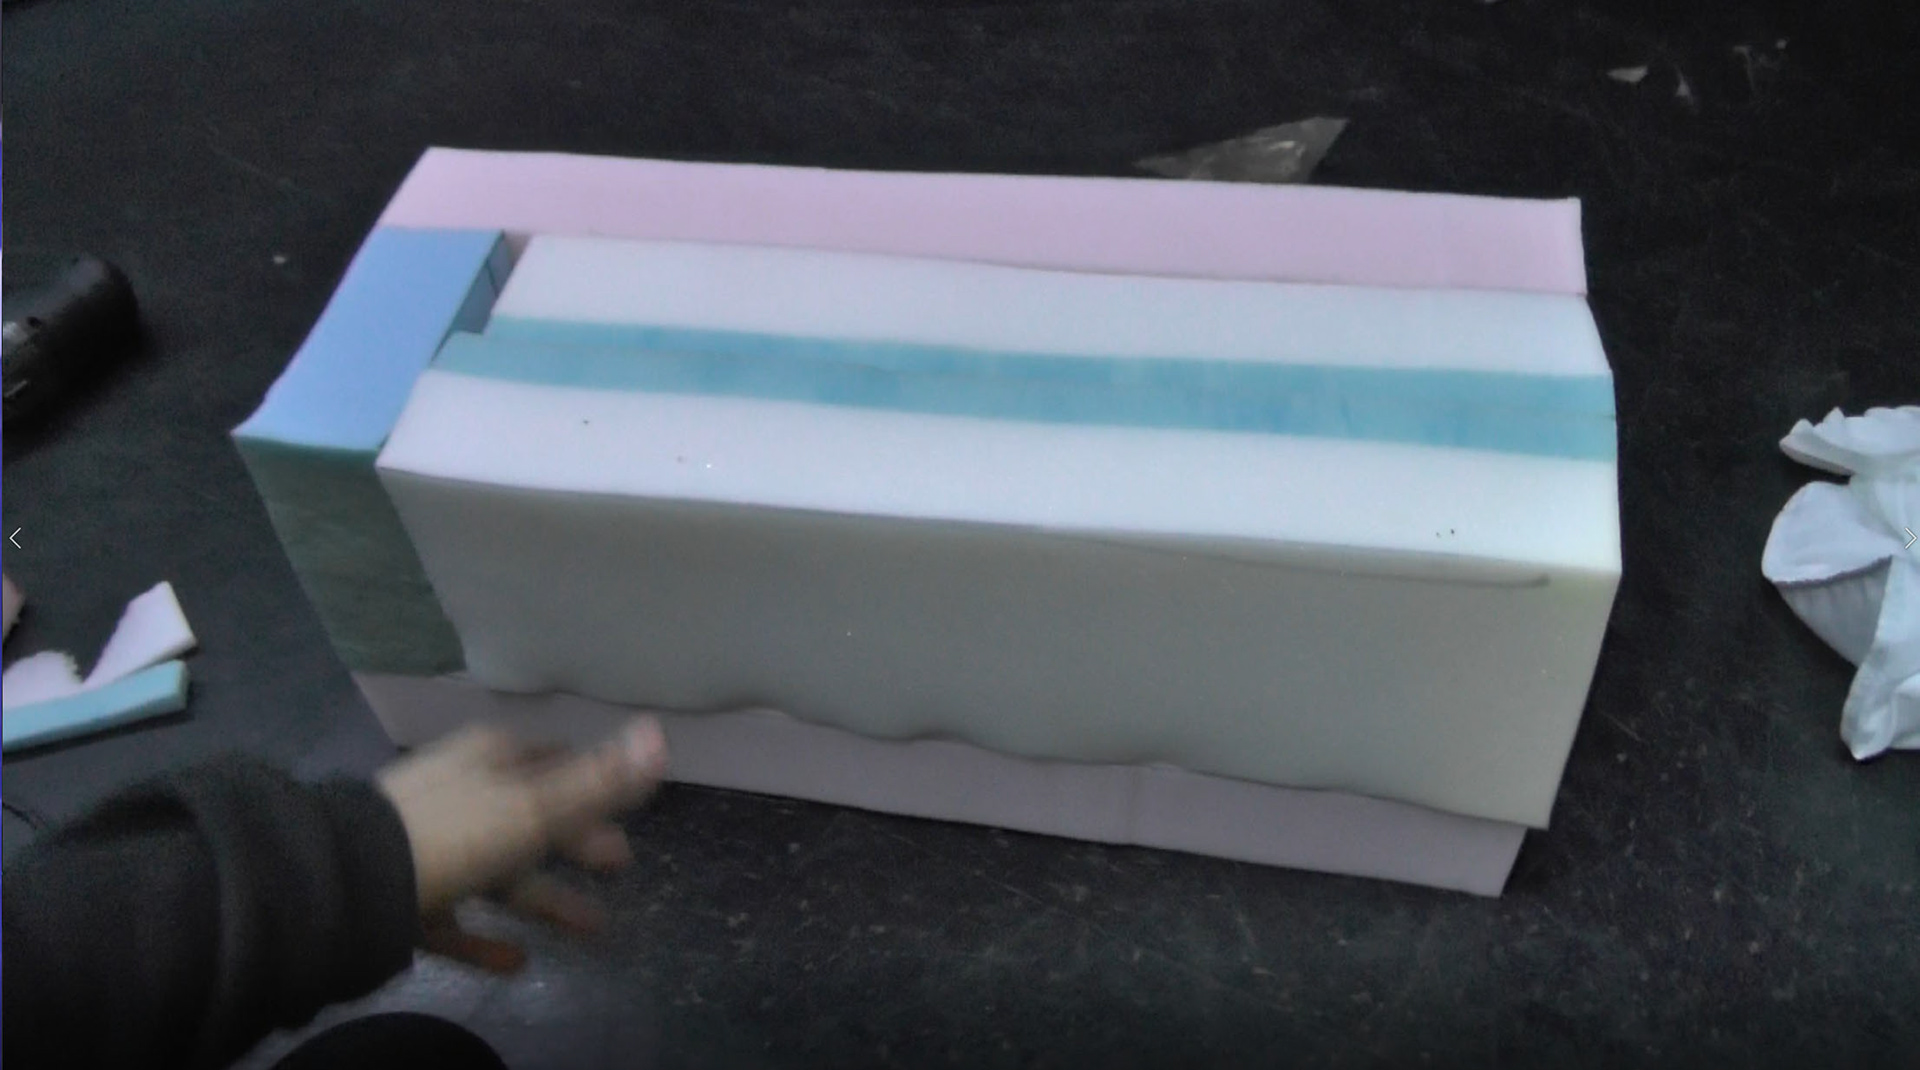
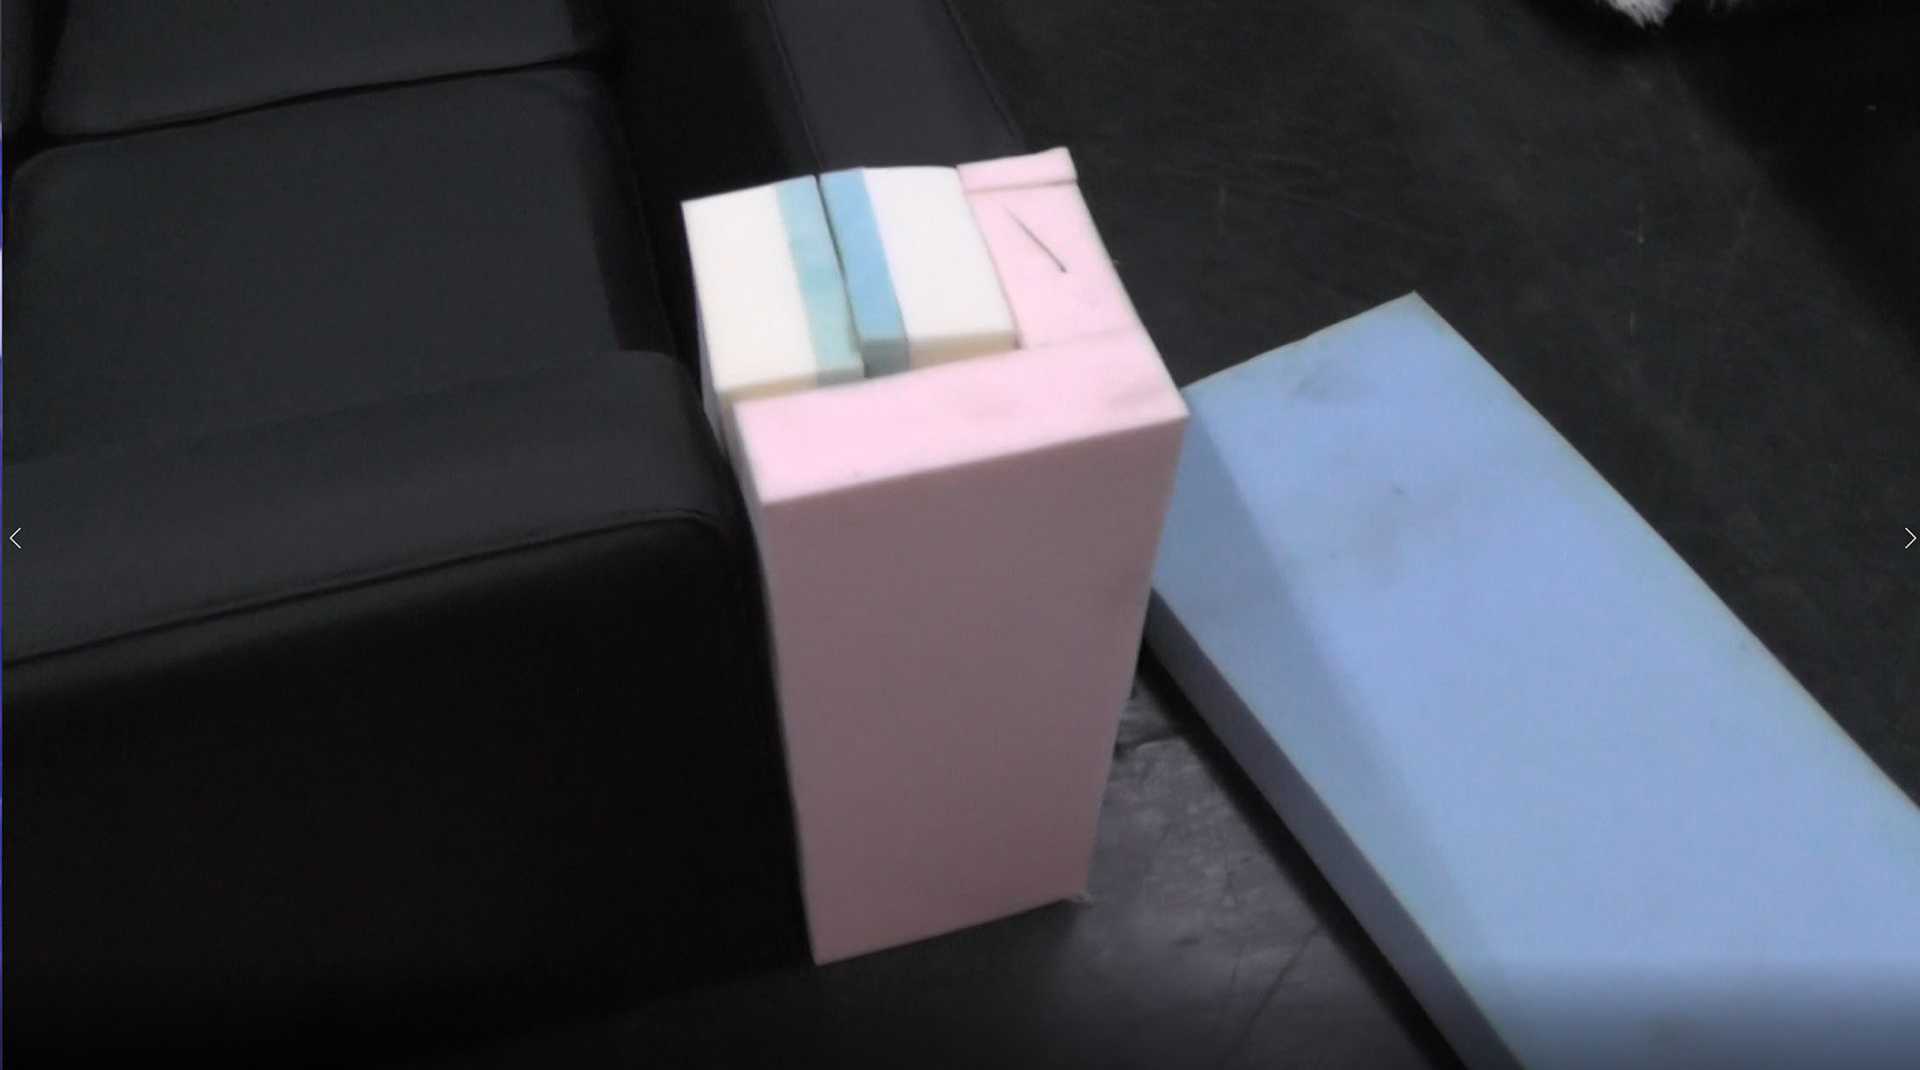
I decided to use 1" of memory foam on top of regular upholstery foam with a high density strip across the back. After gluing the foam in place, I stapled and glued a layer of moving blanket and polyfil sheet on top of it to smooth everything out.
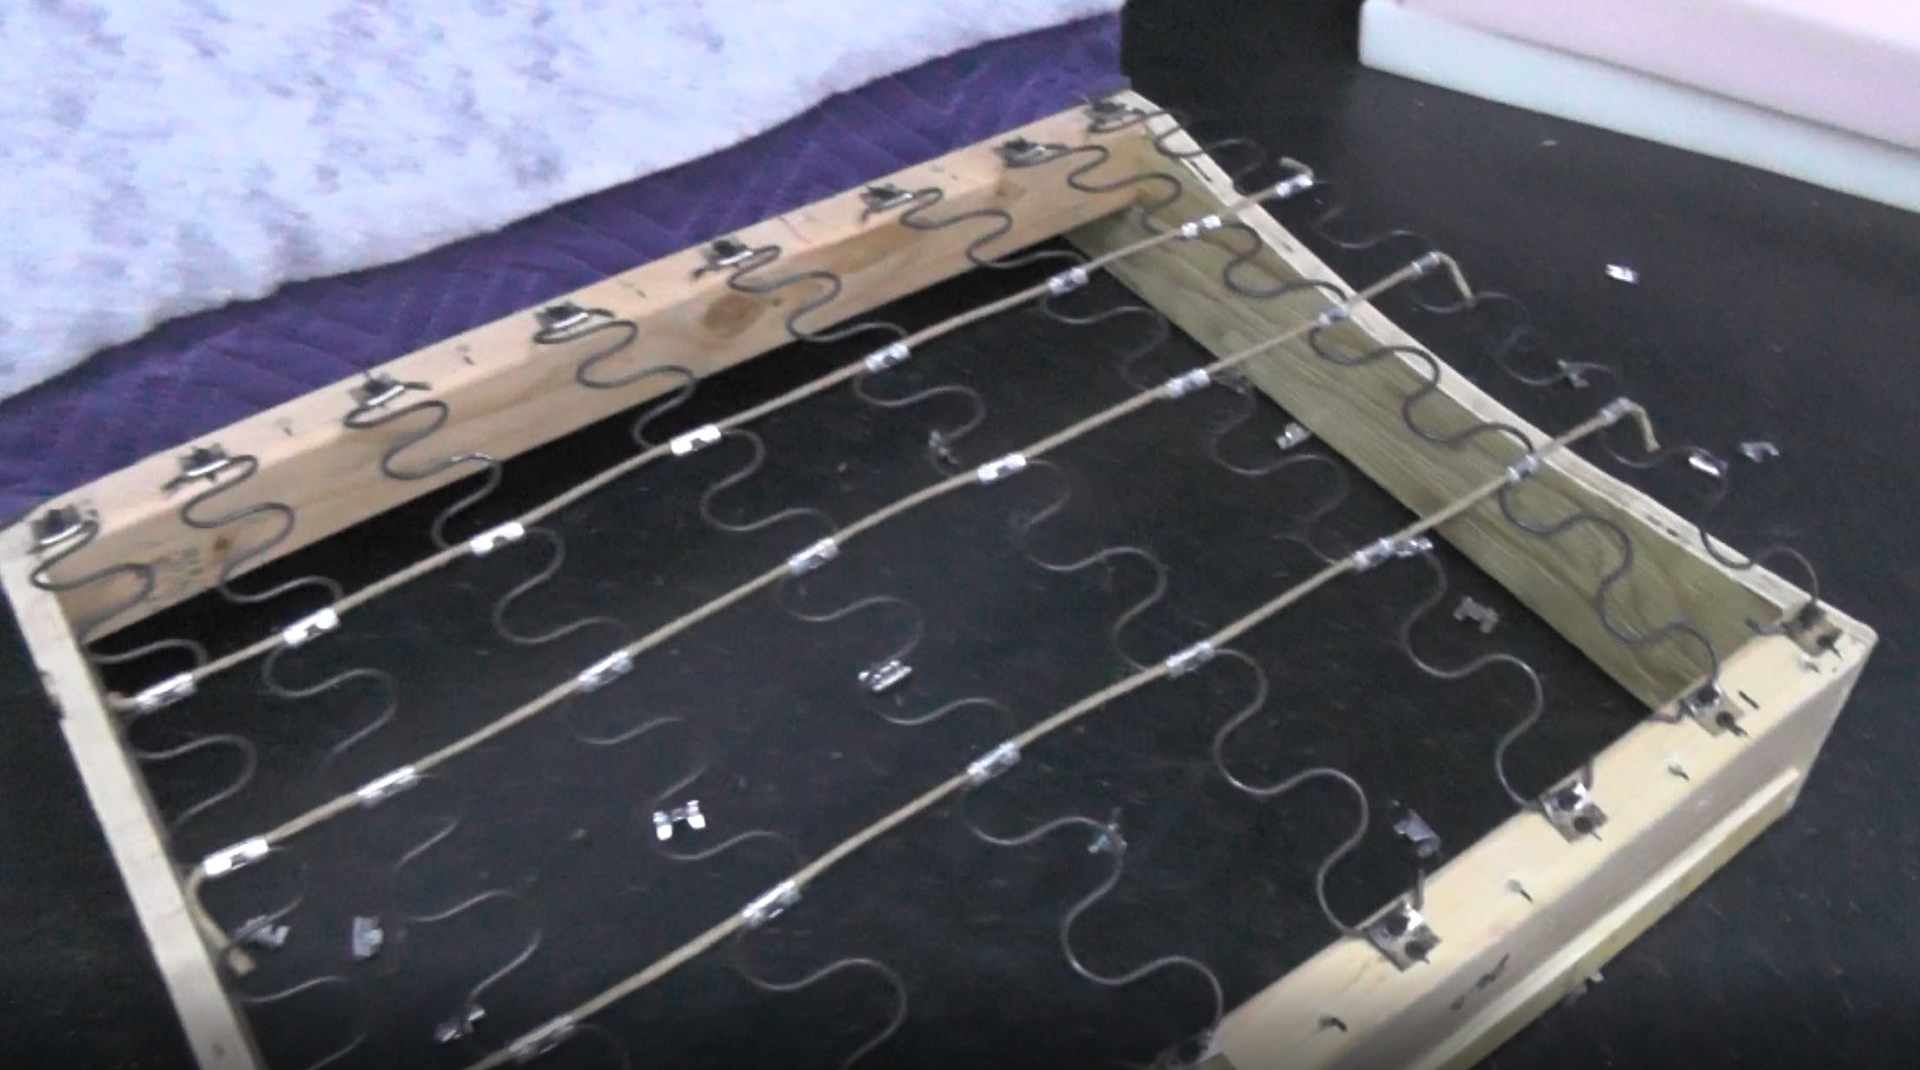
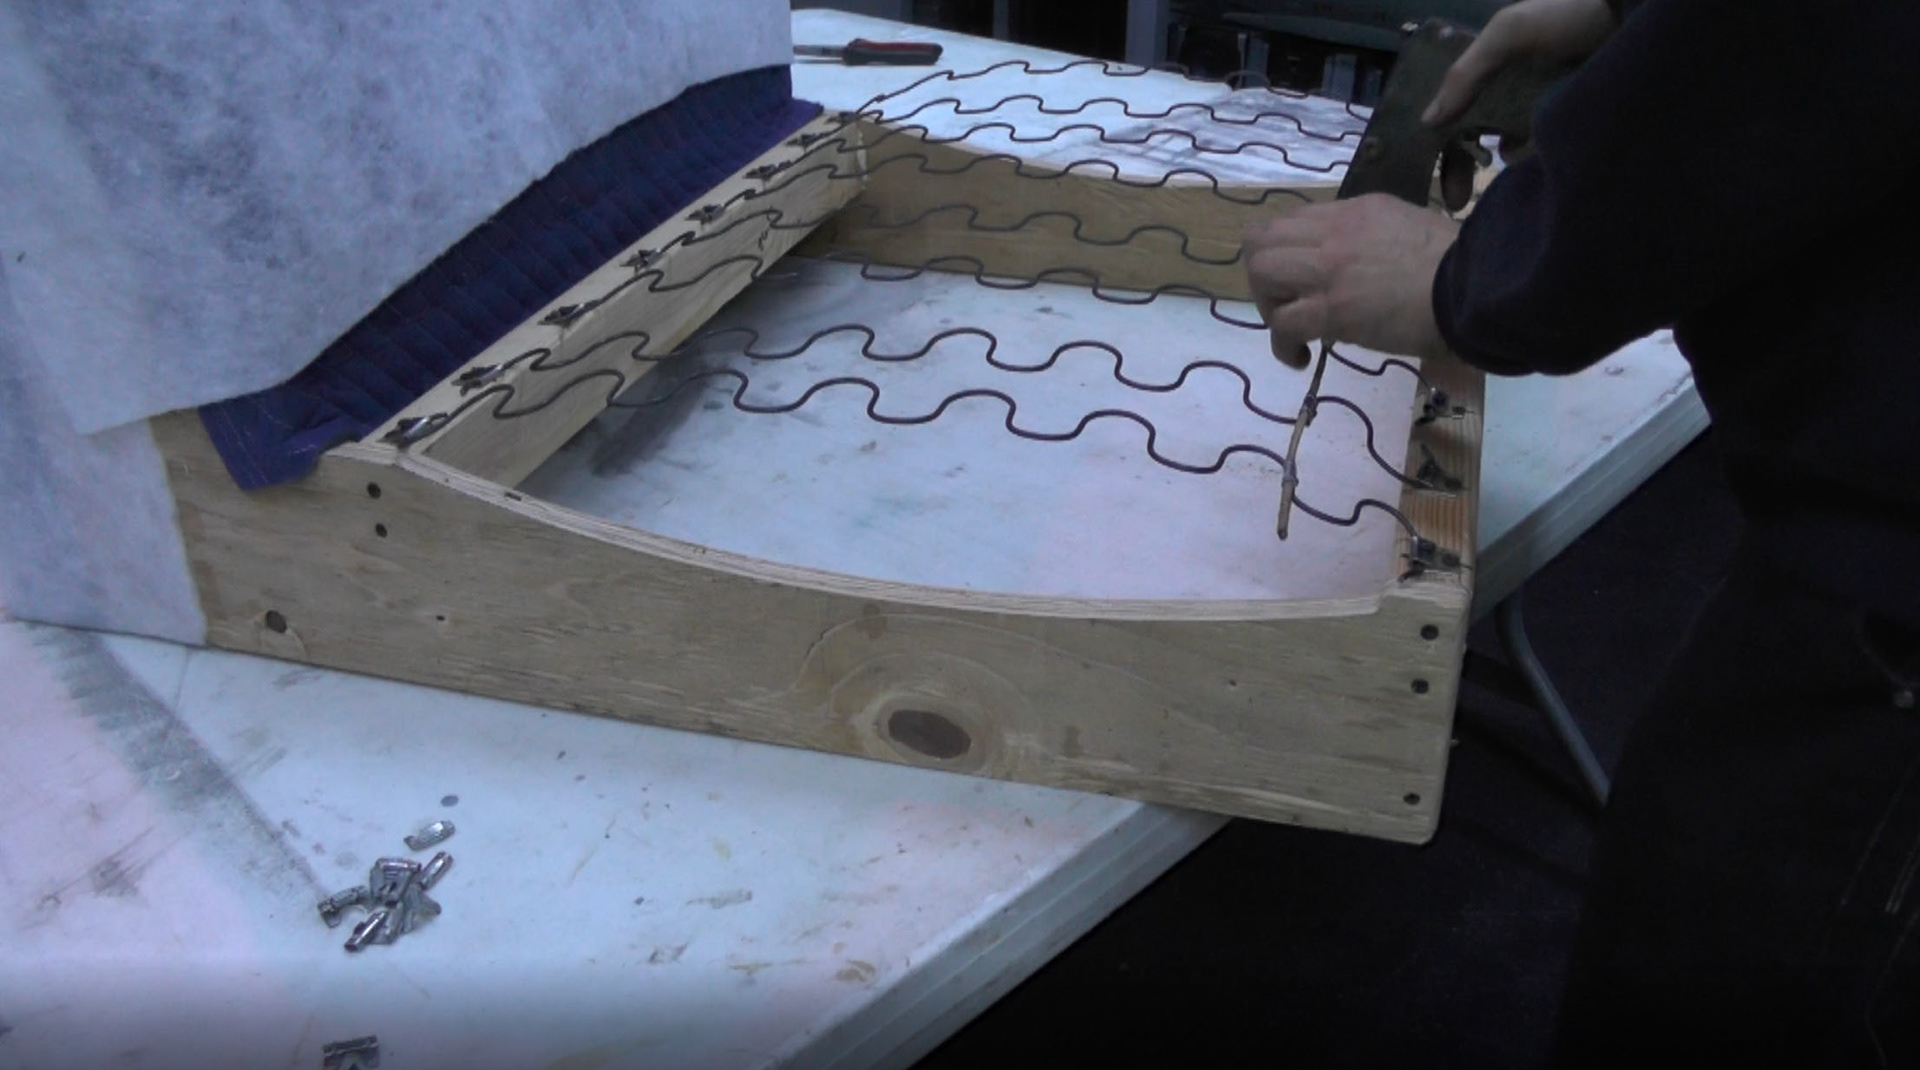
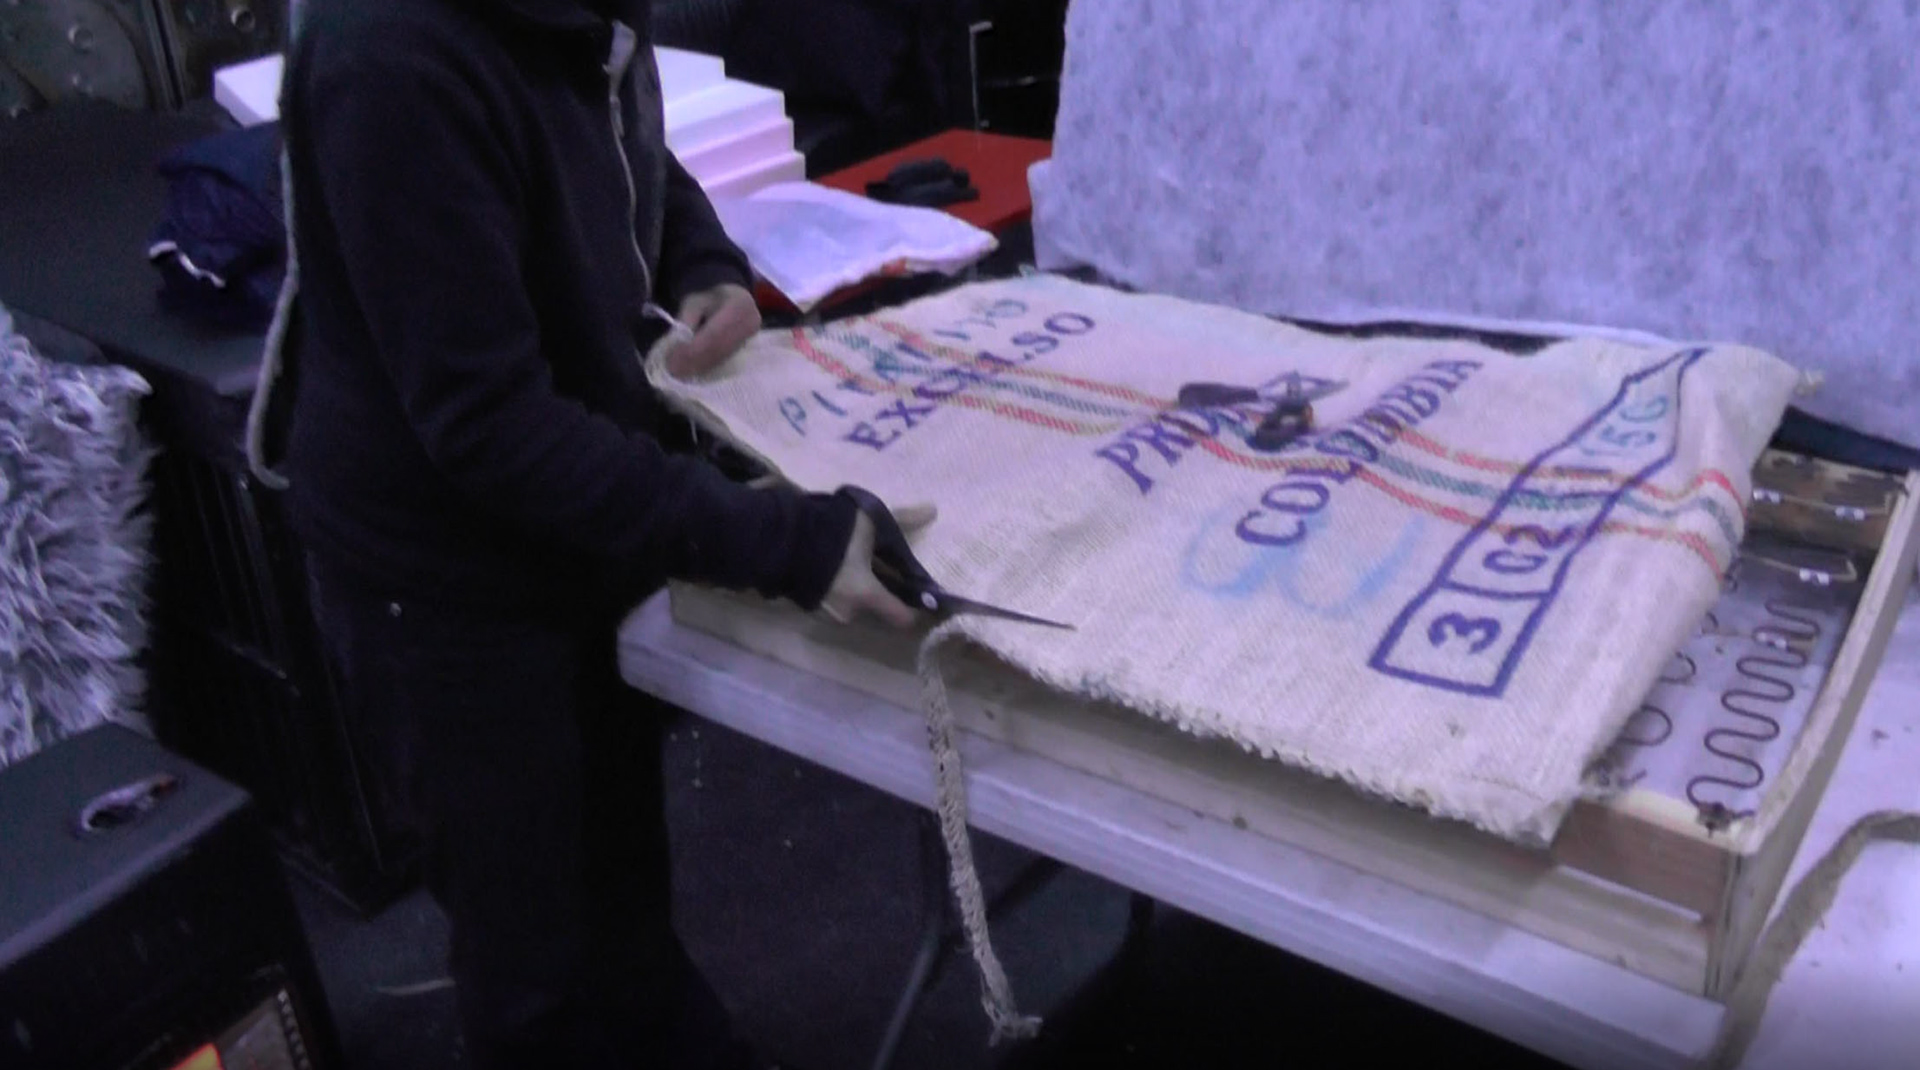
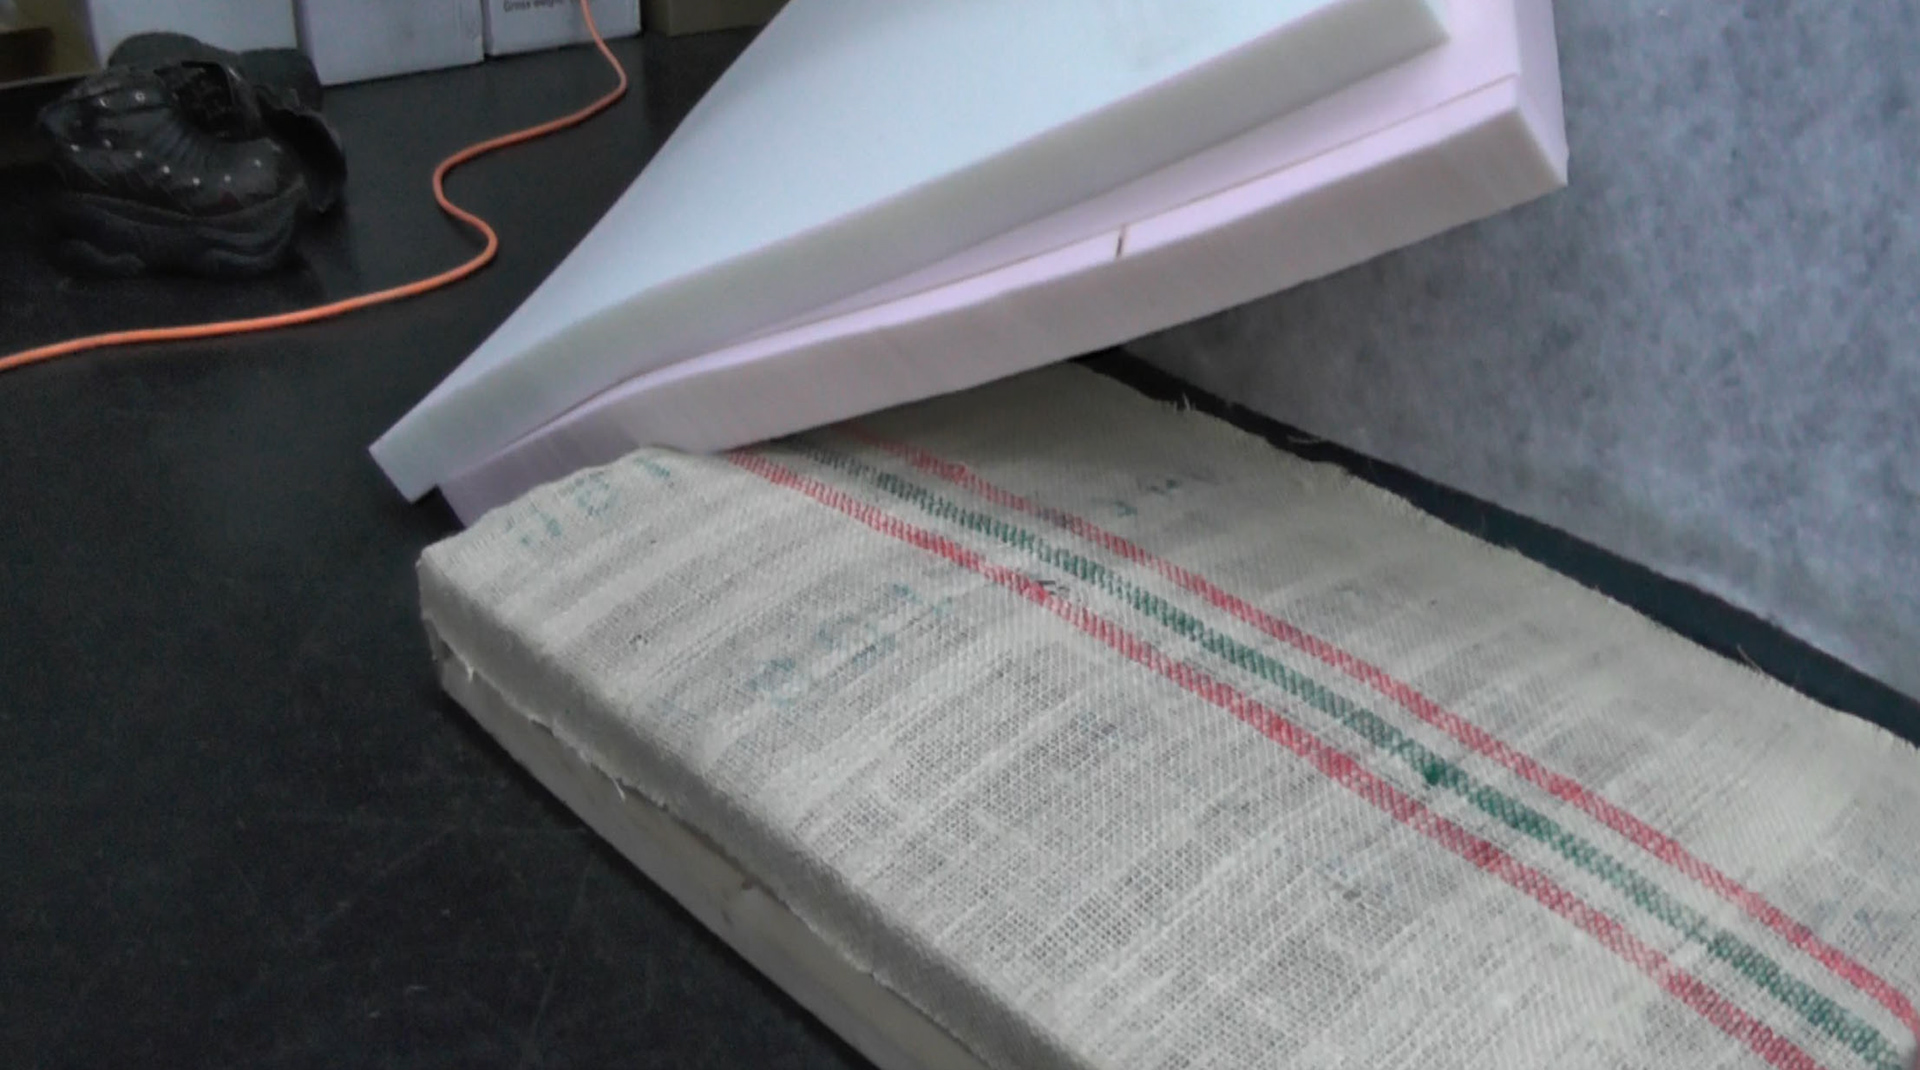
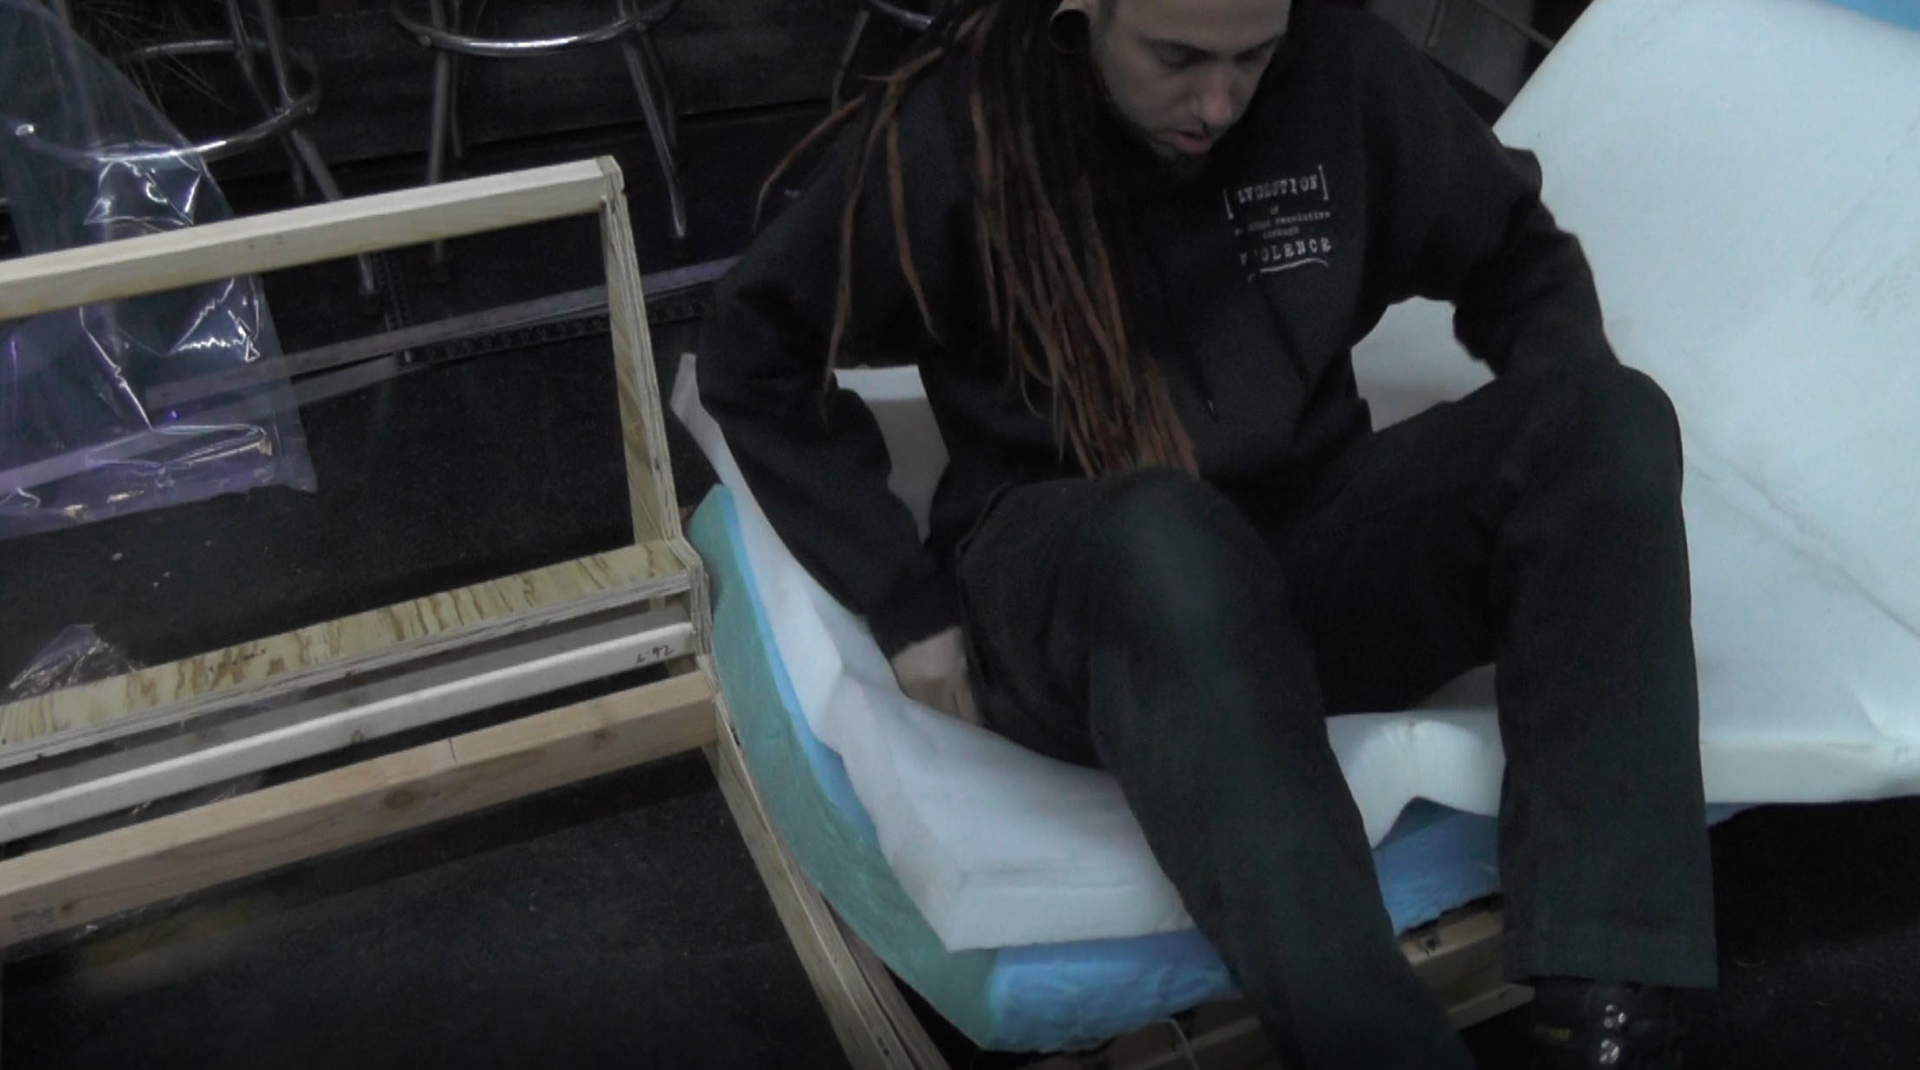
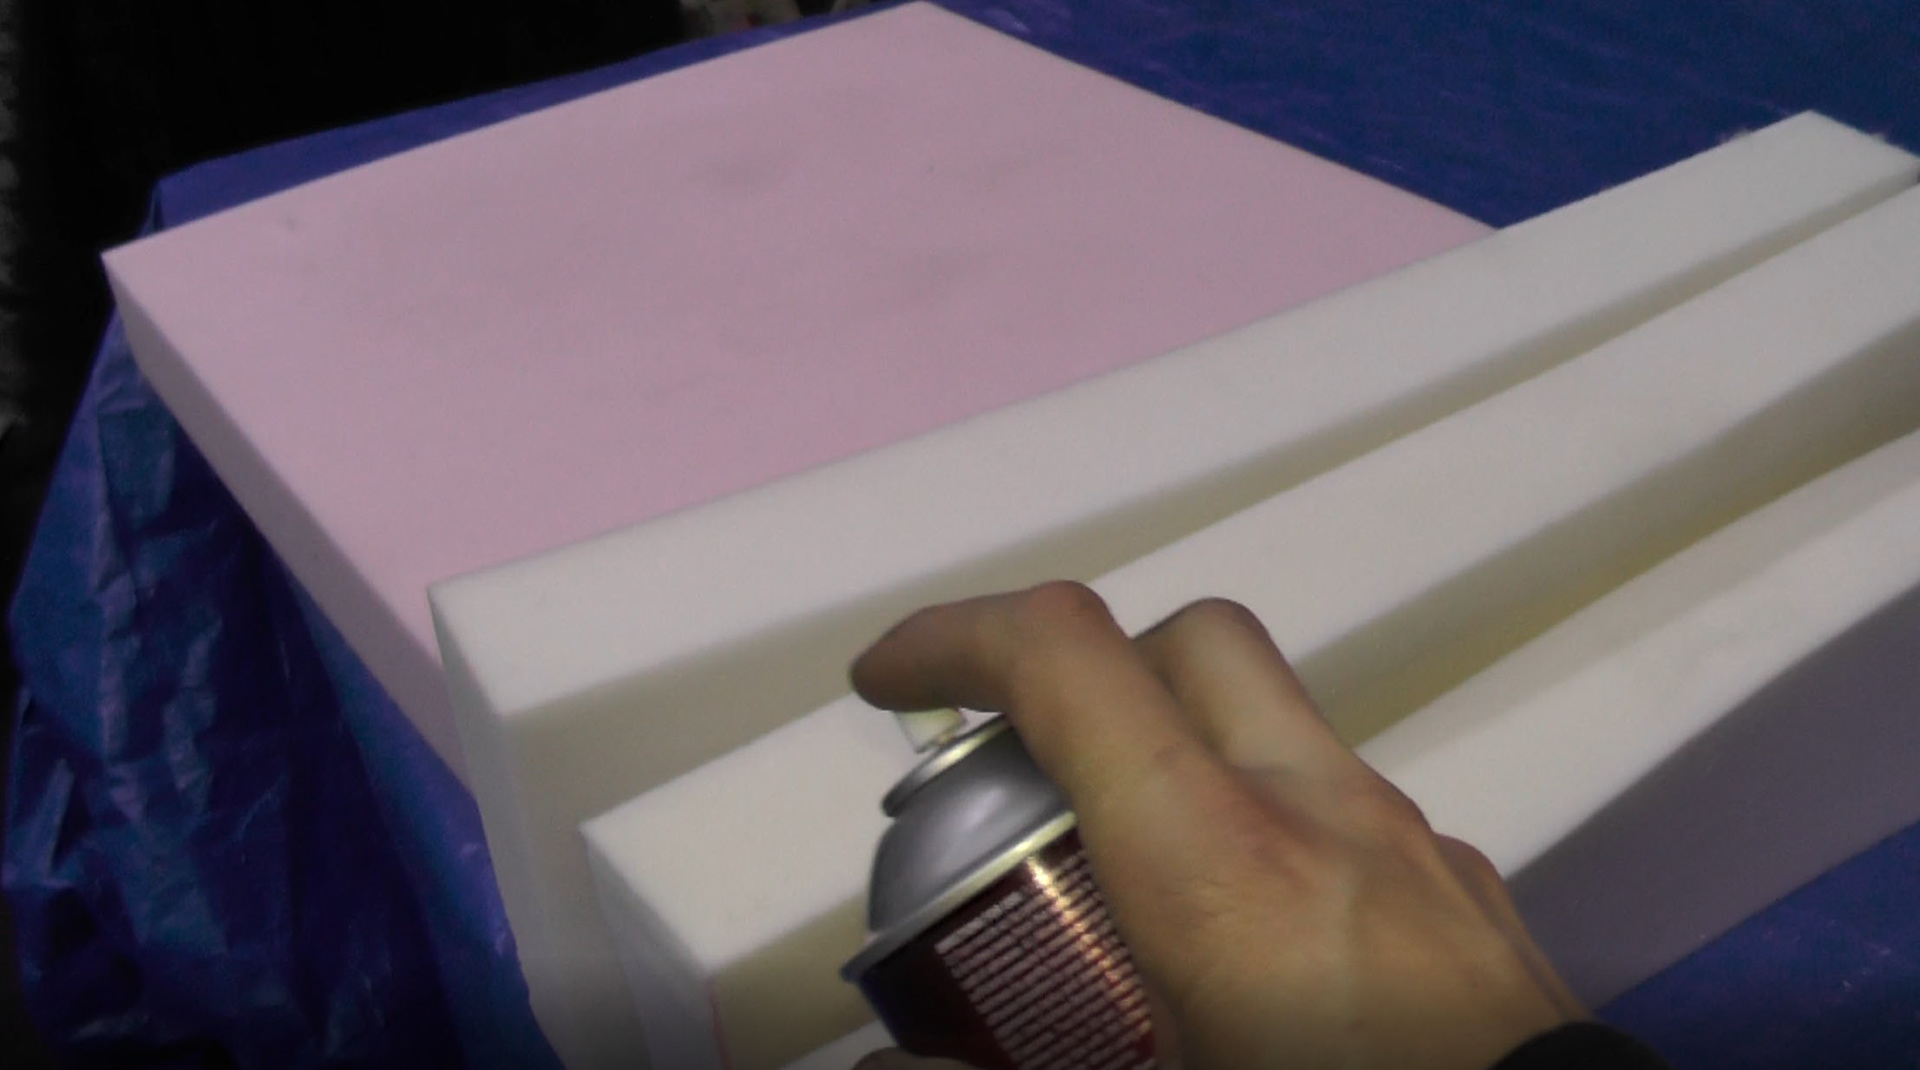
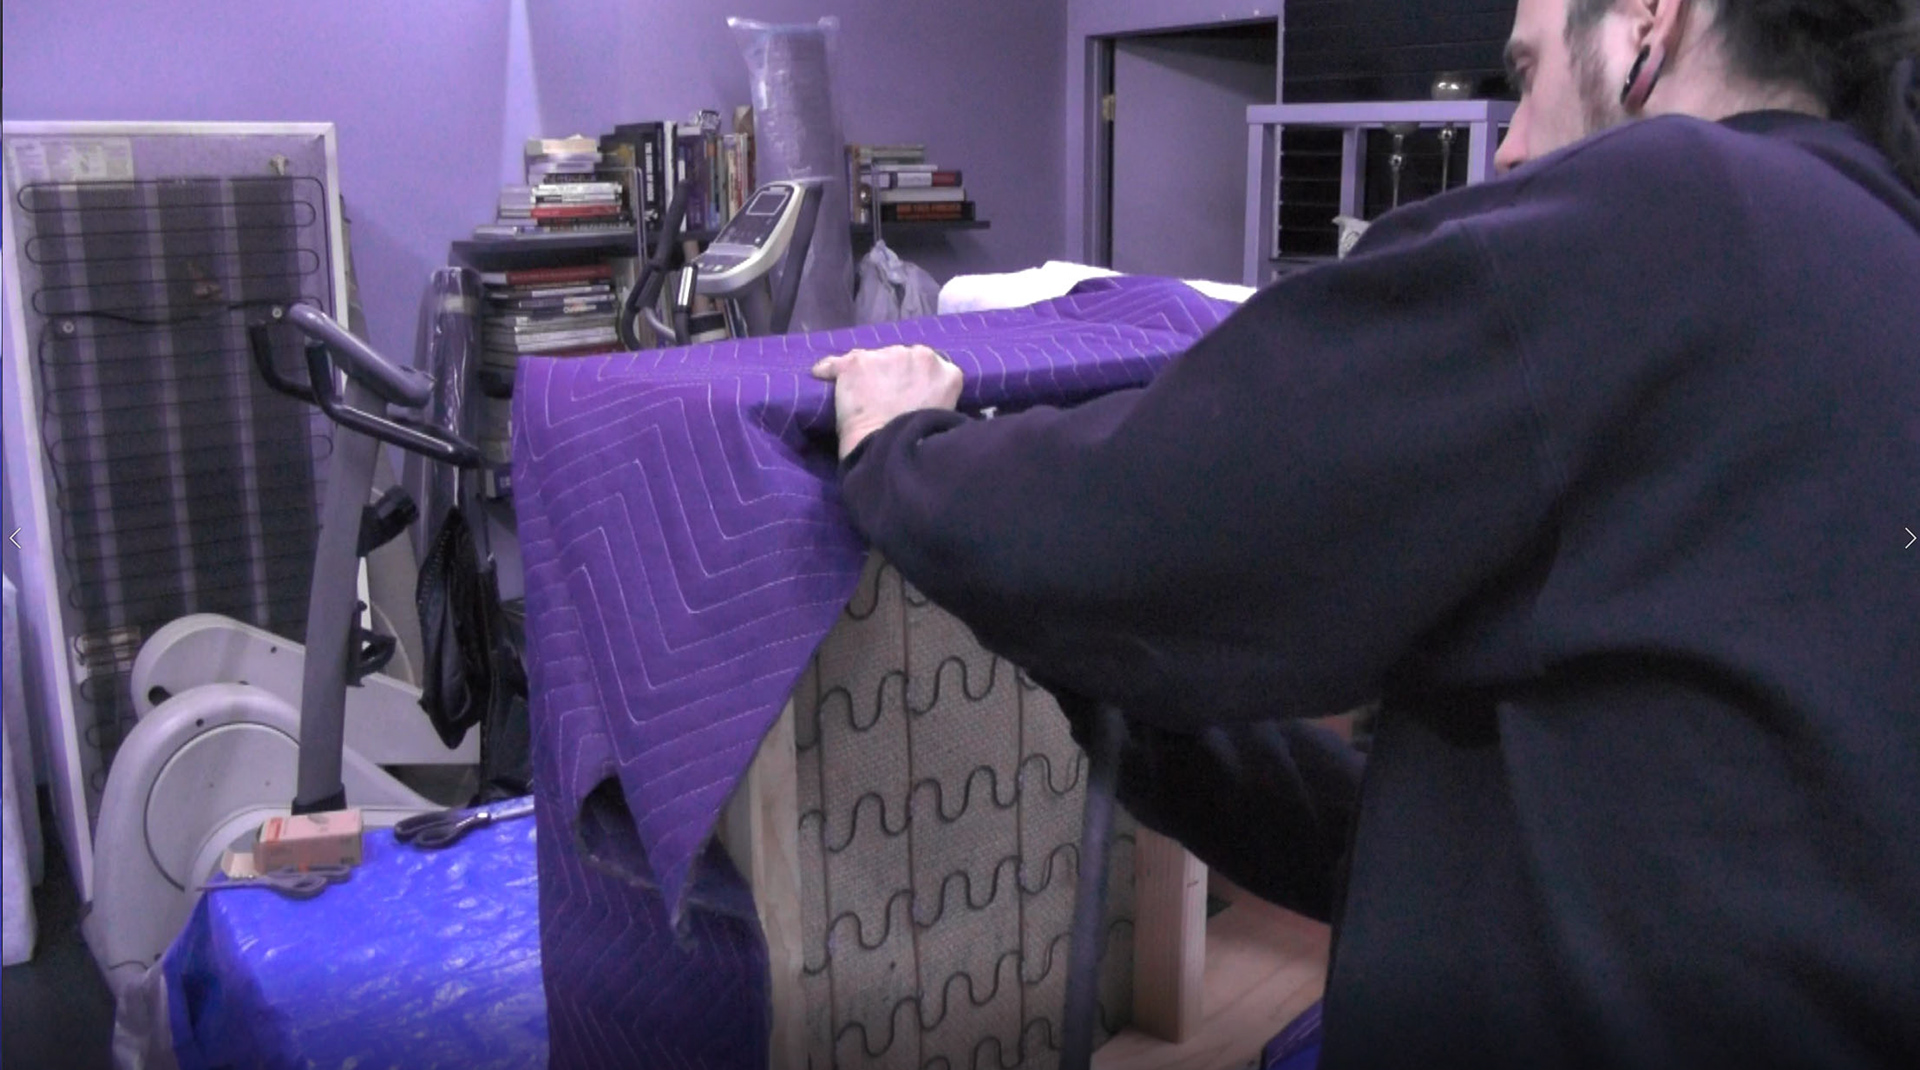
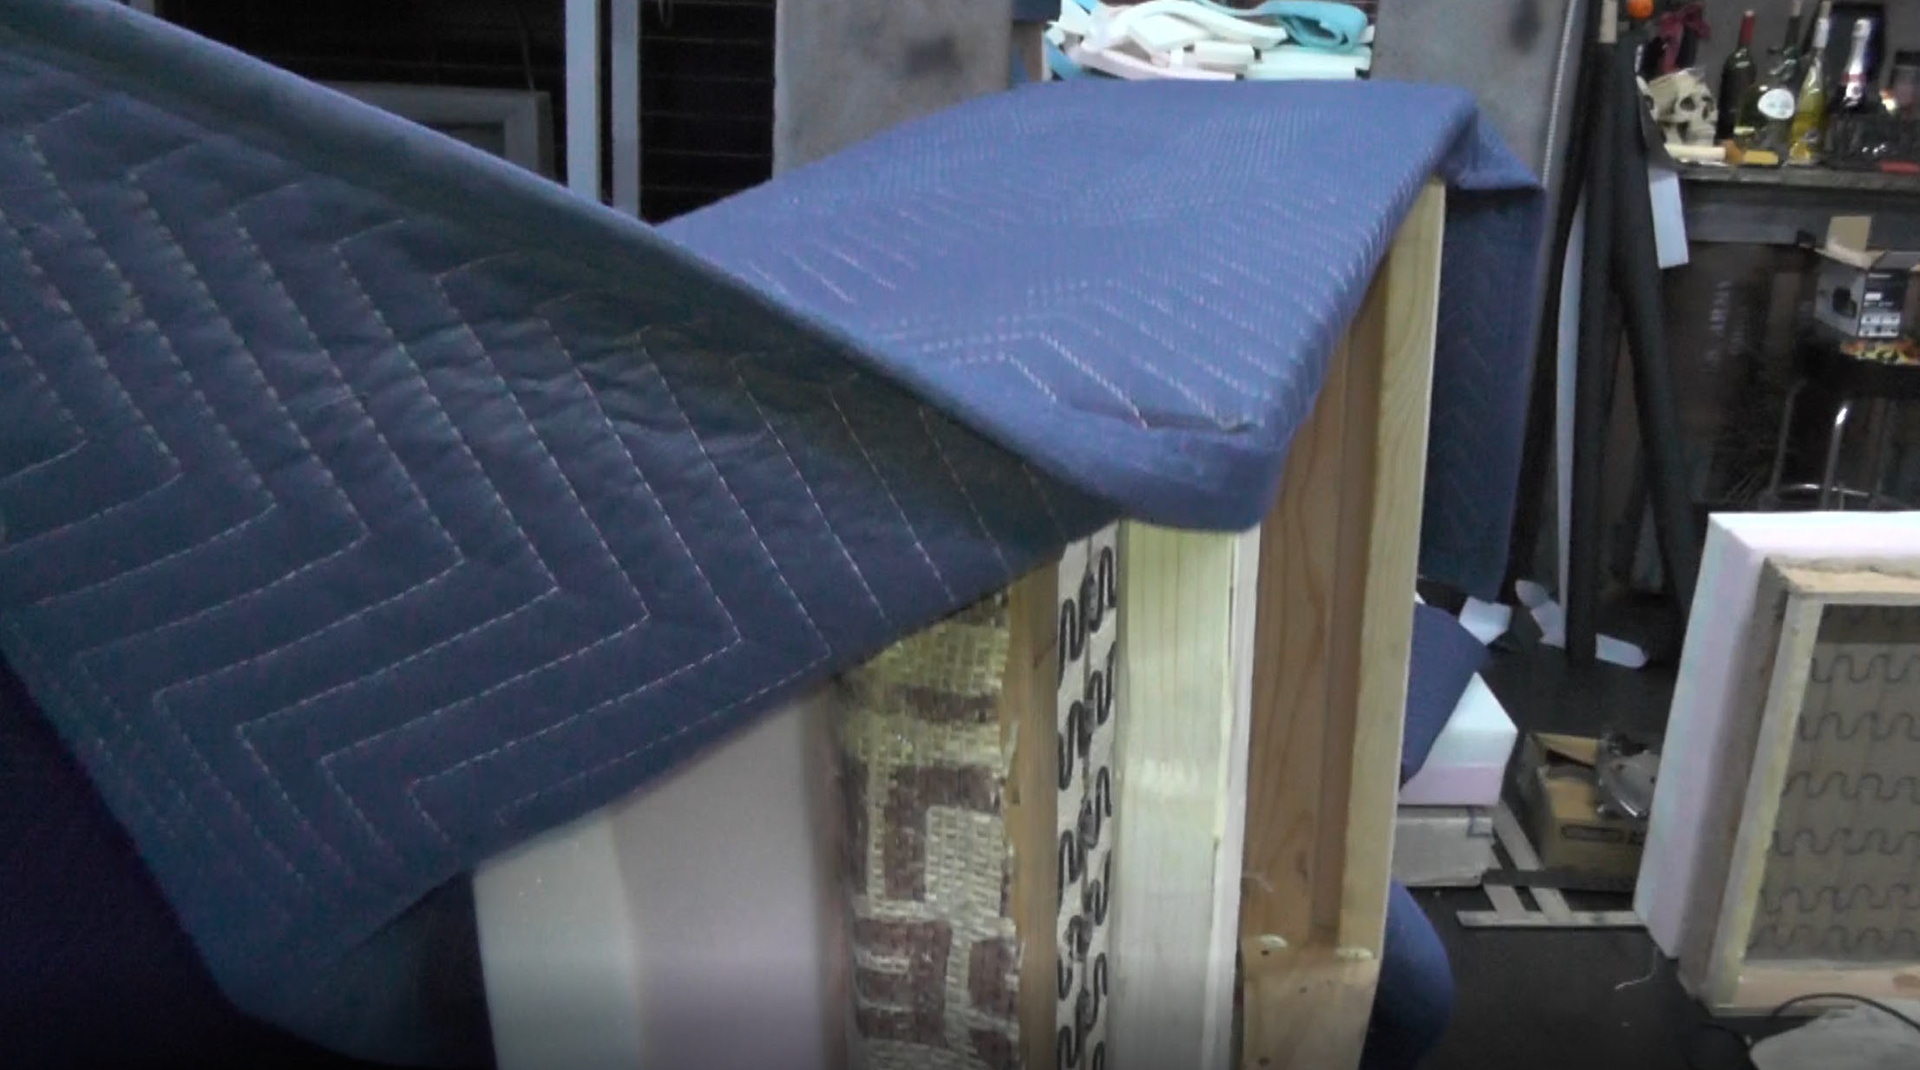
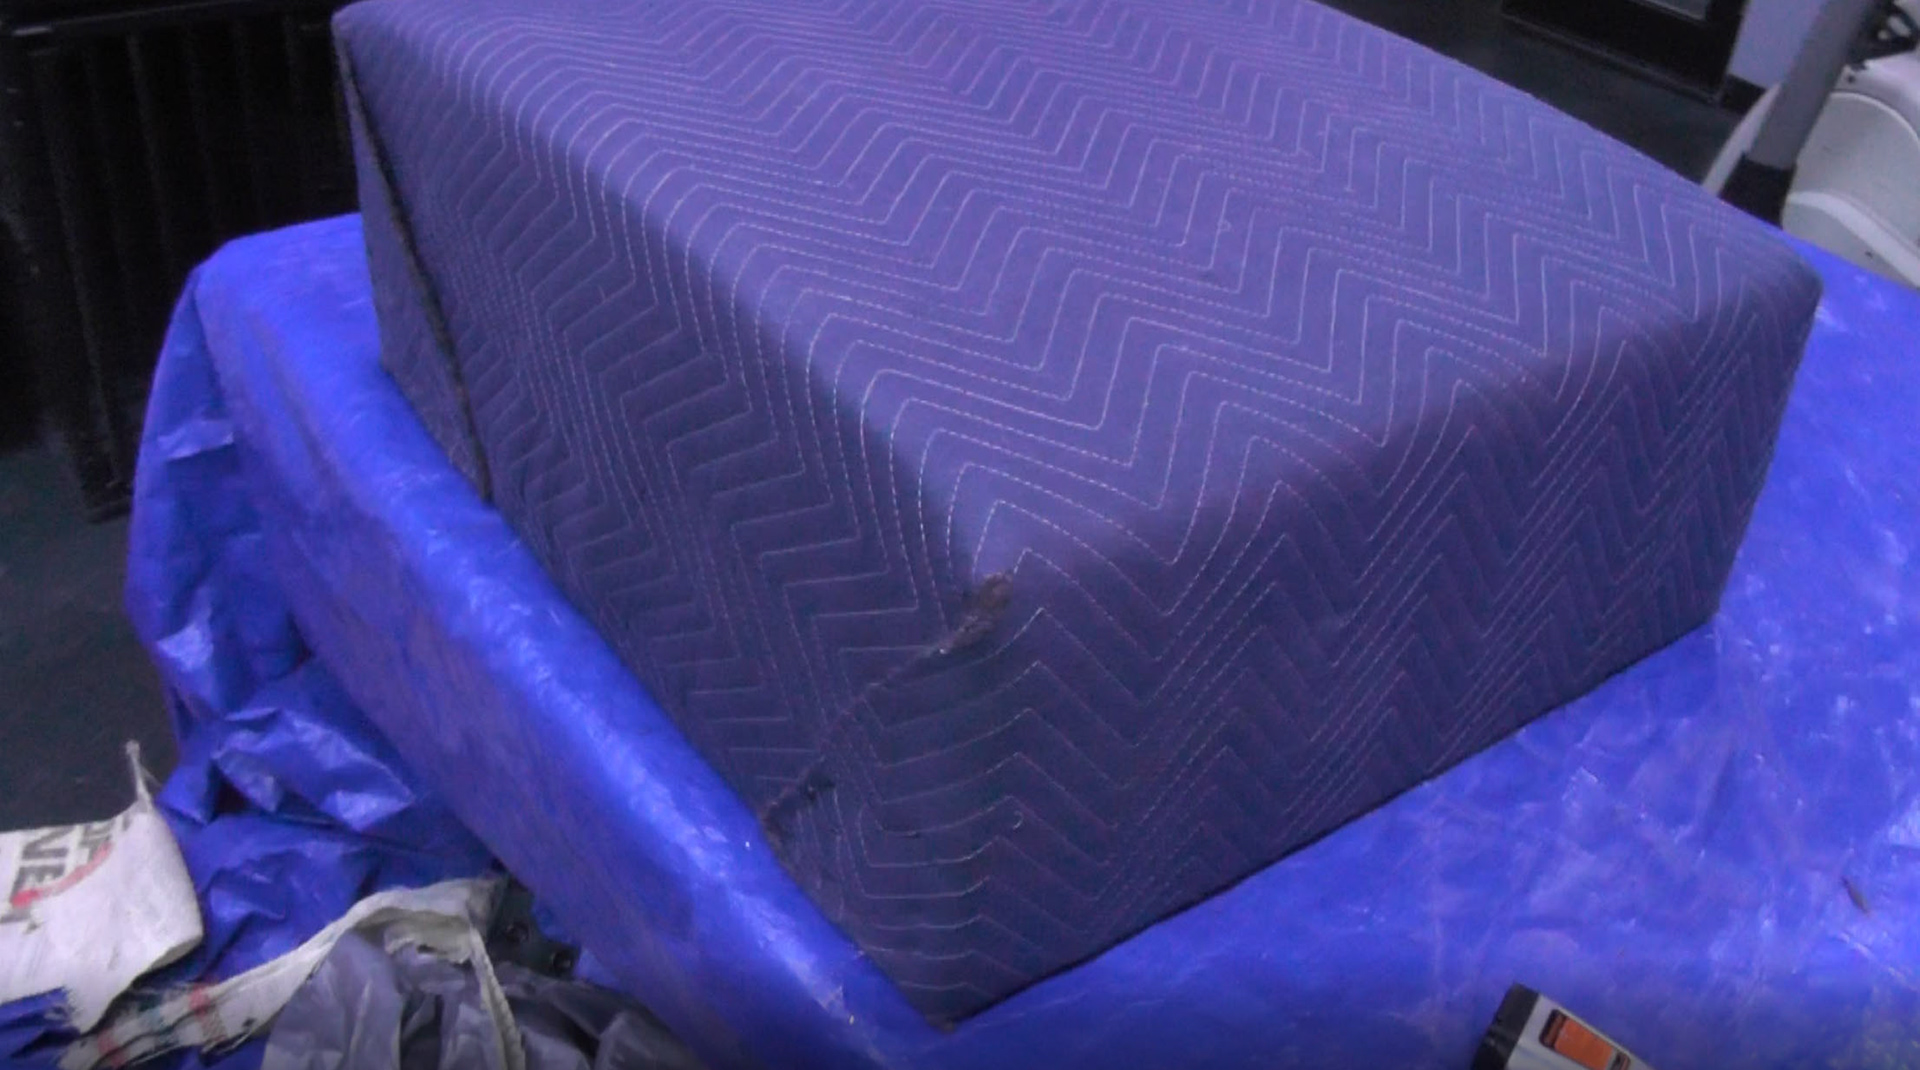
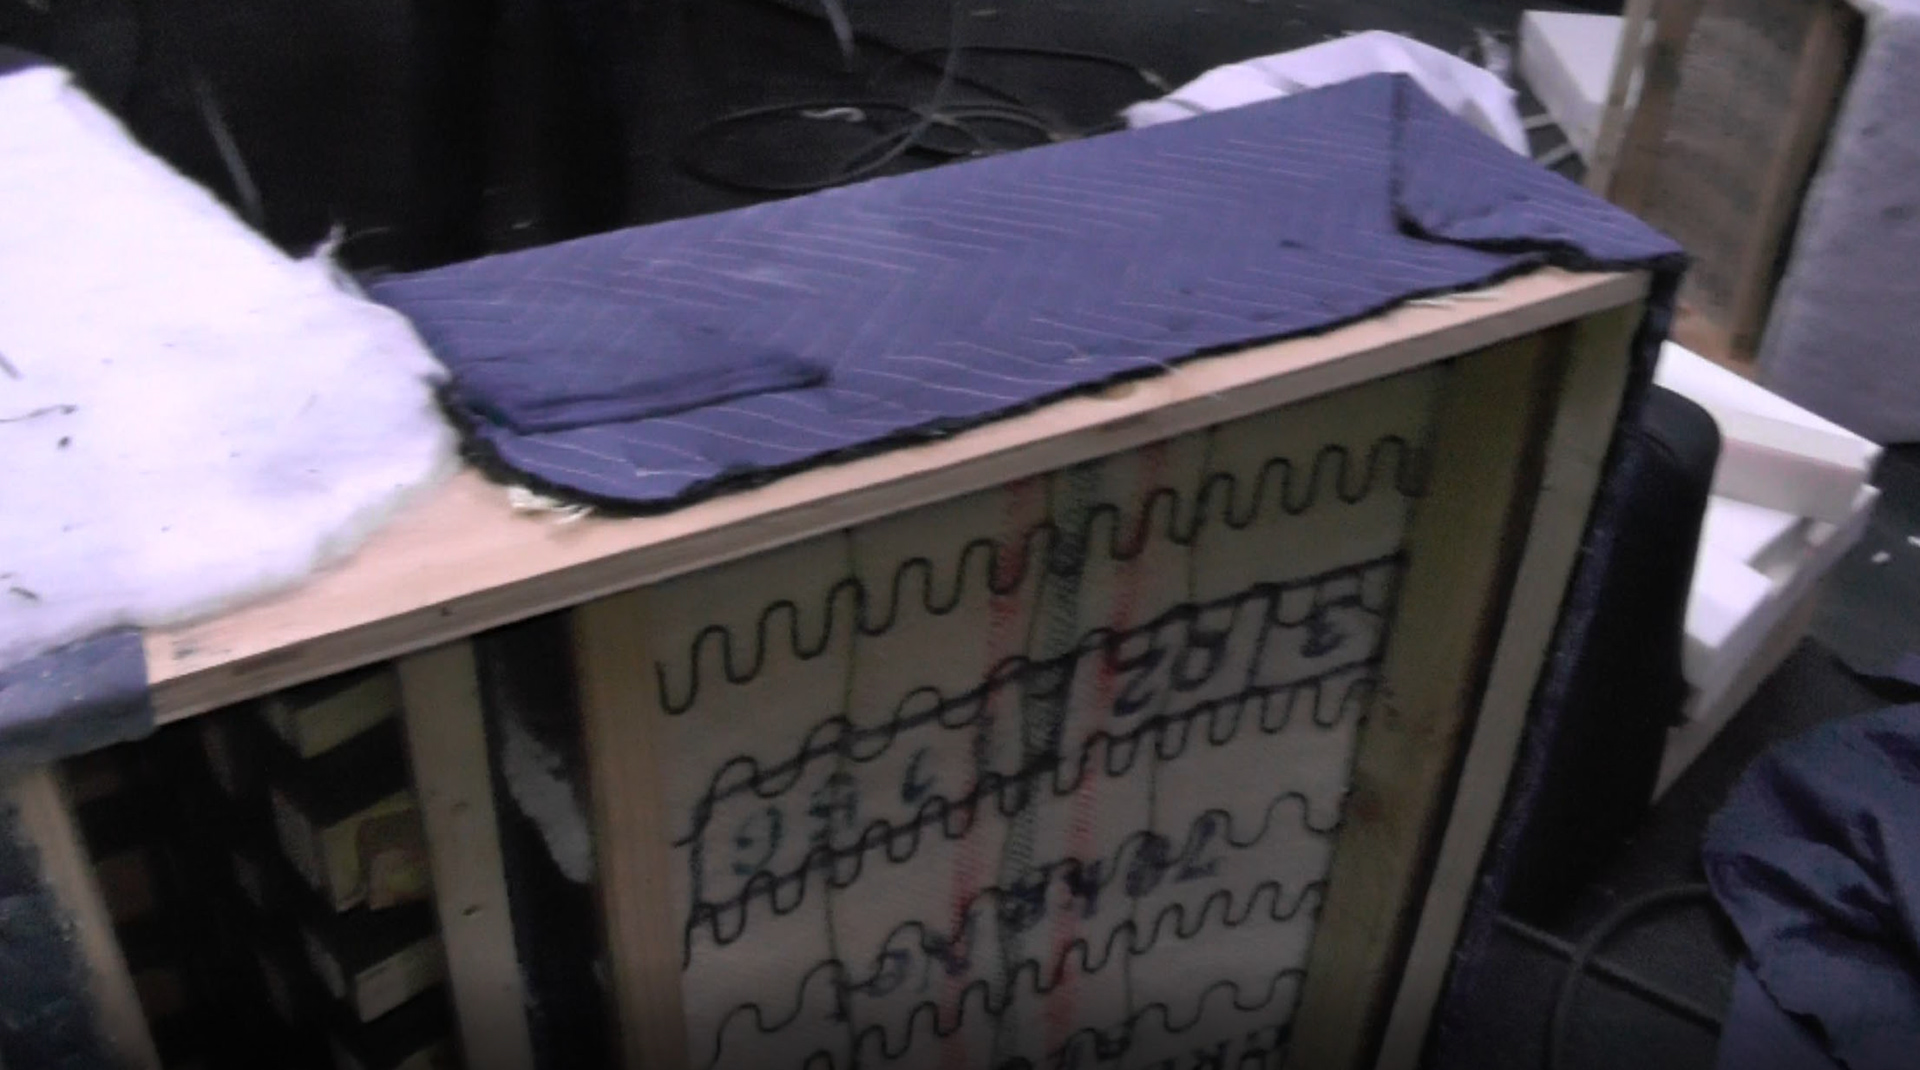
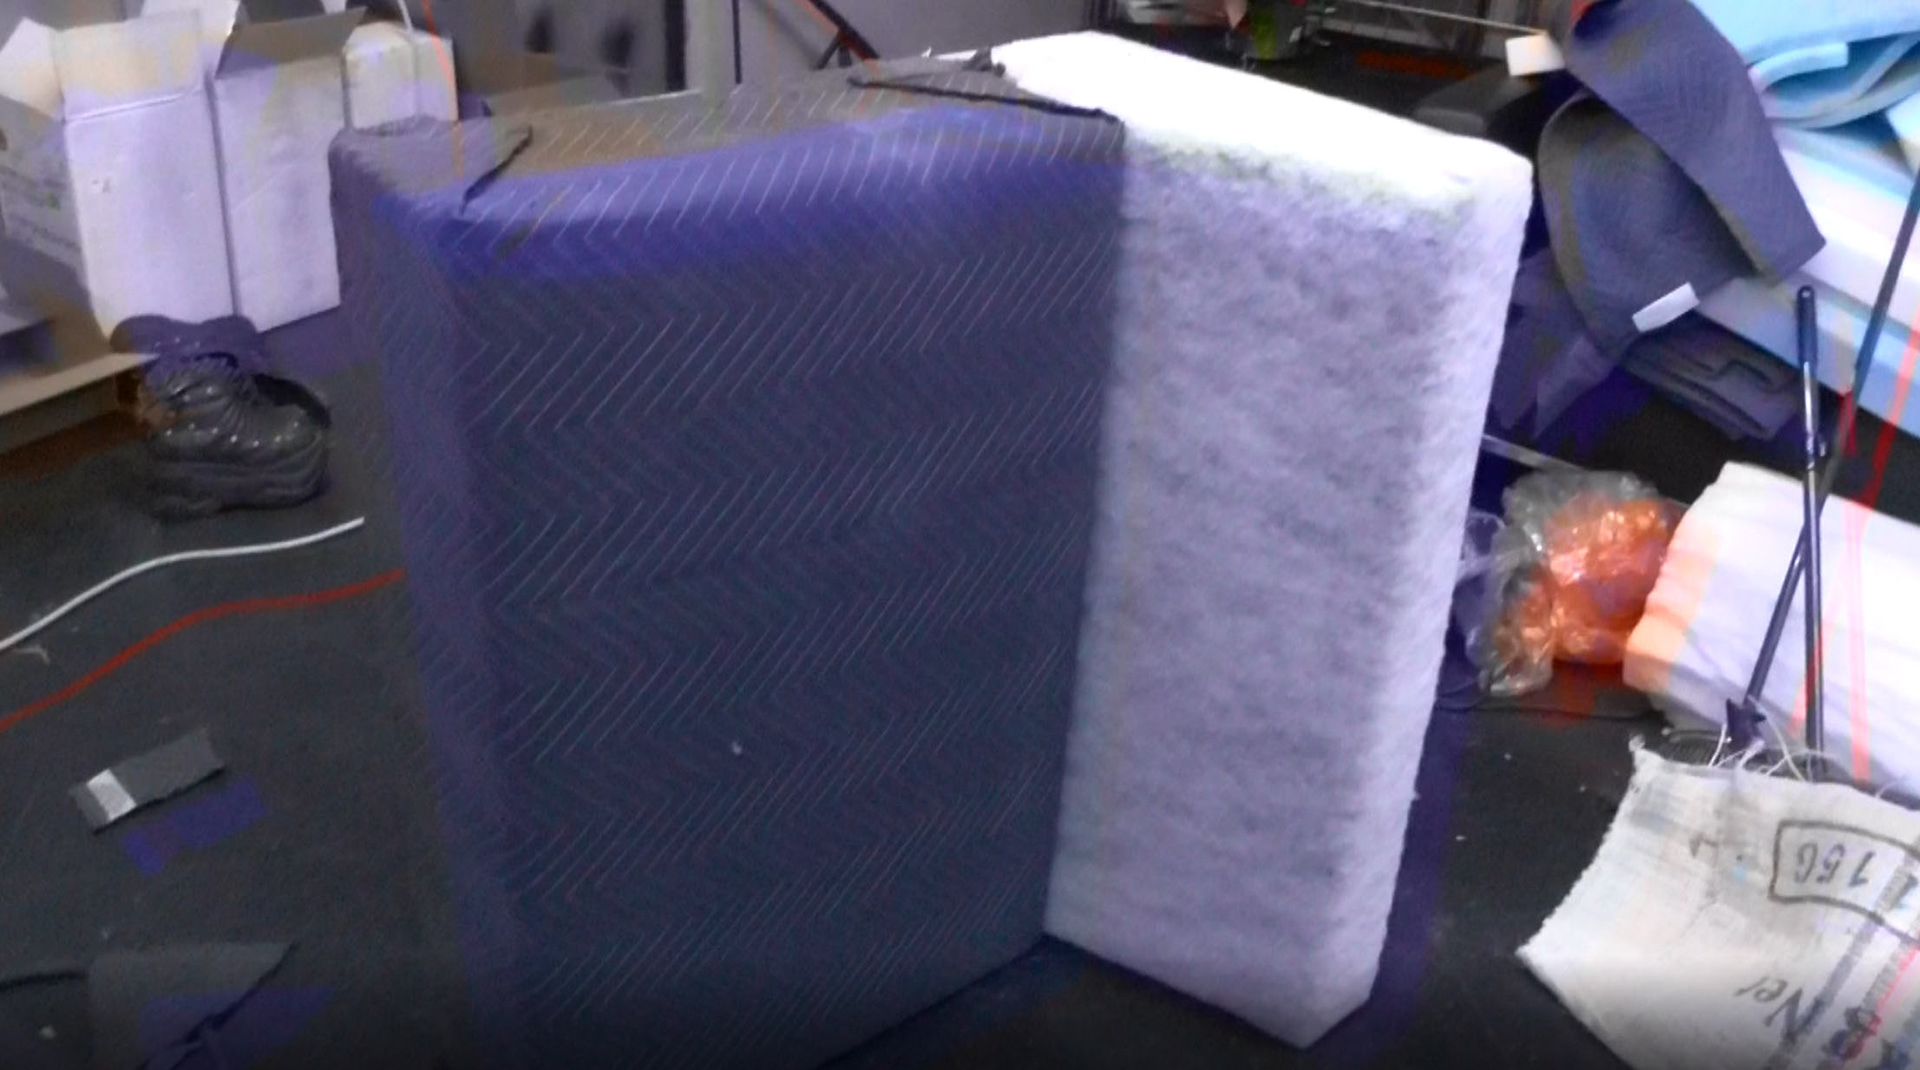
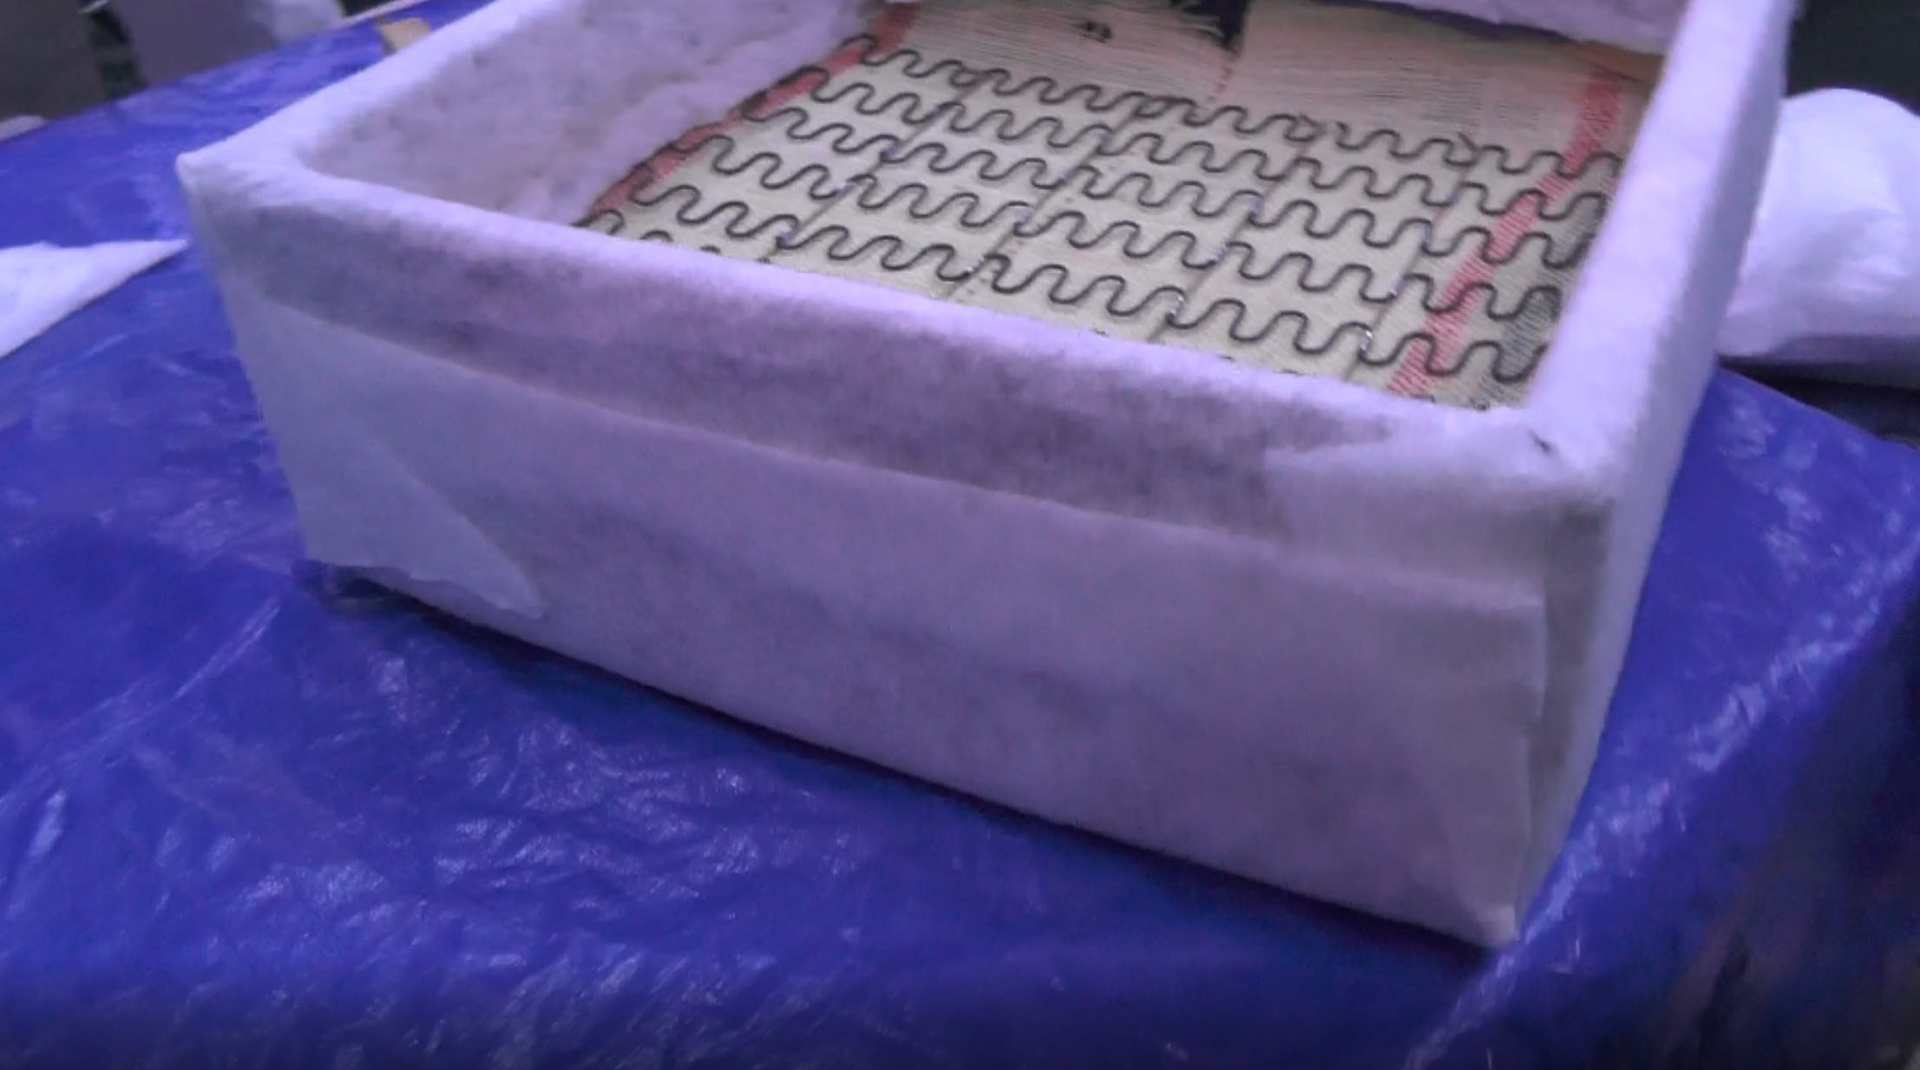
I tied the springs together with paper coated wire. Then I tried some foam combinations until the firmness seemed correct. I cut the foam and glued it together as before. After adding the moving blanket and polyfil layers it is ready for upholstery.
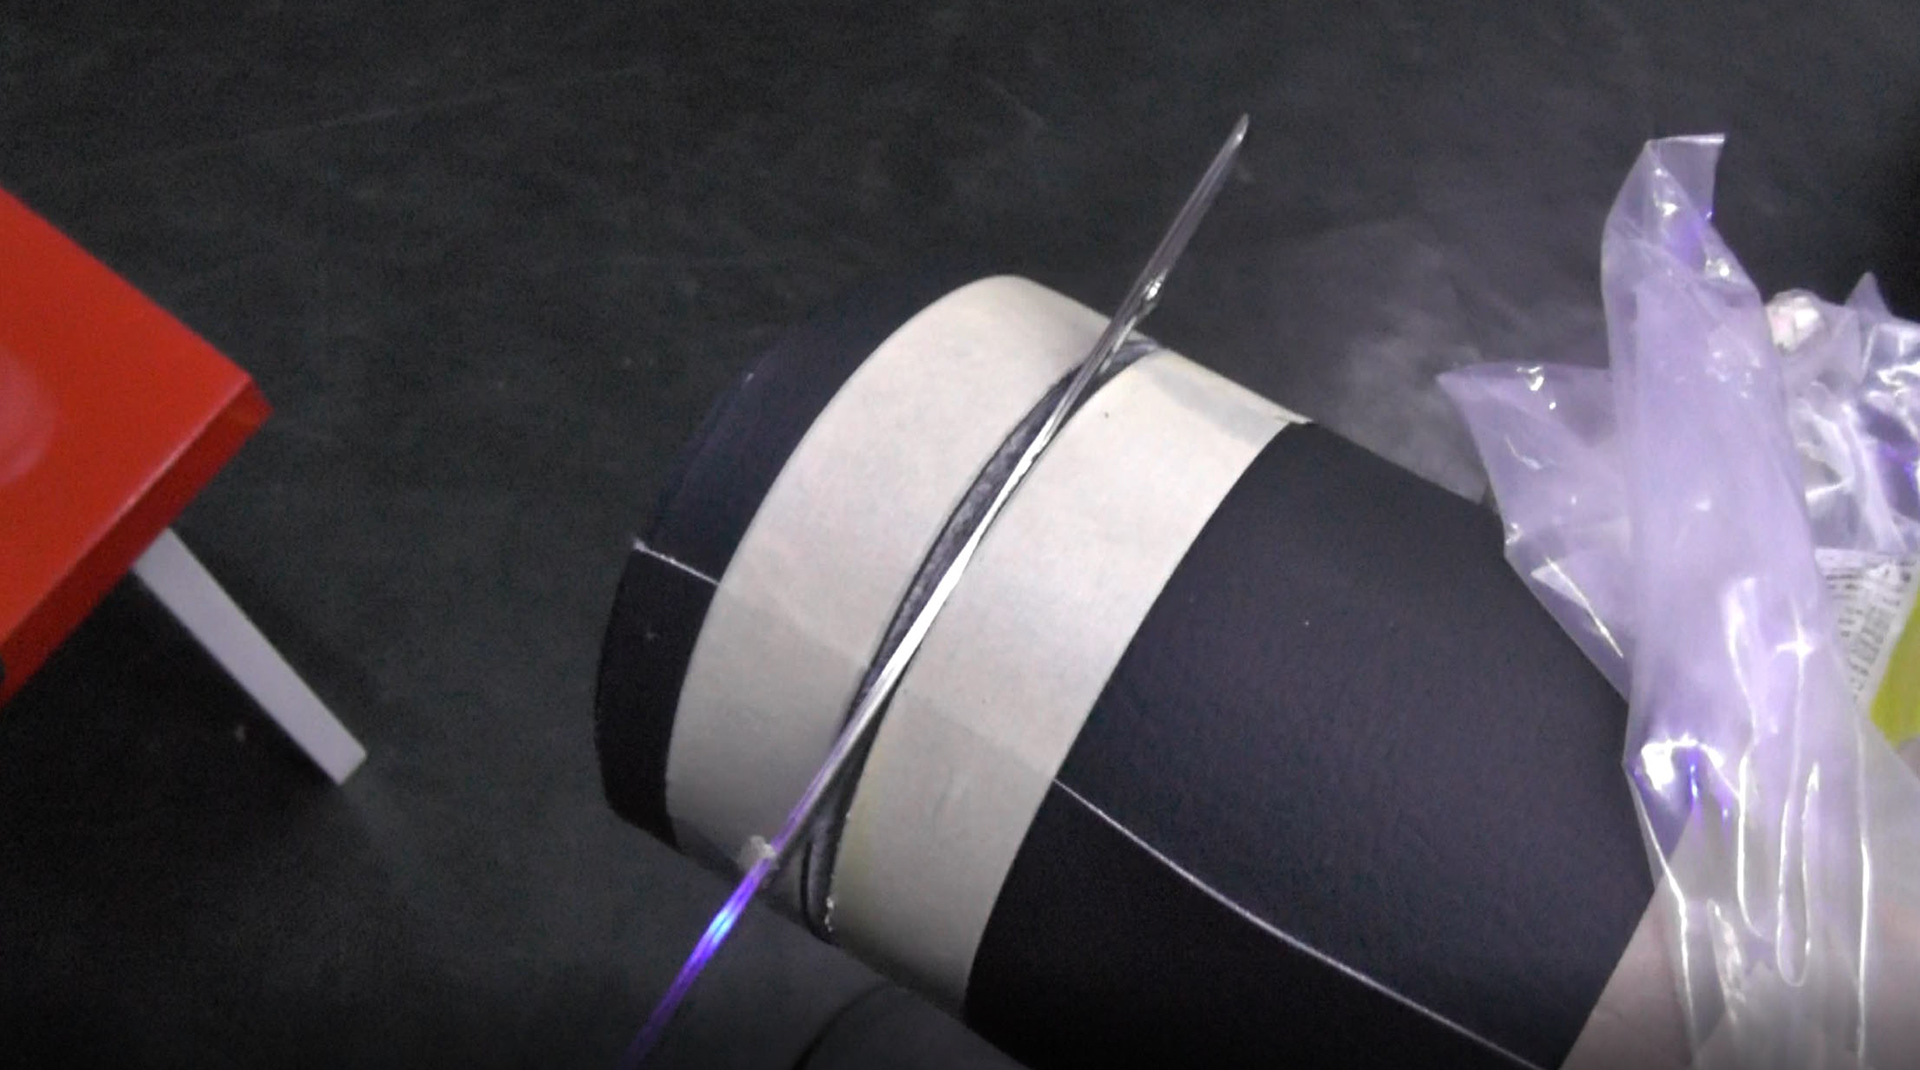
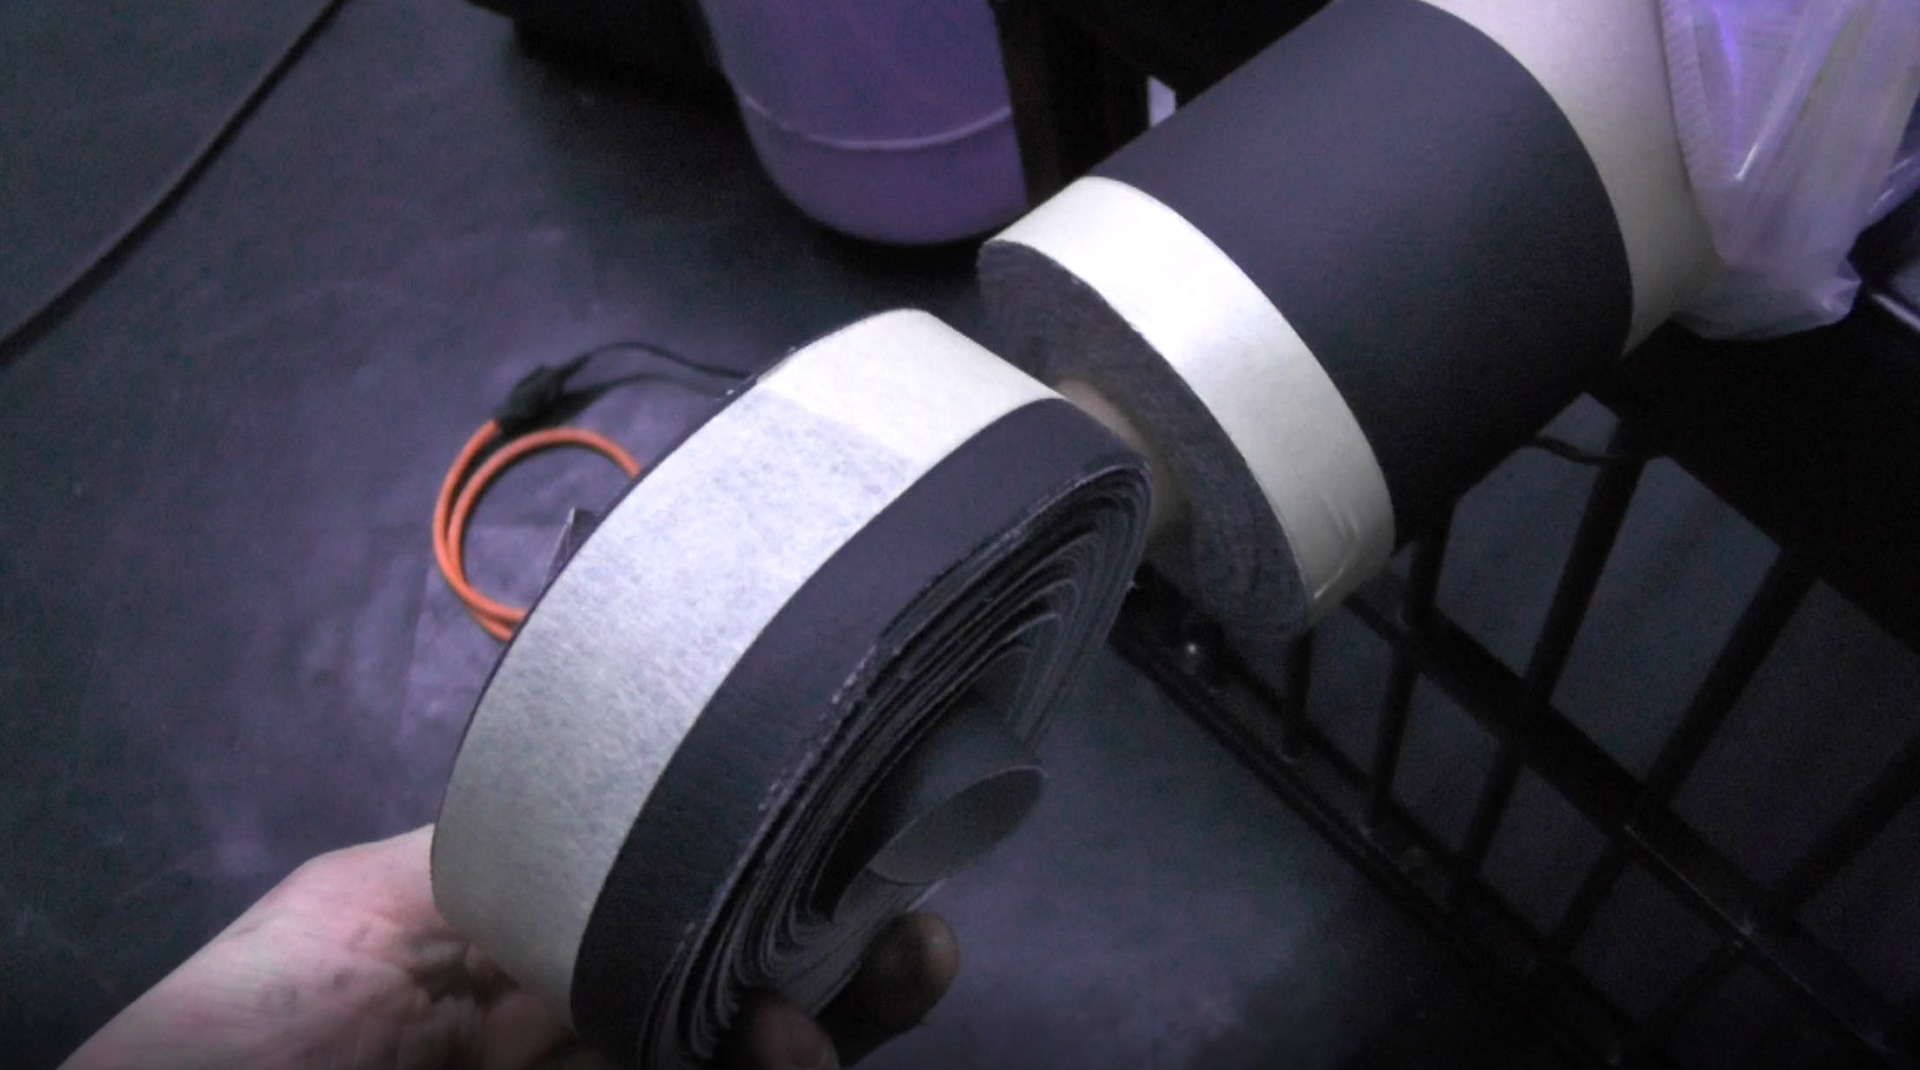
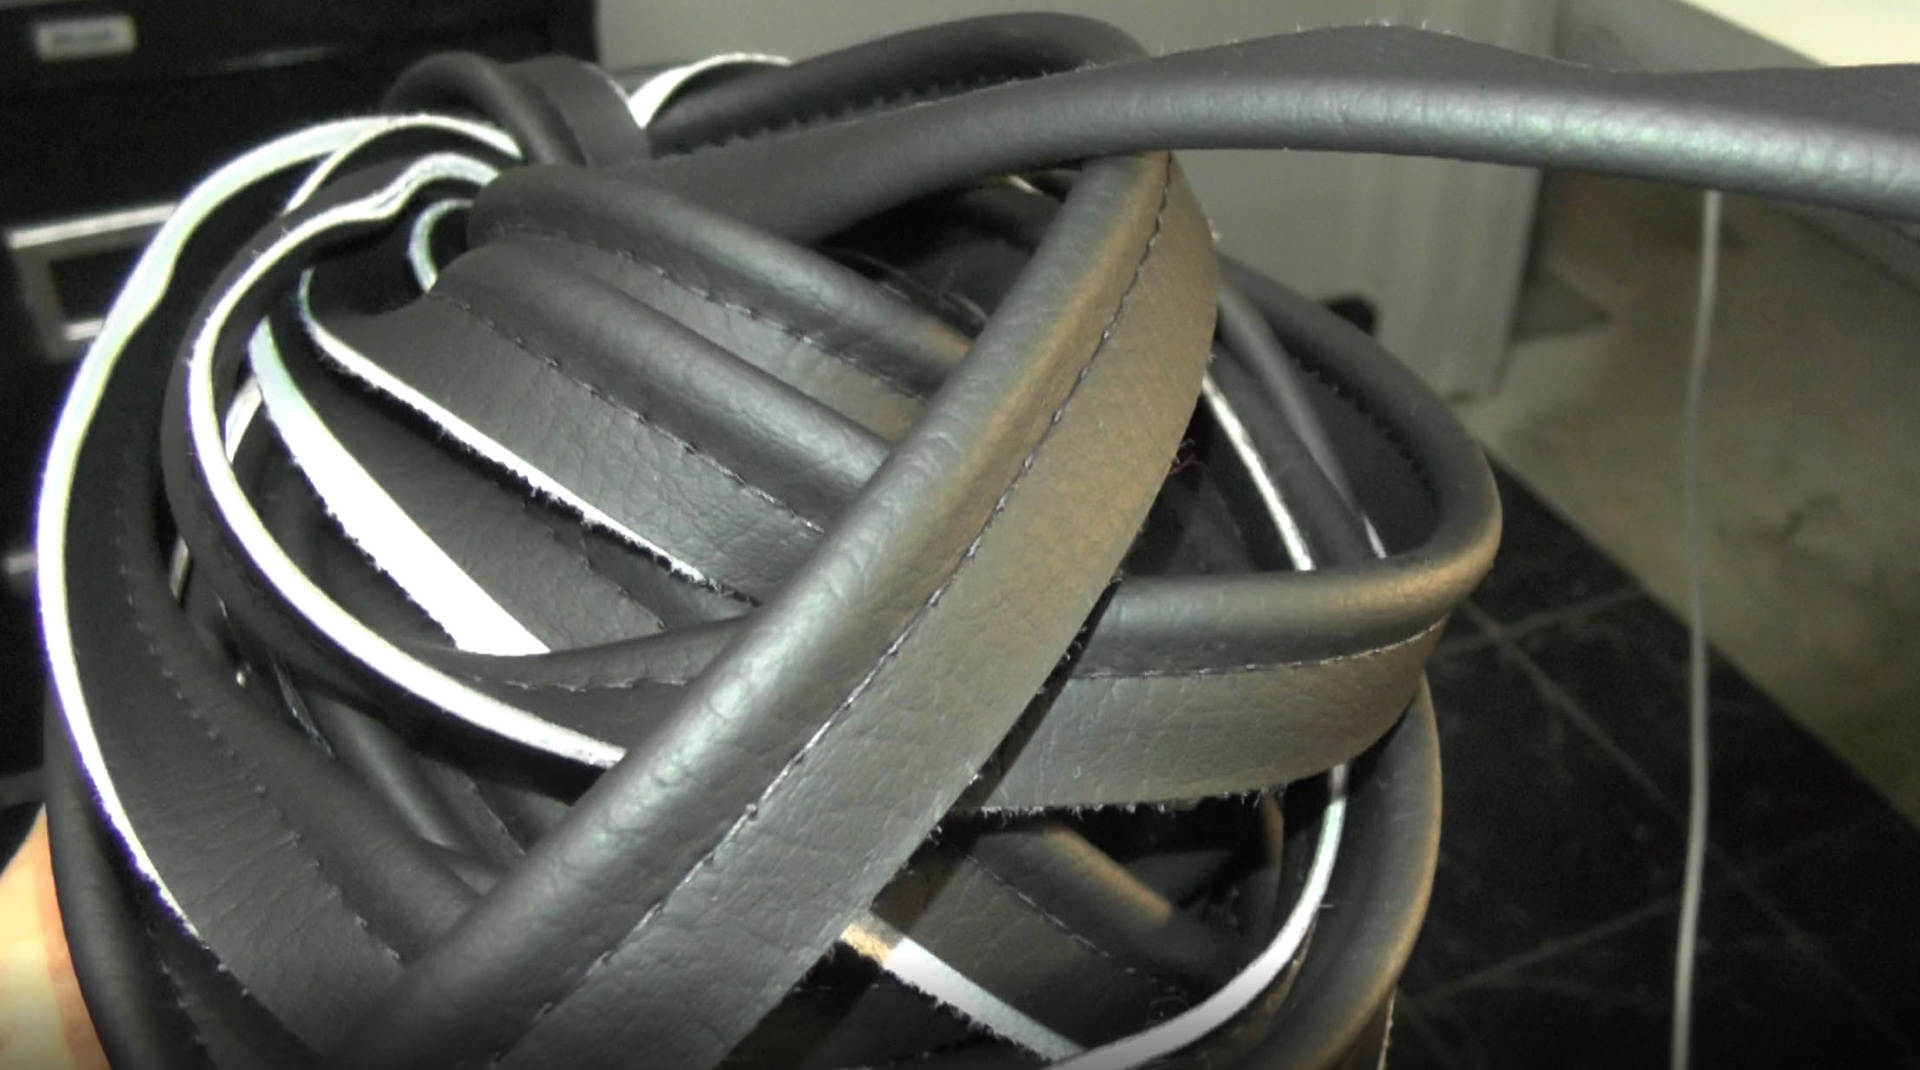
We decided to use a high end commercial vinyl/urethane fabric for the seats. It is extremely durable and almost indistinguishable from leather. While expensive, it was less than leather. This project needed almost 50 yards of the material.
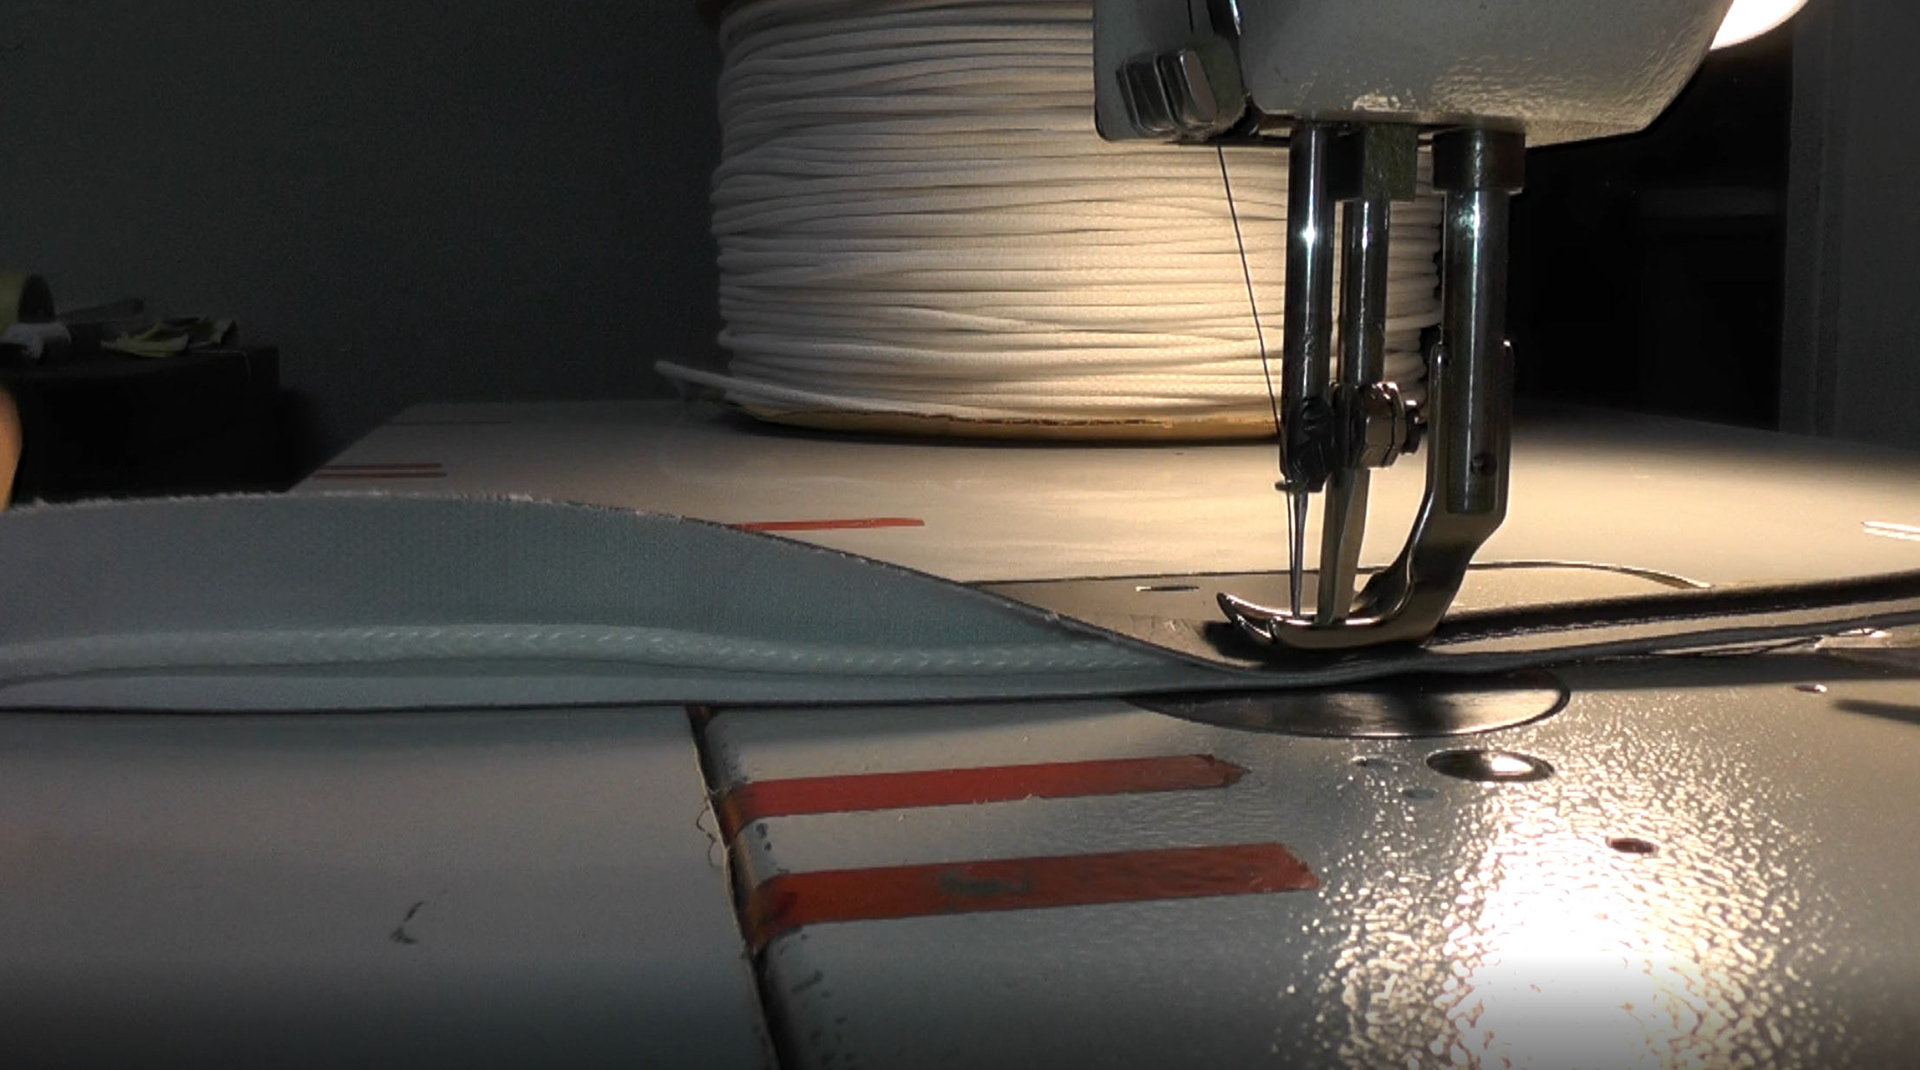
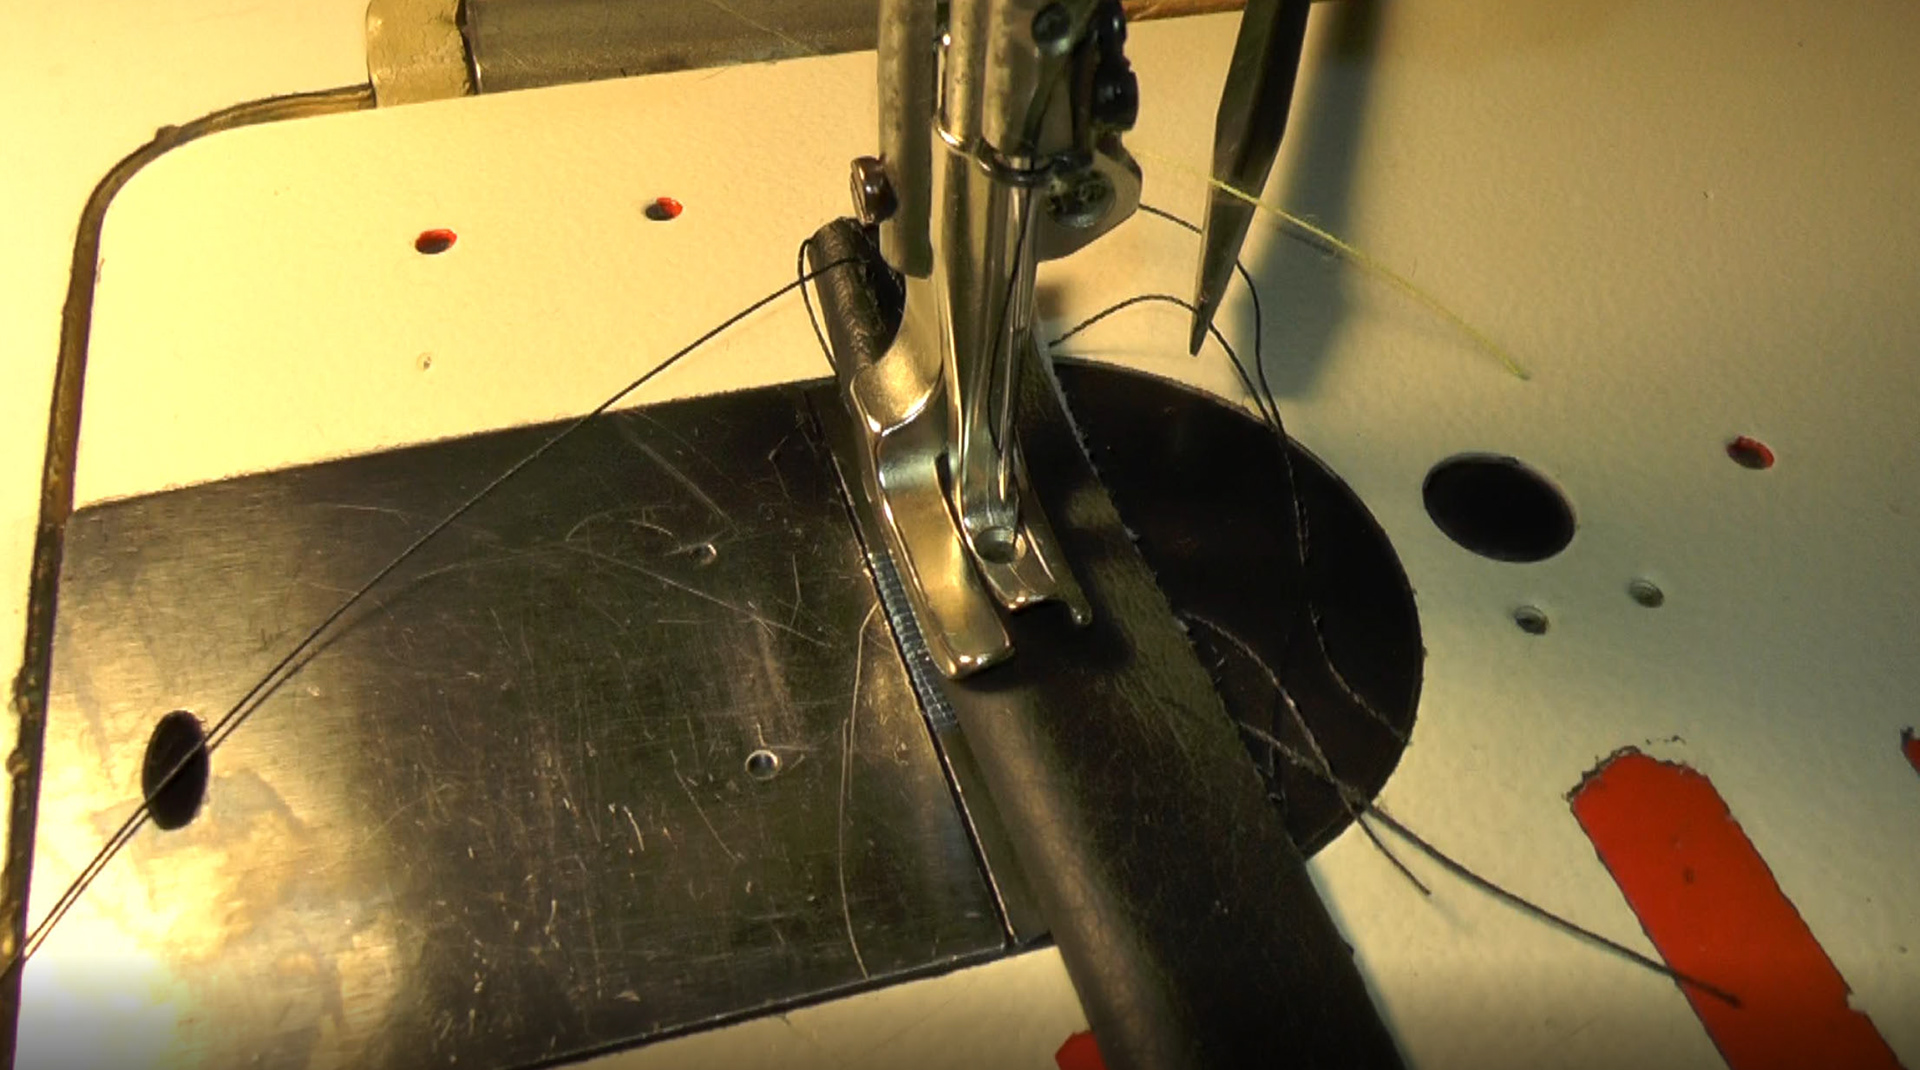
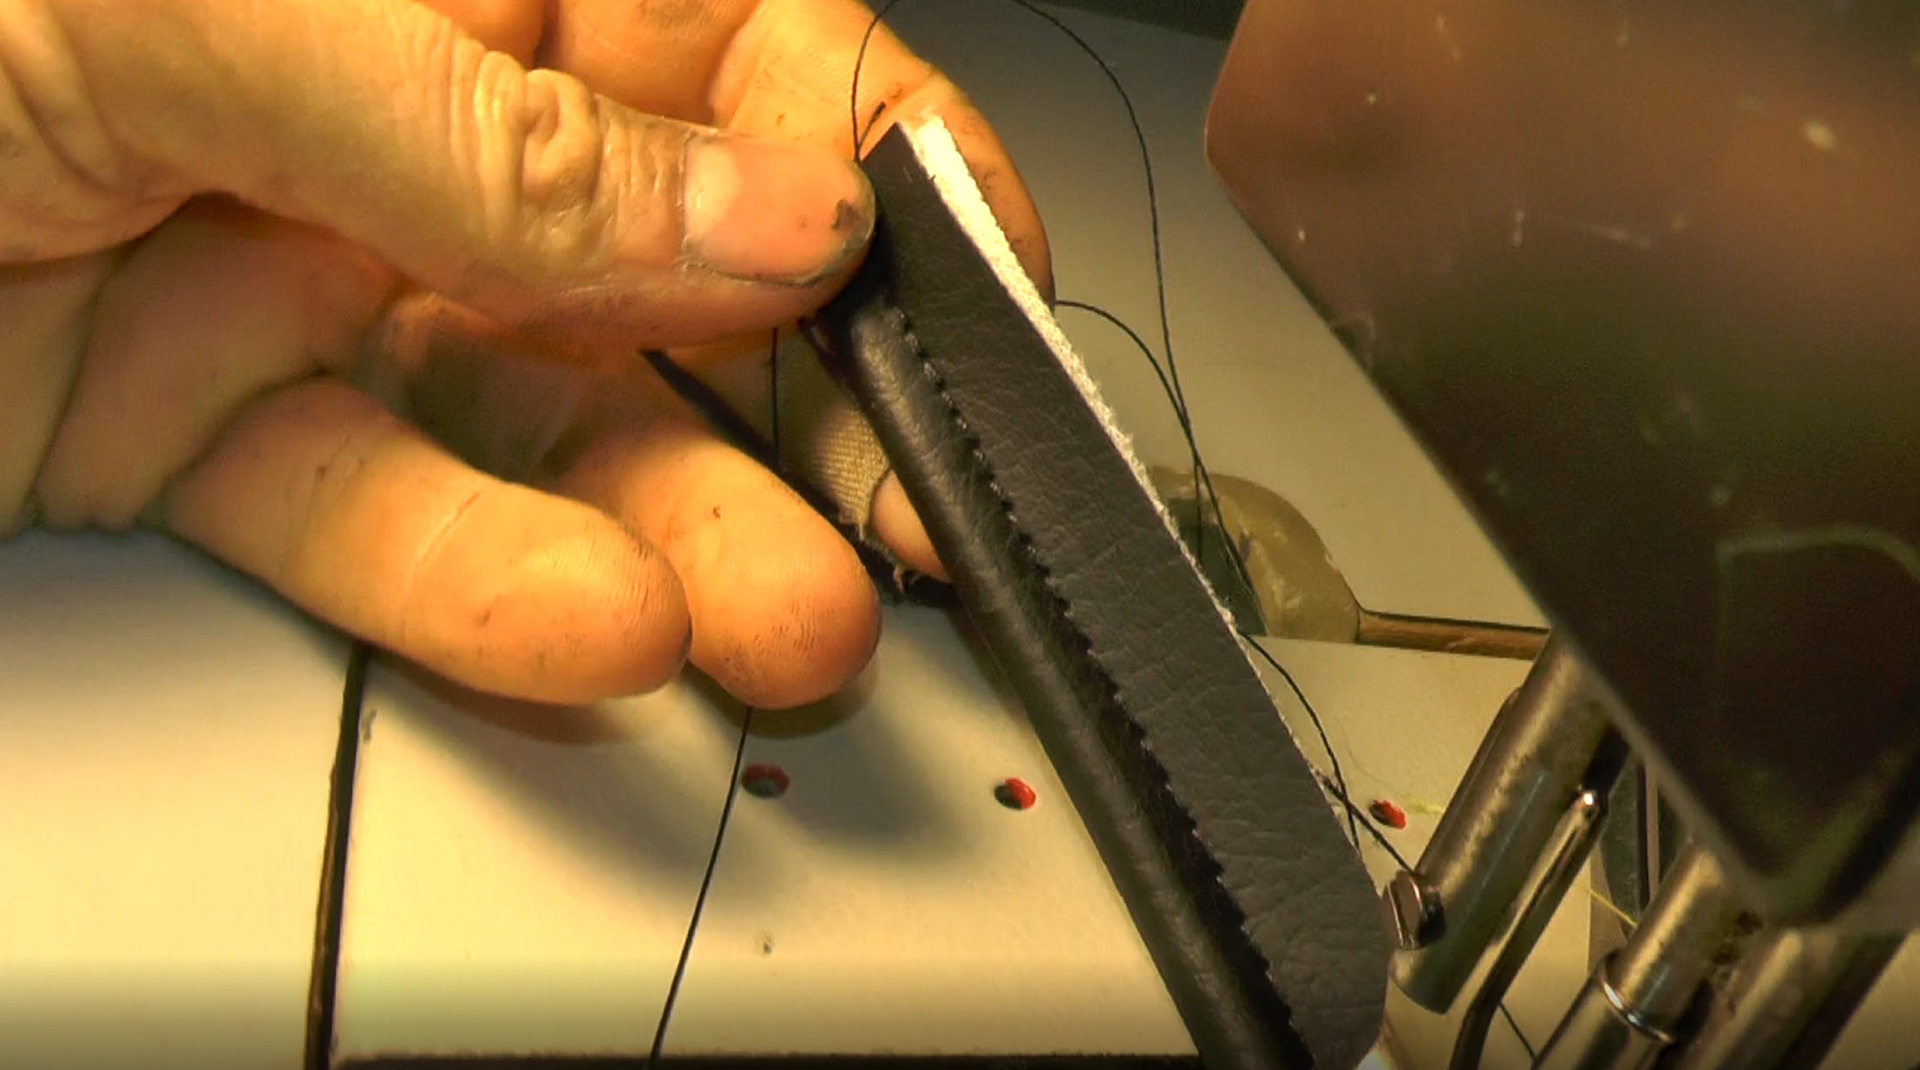
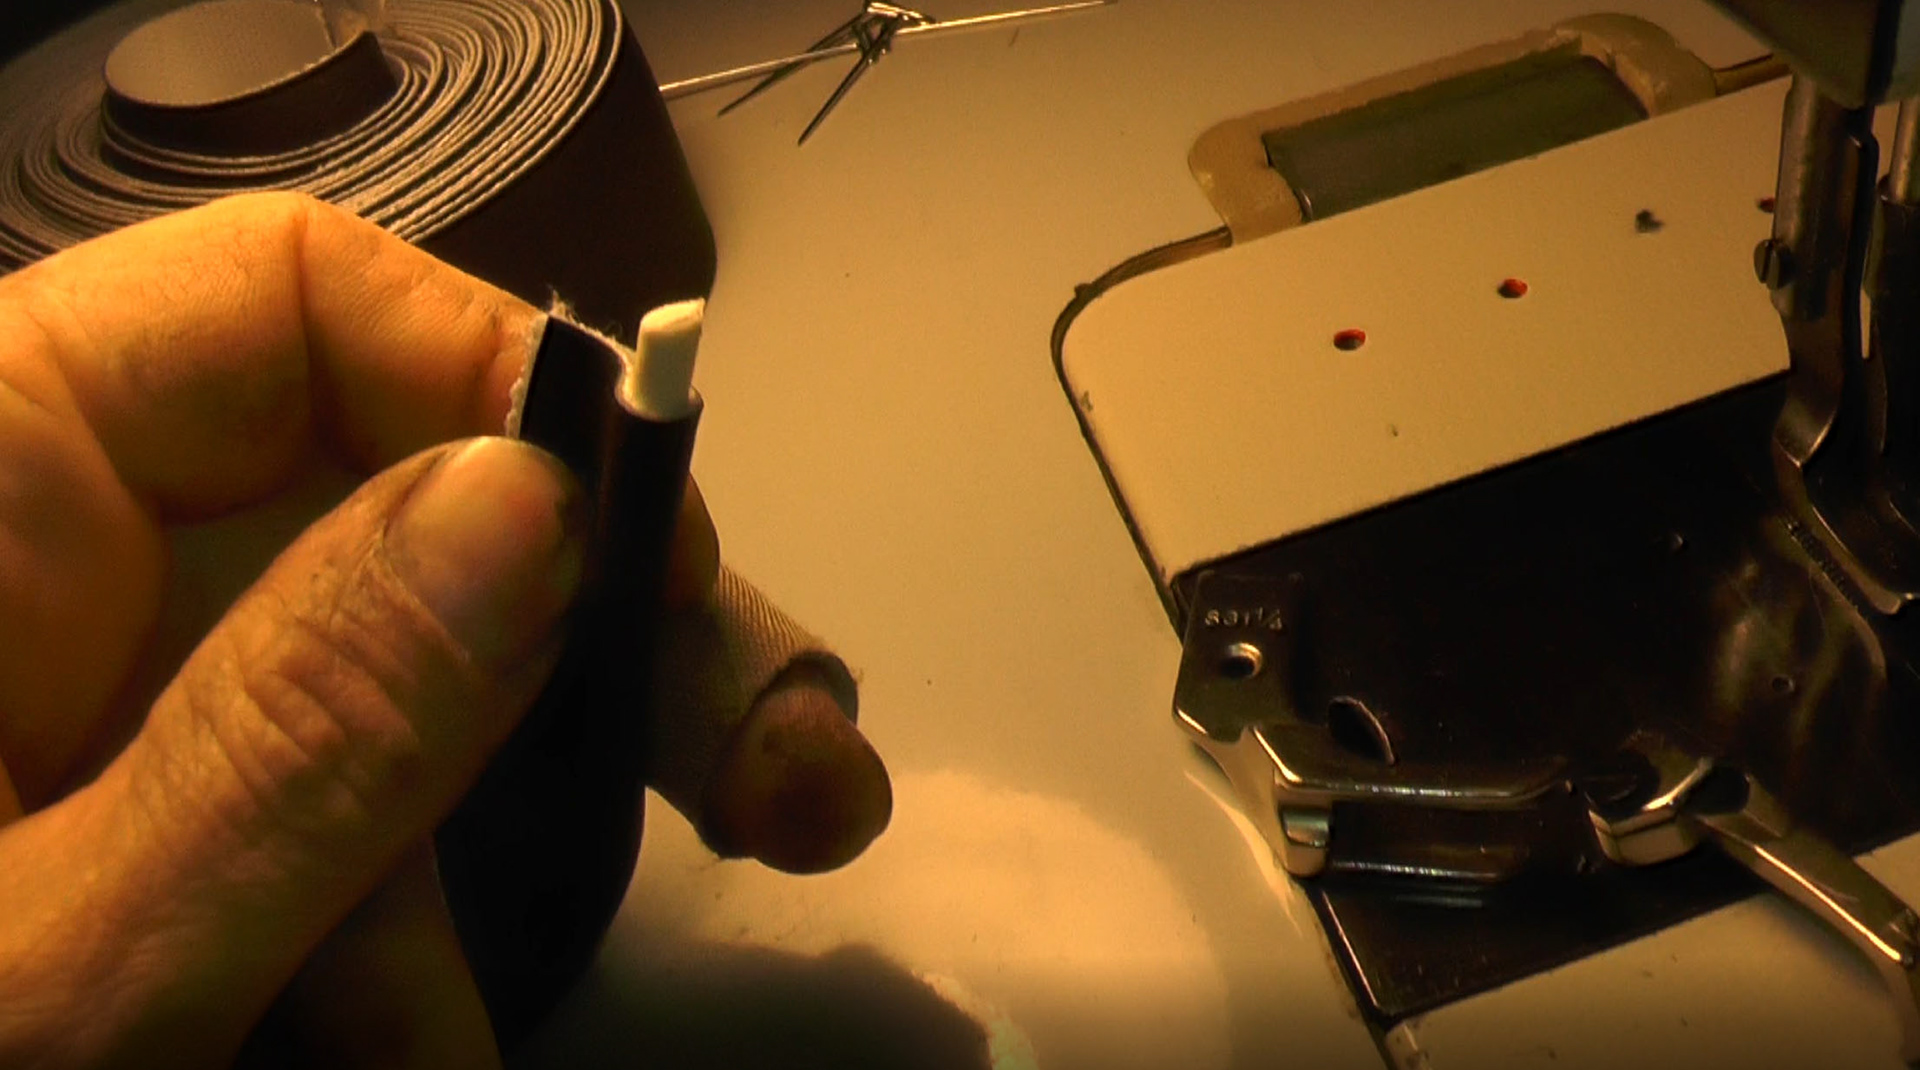
The first step was to make the piping for the edges. I did this by cutting off a couple inches of fabric from the roll with an electric knife and sewing it with a special piping foot on my Consew walking foot sewing machine.
The first step was to make the piping for the edges. I did this by cutting off a couple inches of fabric from the roll with an electric knife and sewing it with a special piping foot on my Consew walking foot sewing machine.
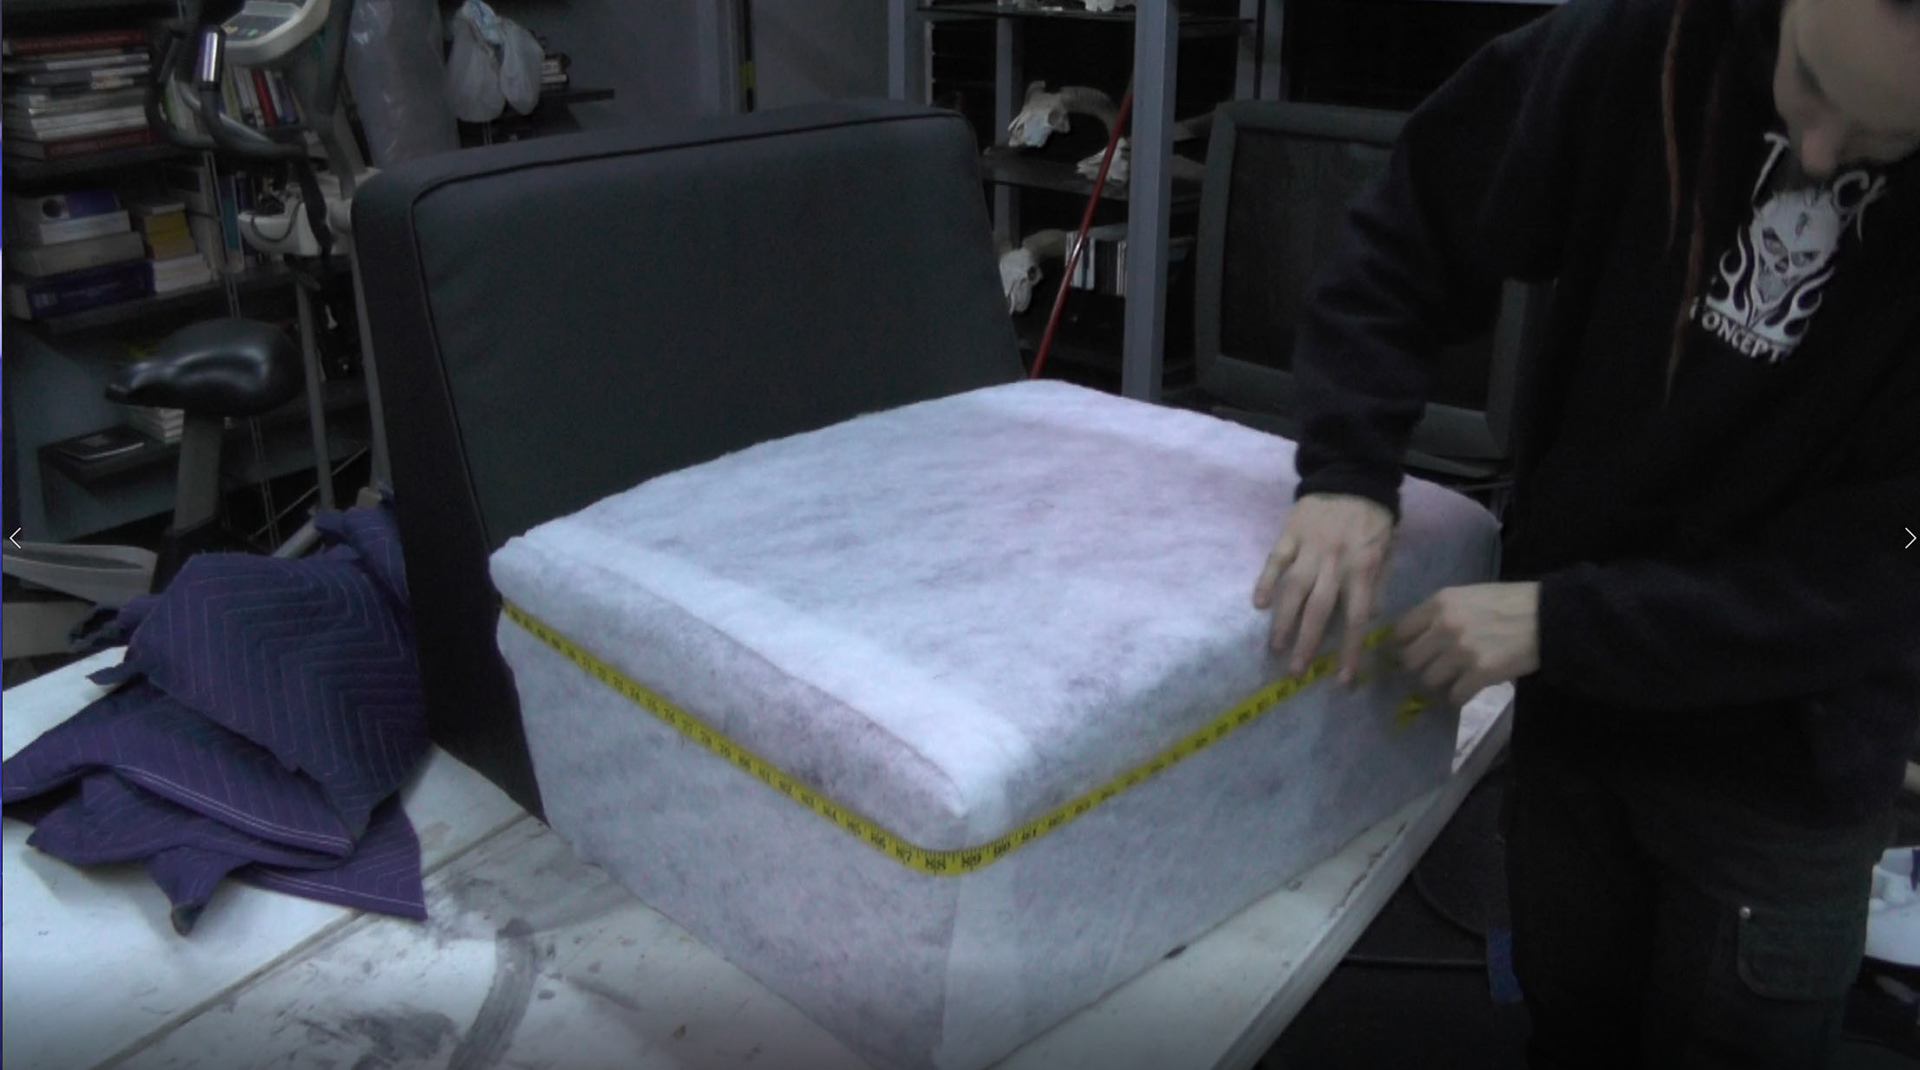
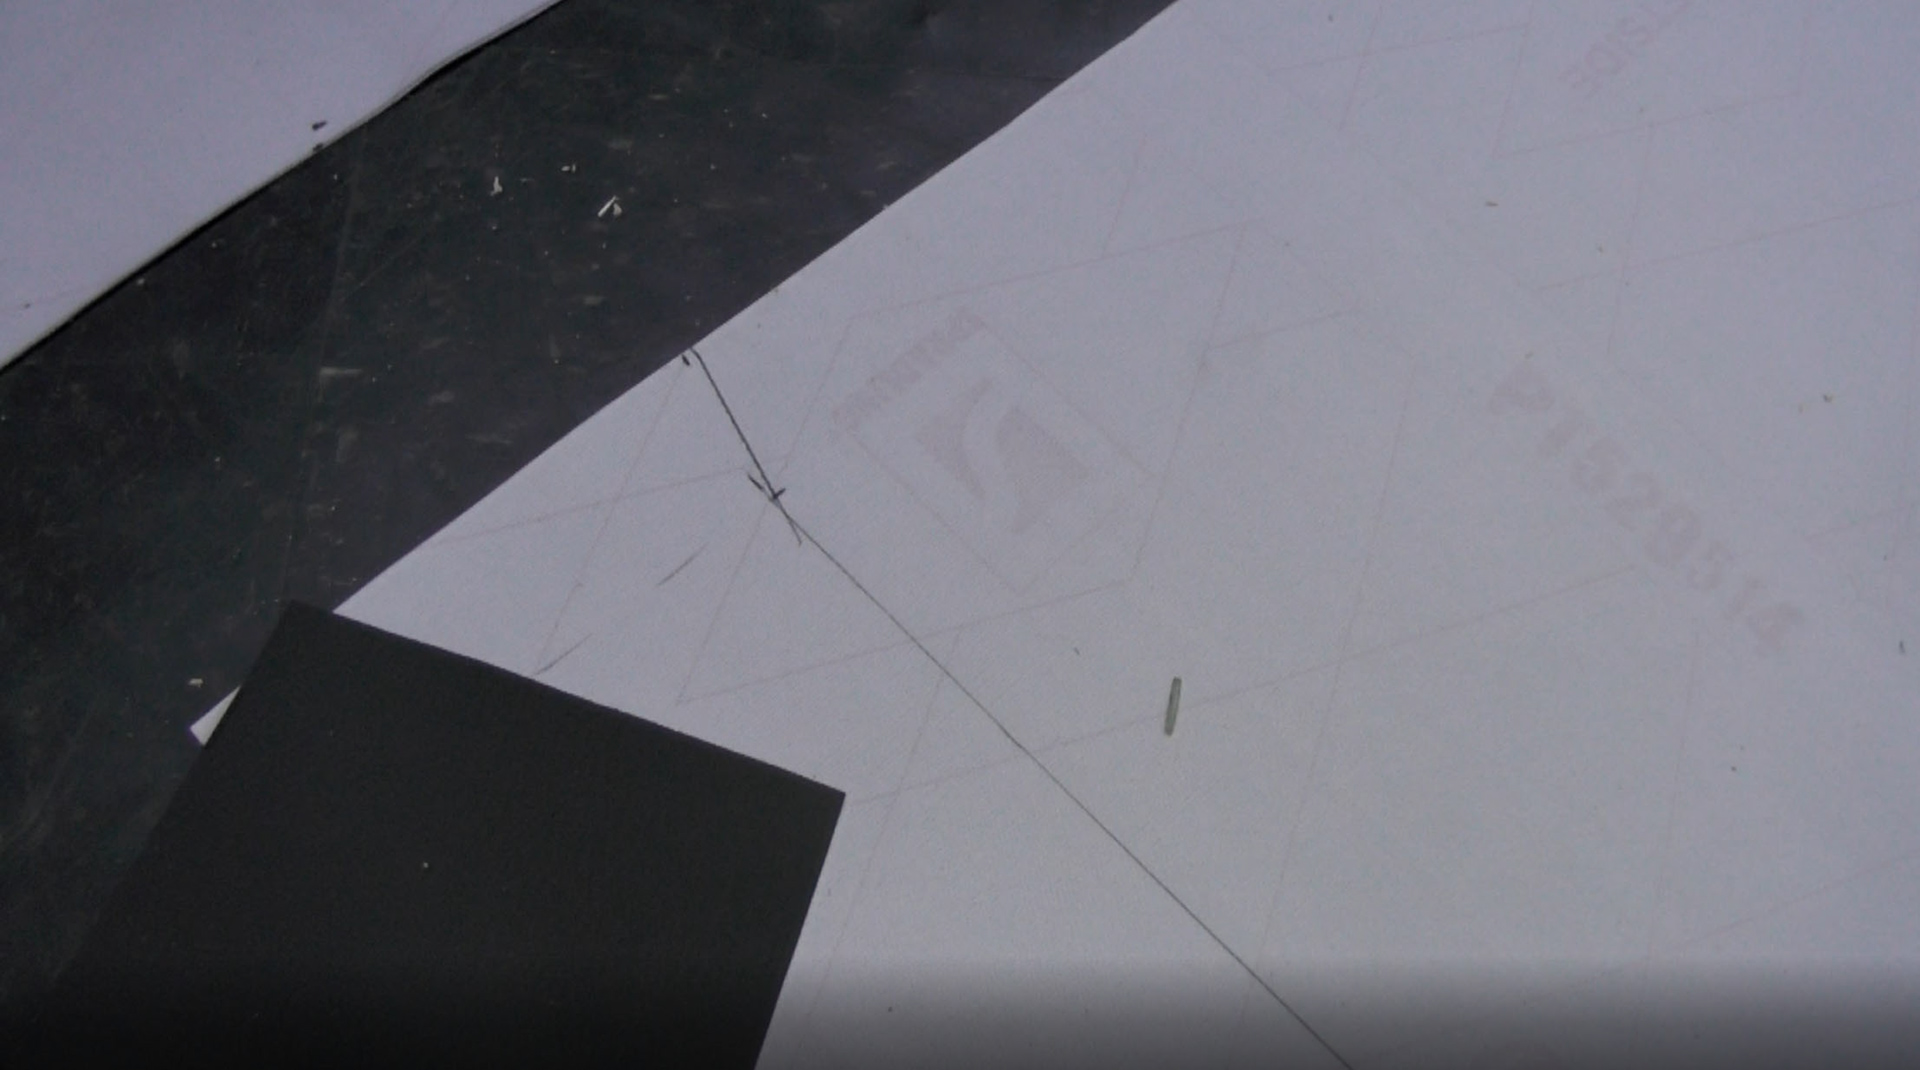
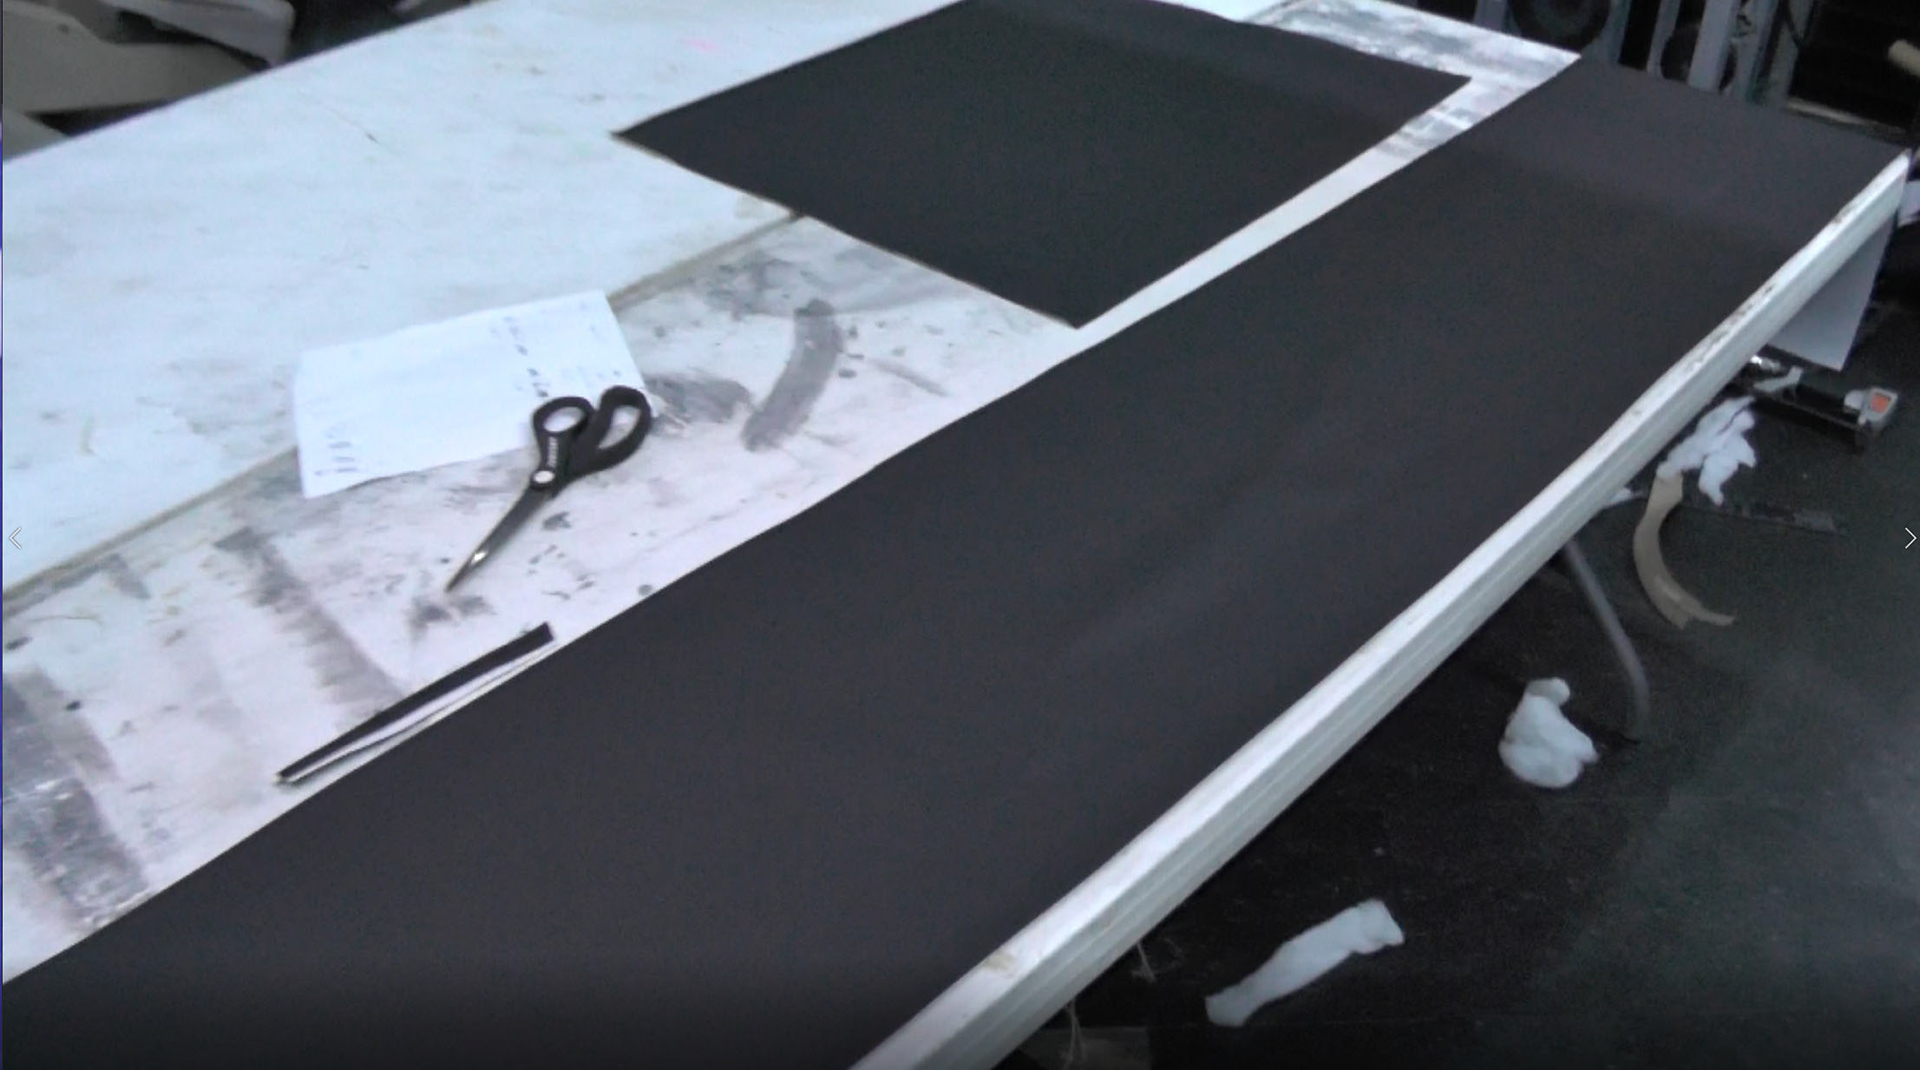
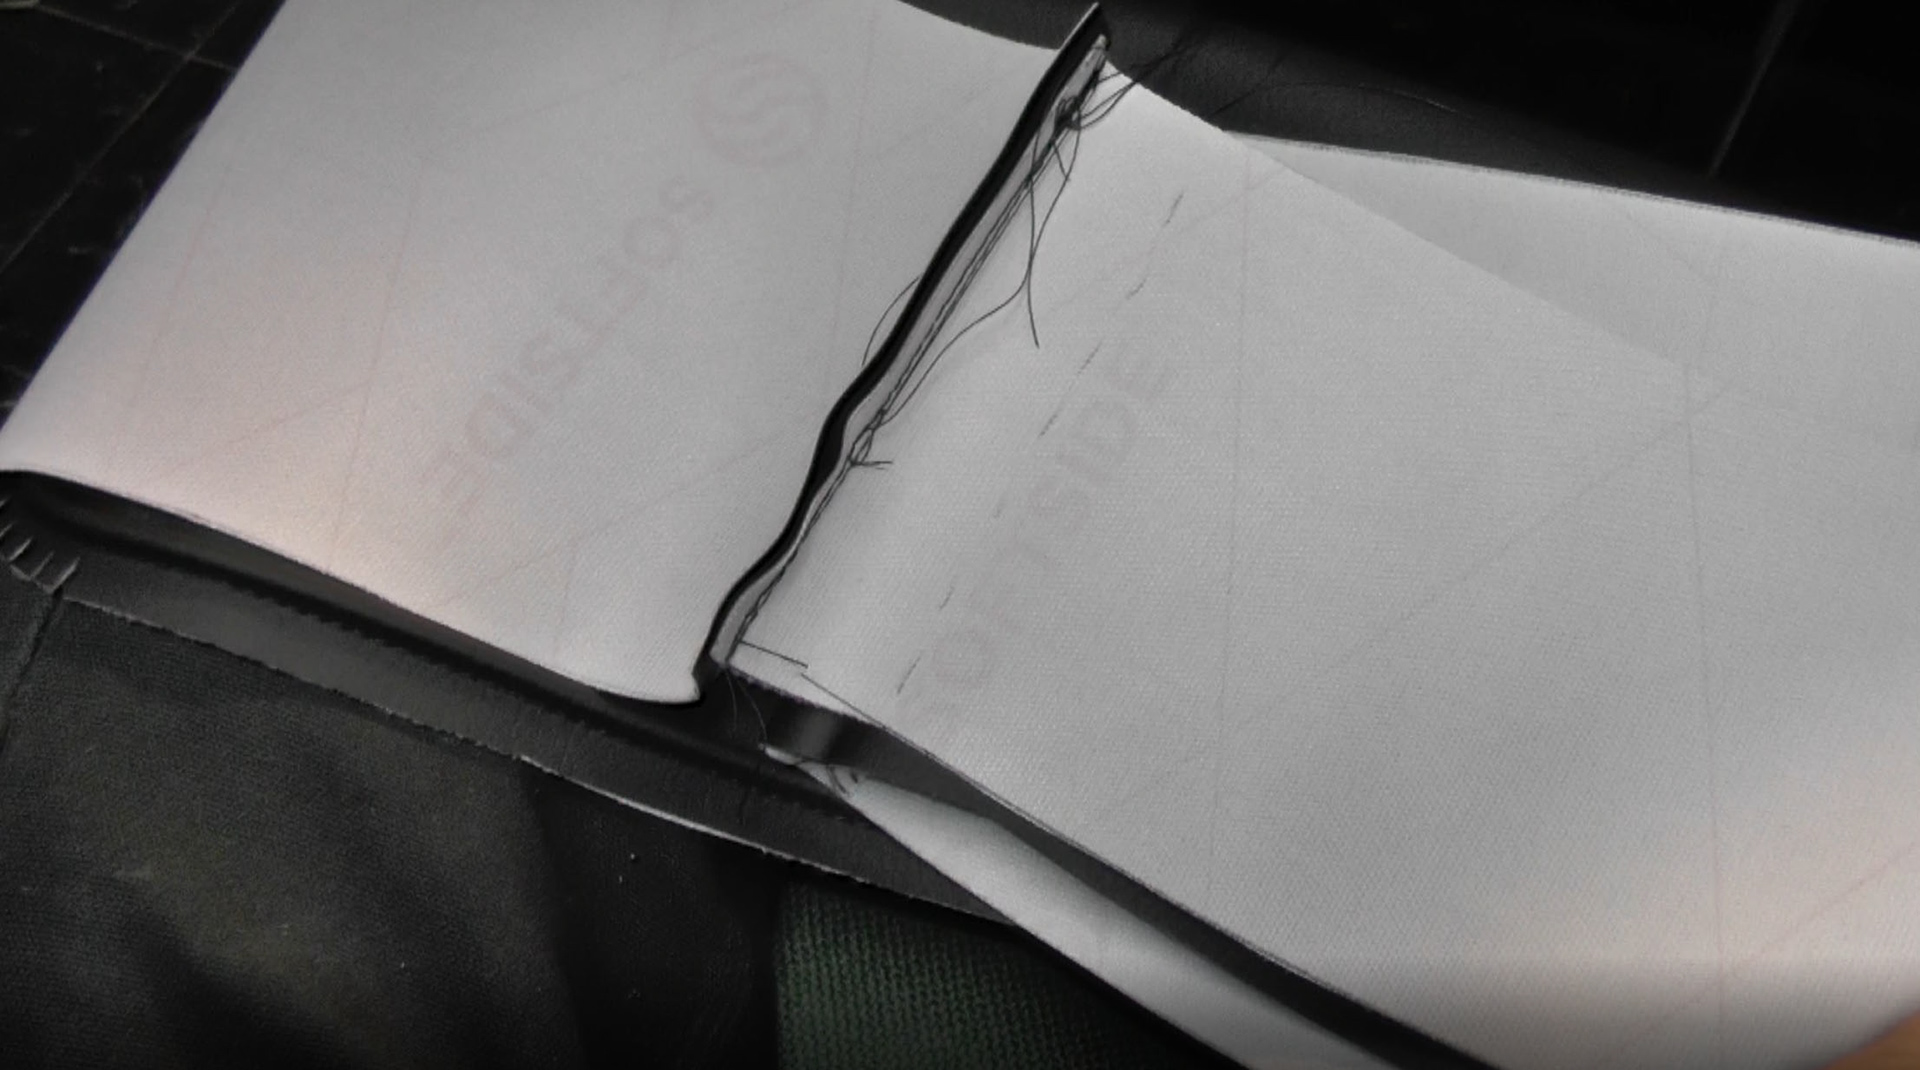
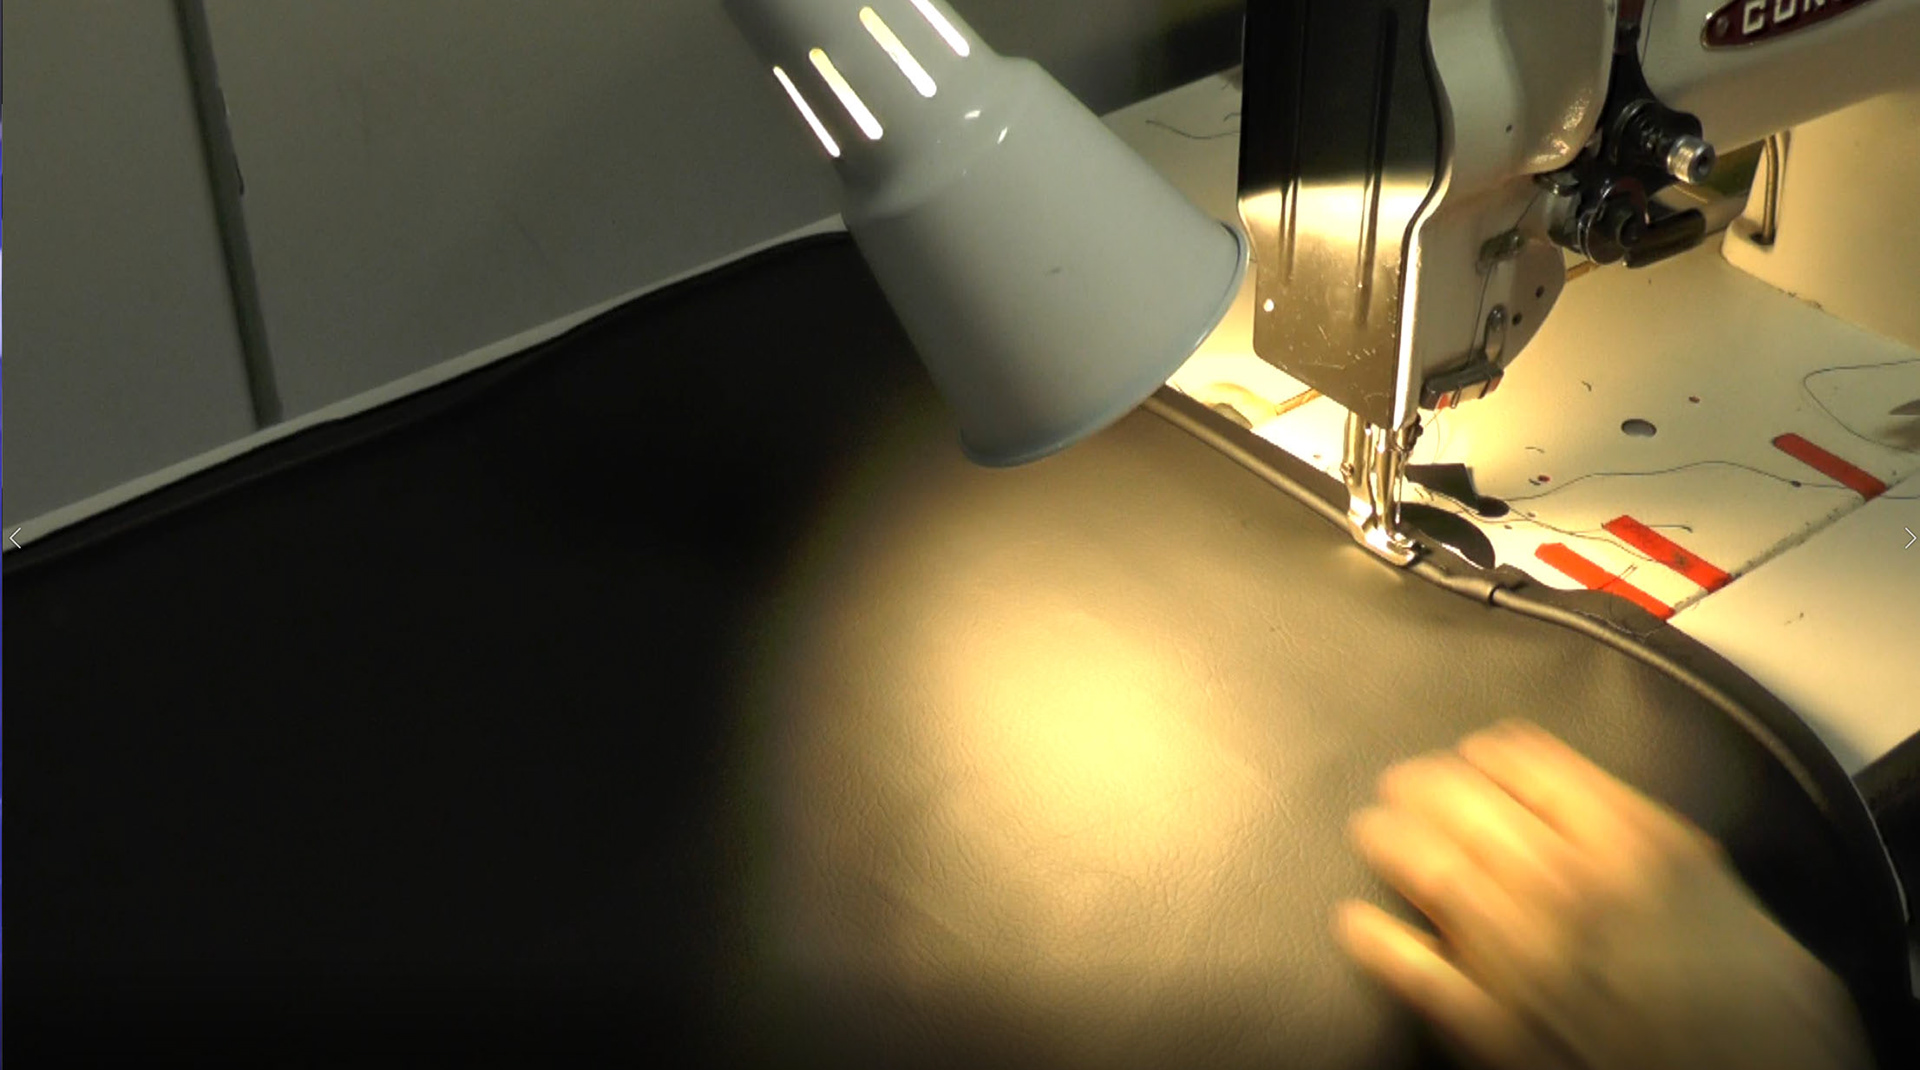
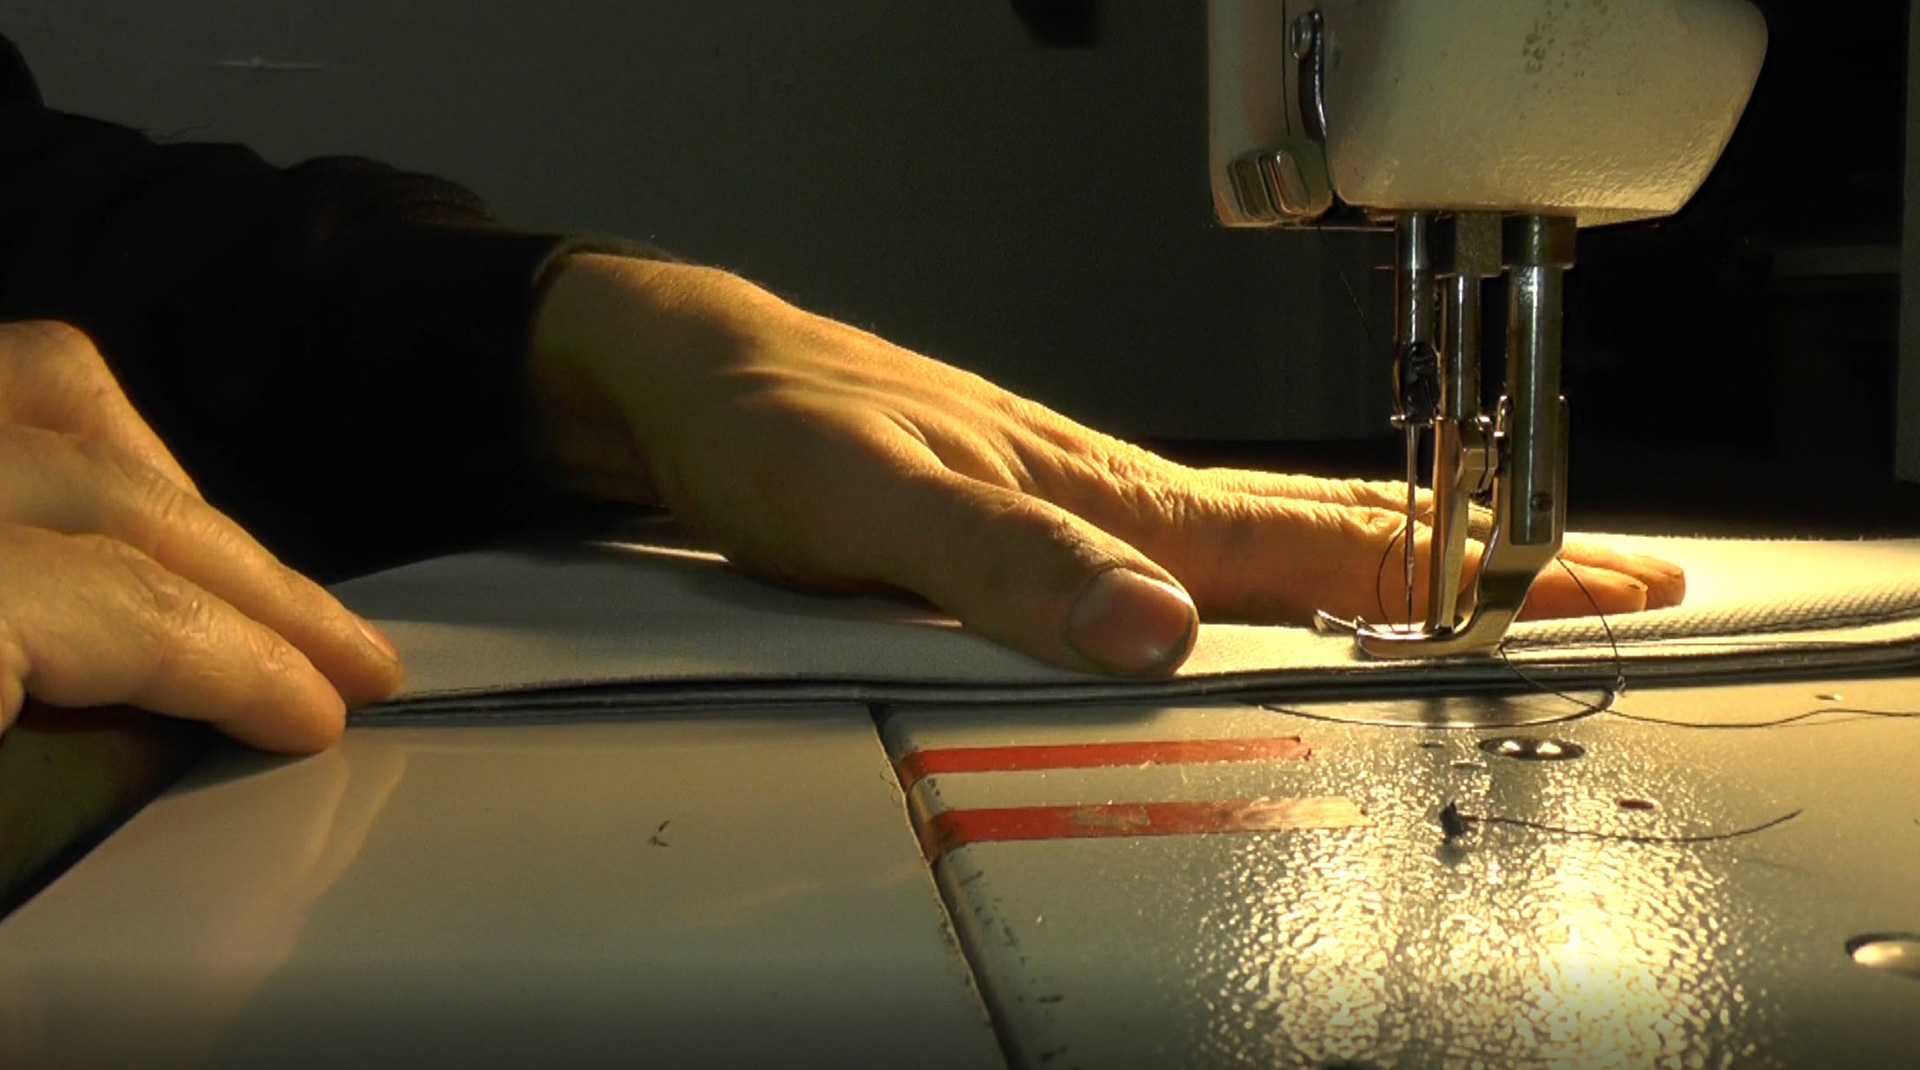
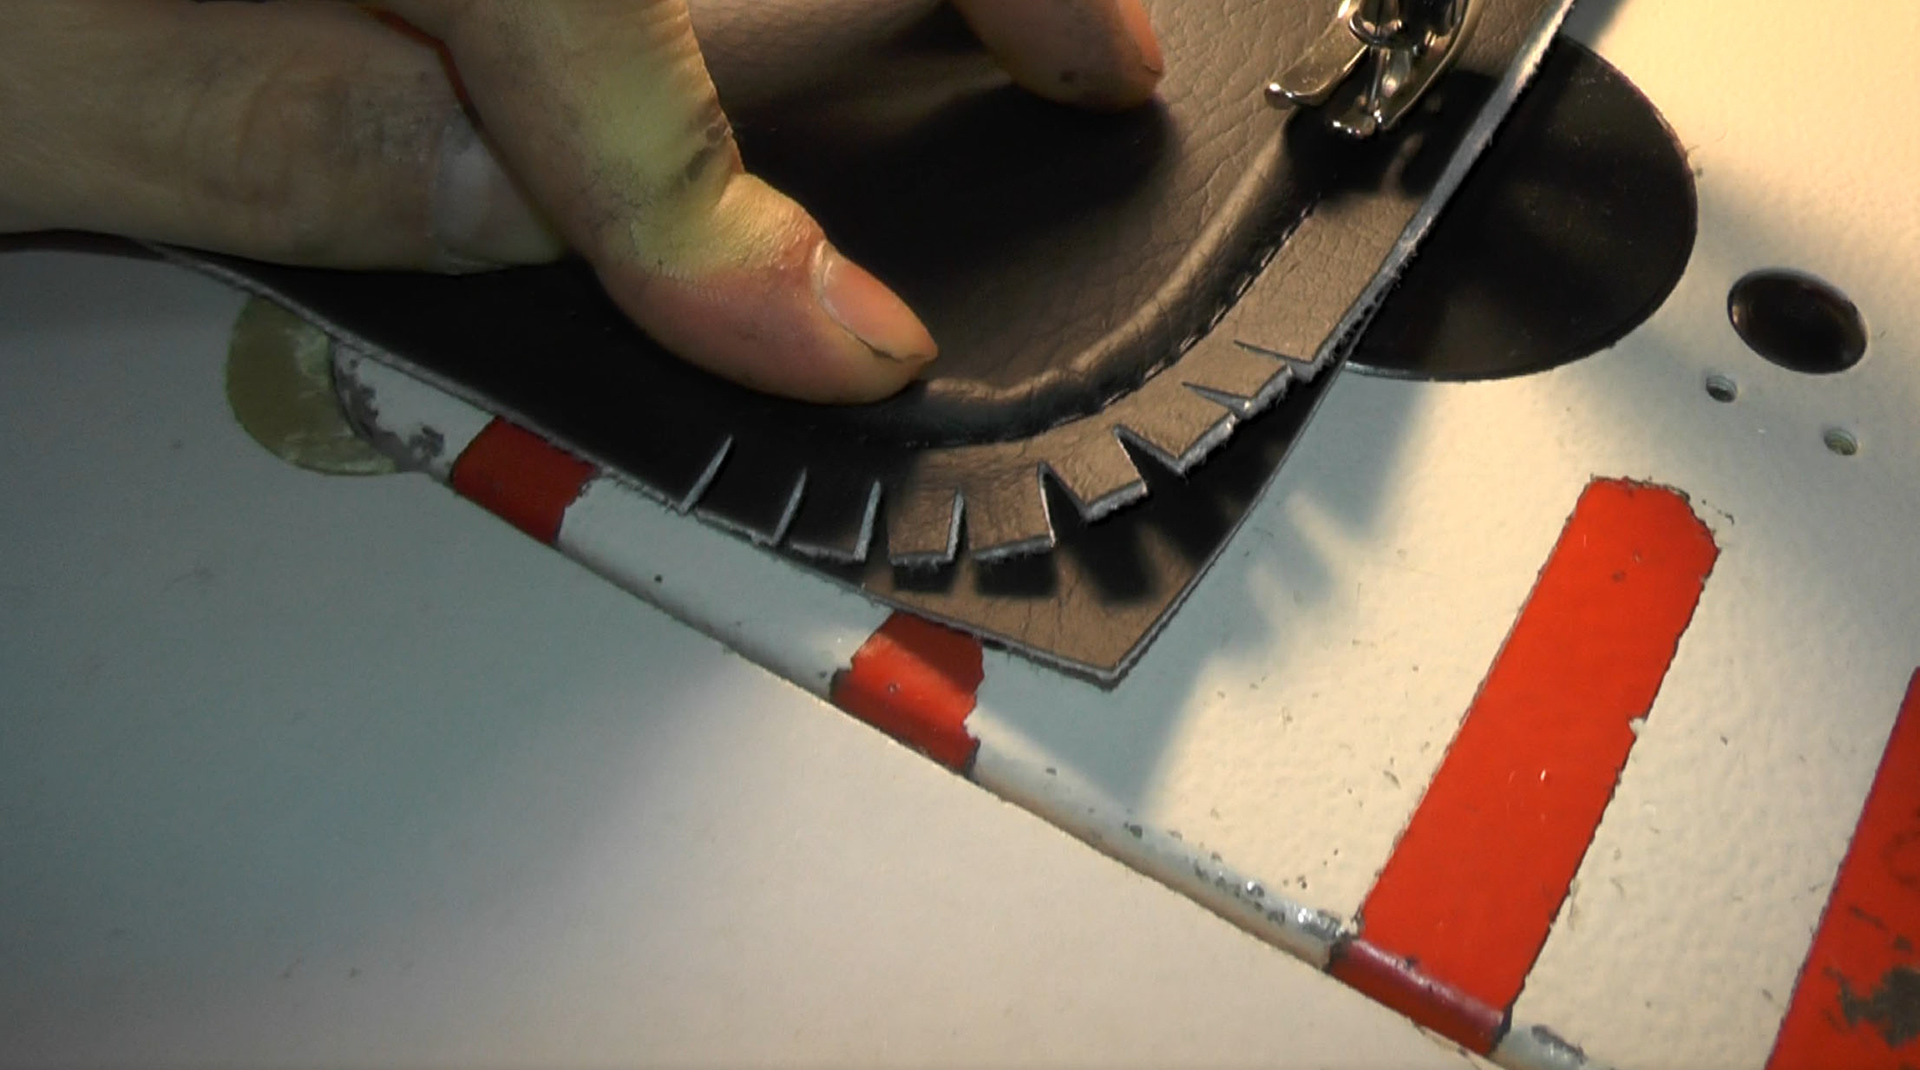
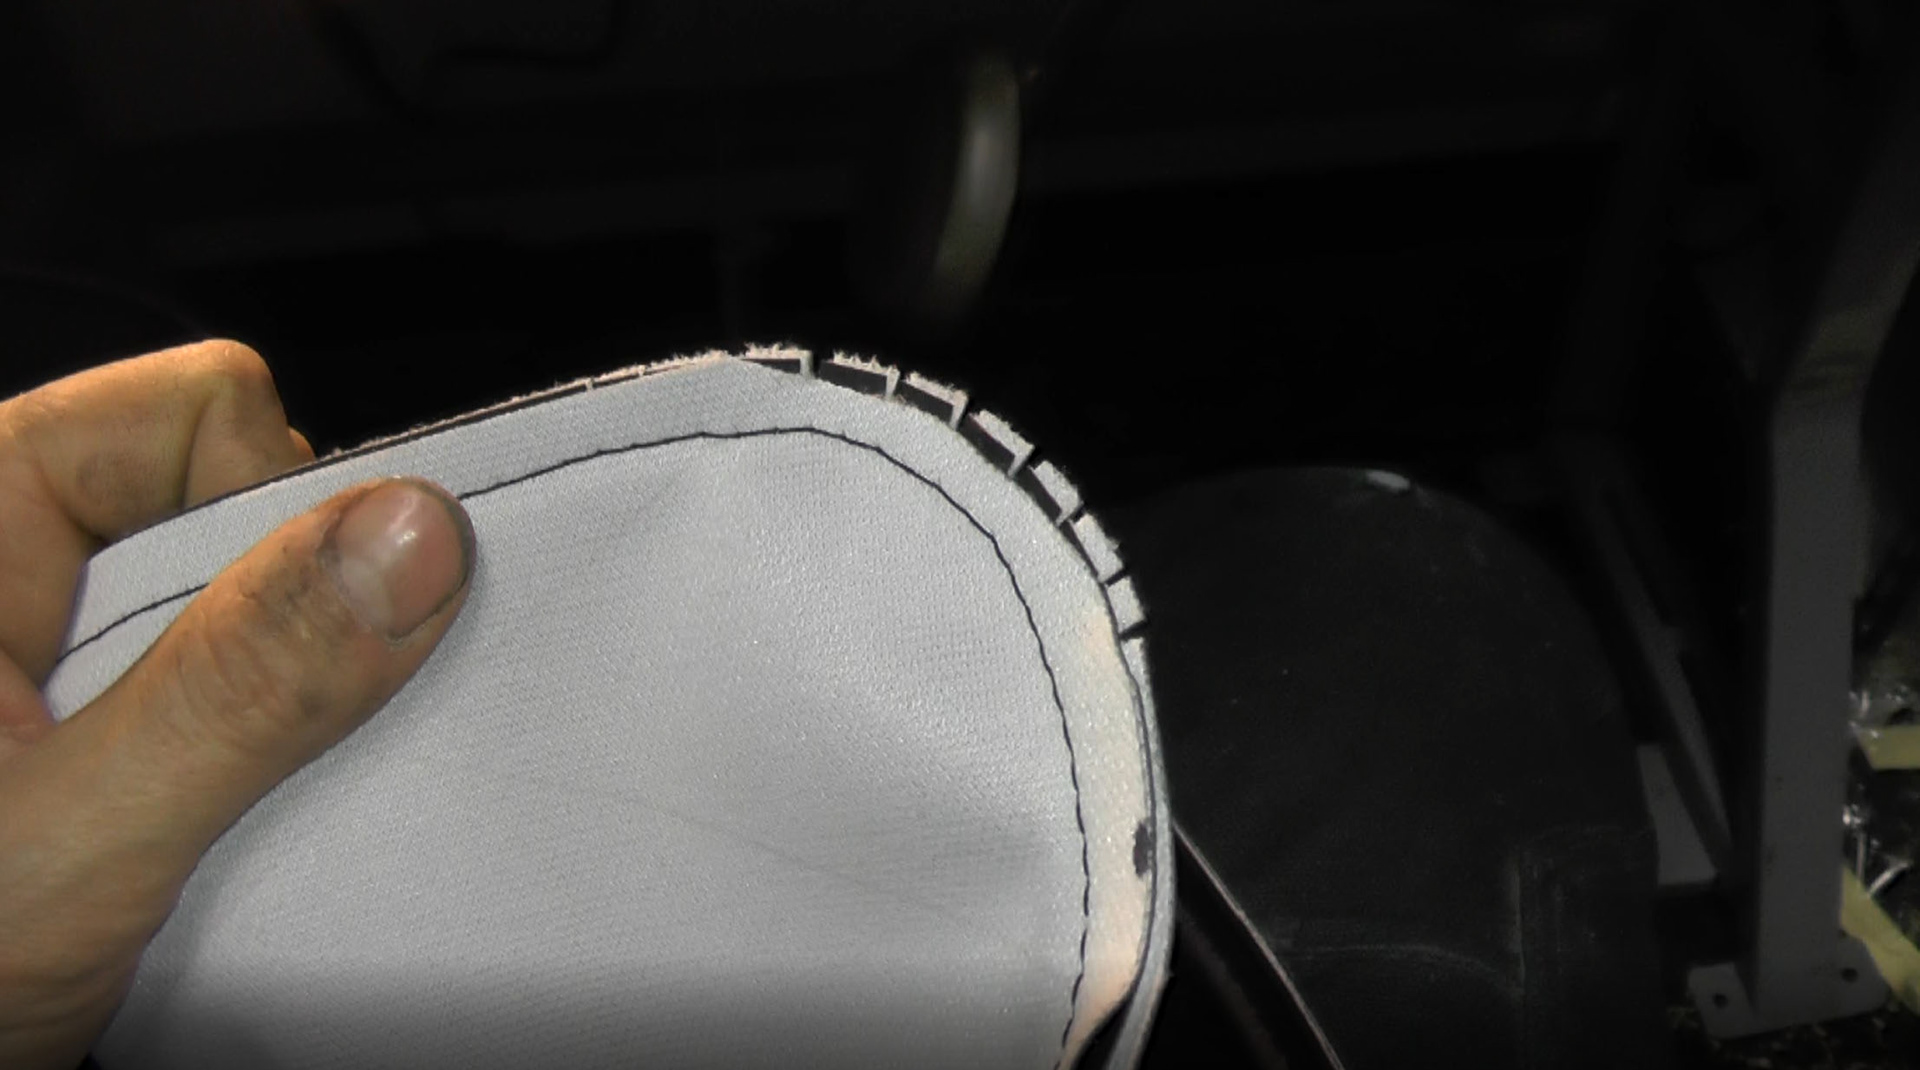
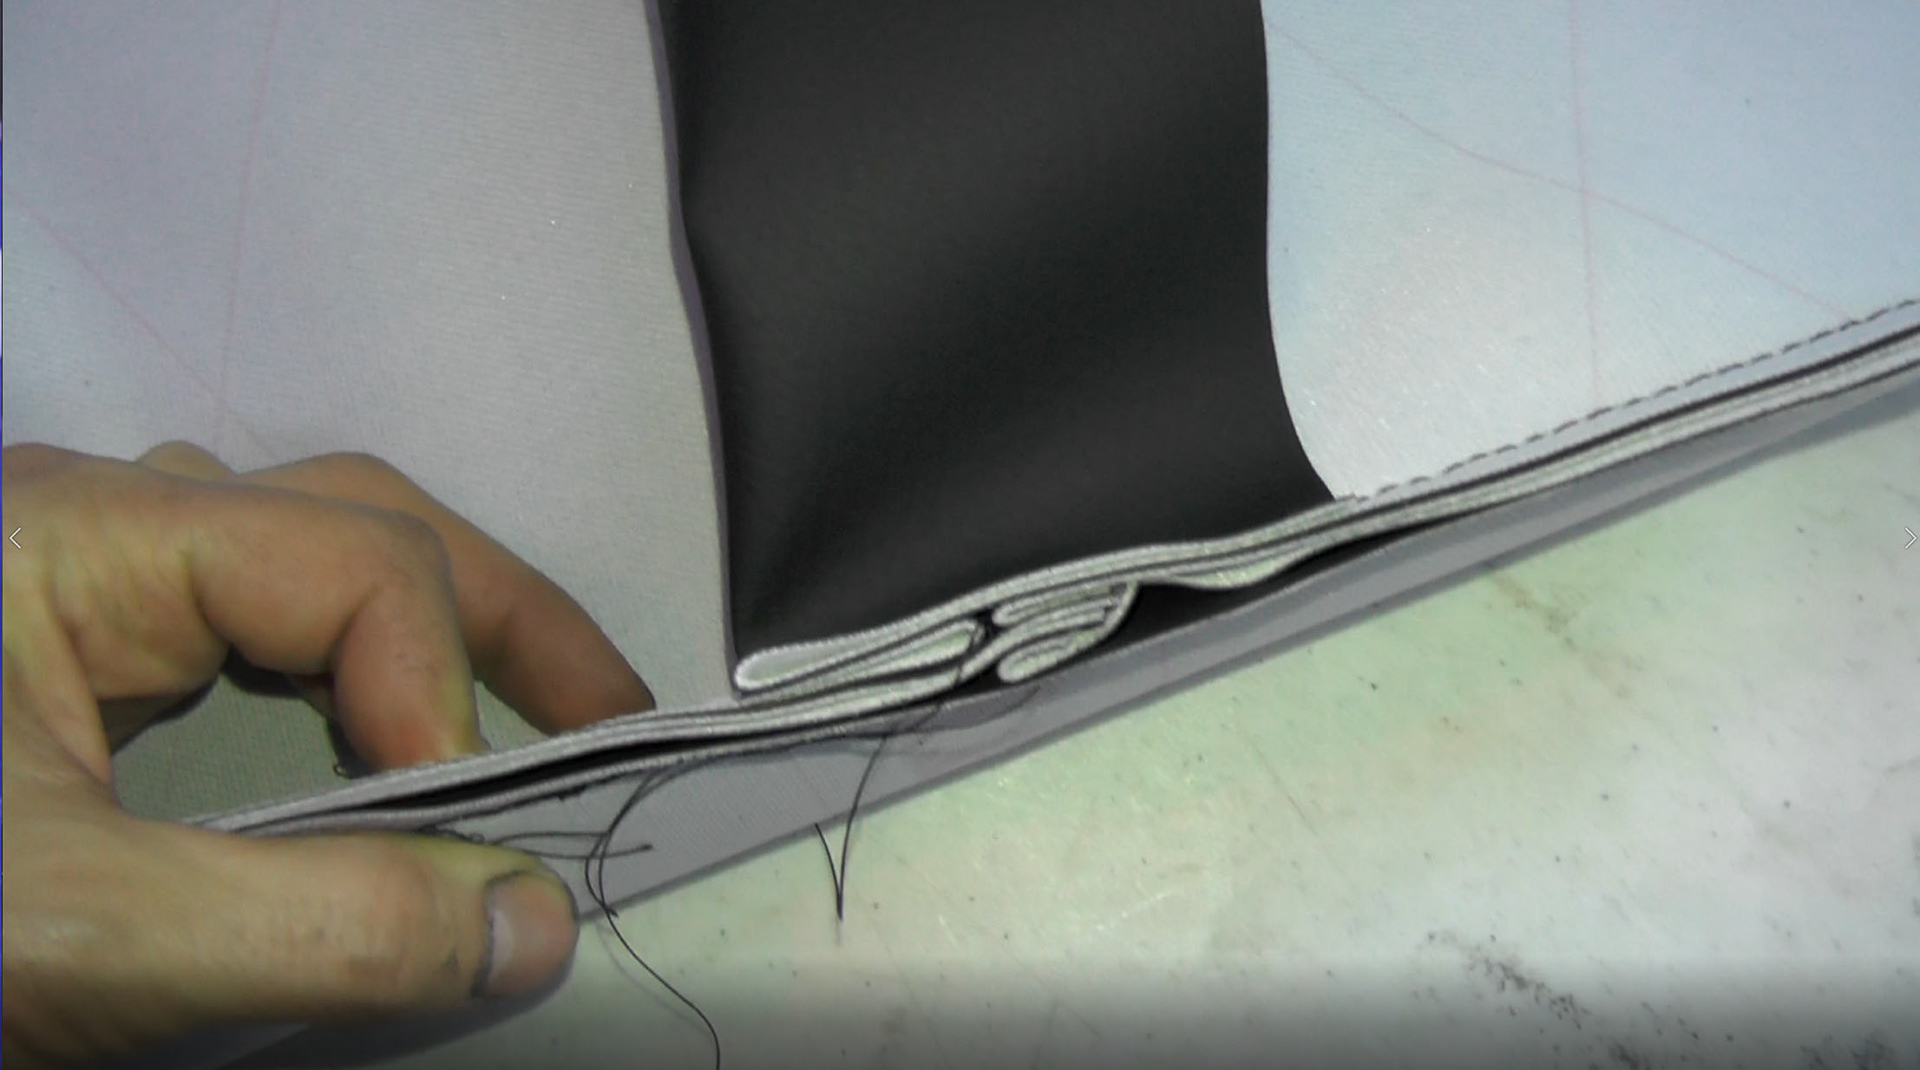
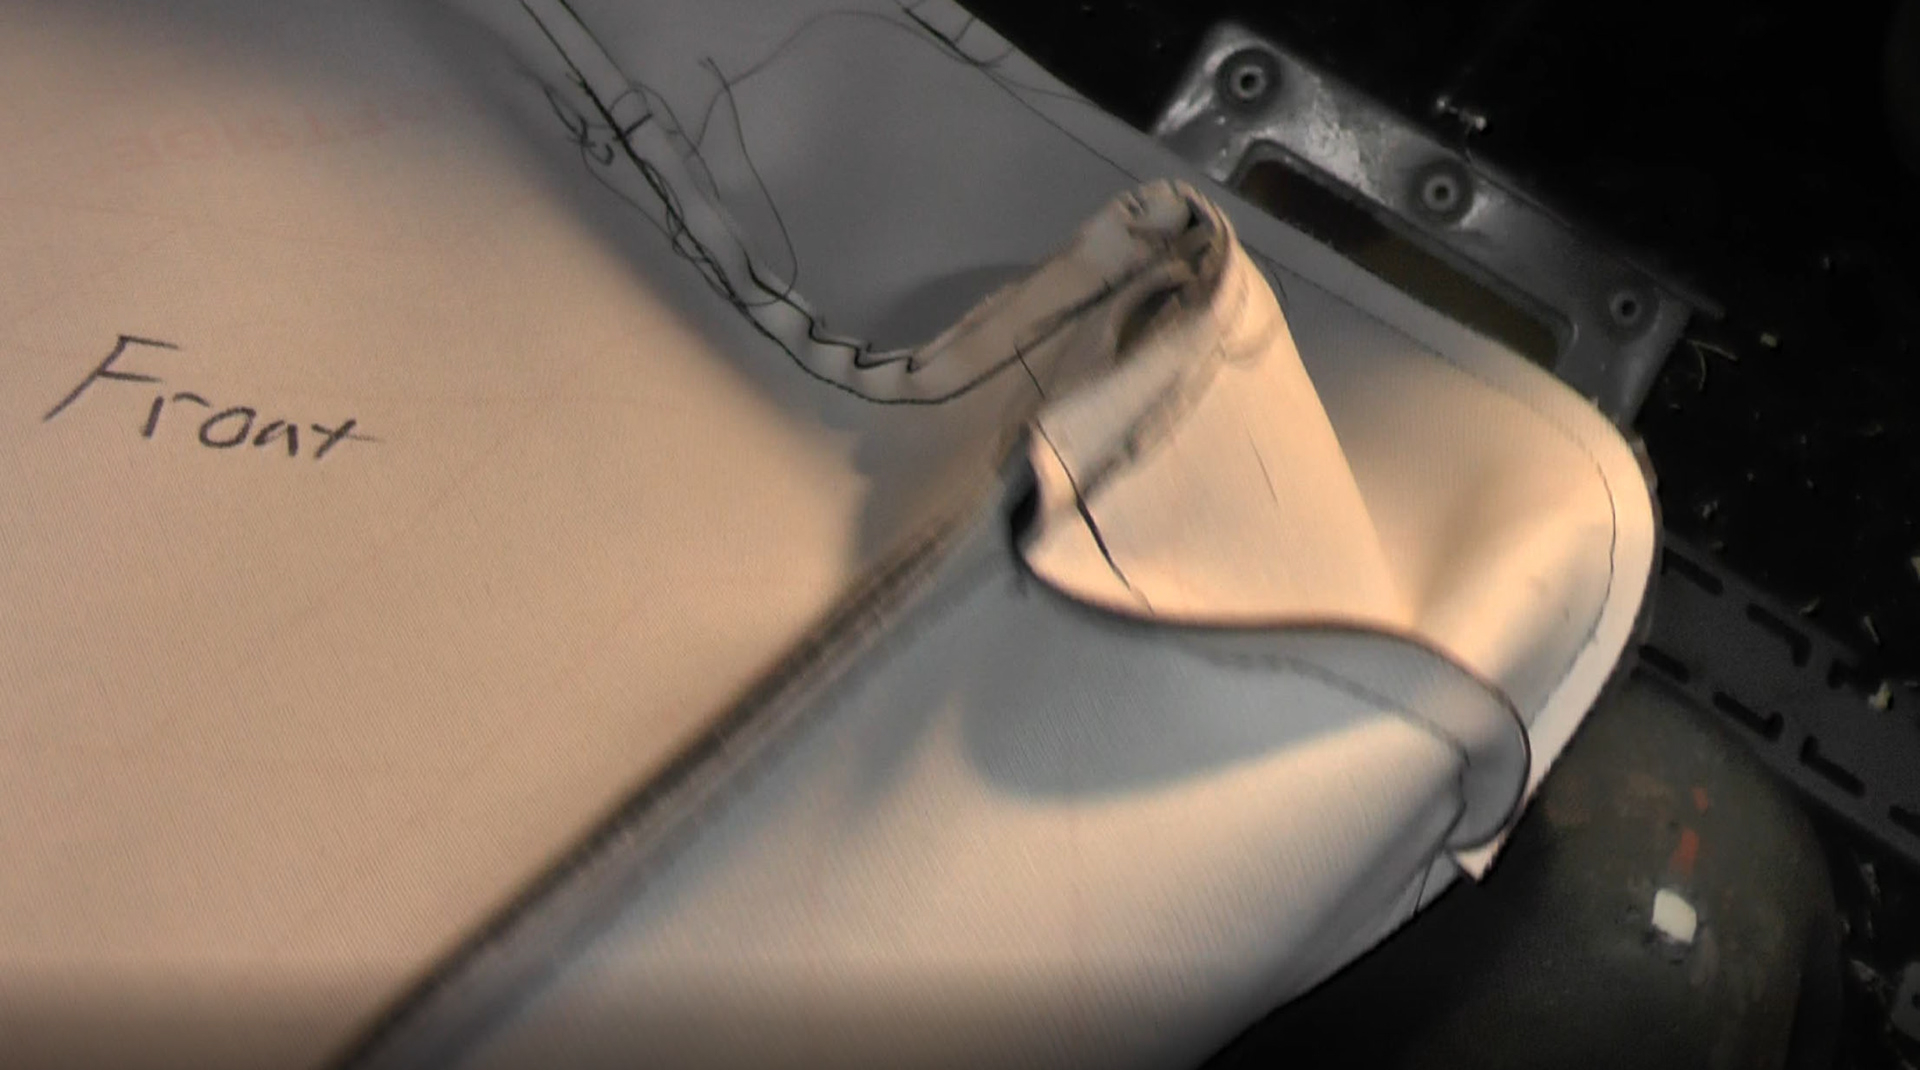
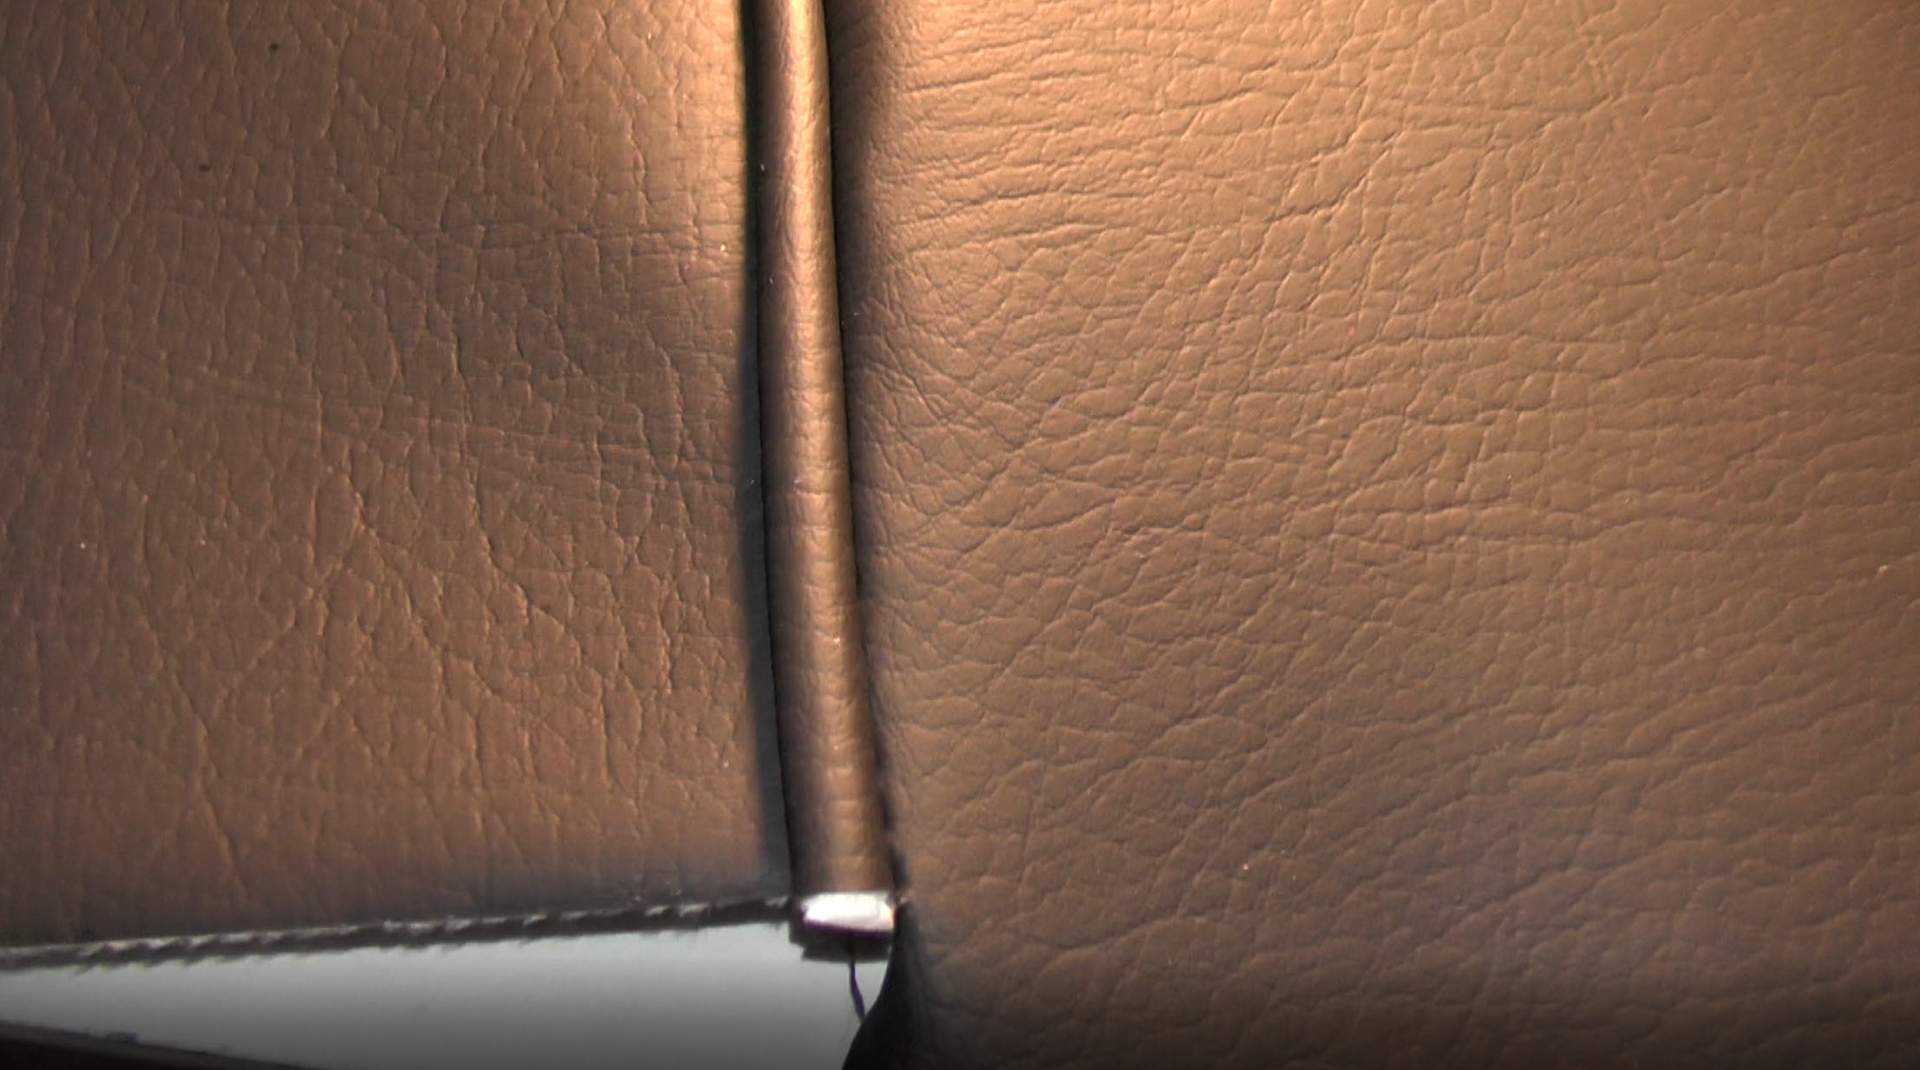
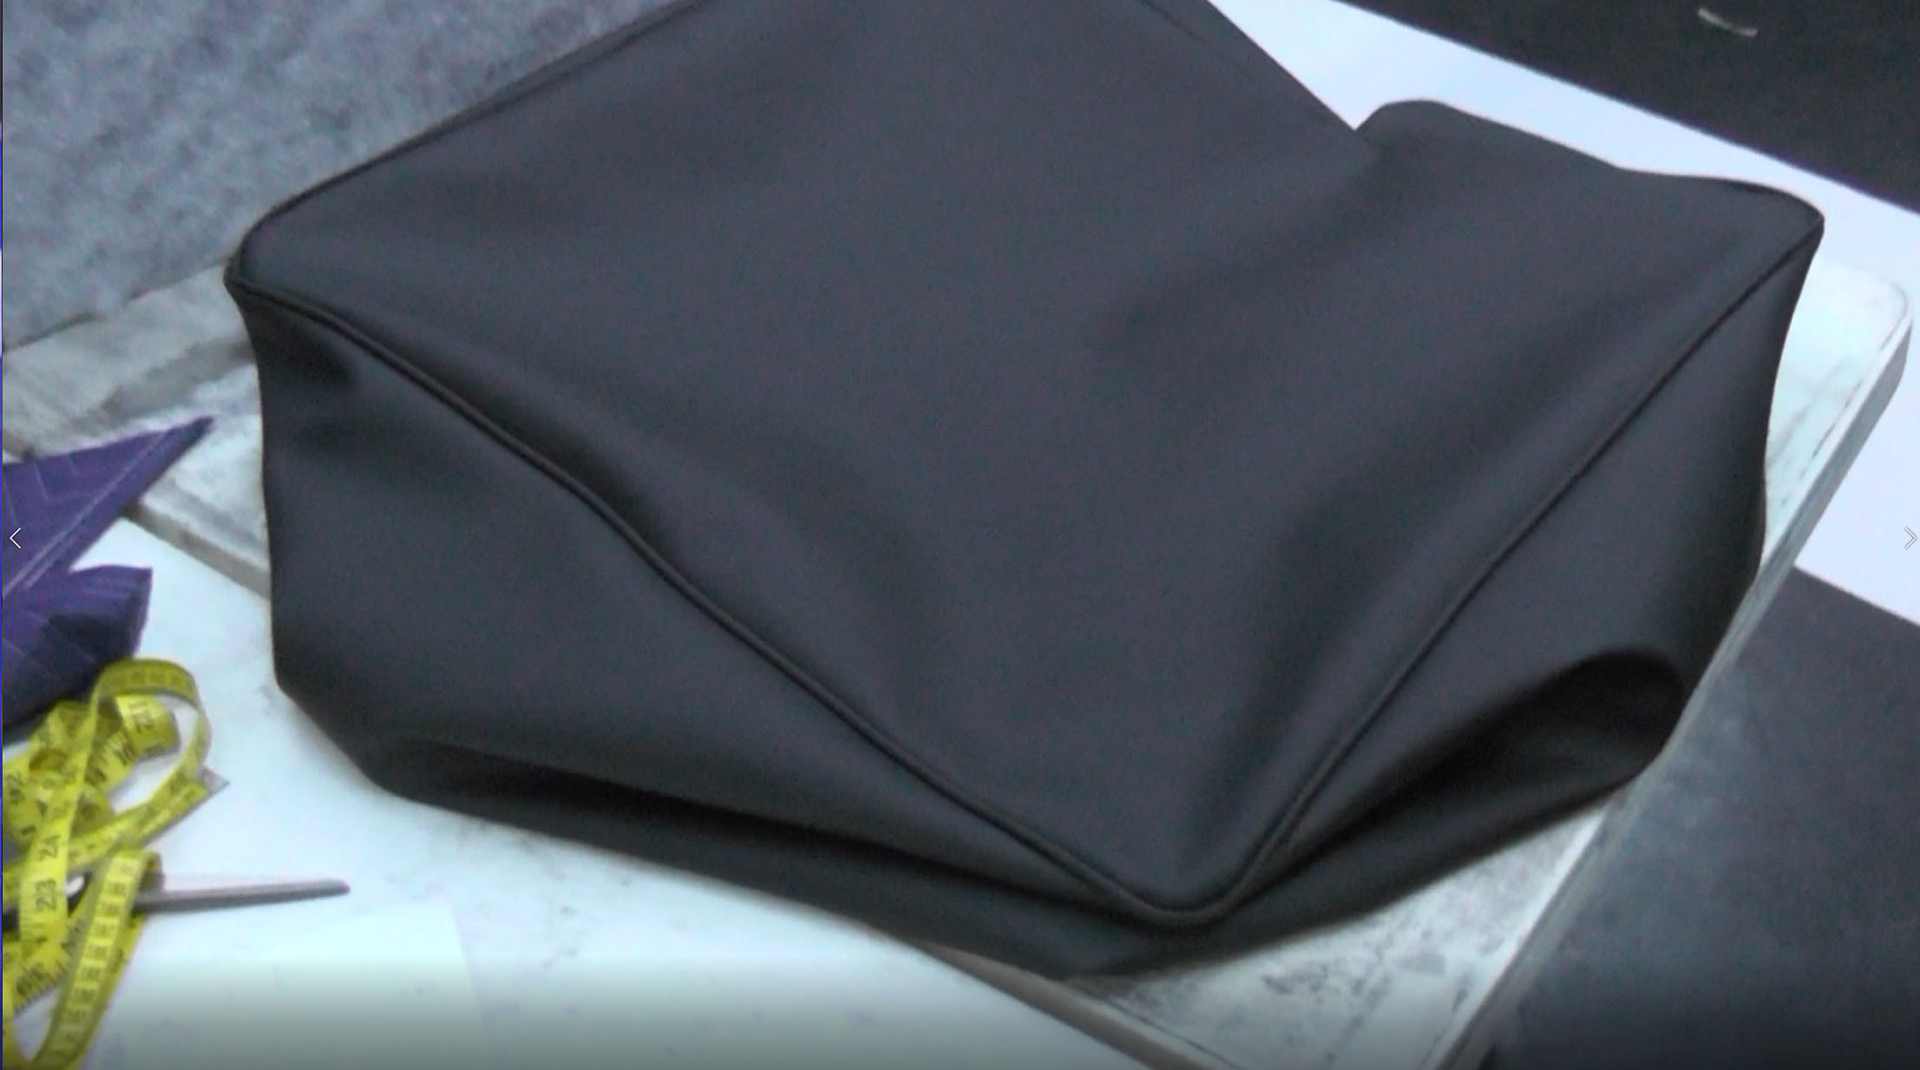
Here, I pattern and cut out the vinyl. I left about an extra inch for overlap when it is all sewn together. It is easier to make it smaller if it is too baggy than to recut the fabric and make it over. Make sure you have a heavy machine if you attempt this because the layers add up.
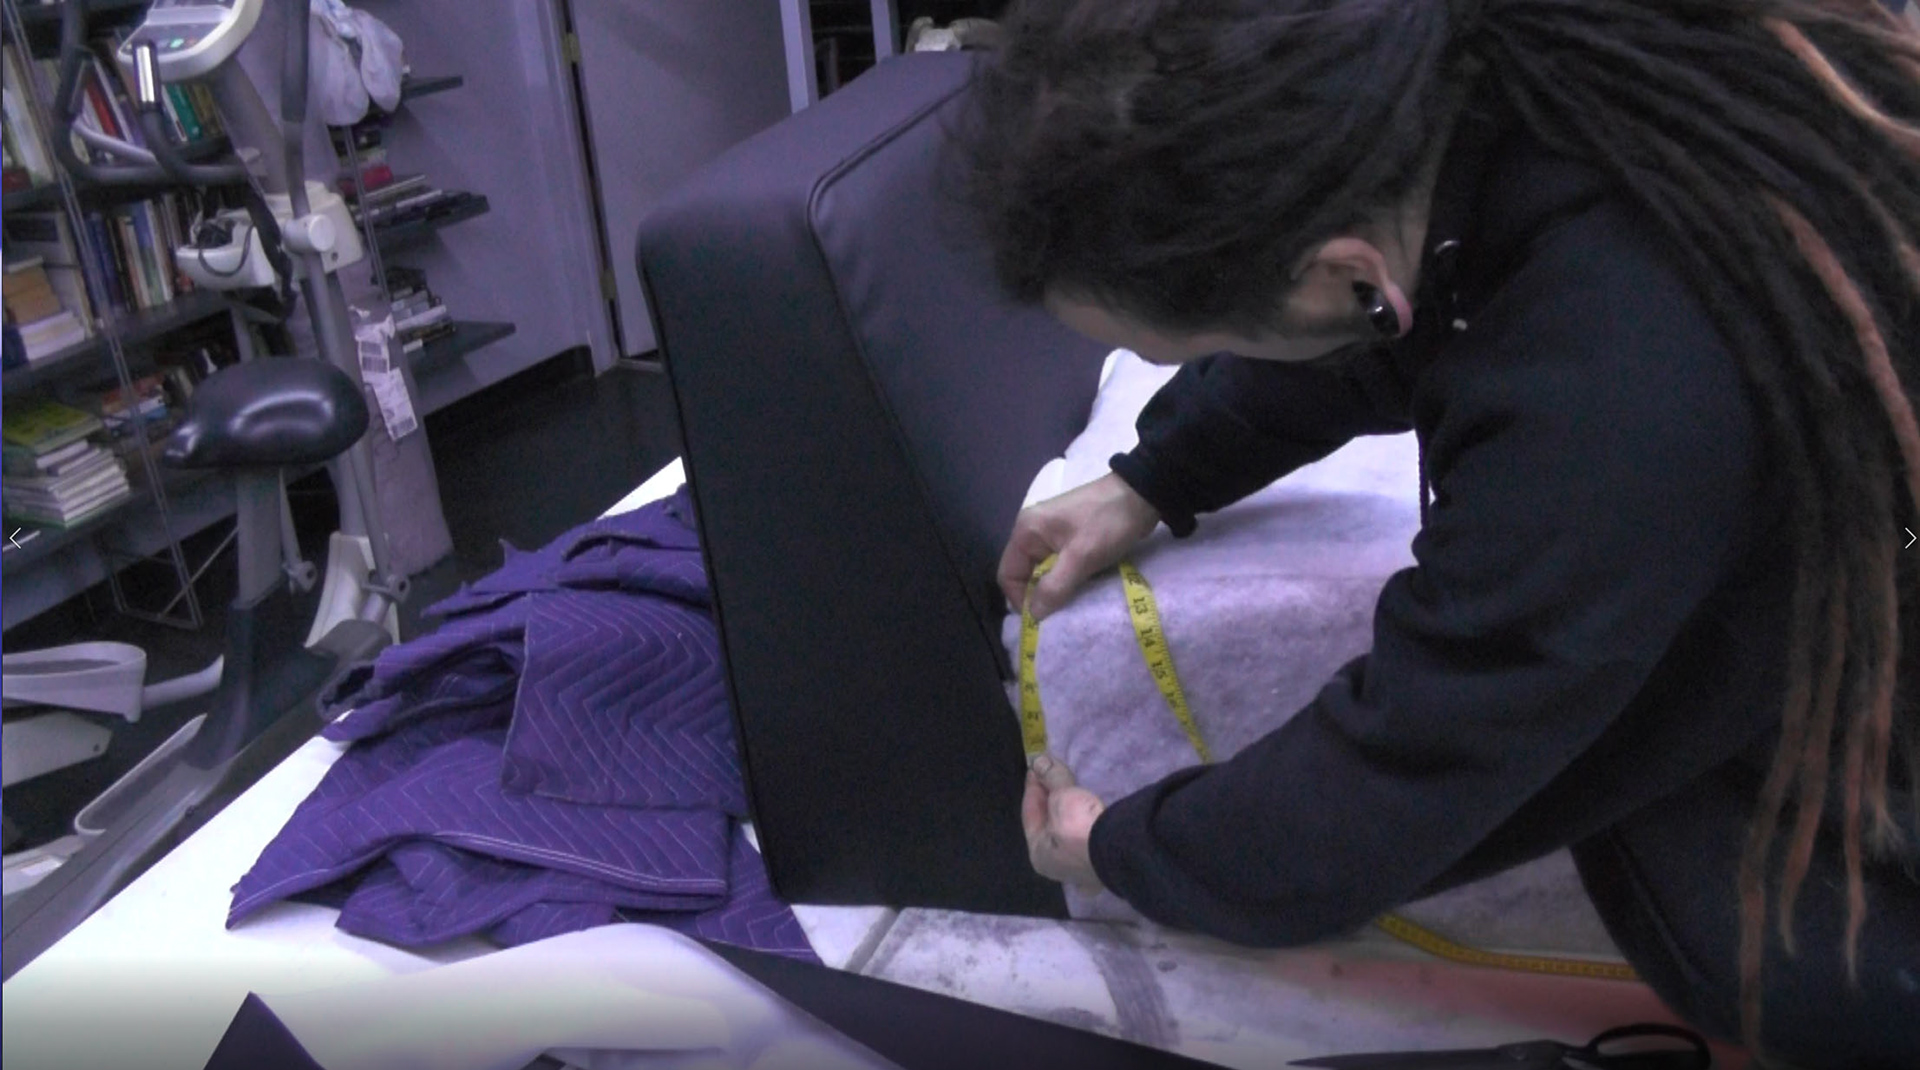
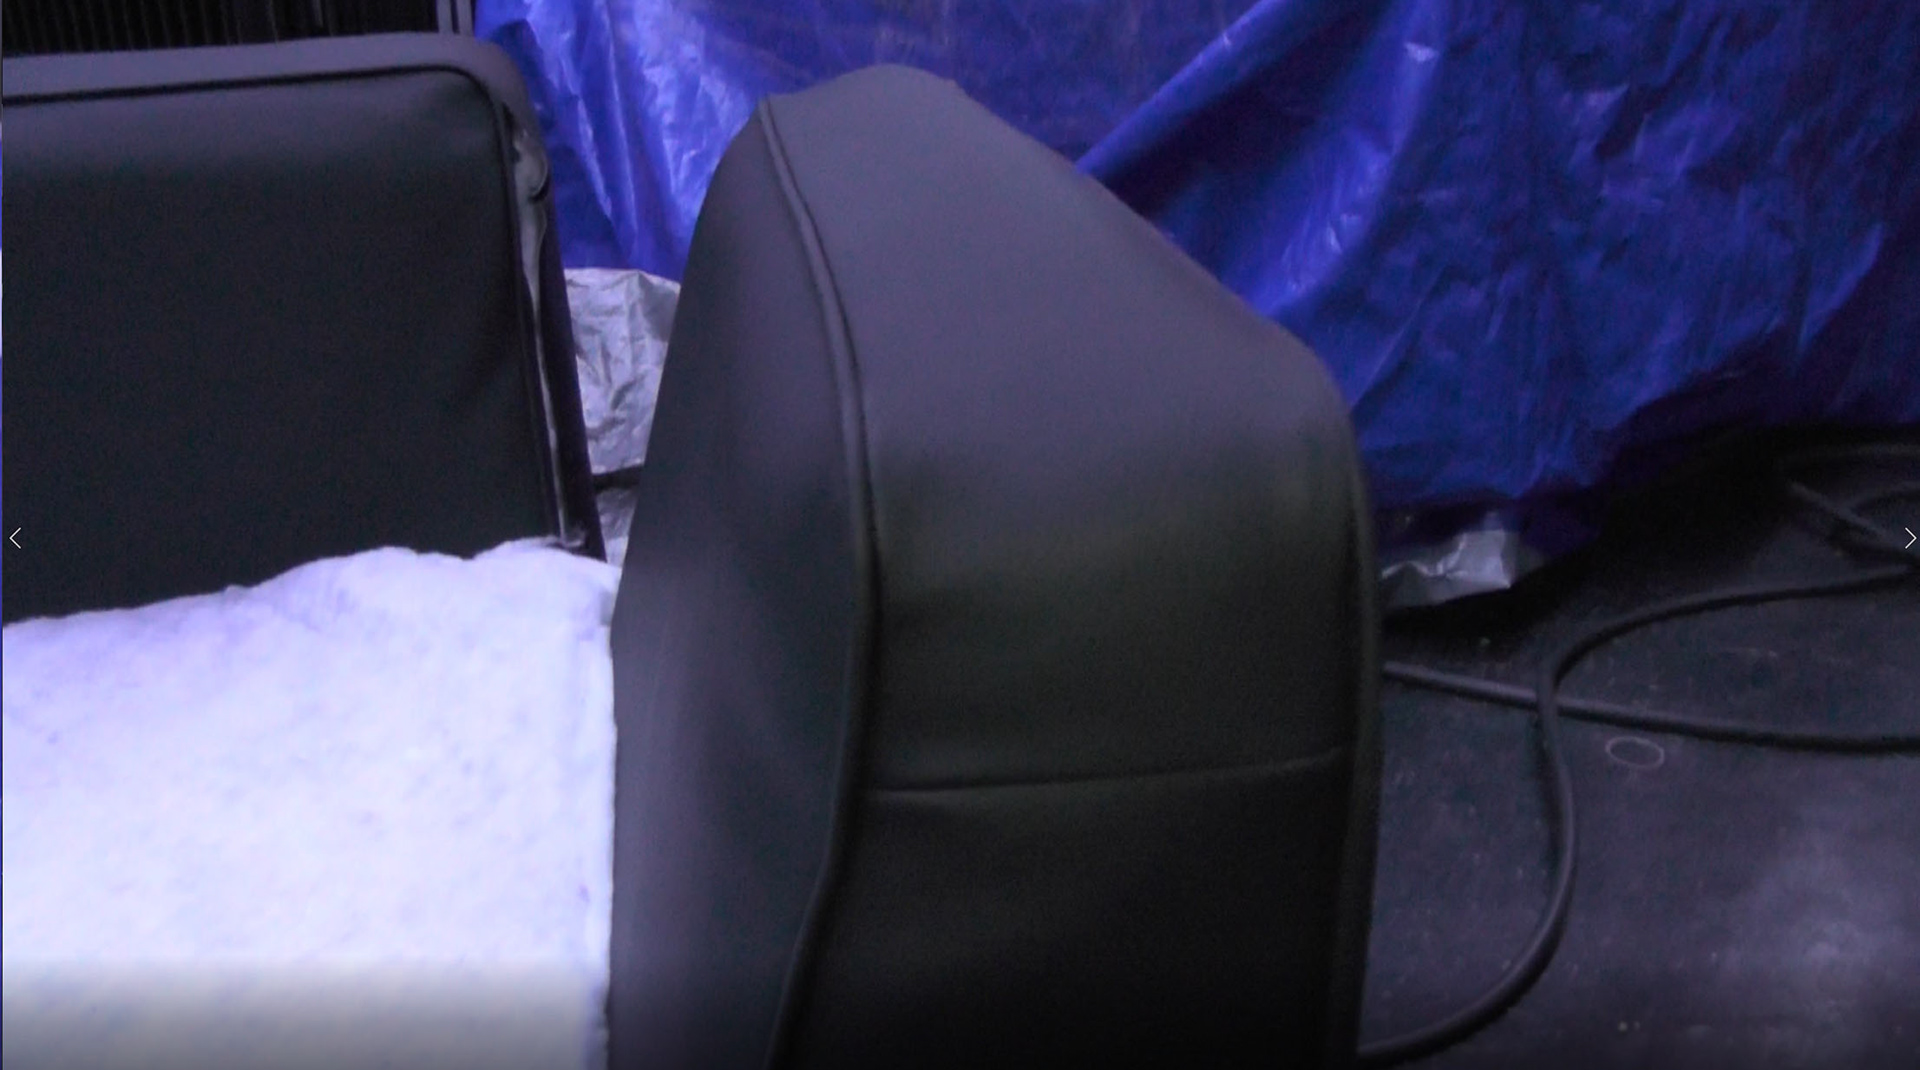
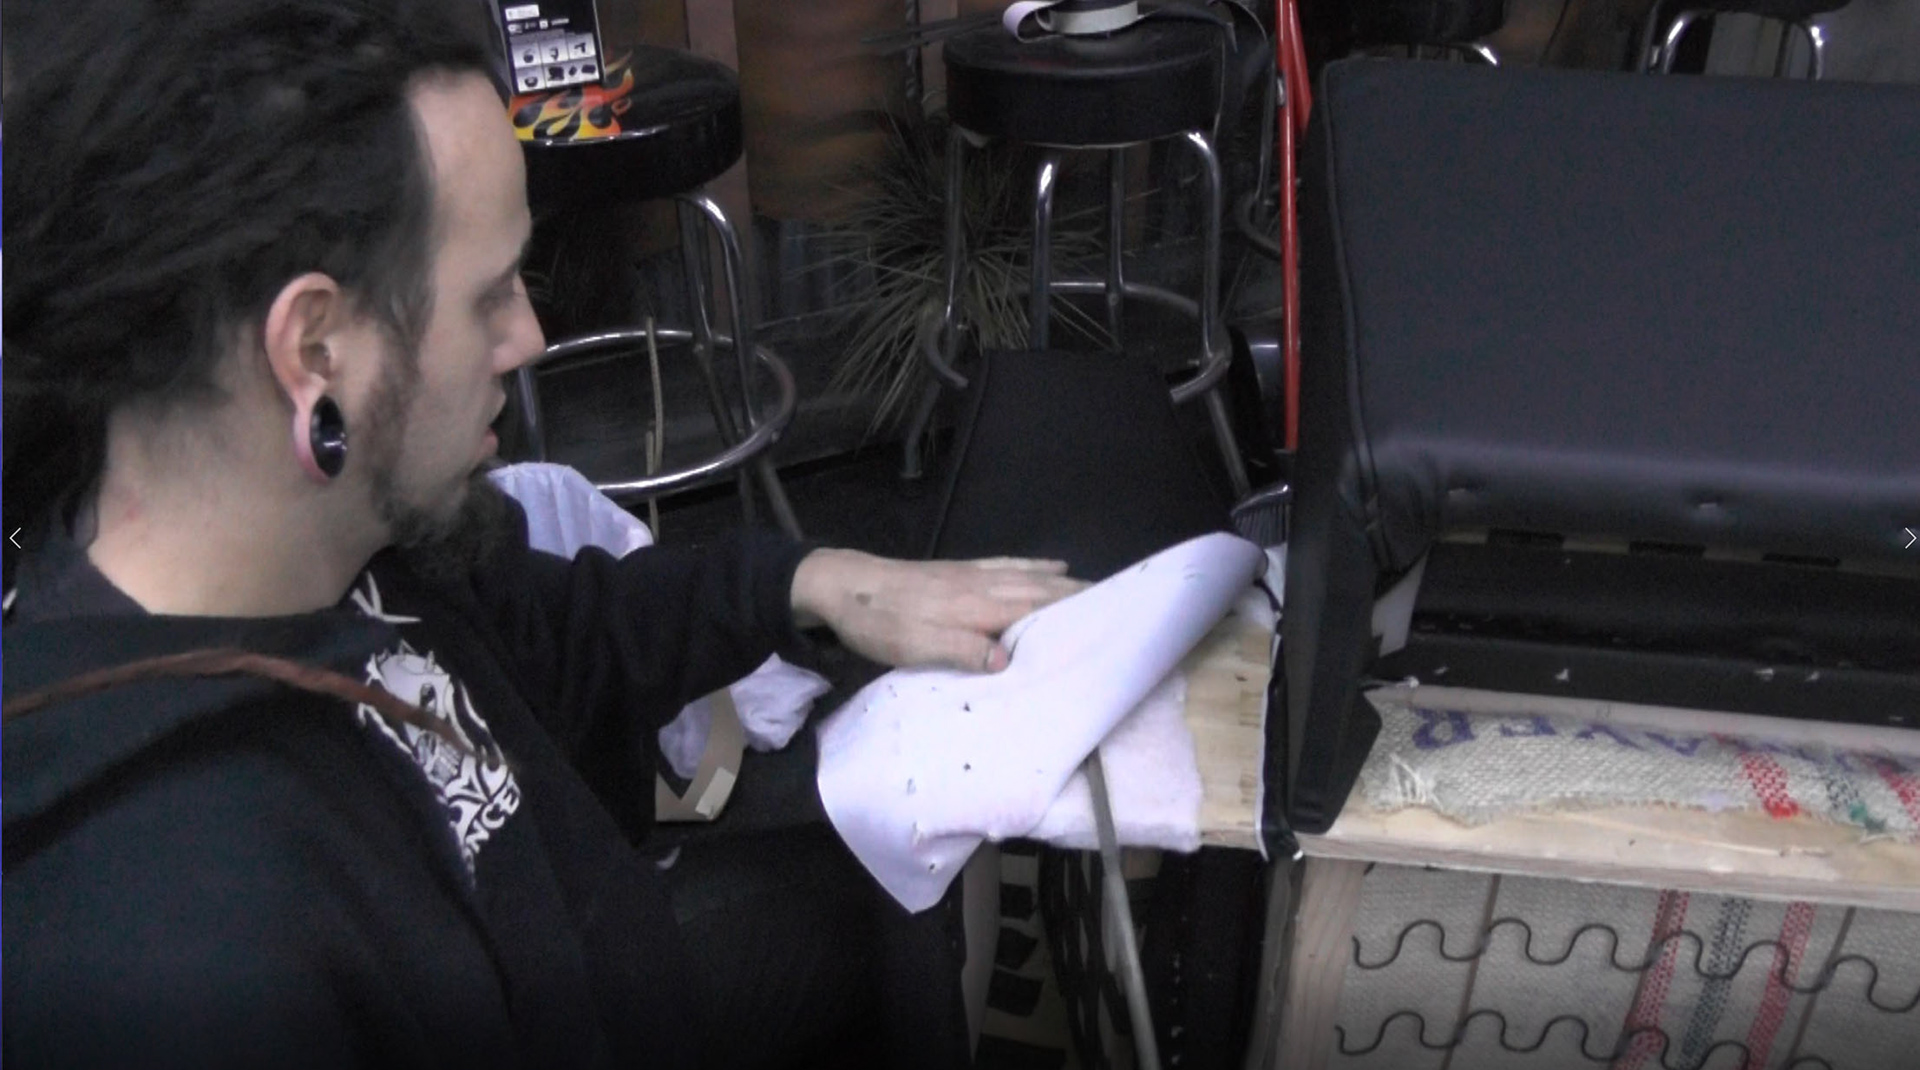
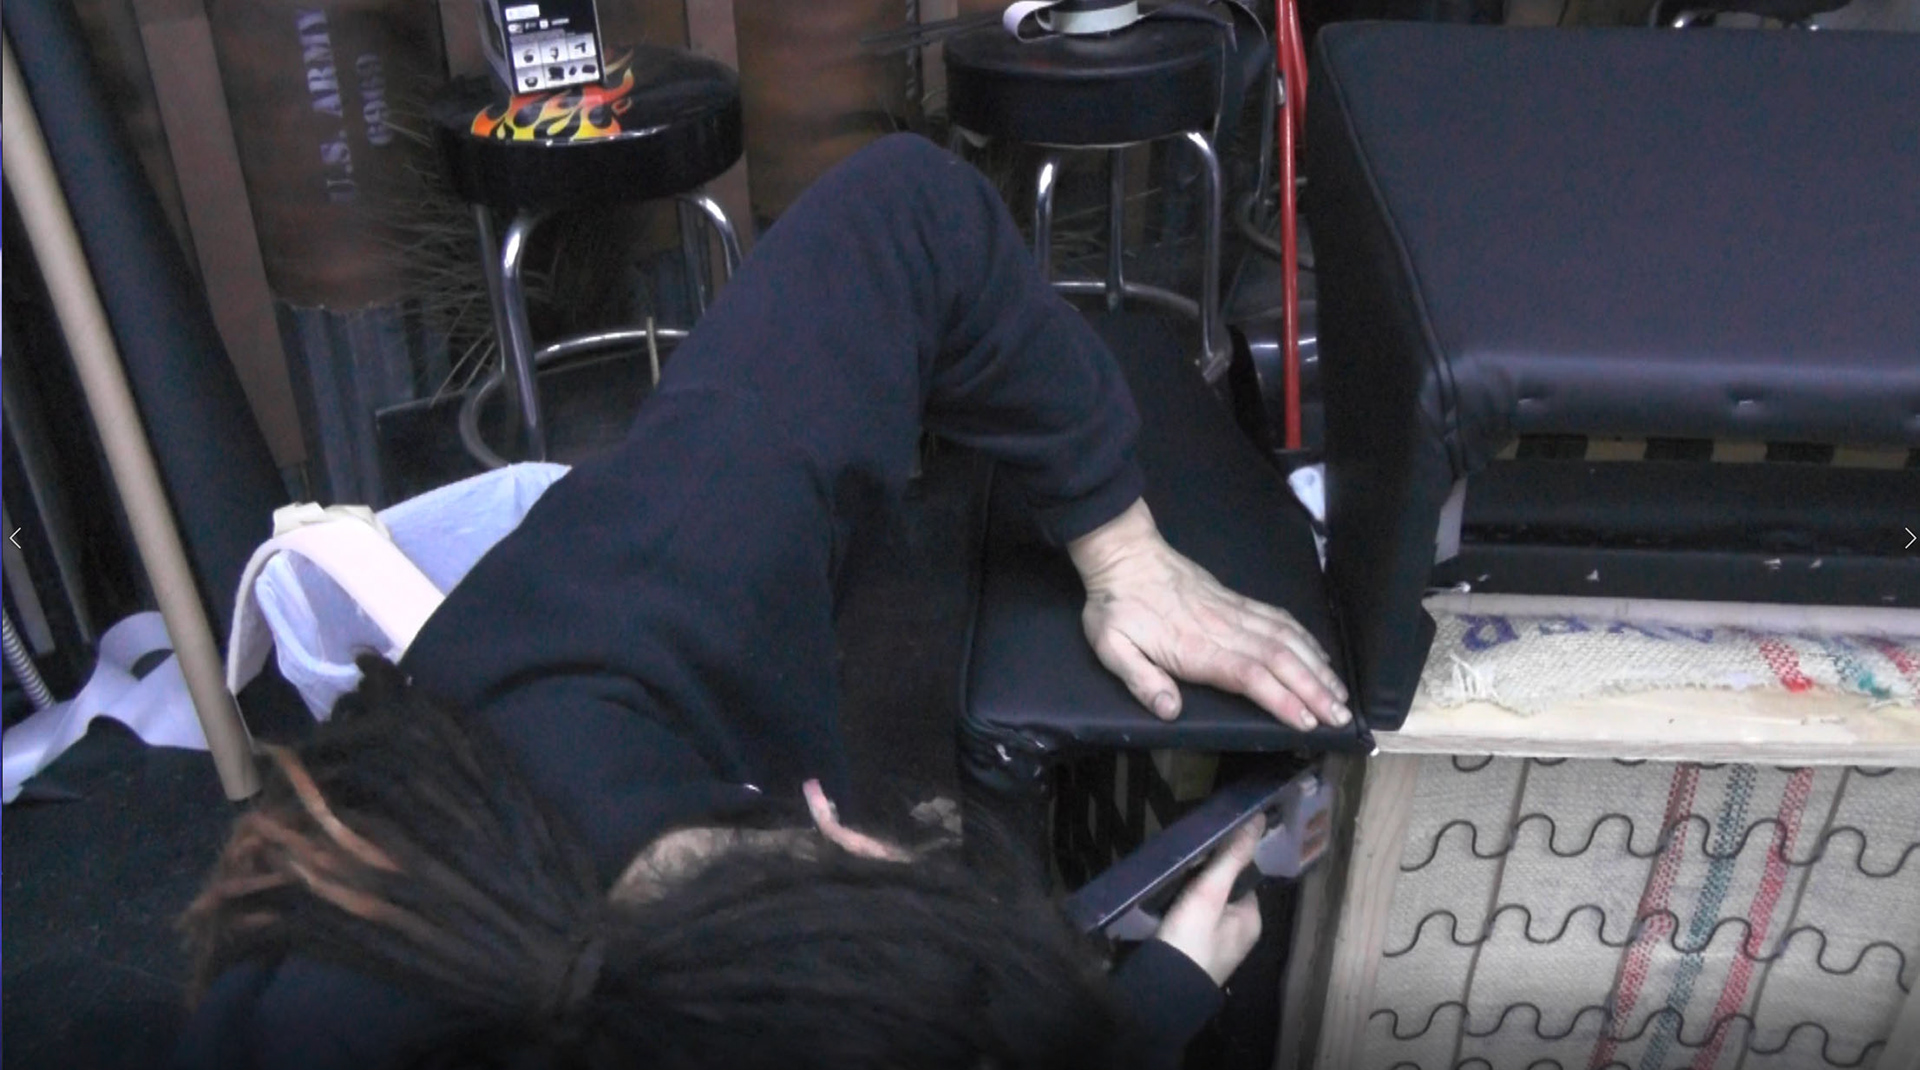
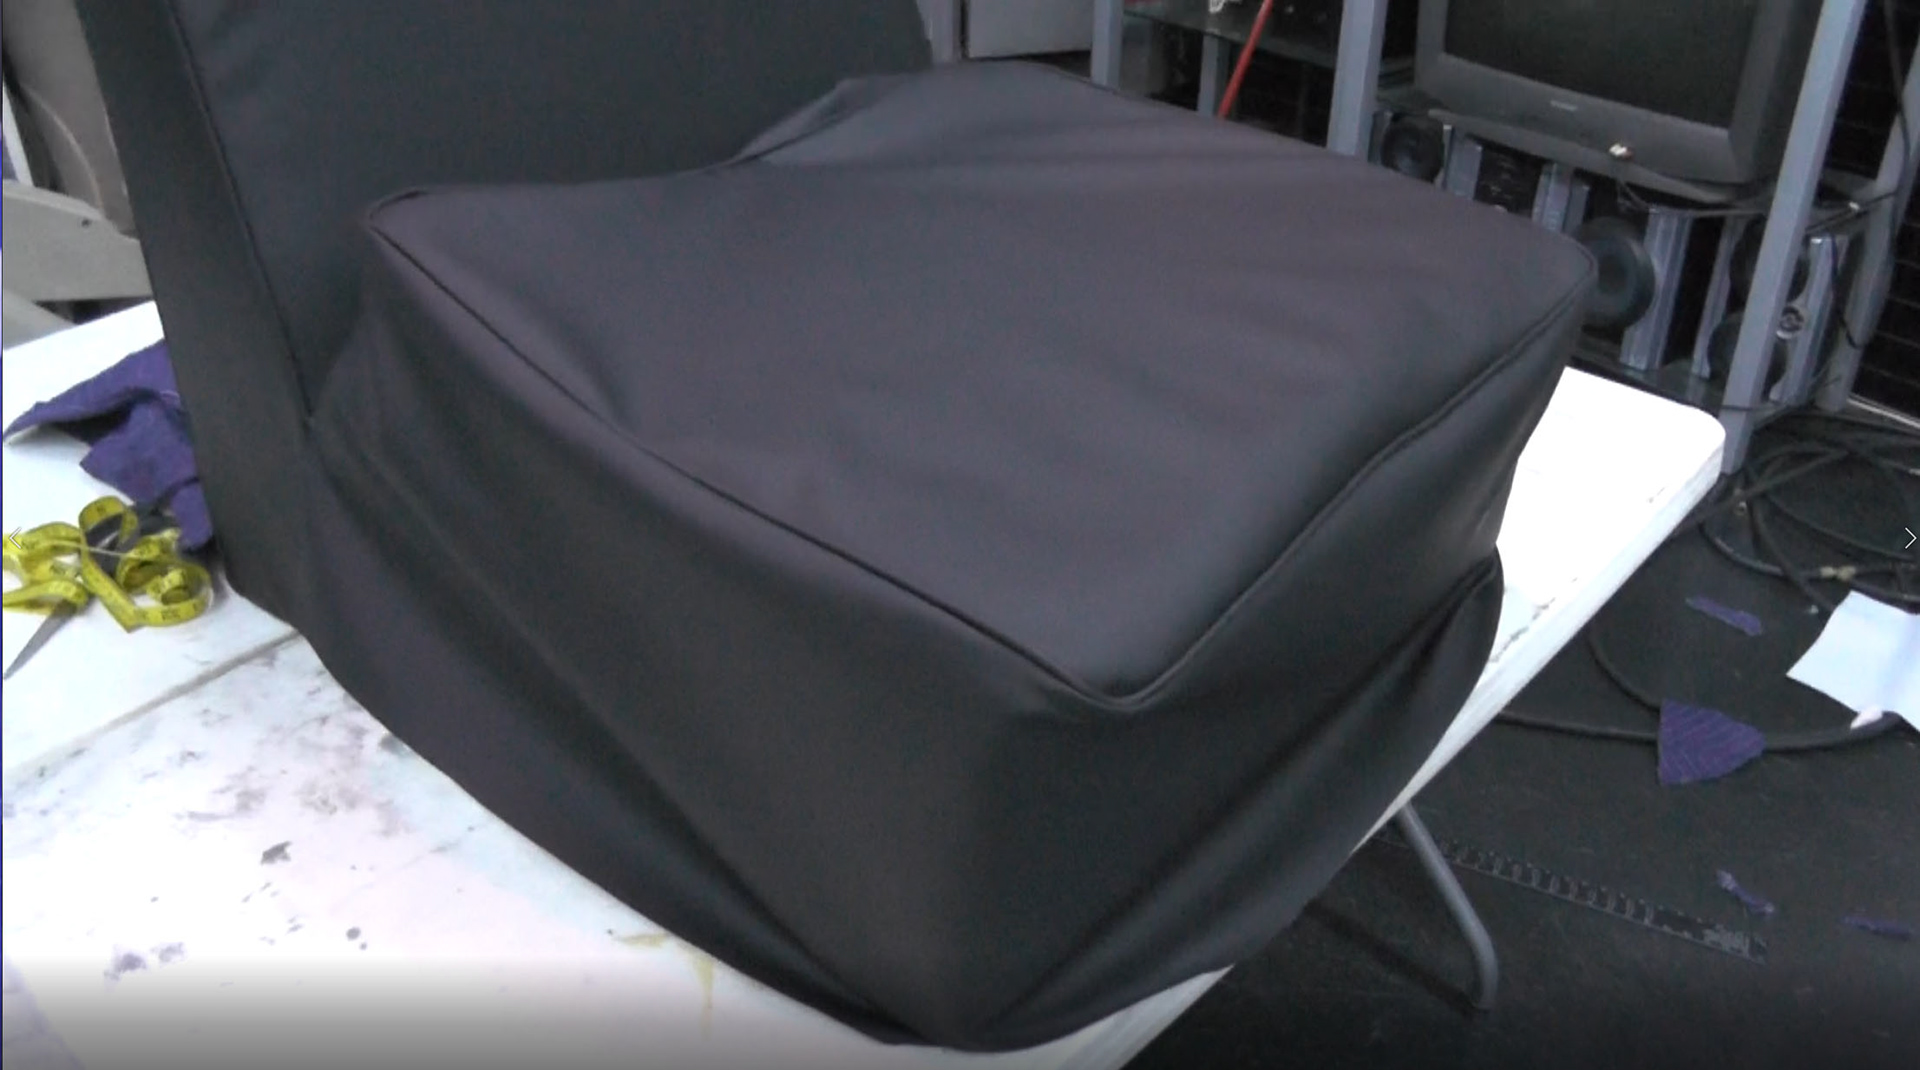
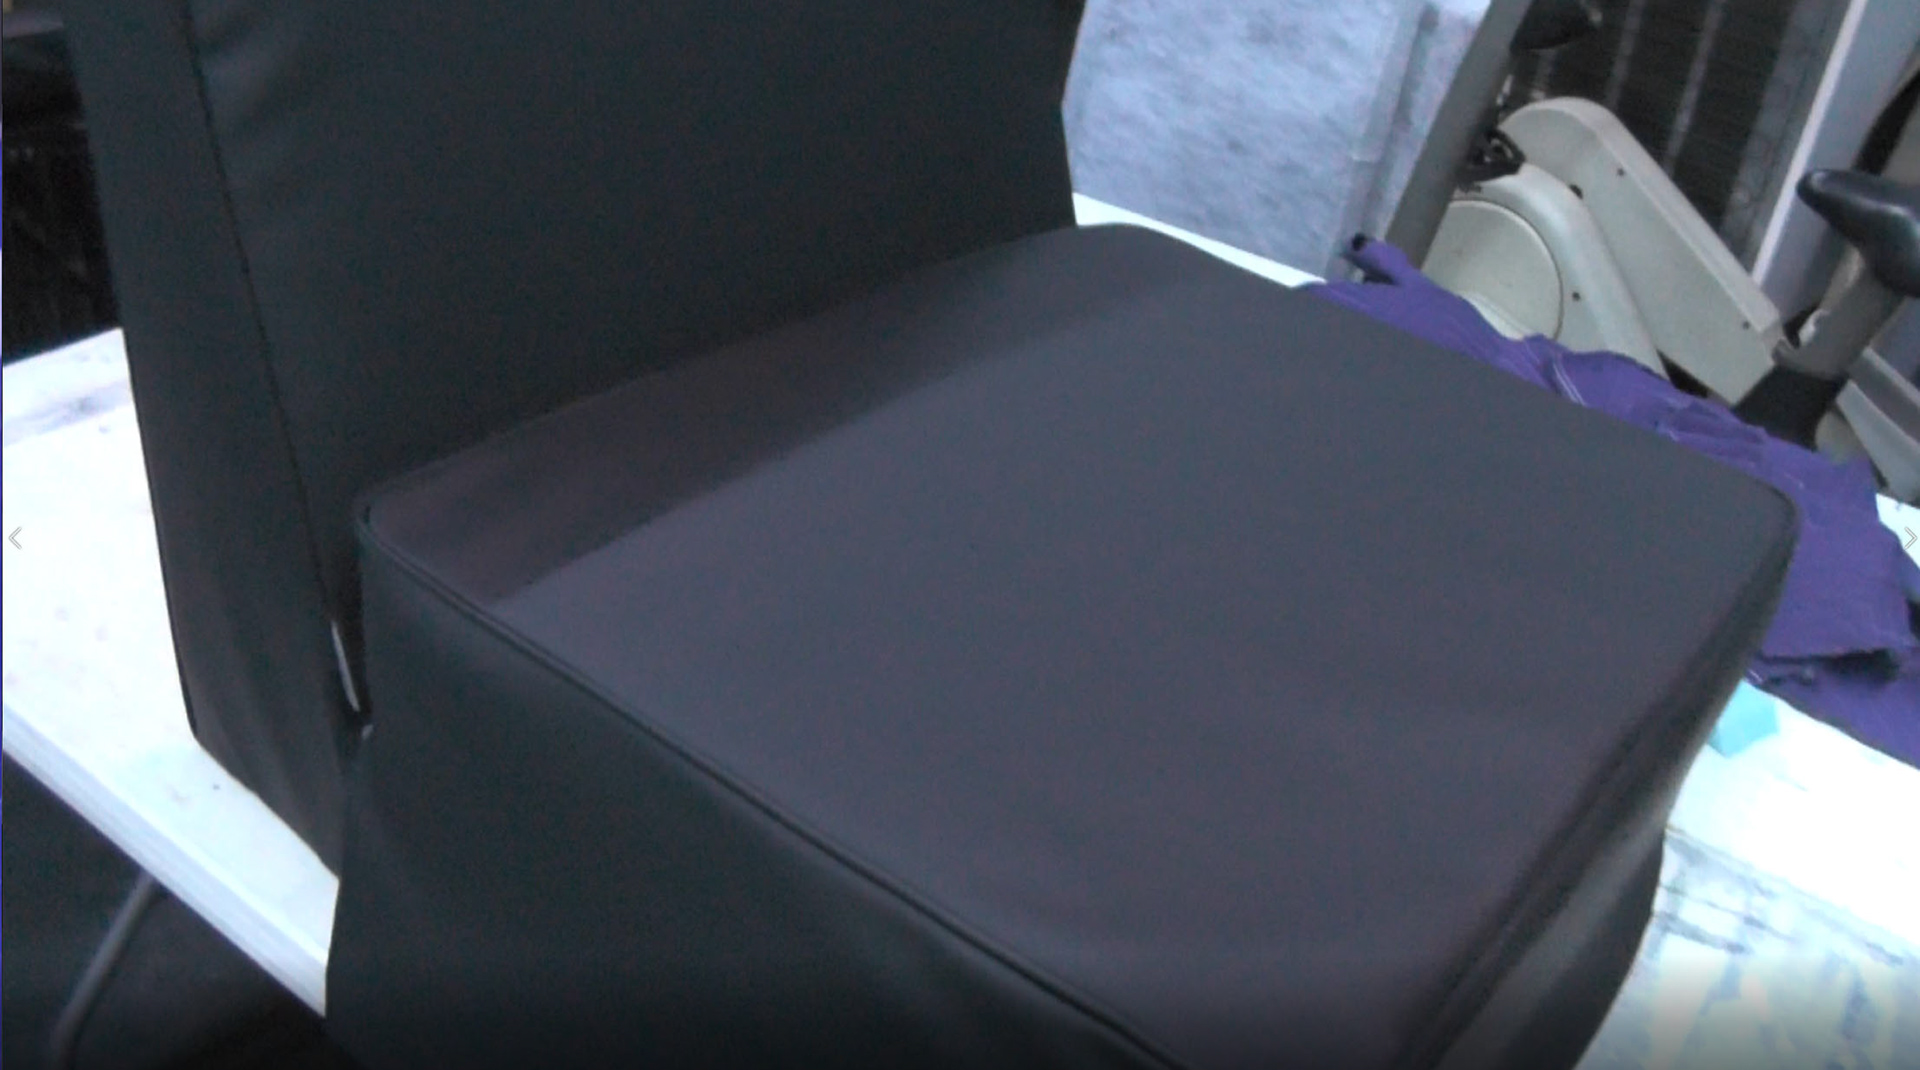
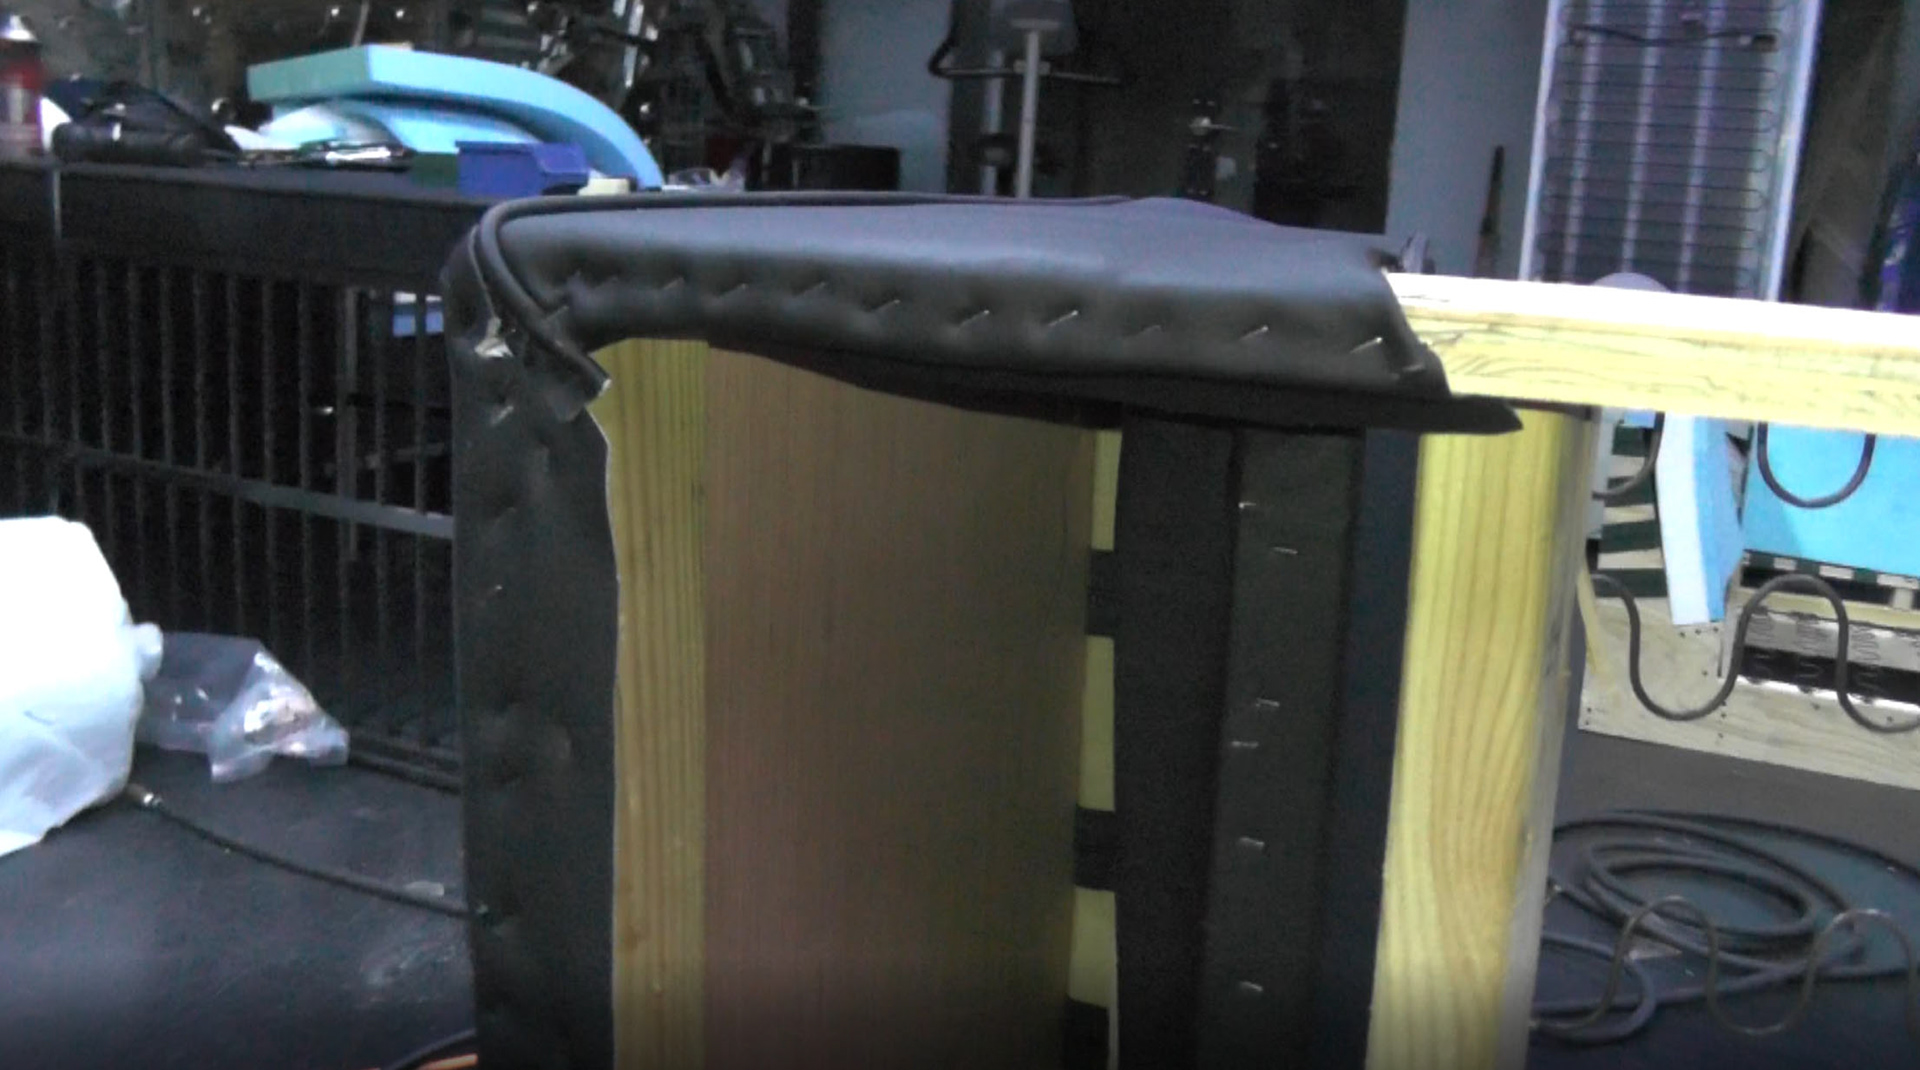
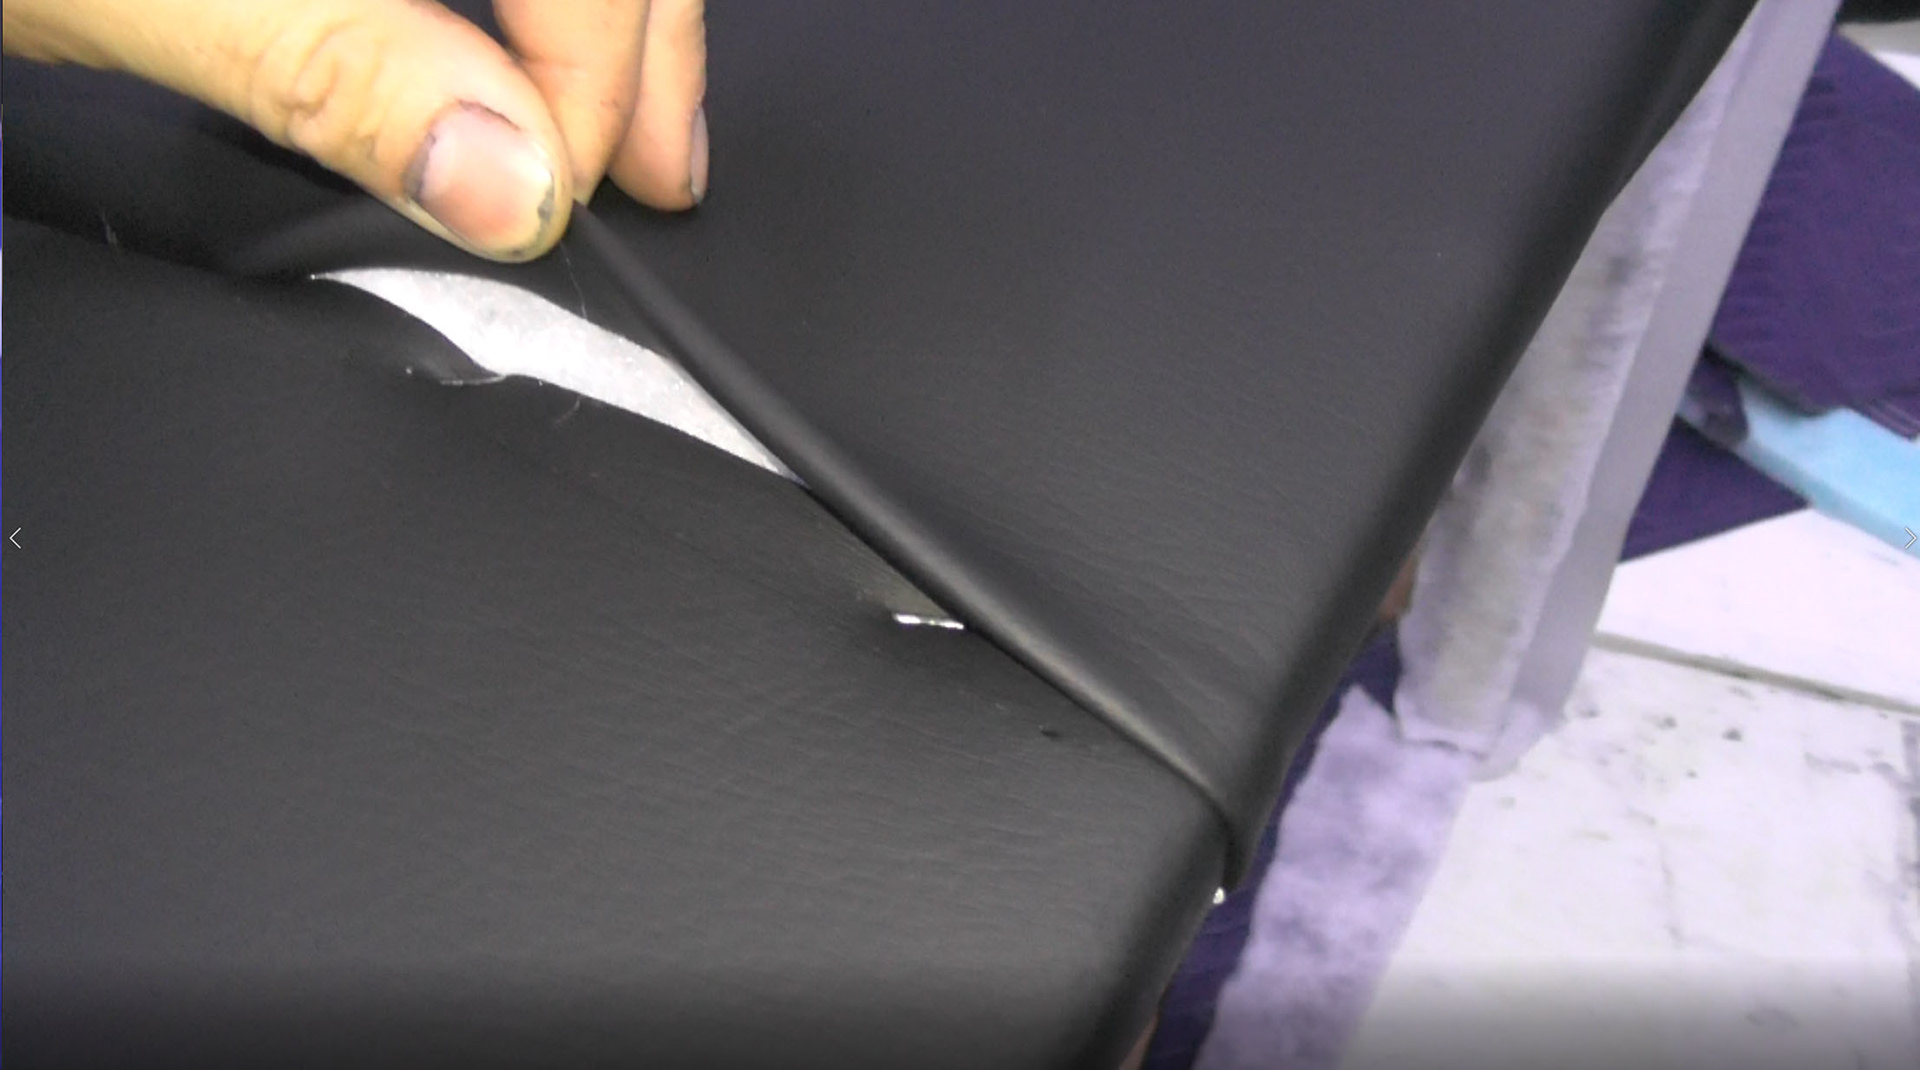
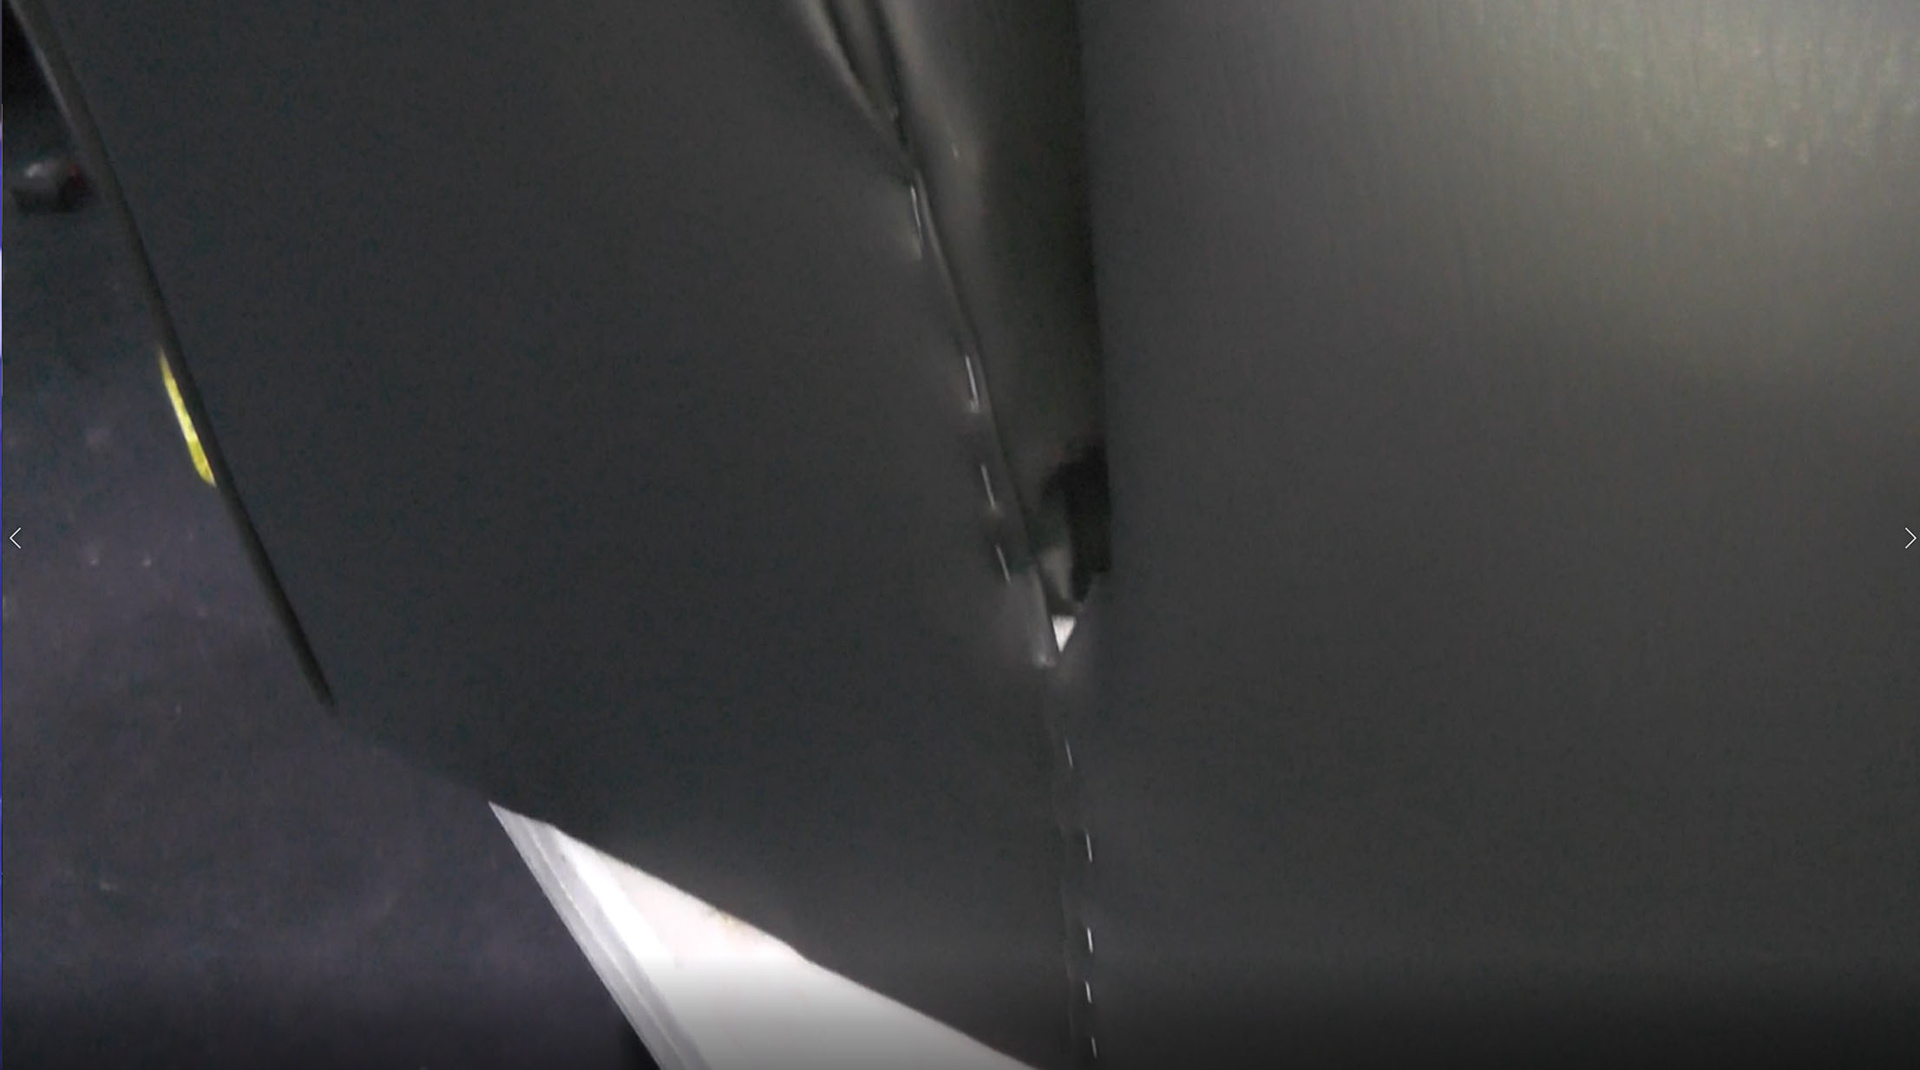
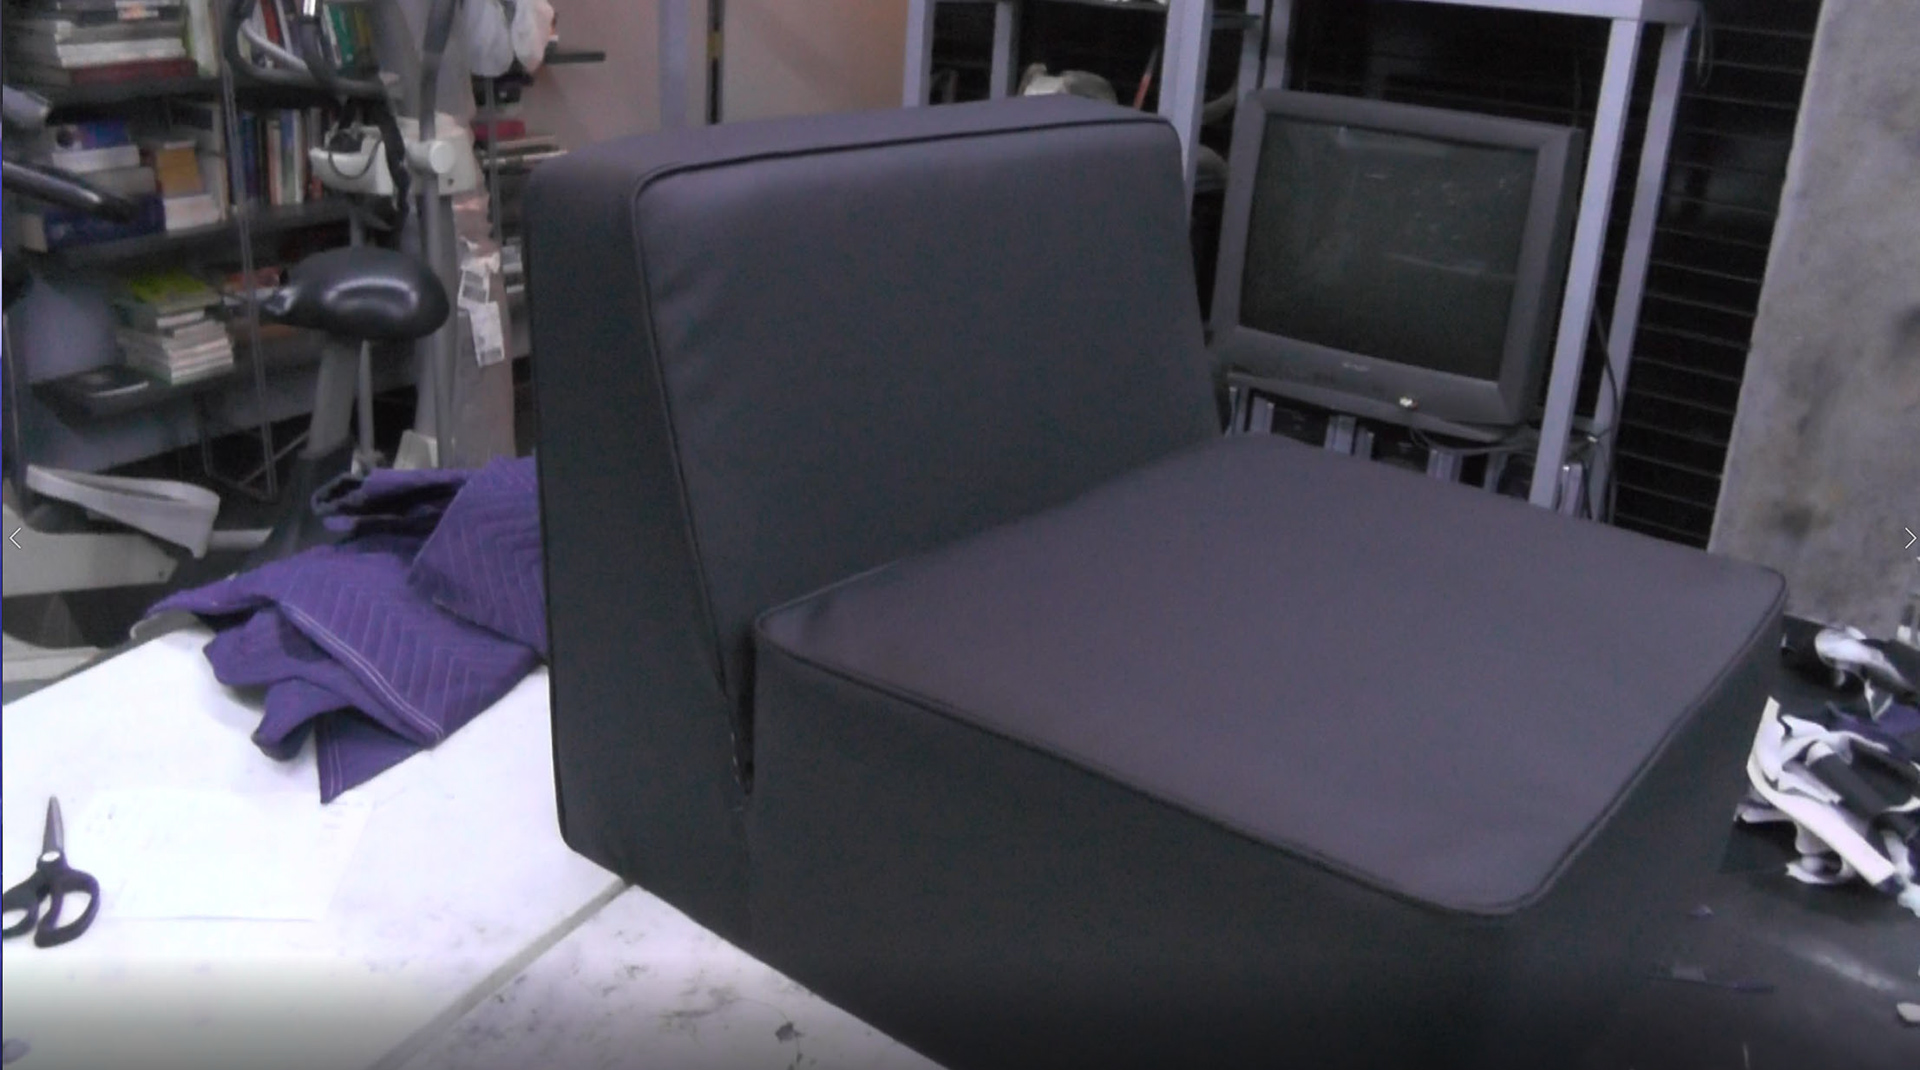
With the covers sewn, they are stapled in place. Most of the staples are hidden, but there are a few places that there wasn't anywhere to hide the staples. They will all be hidden when the couch is assembled.
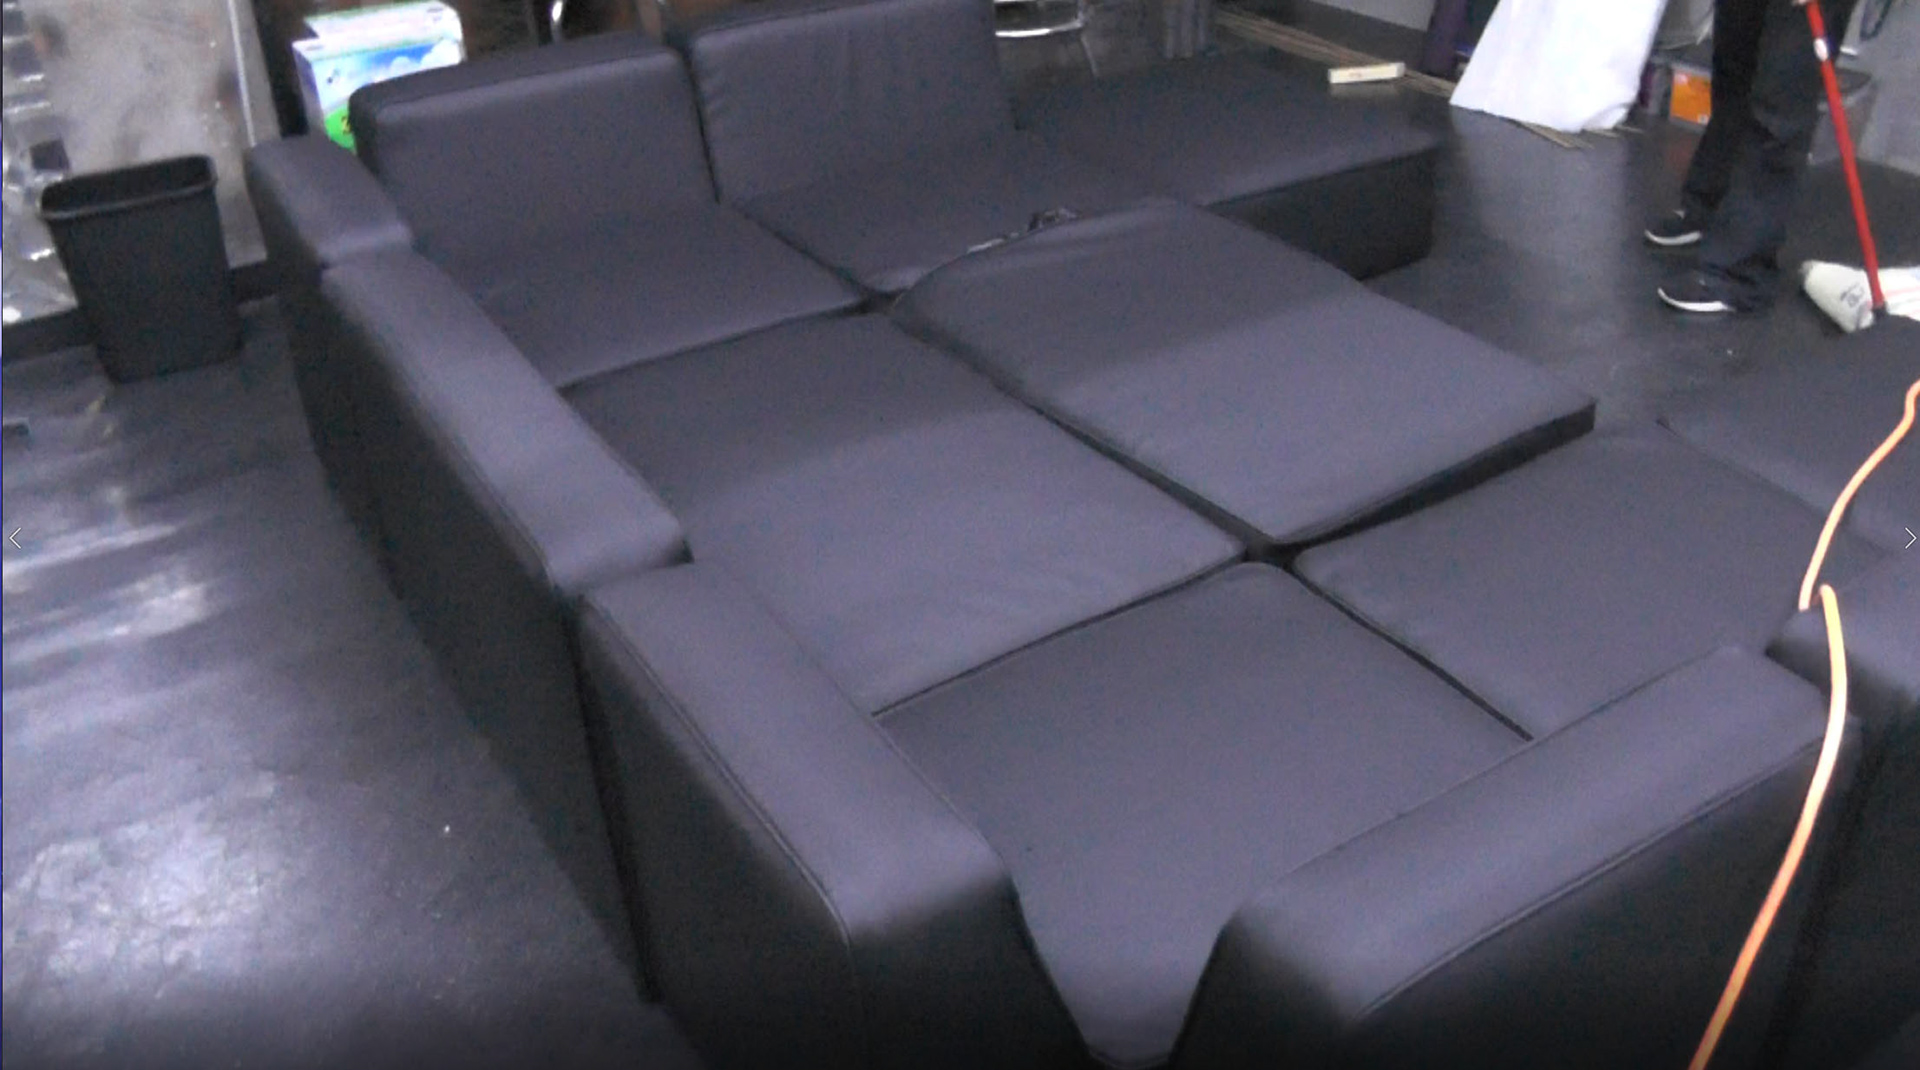
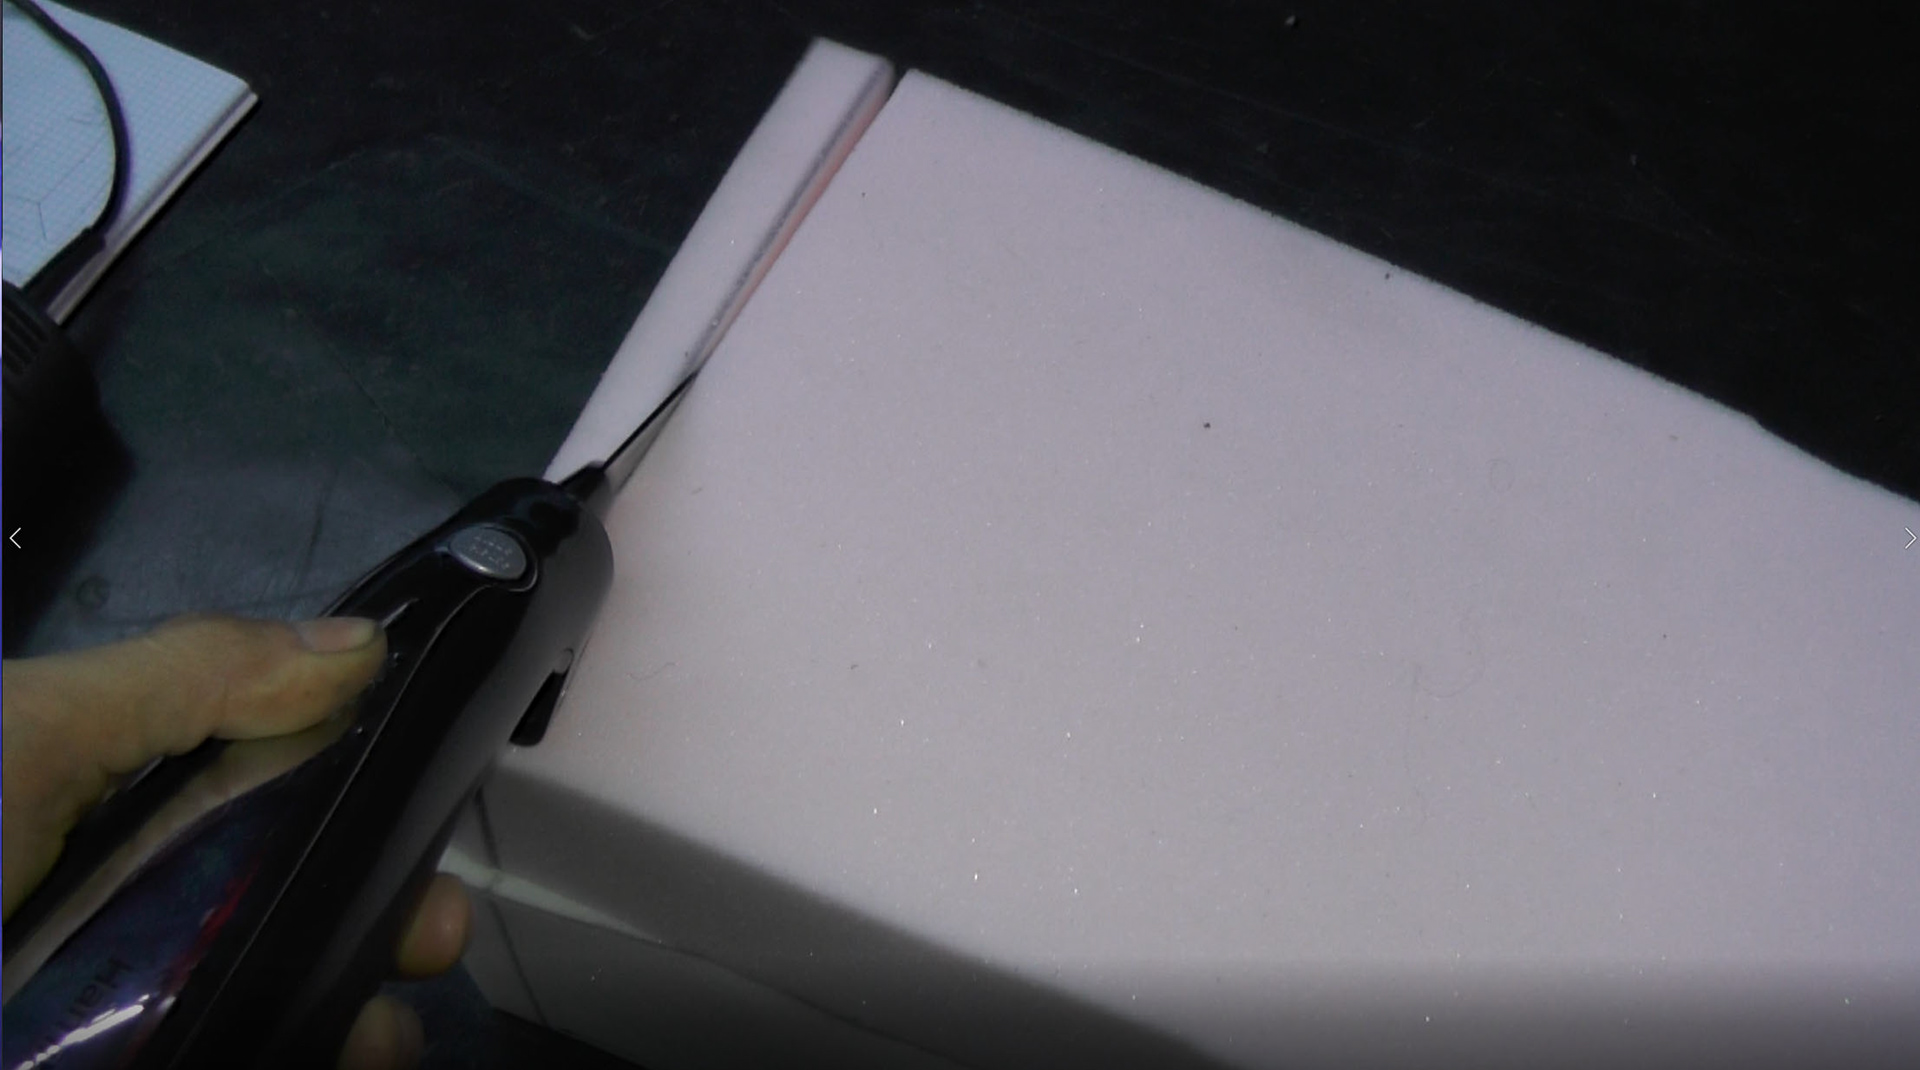
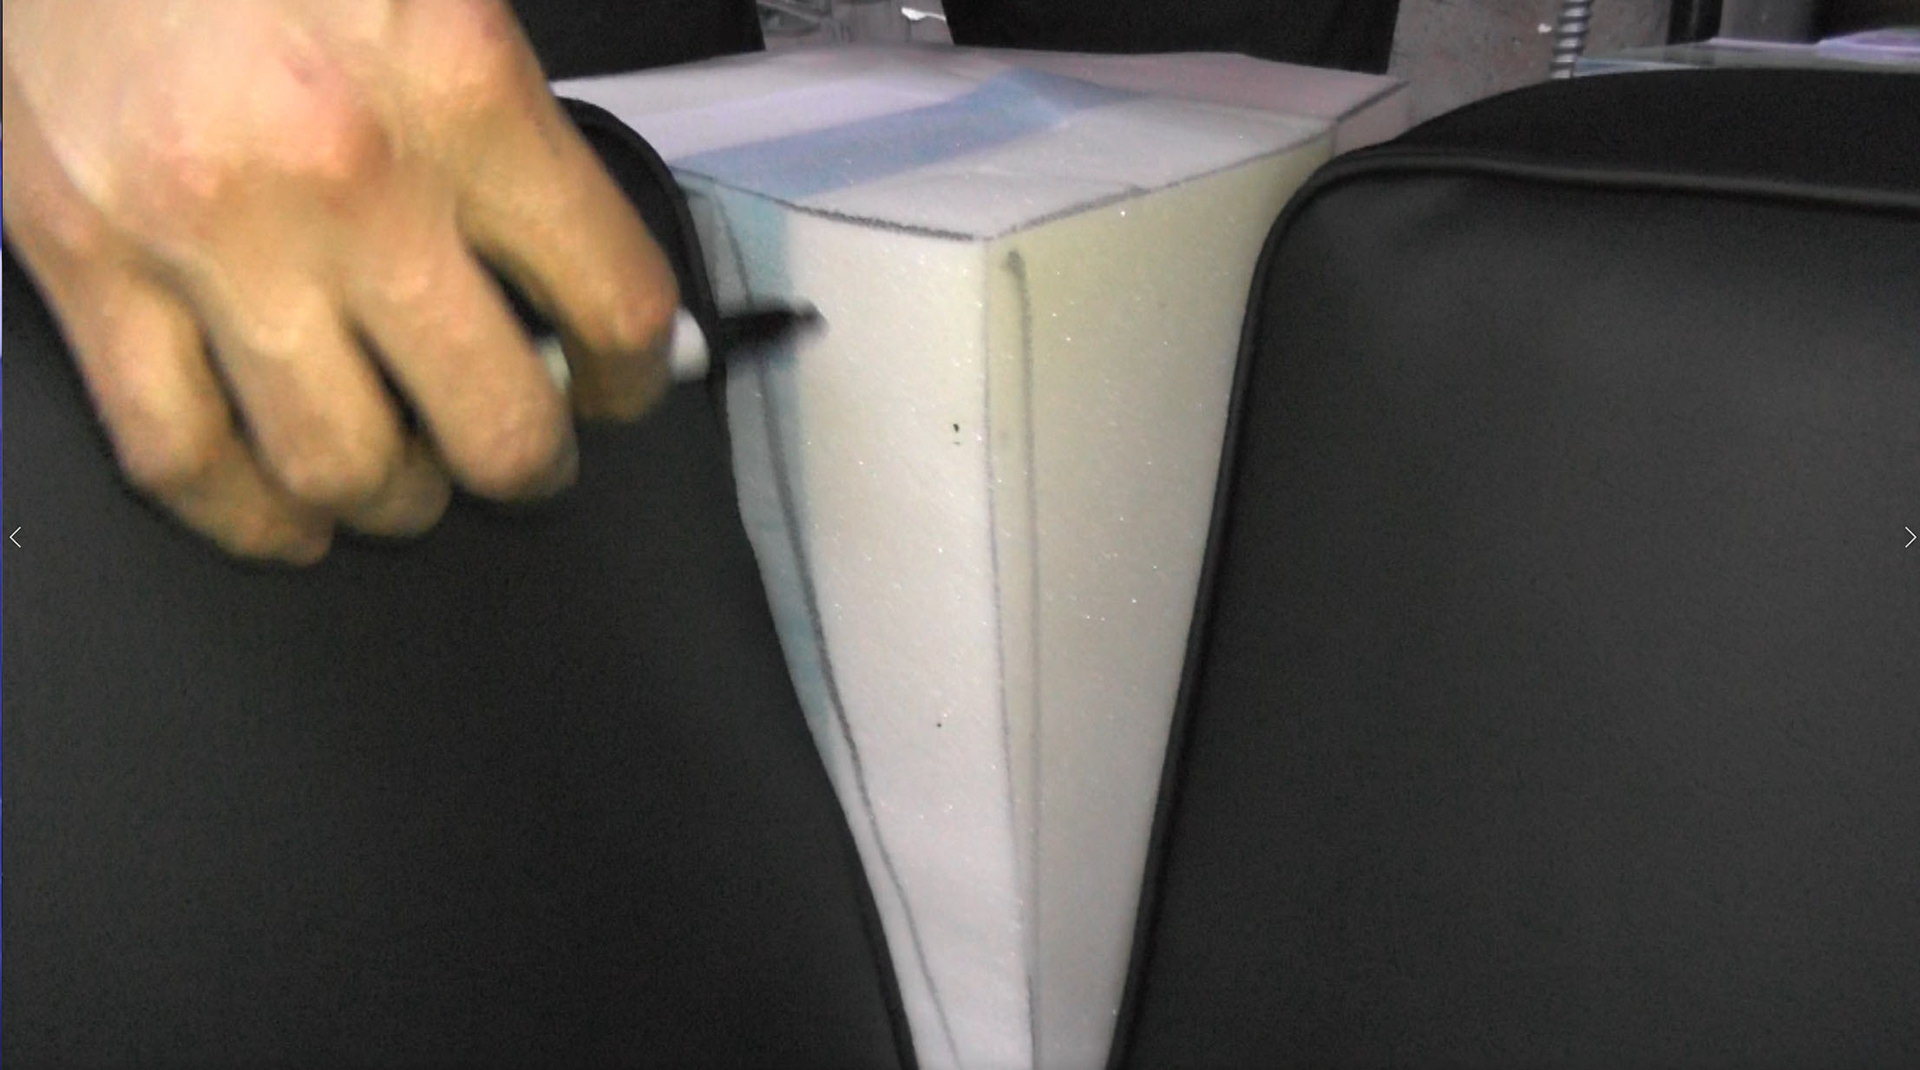
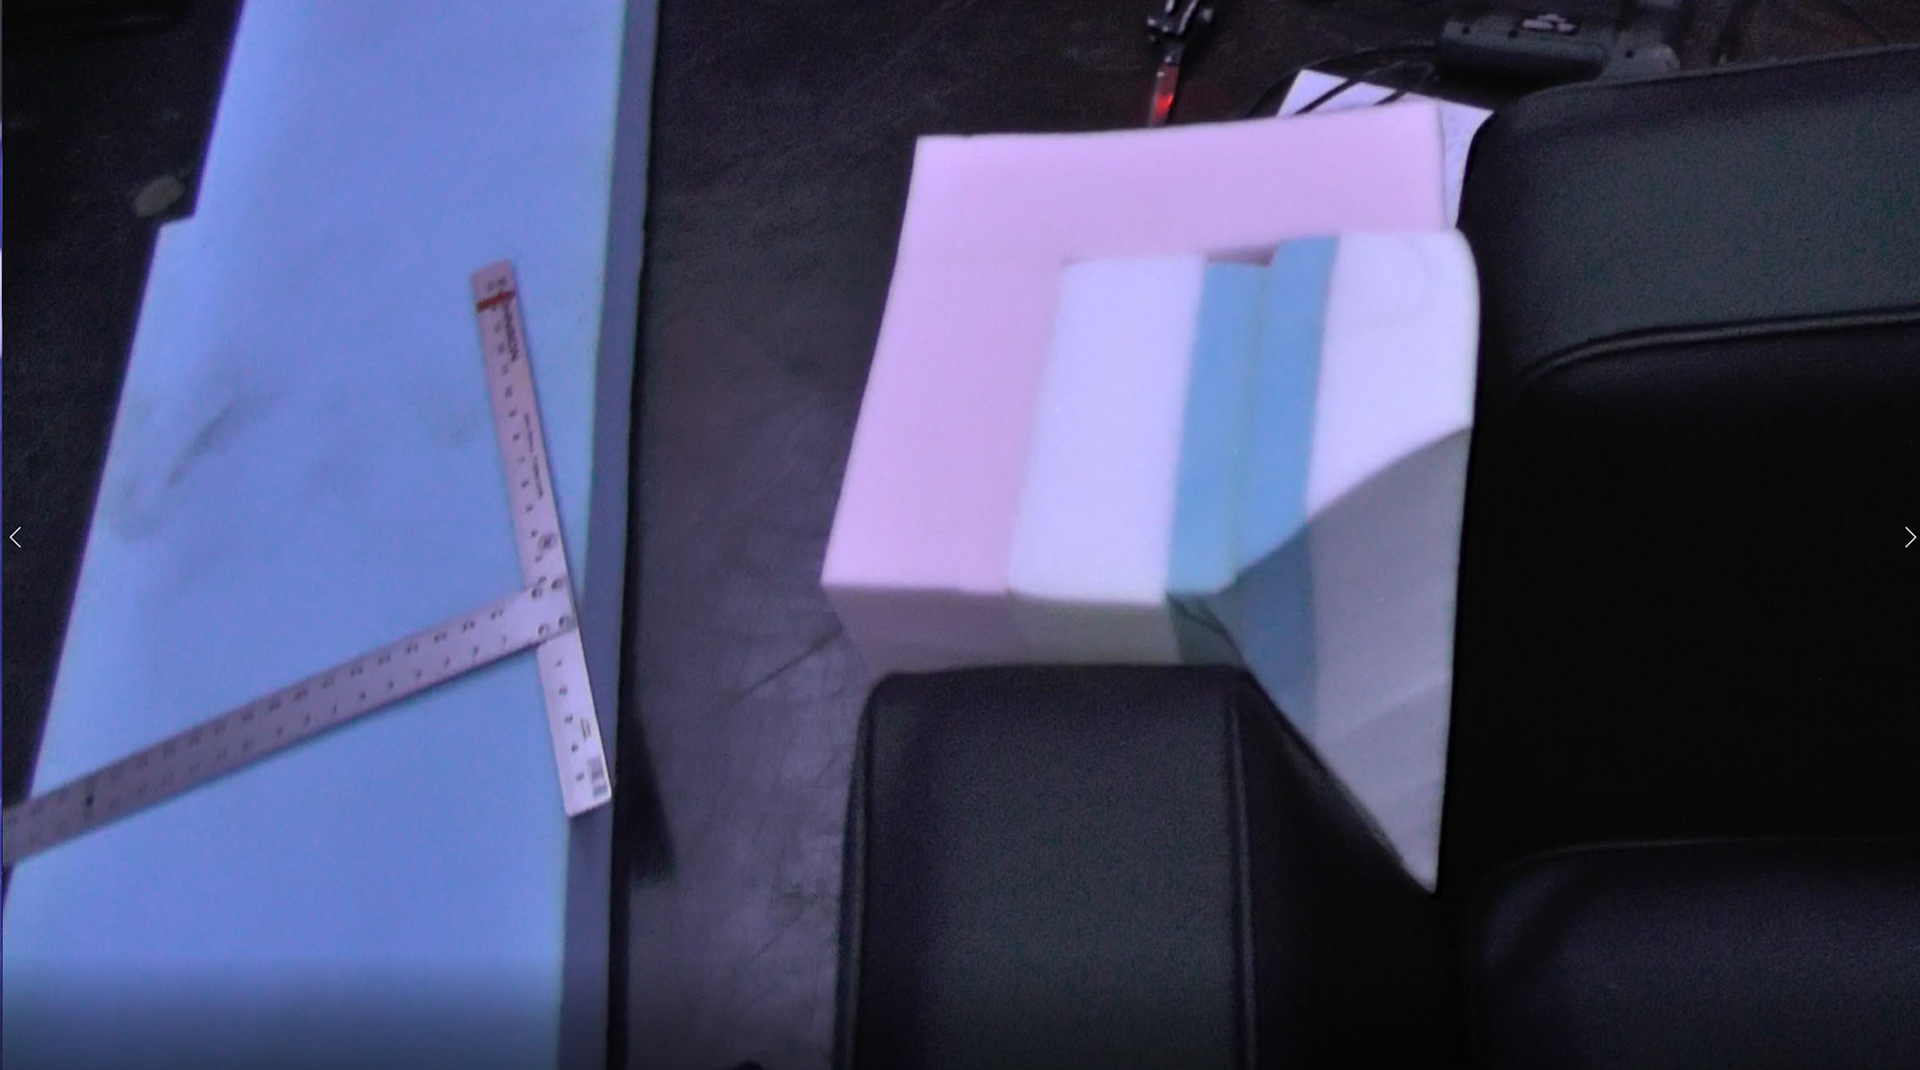
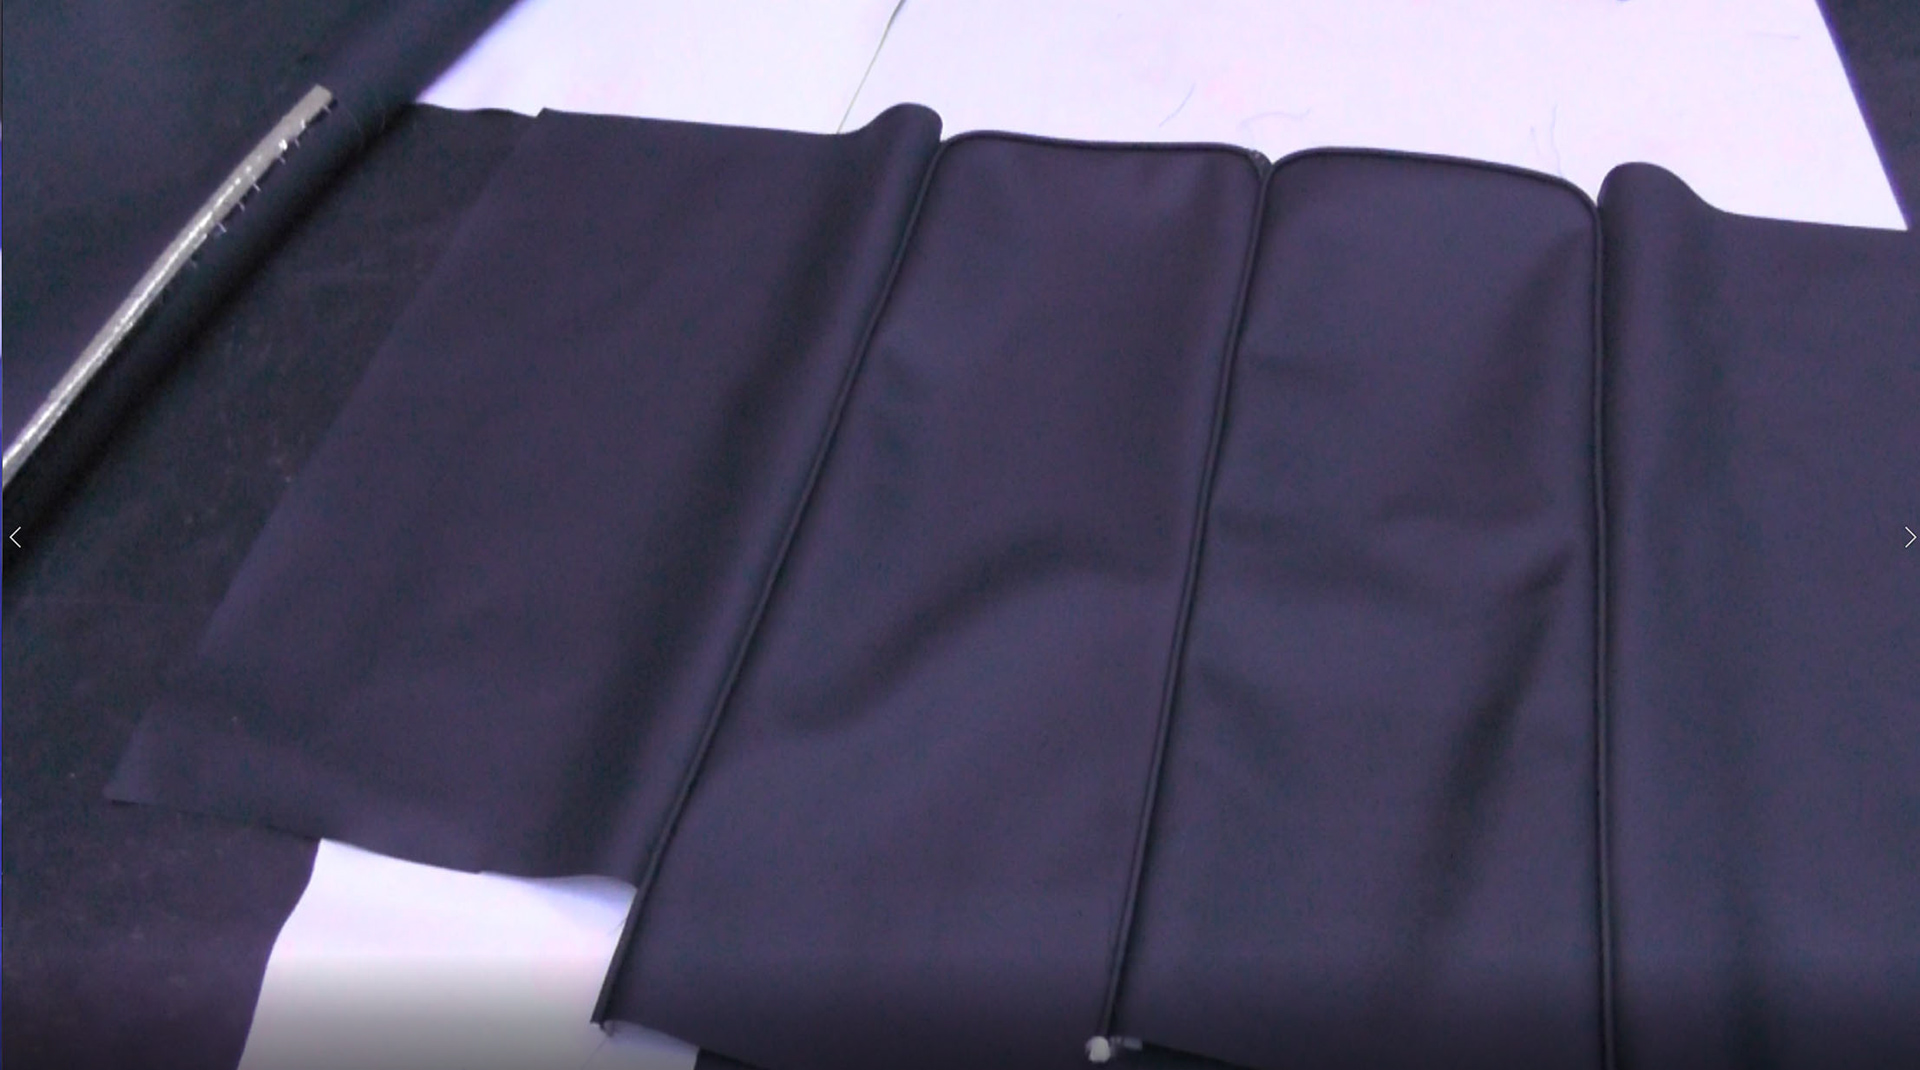
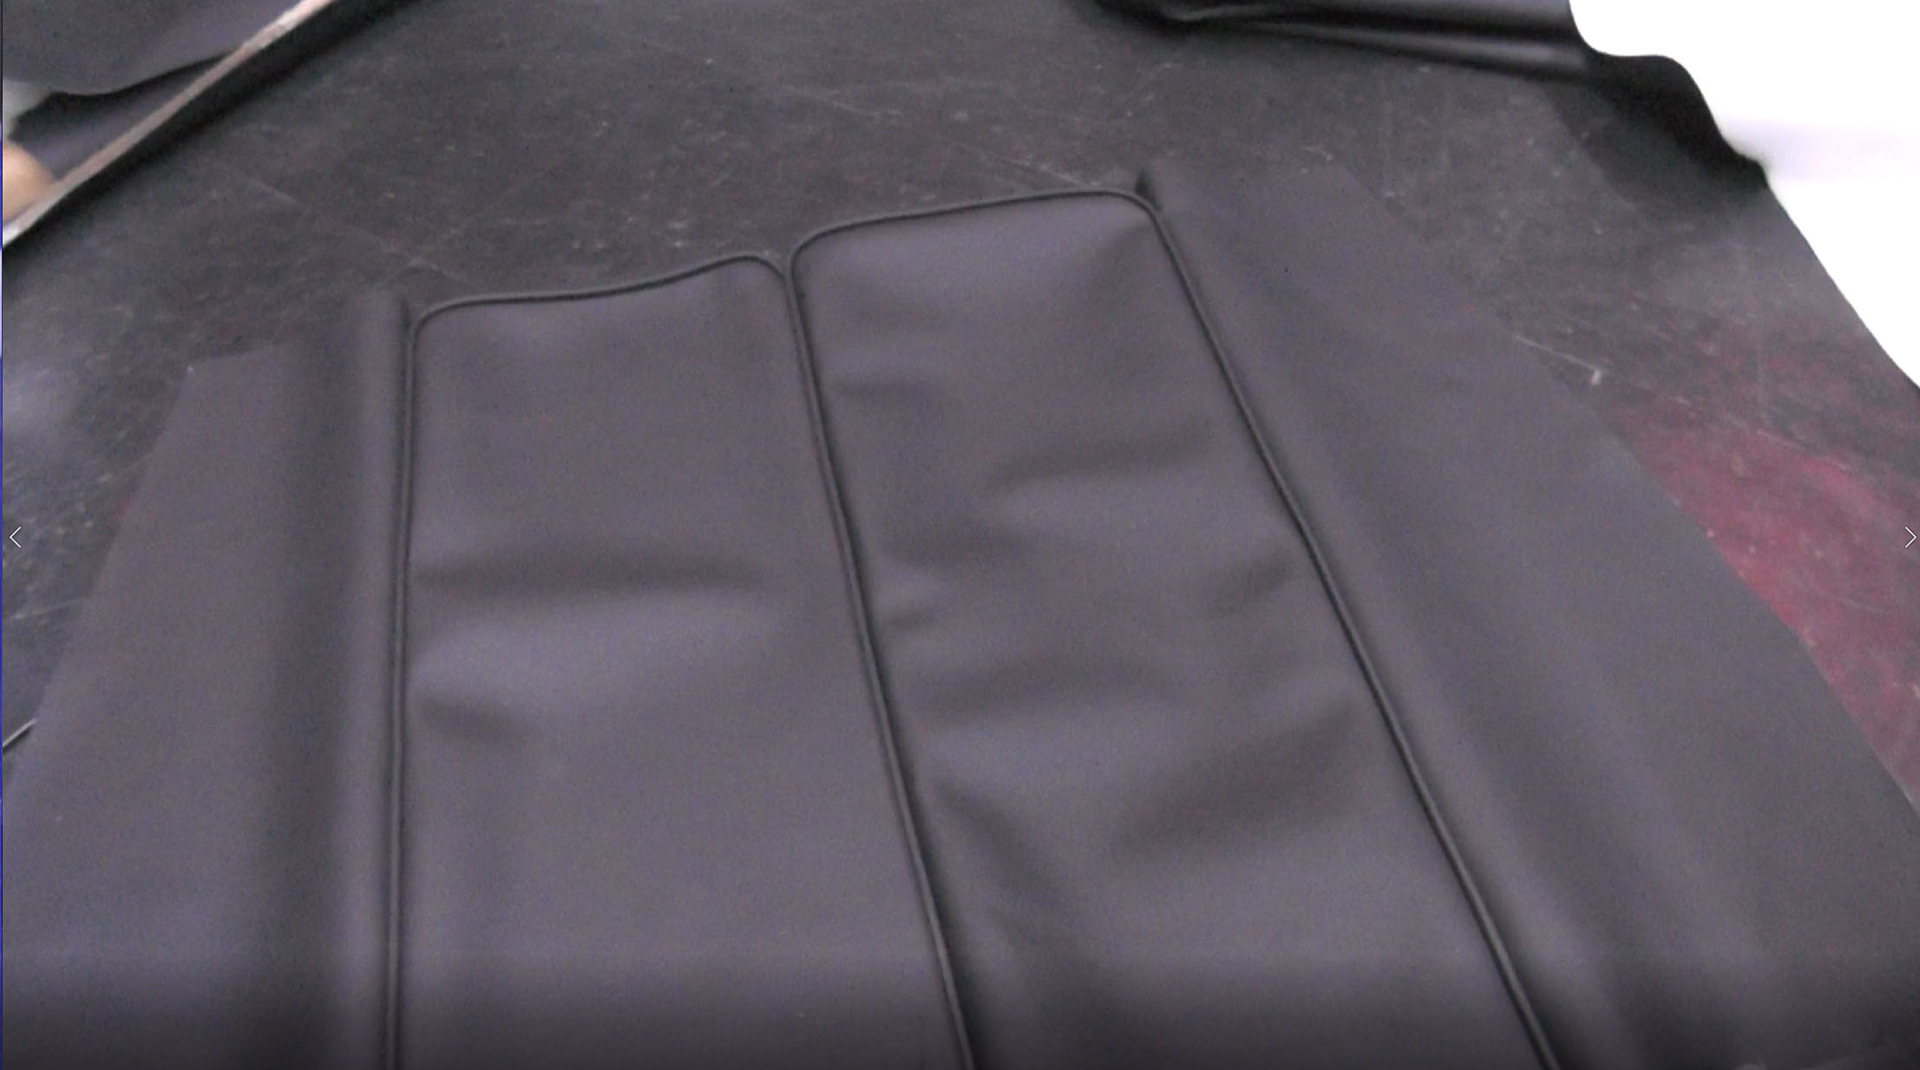
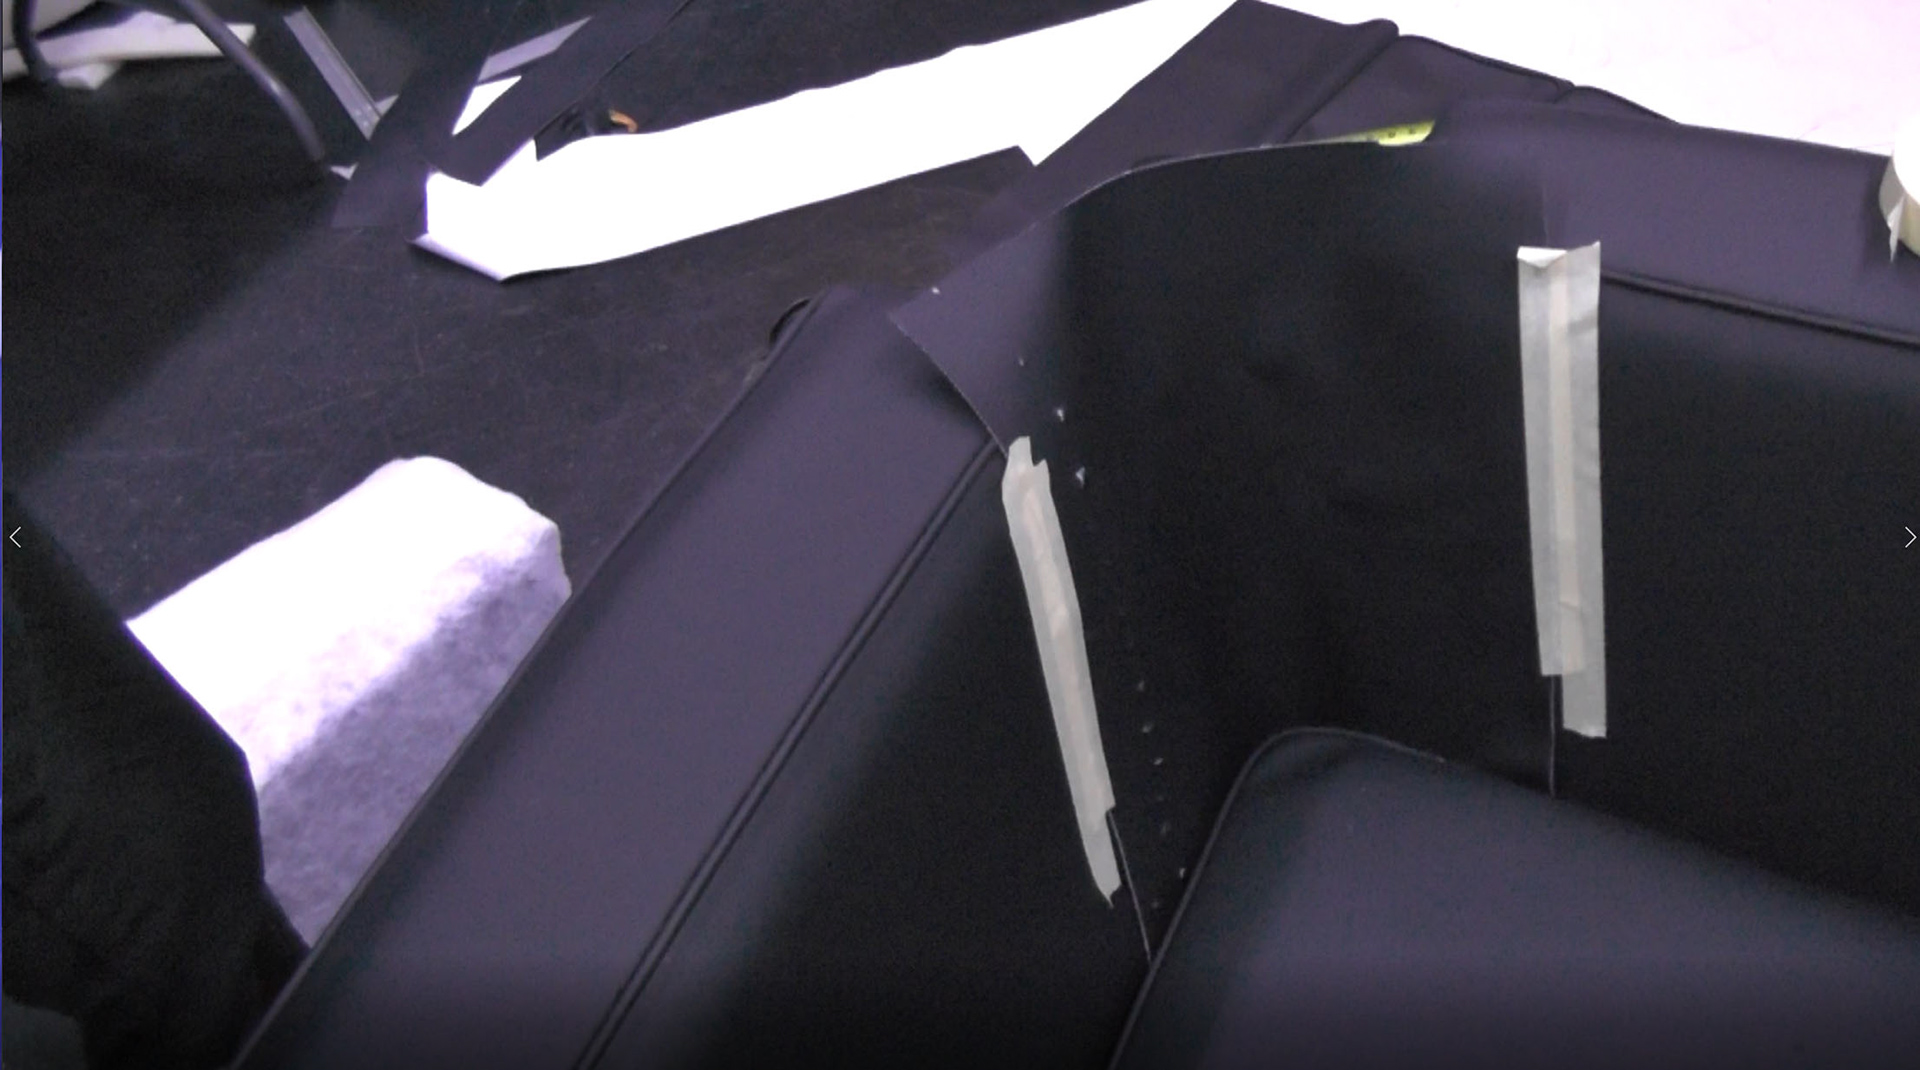
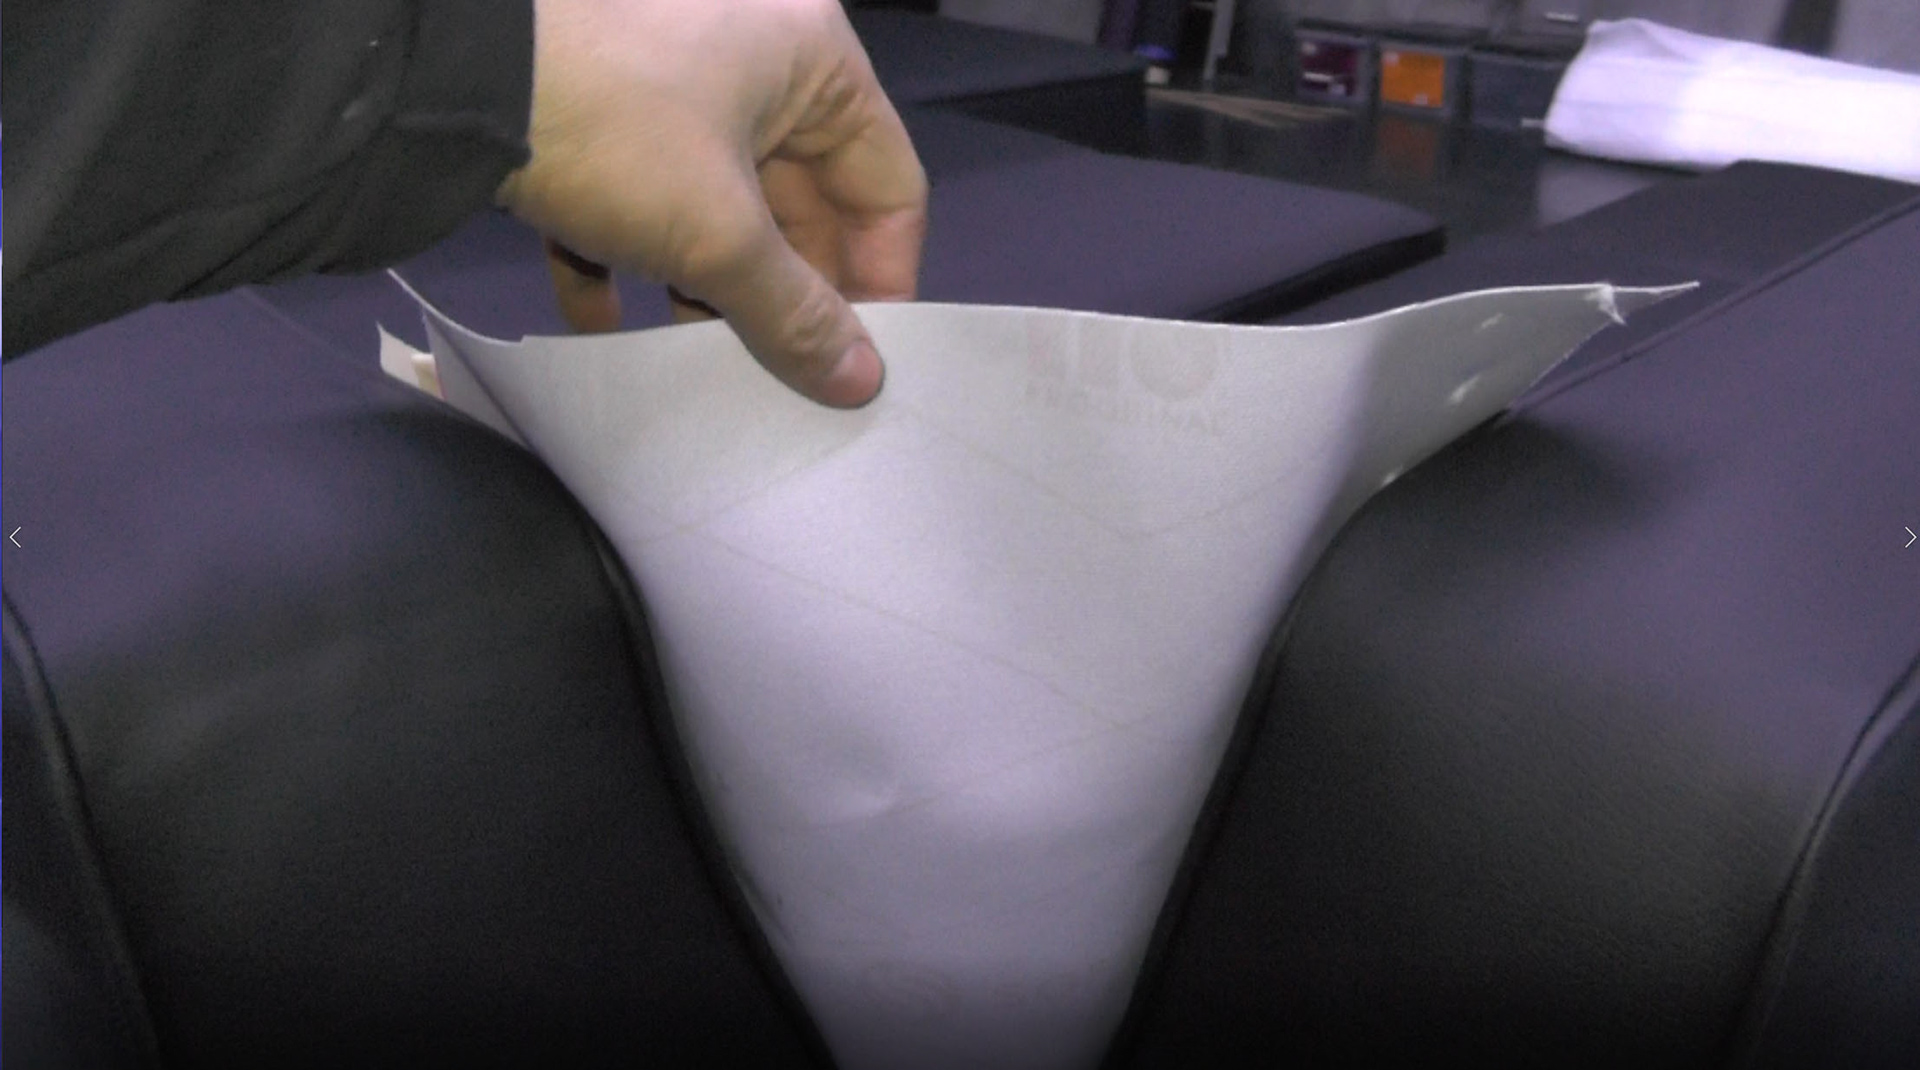
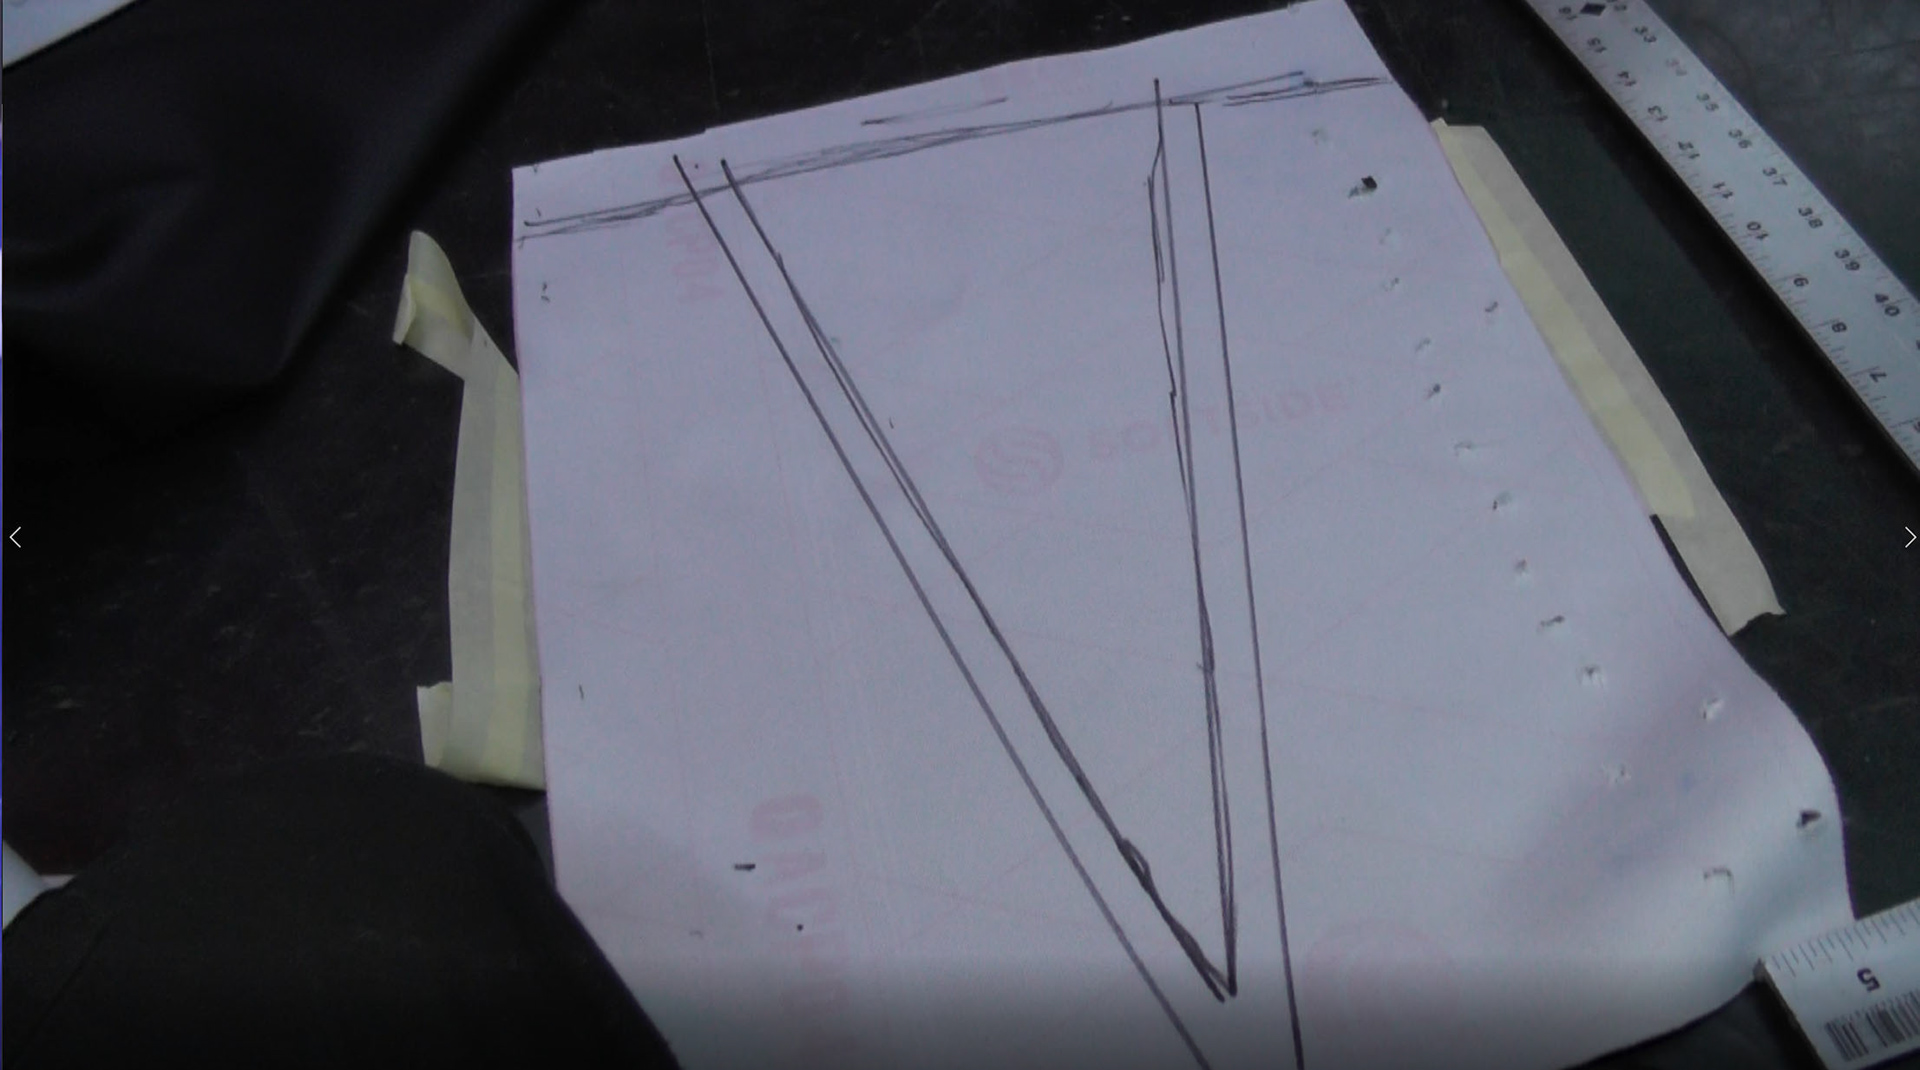
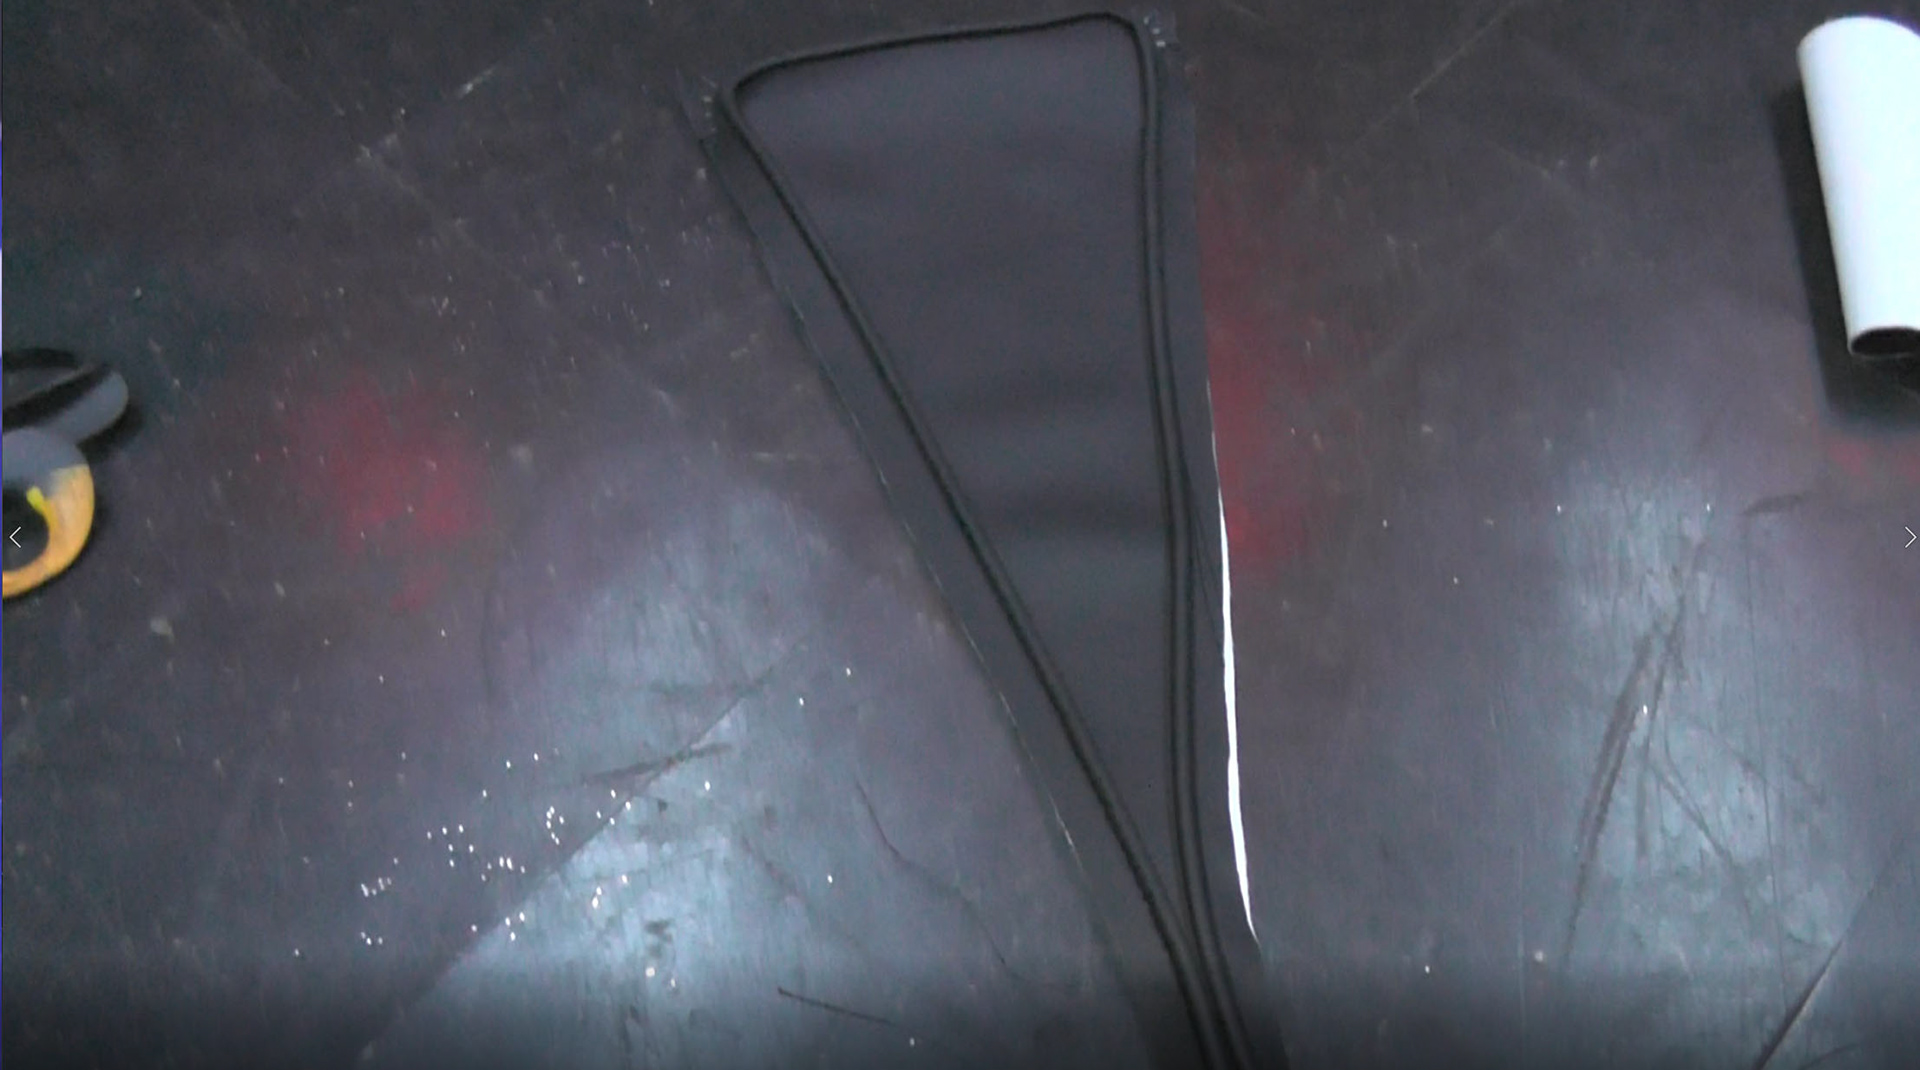
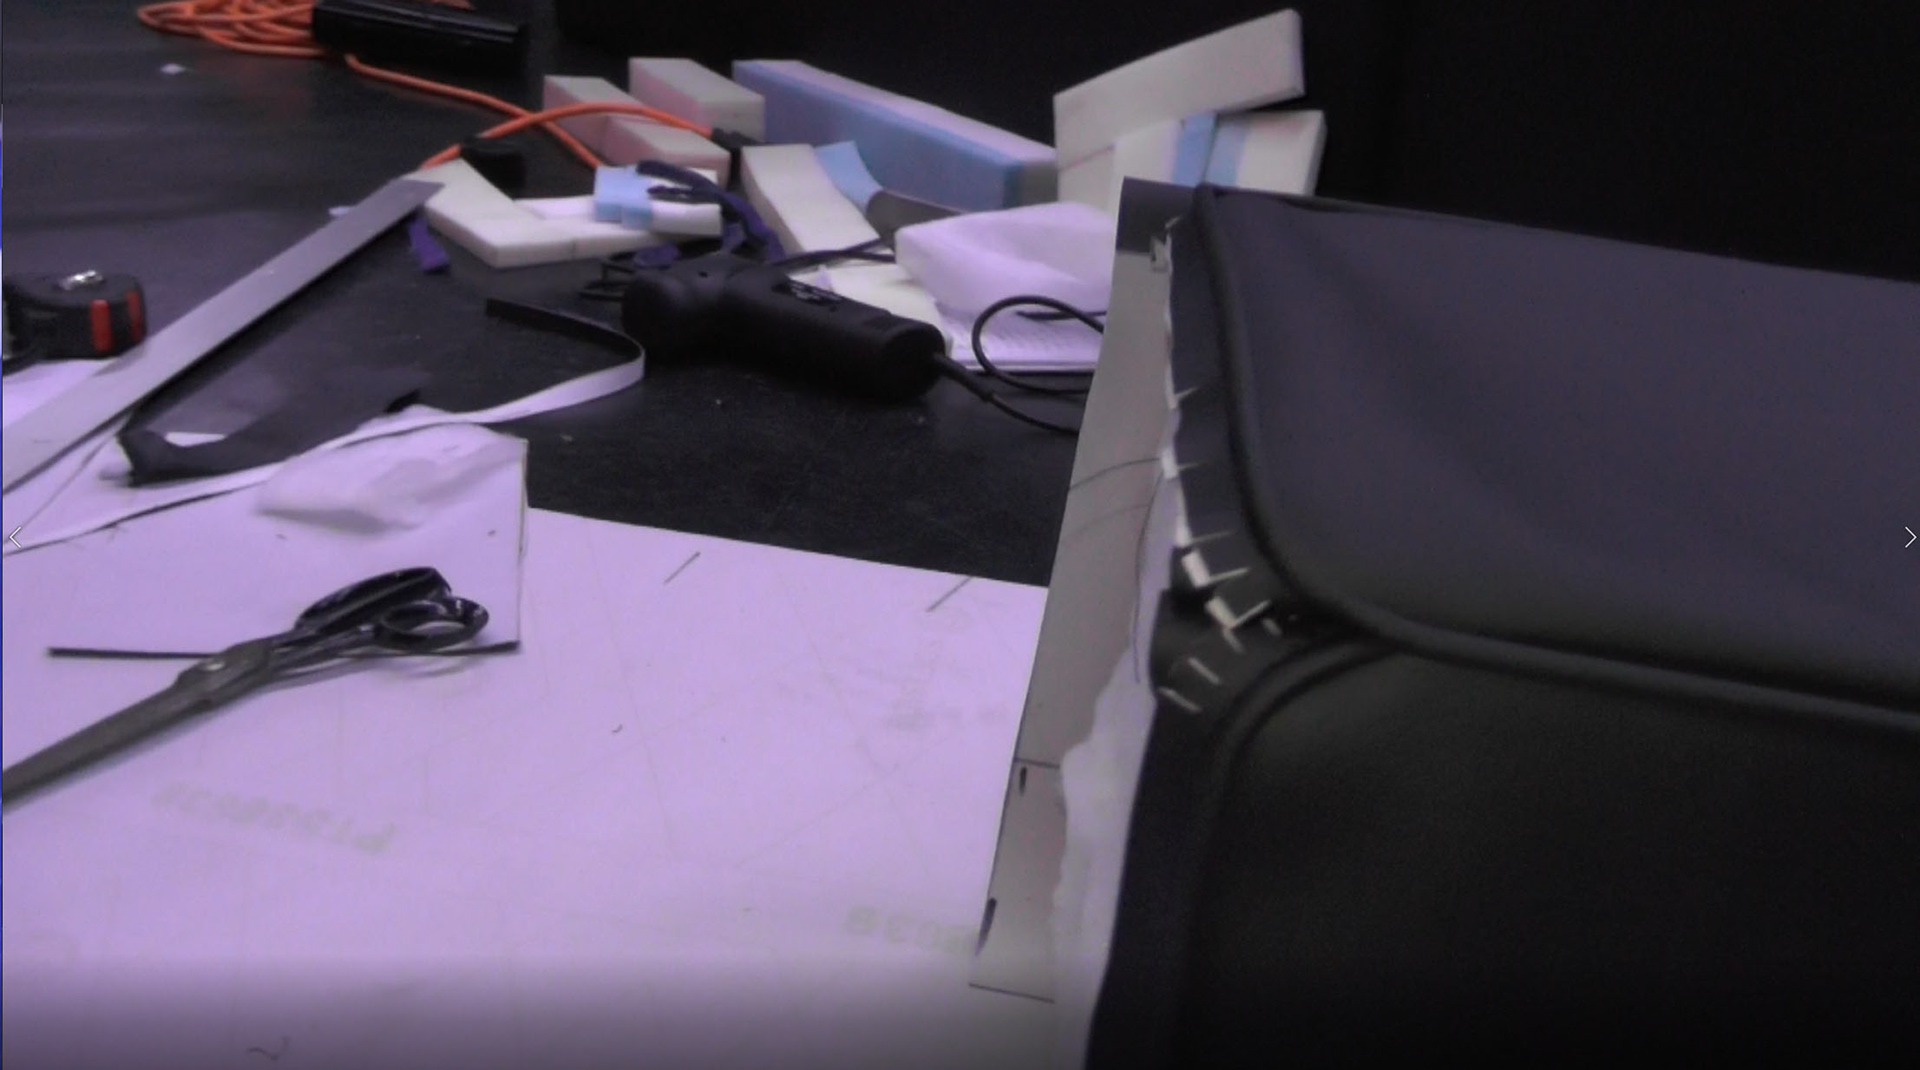
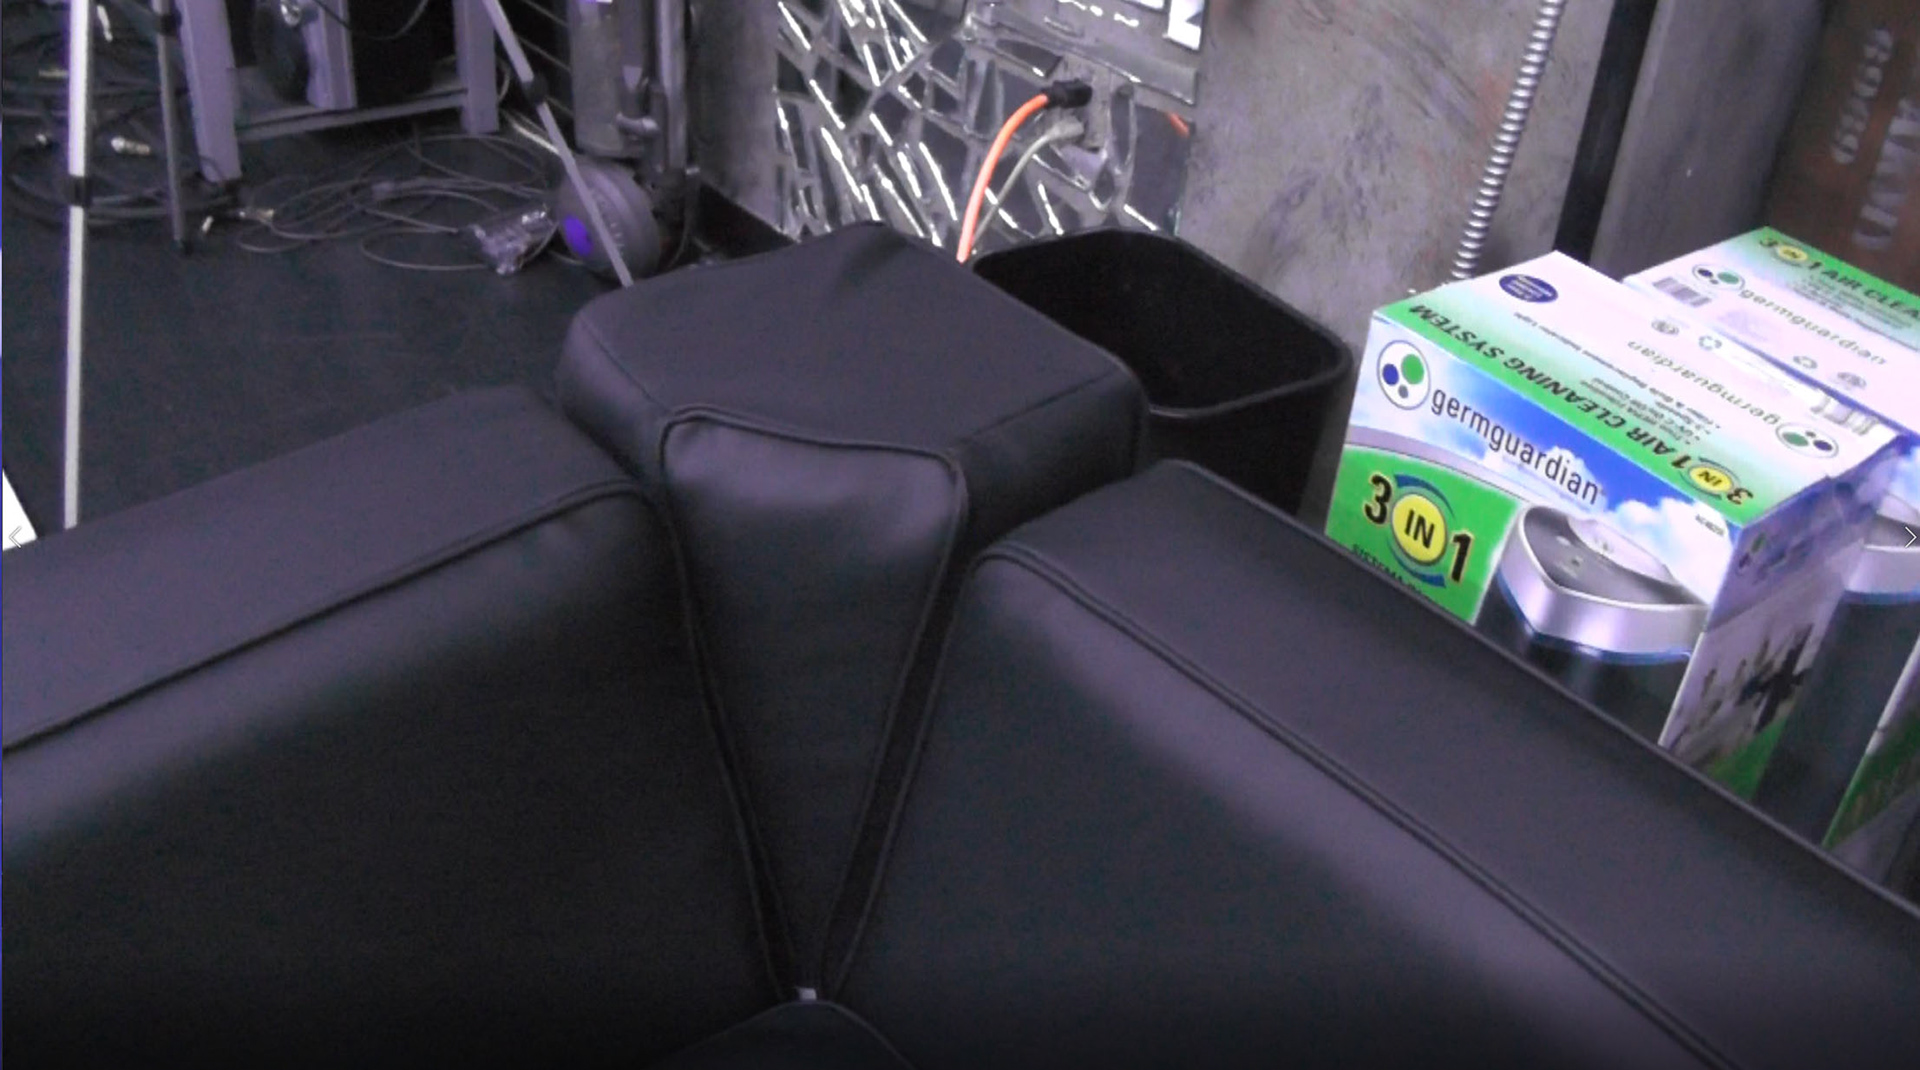
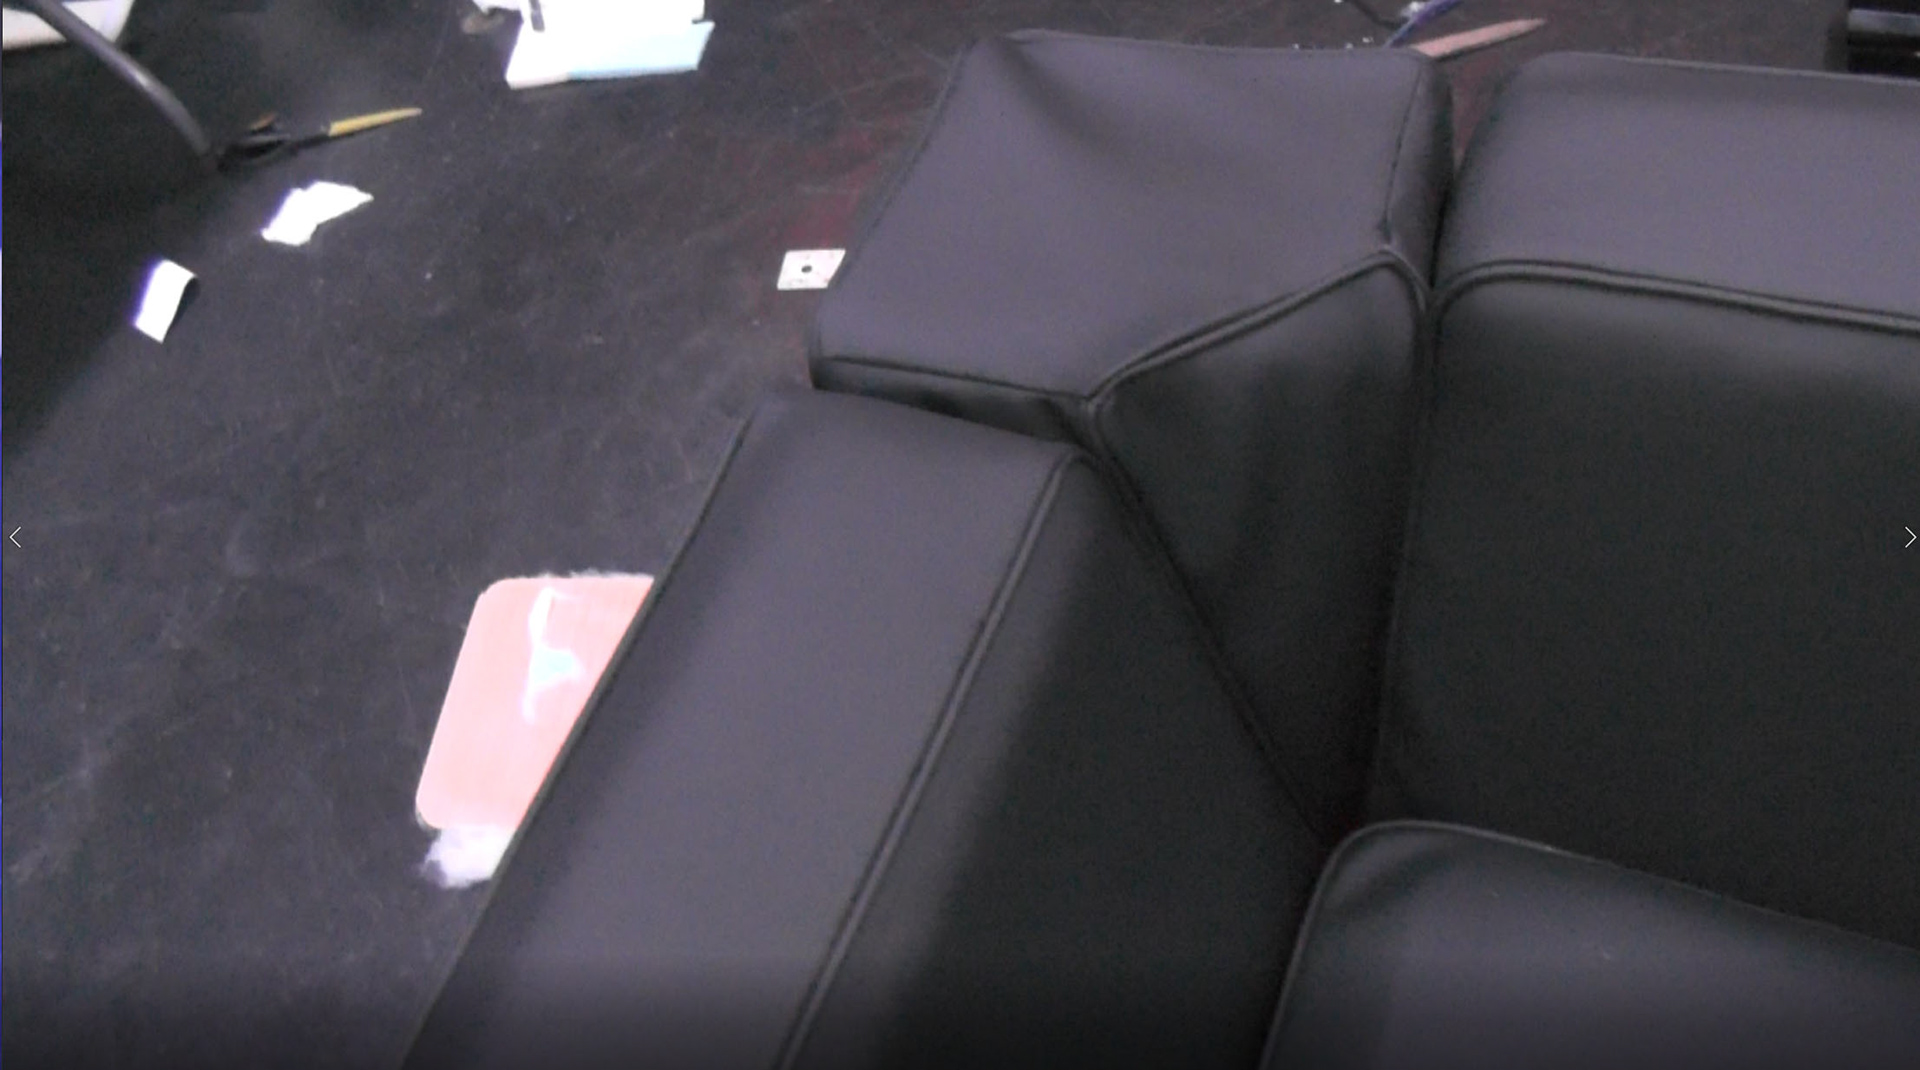
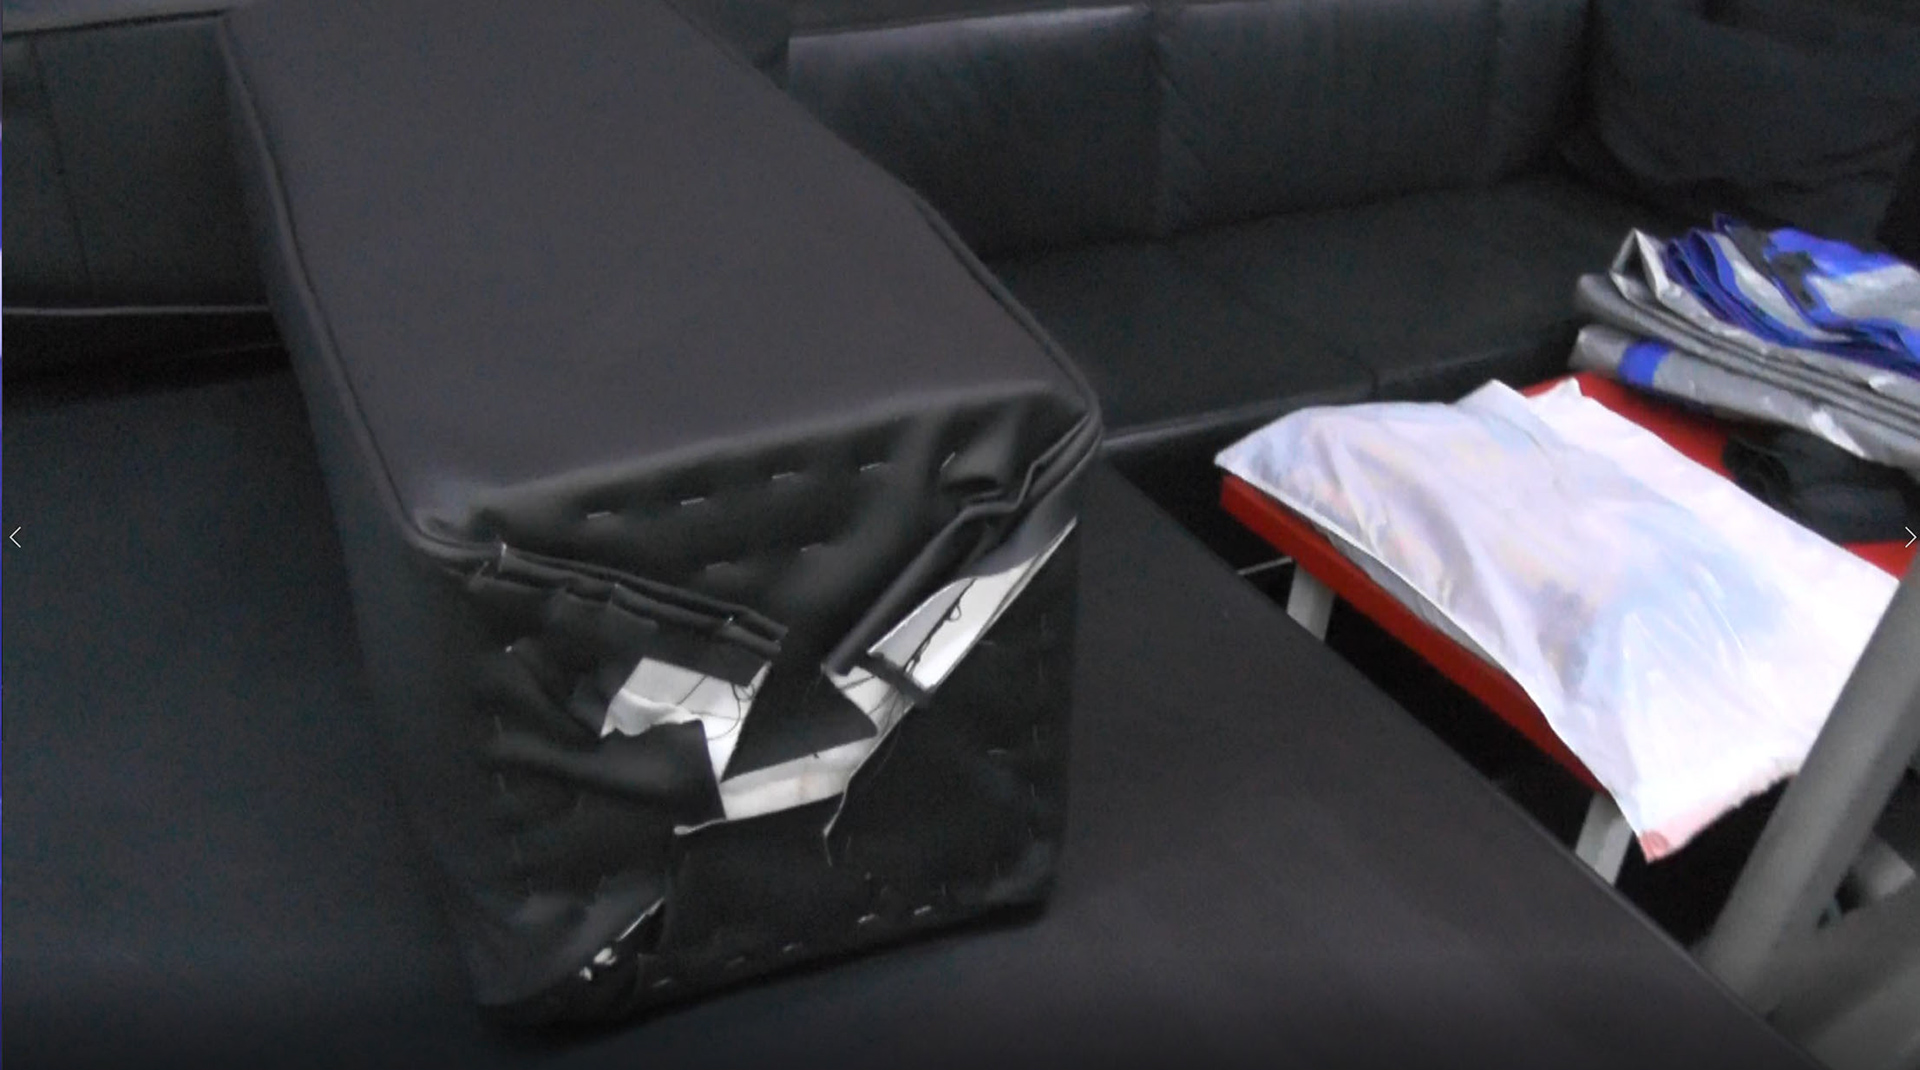
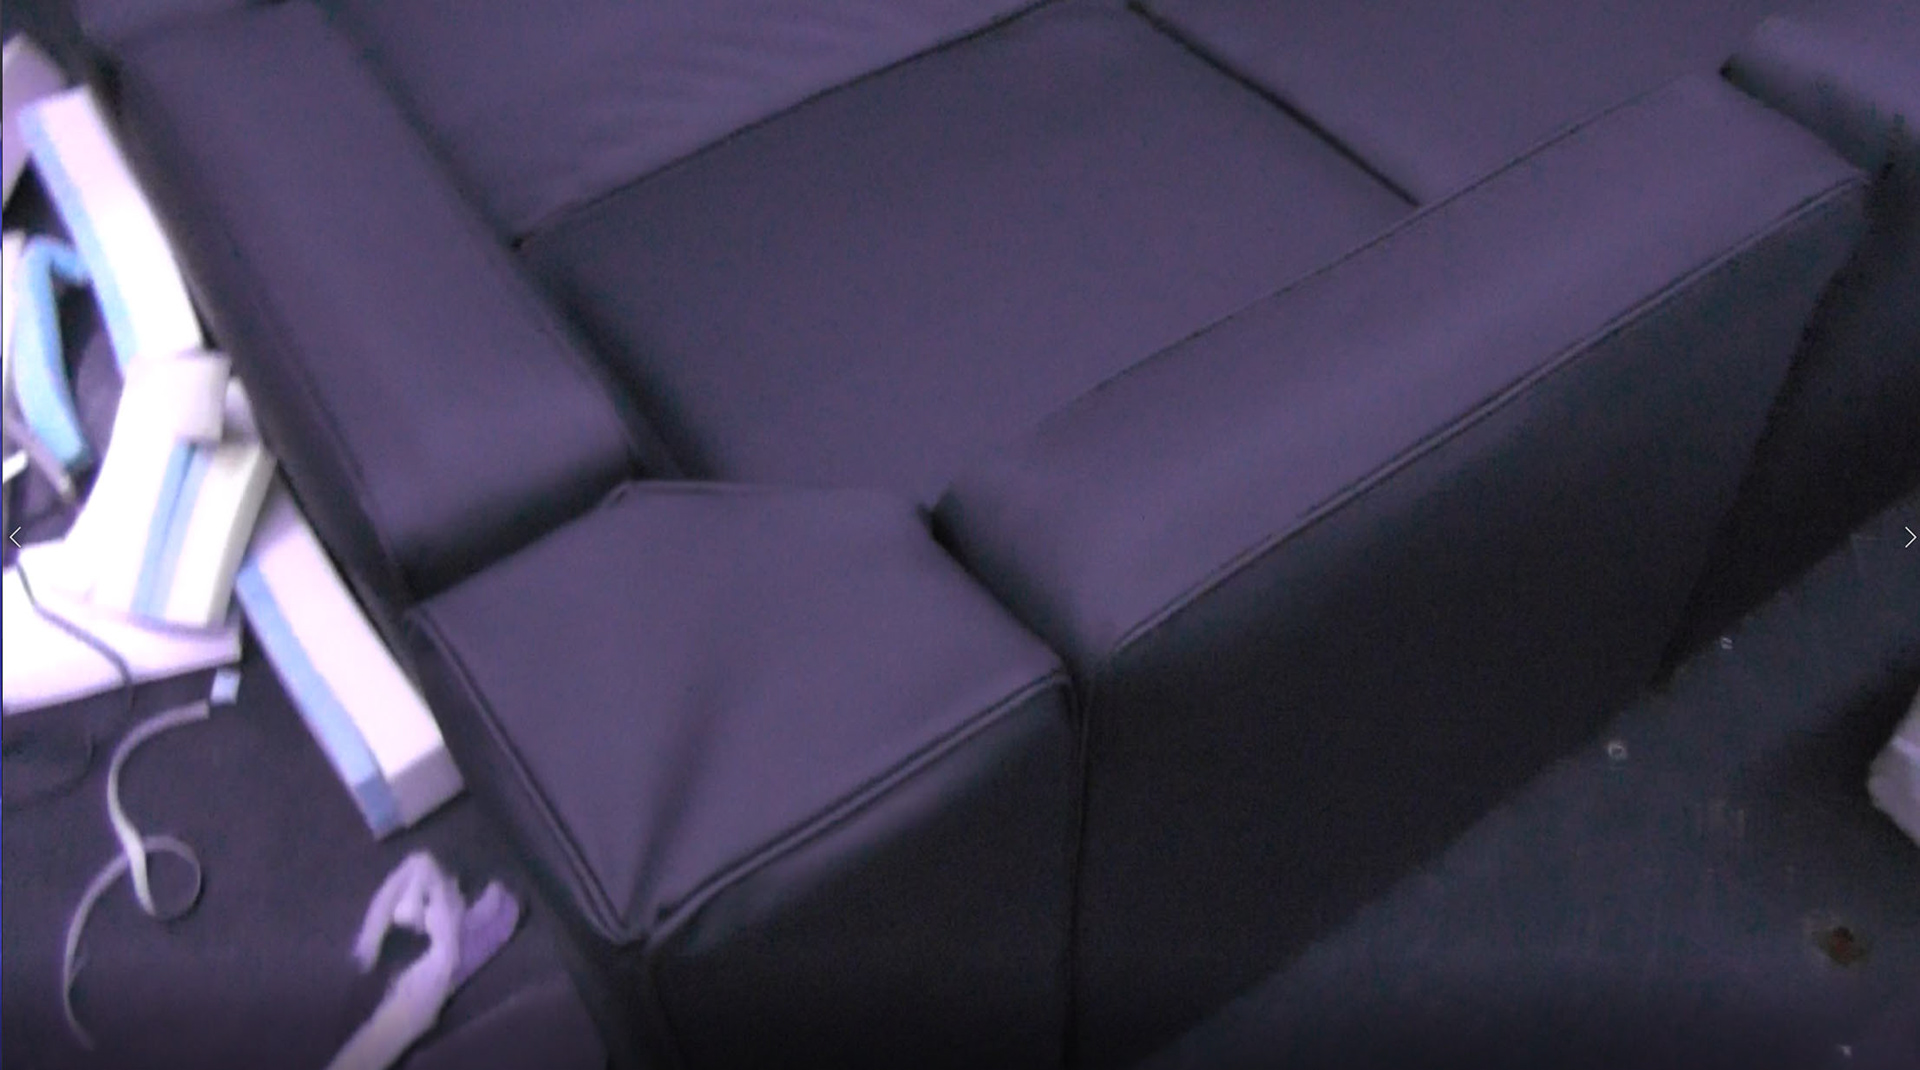
Now with most of couch covered, I had to do the corners. These were one of the hardest parts because of their complex shape.
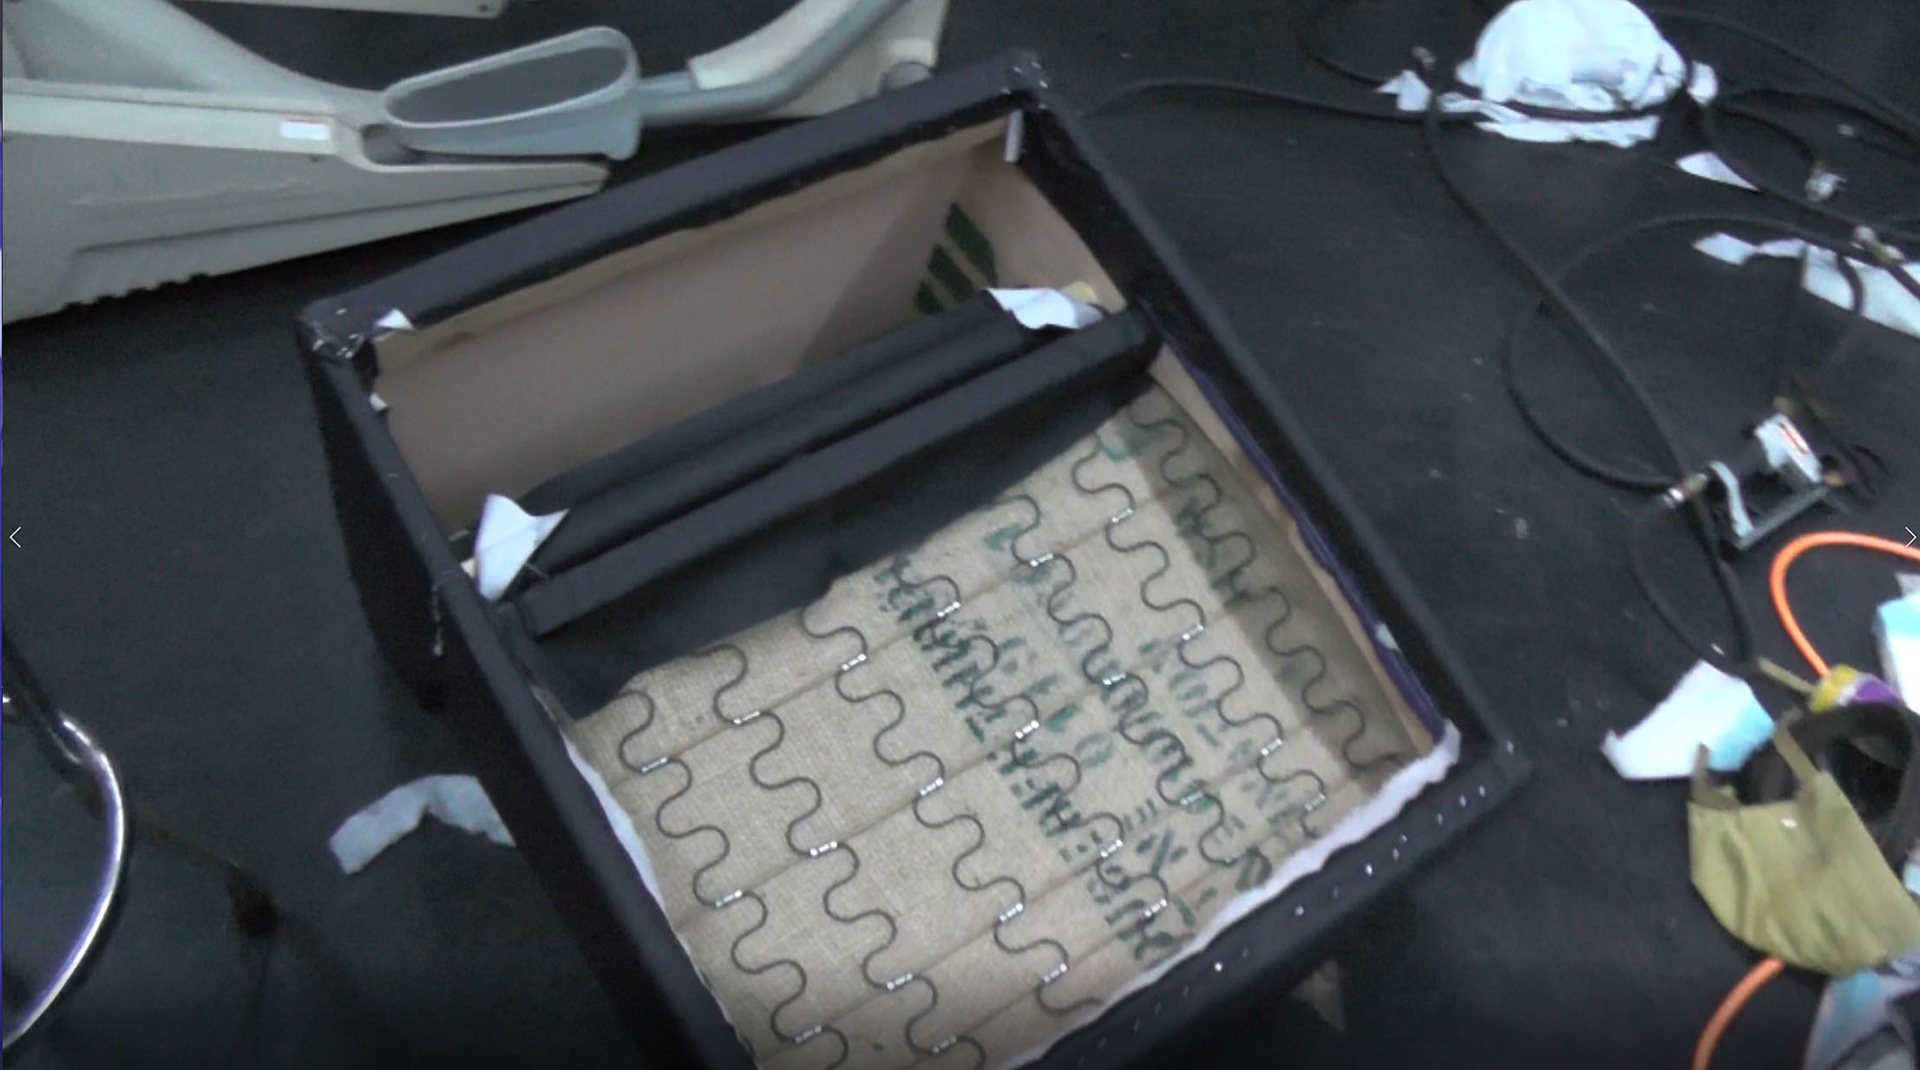
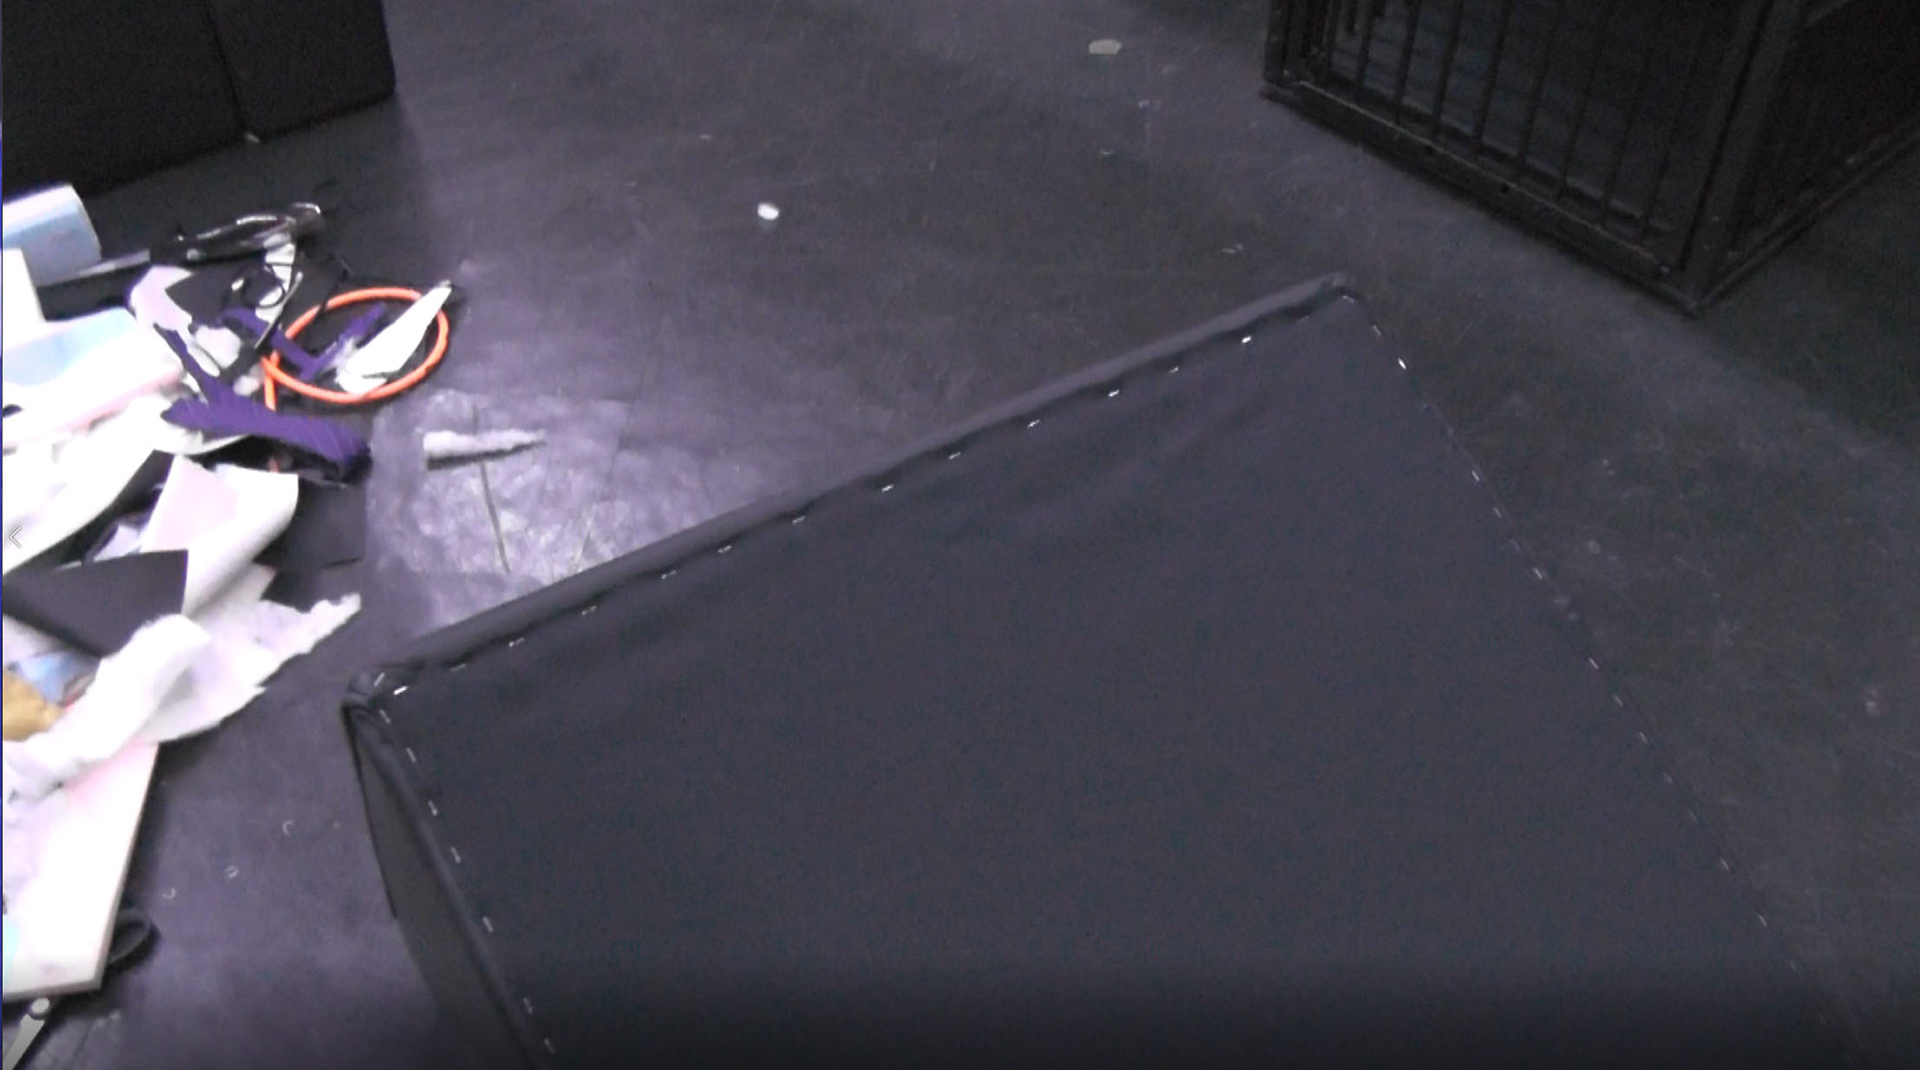
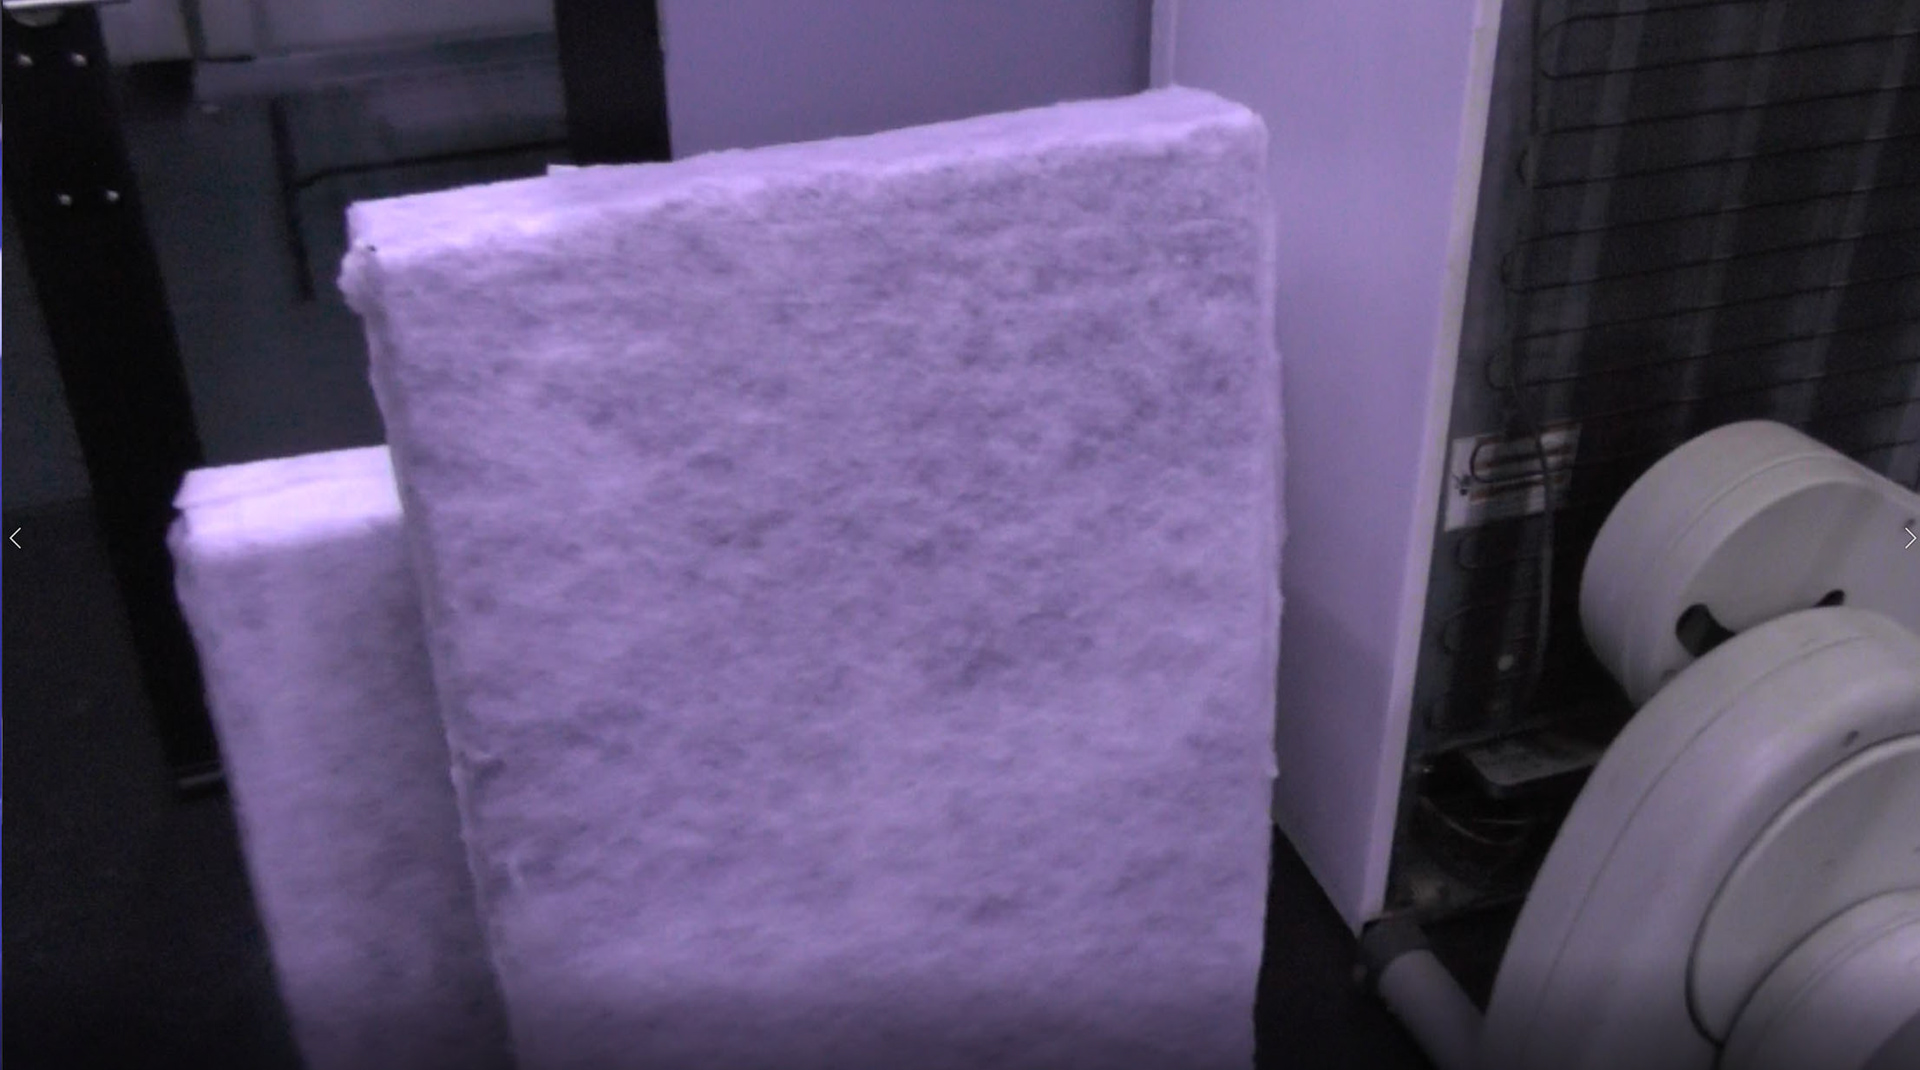
Next I added some fabric to the bottom of the seats to trim it out.
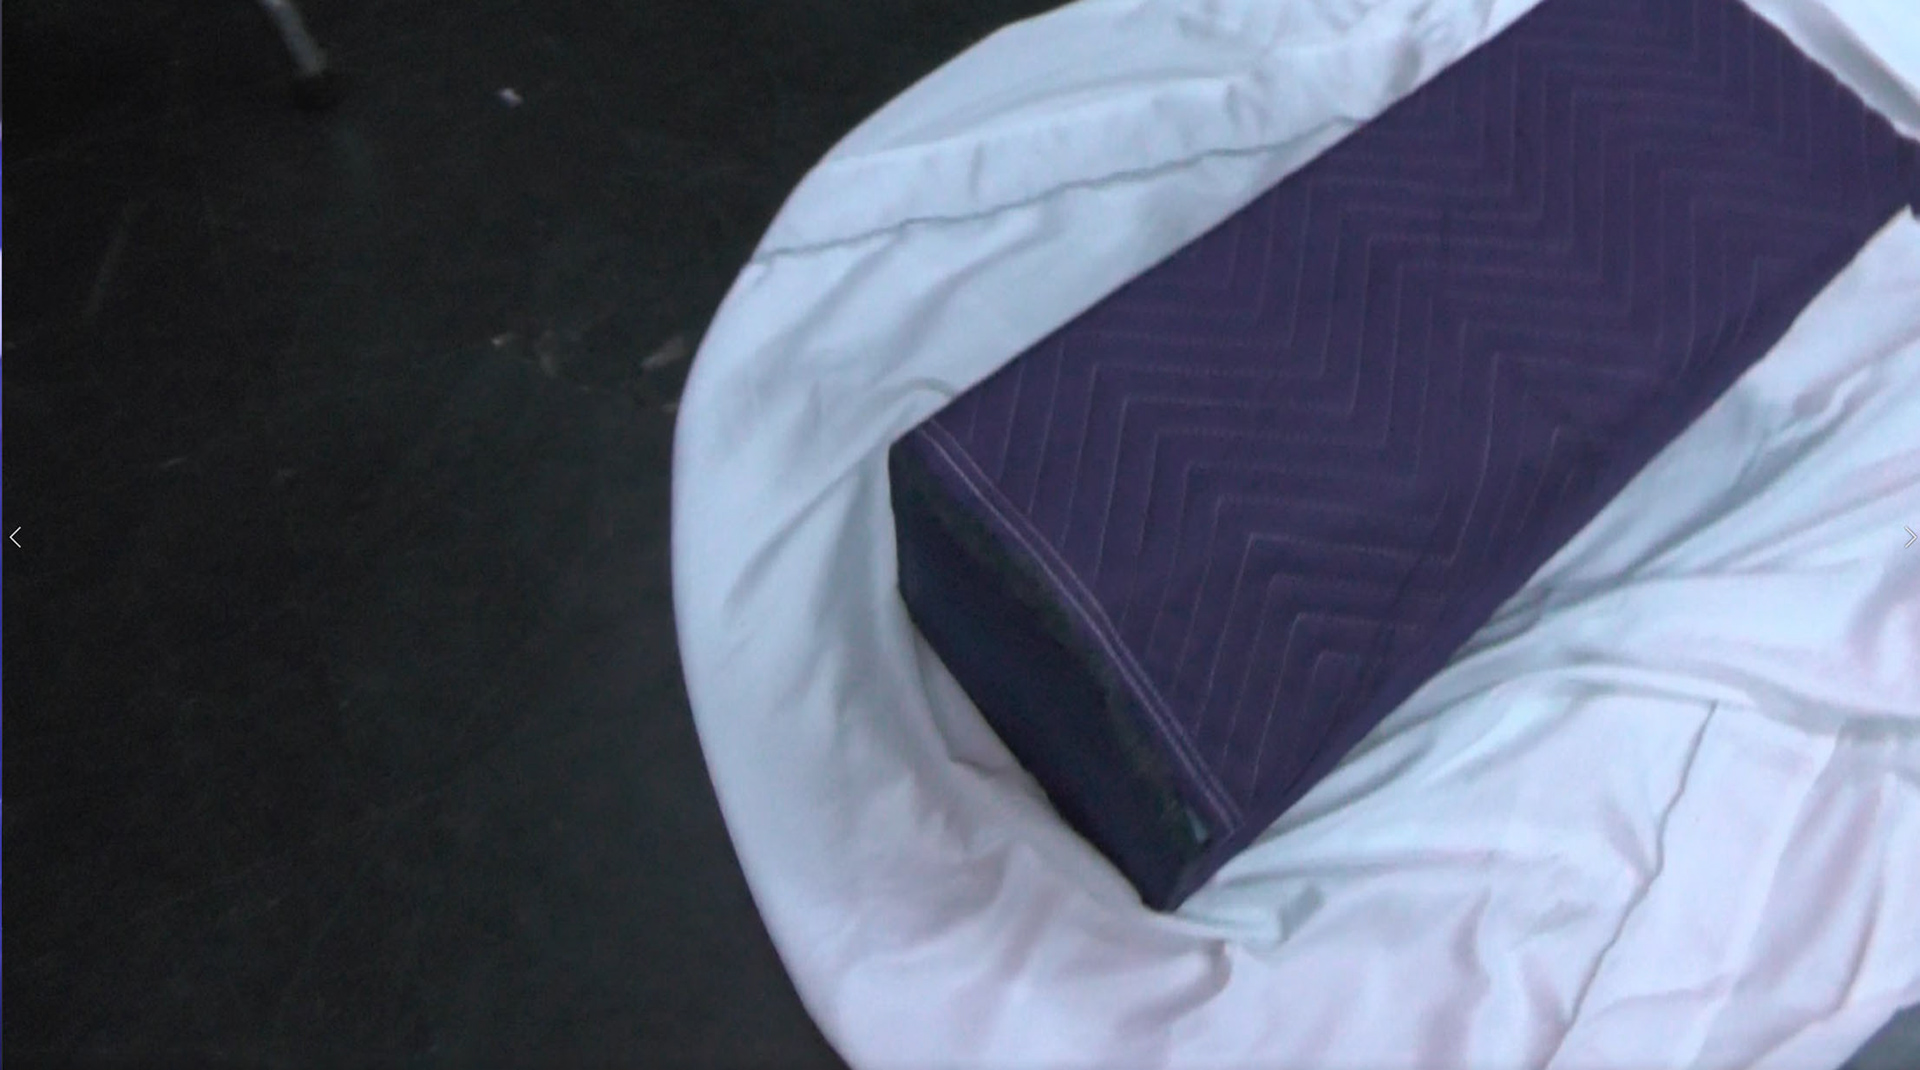
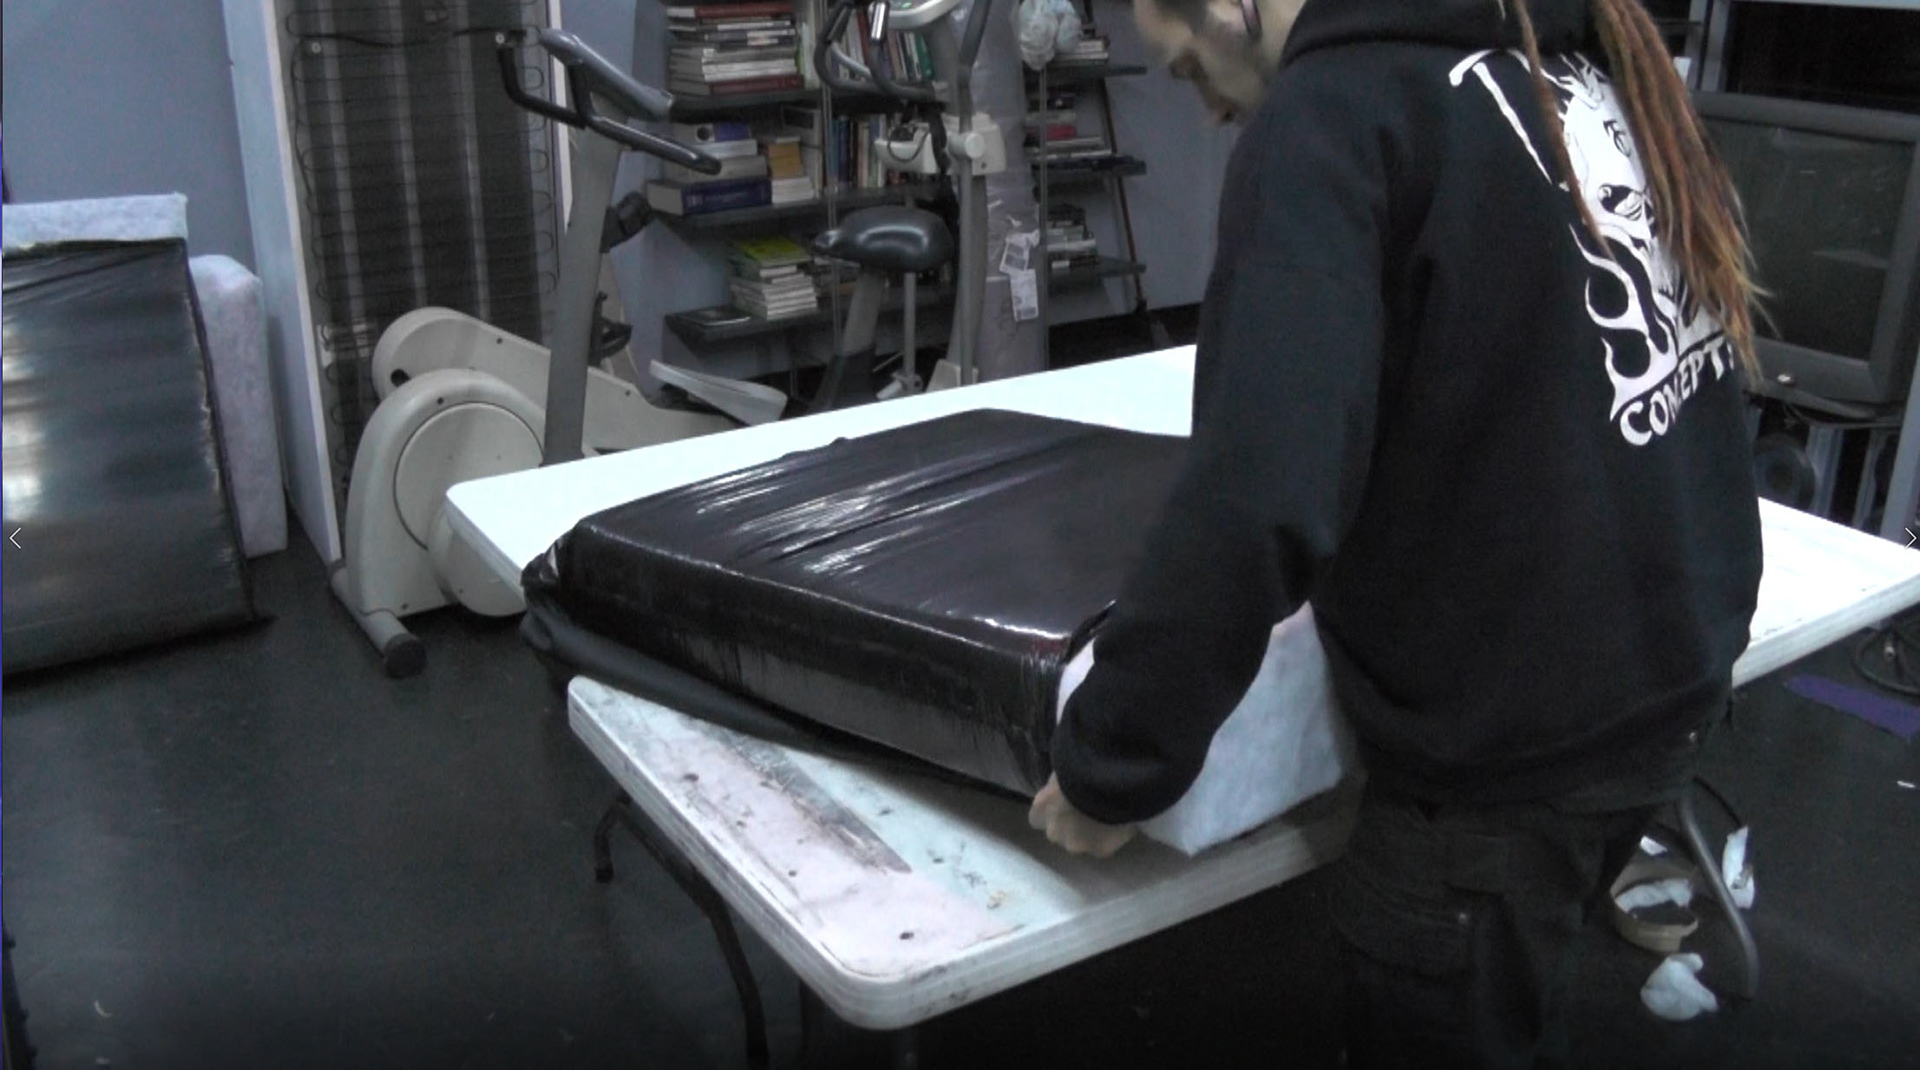
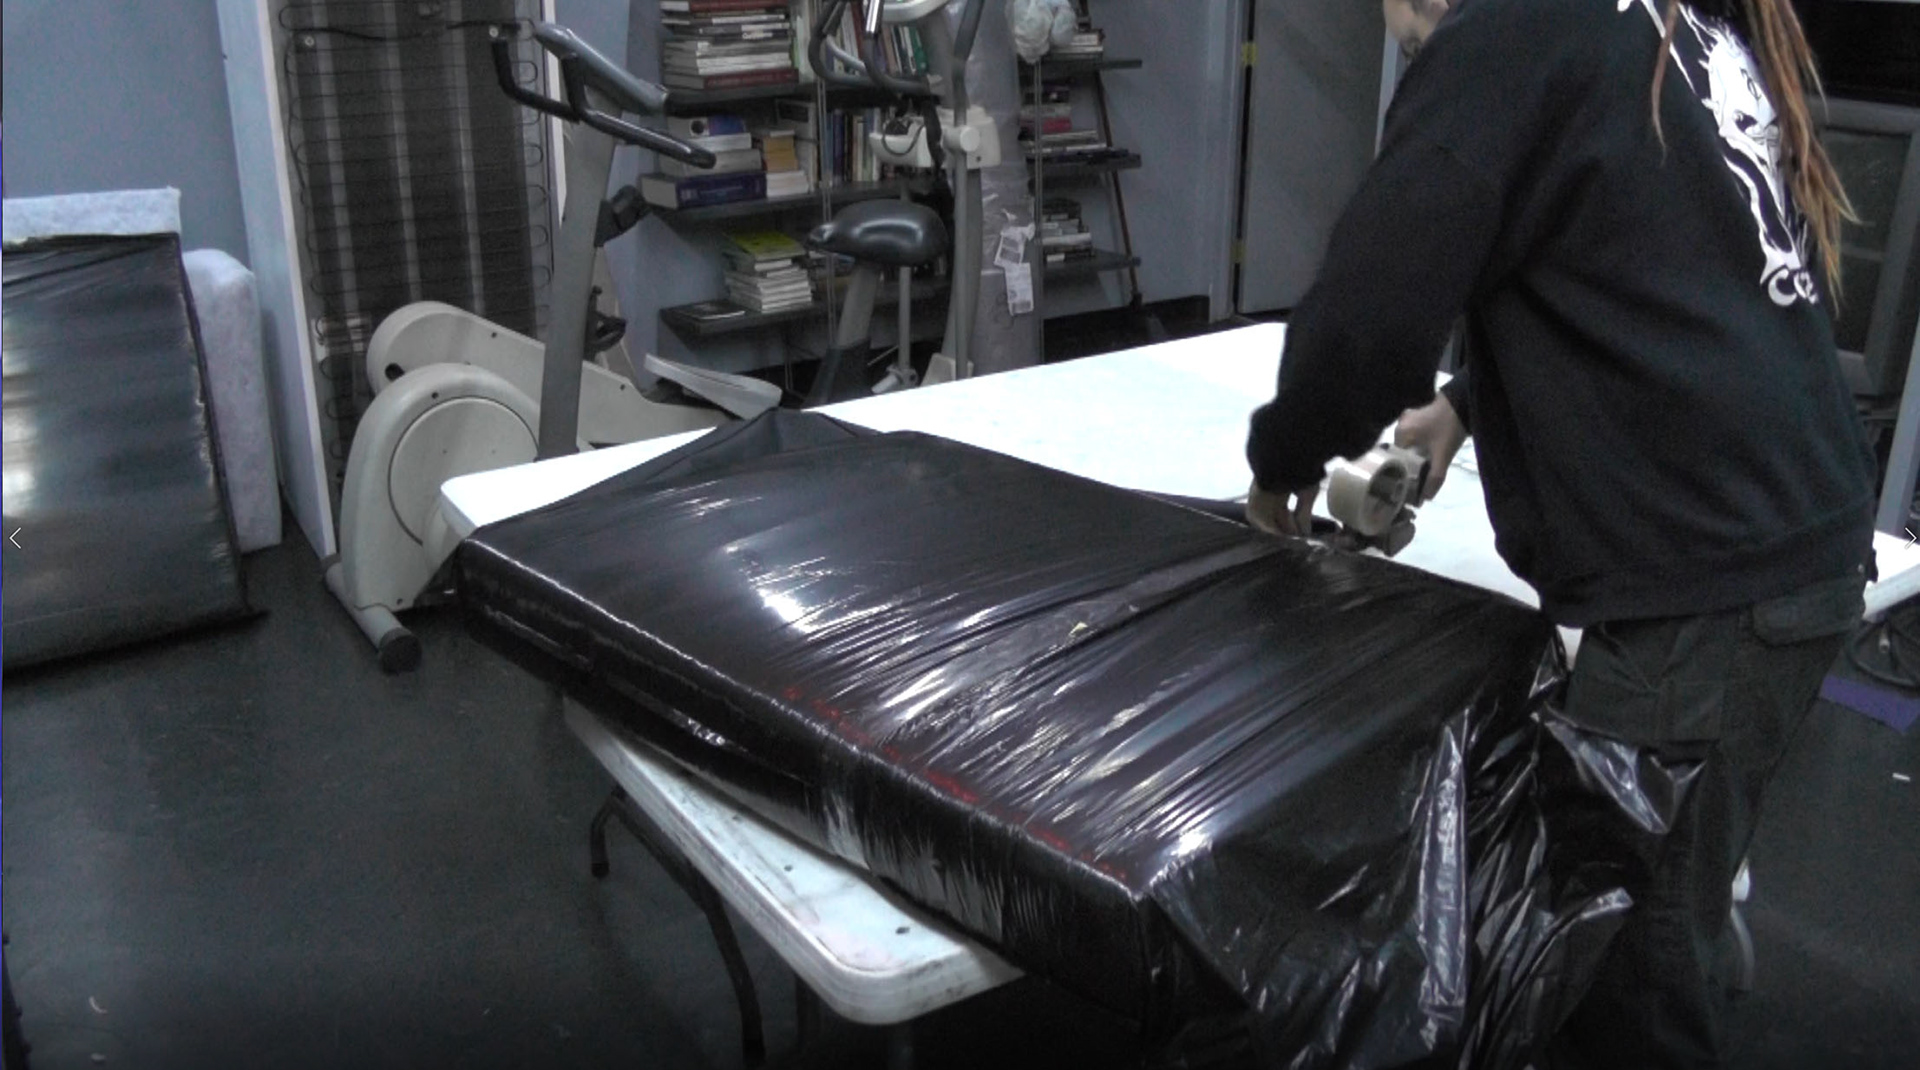
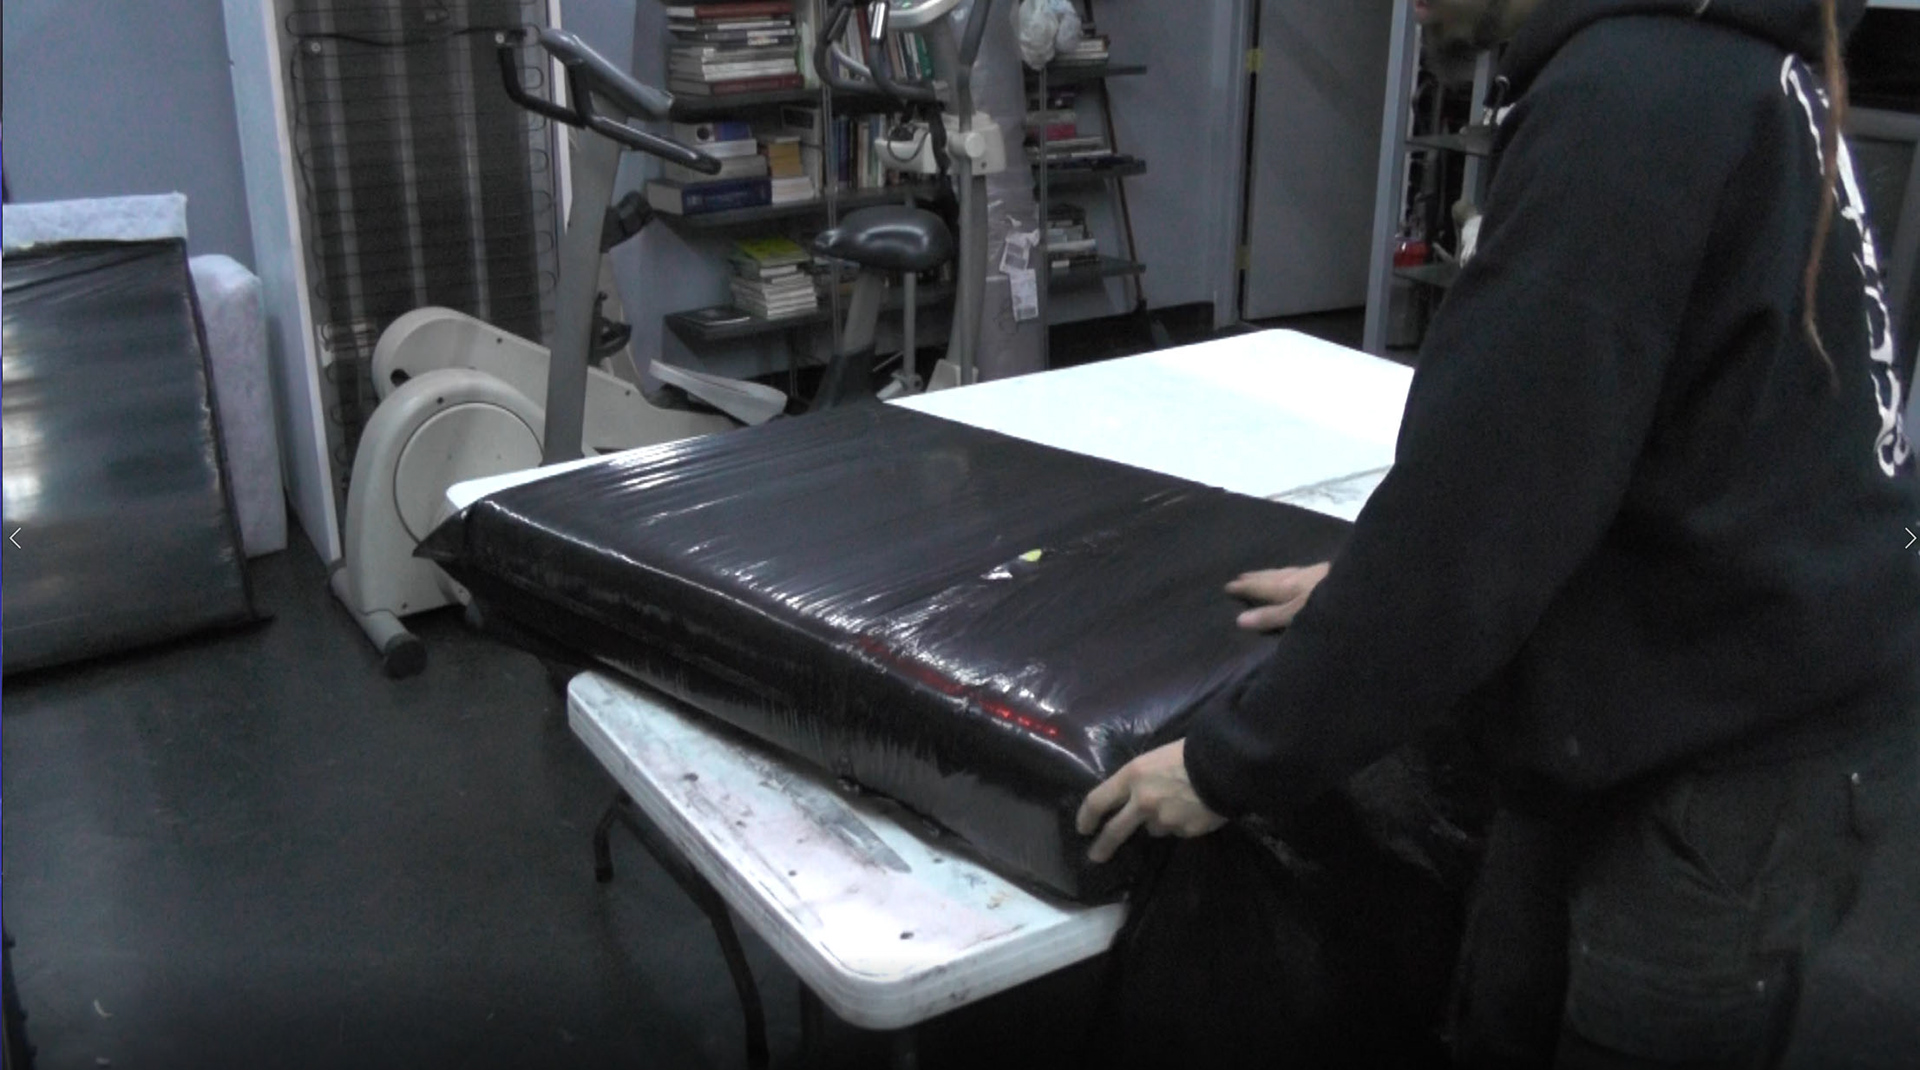
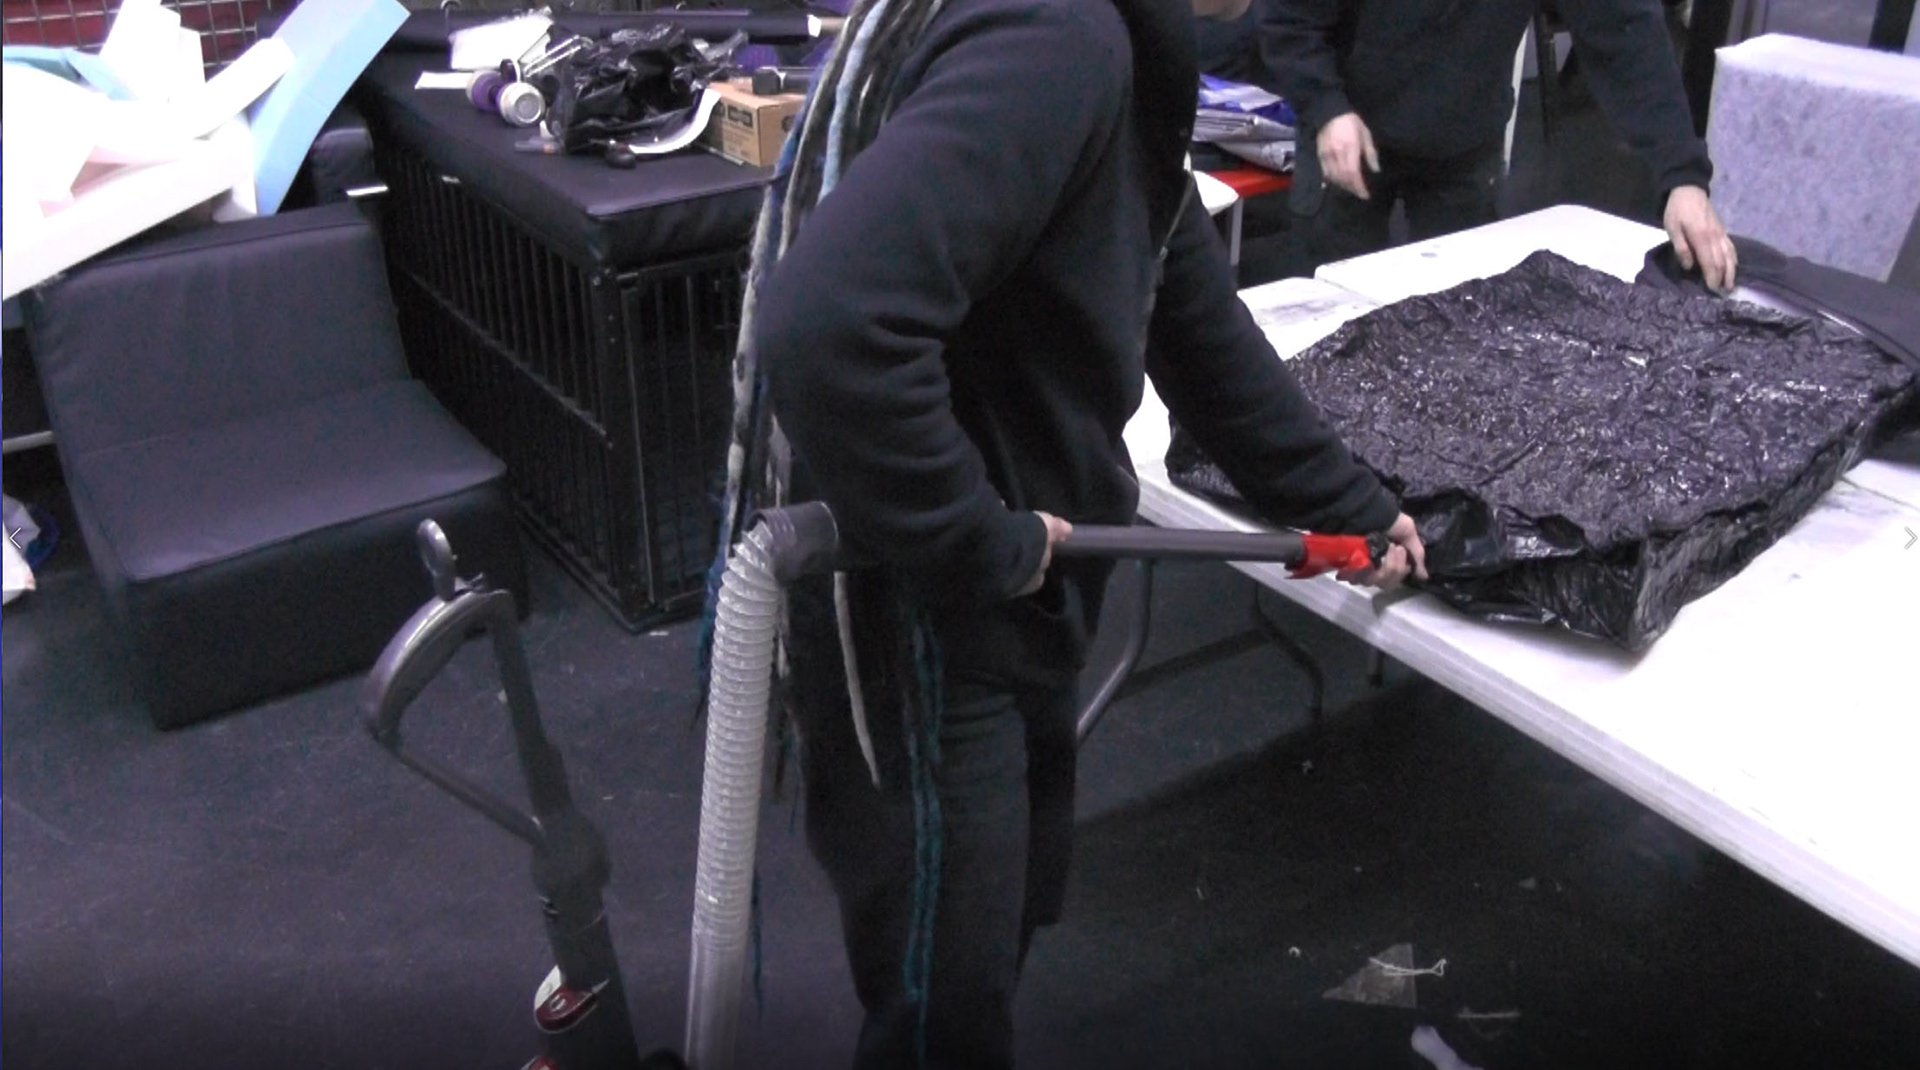
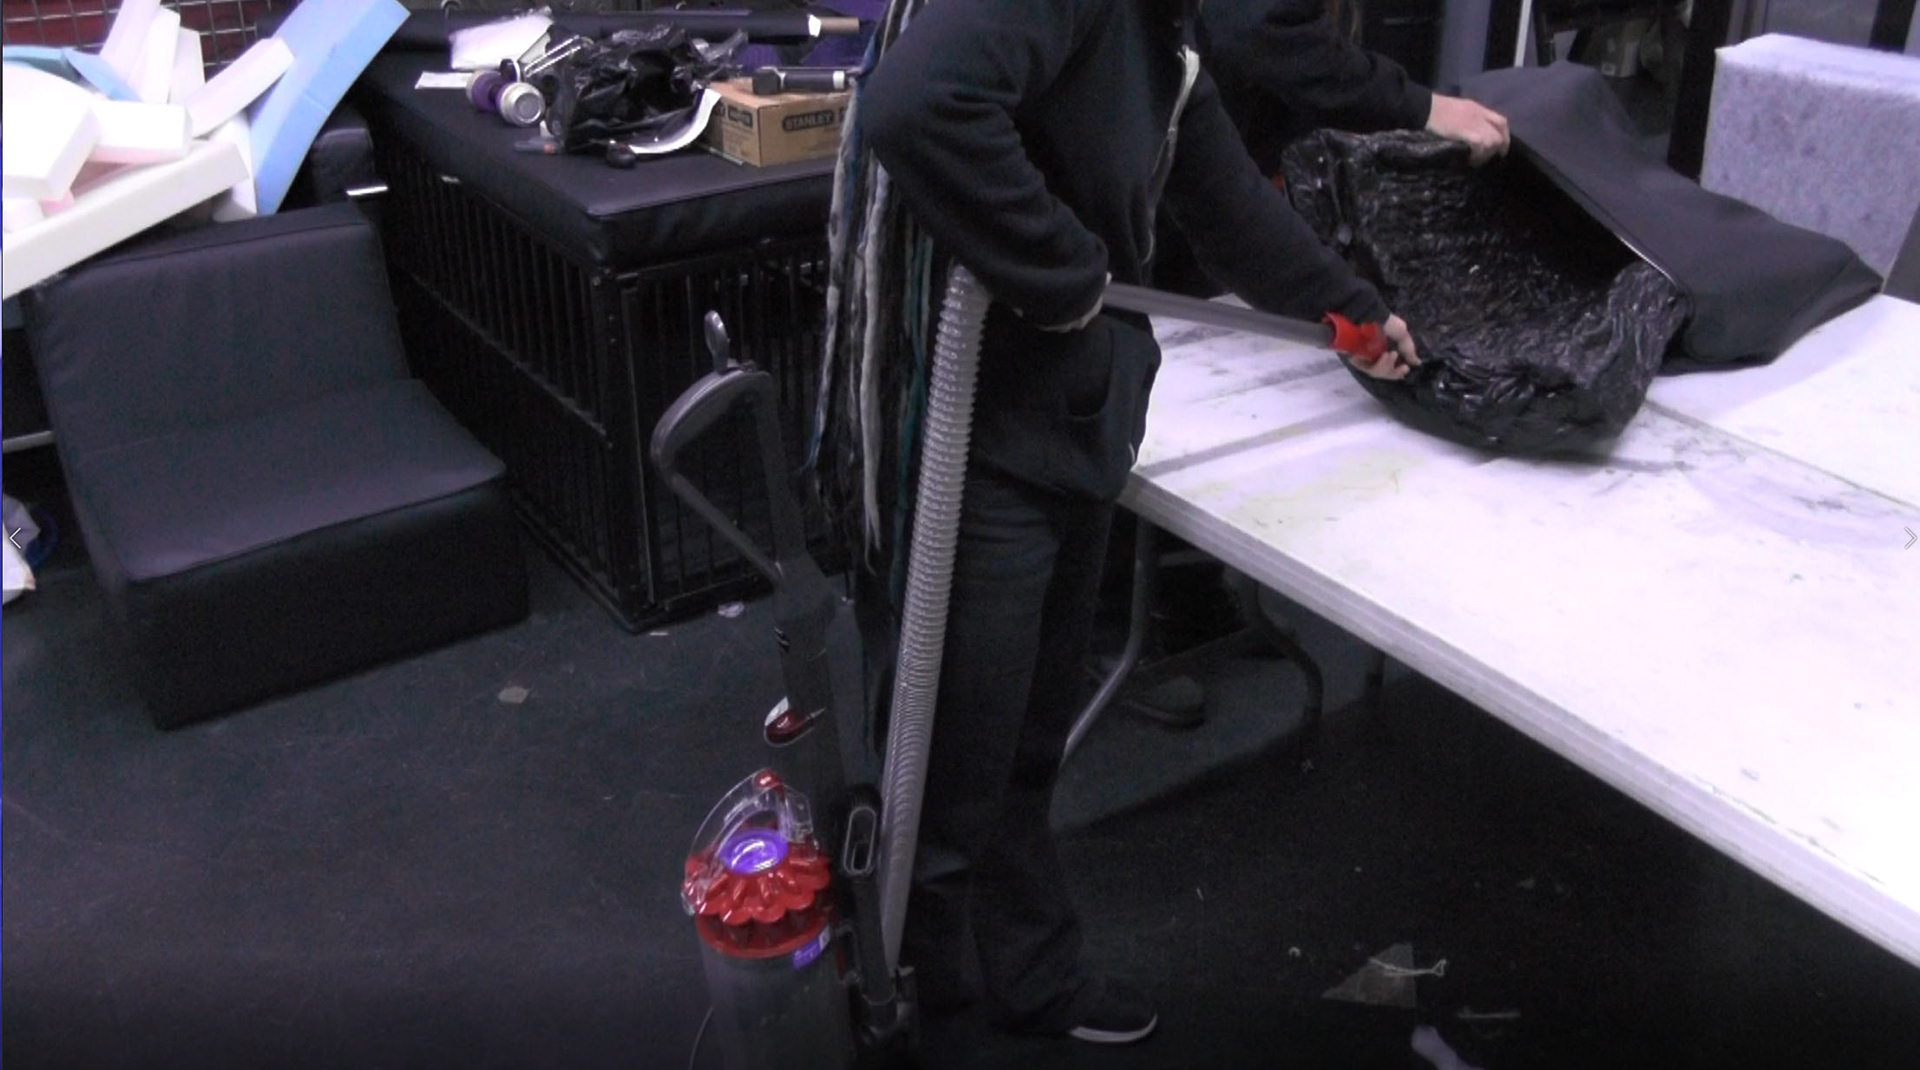
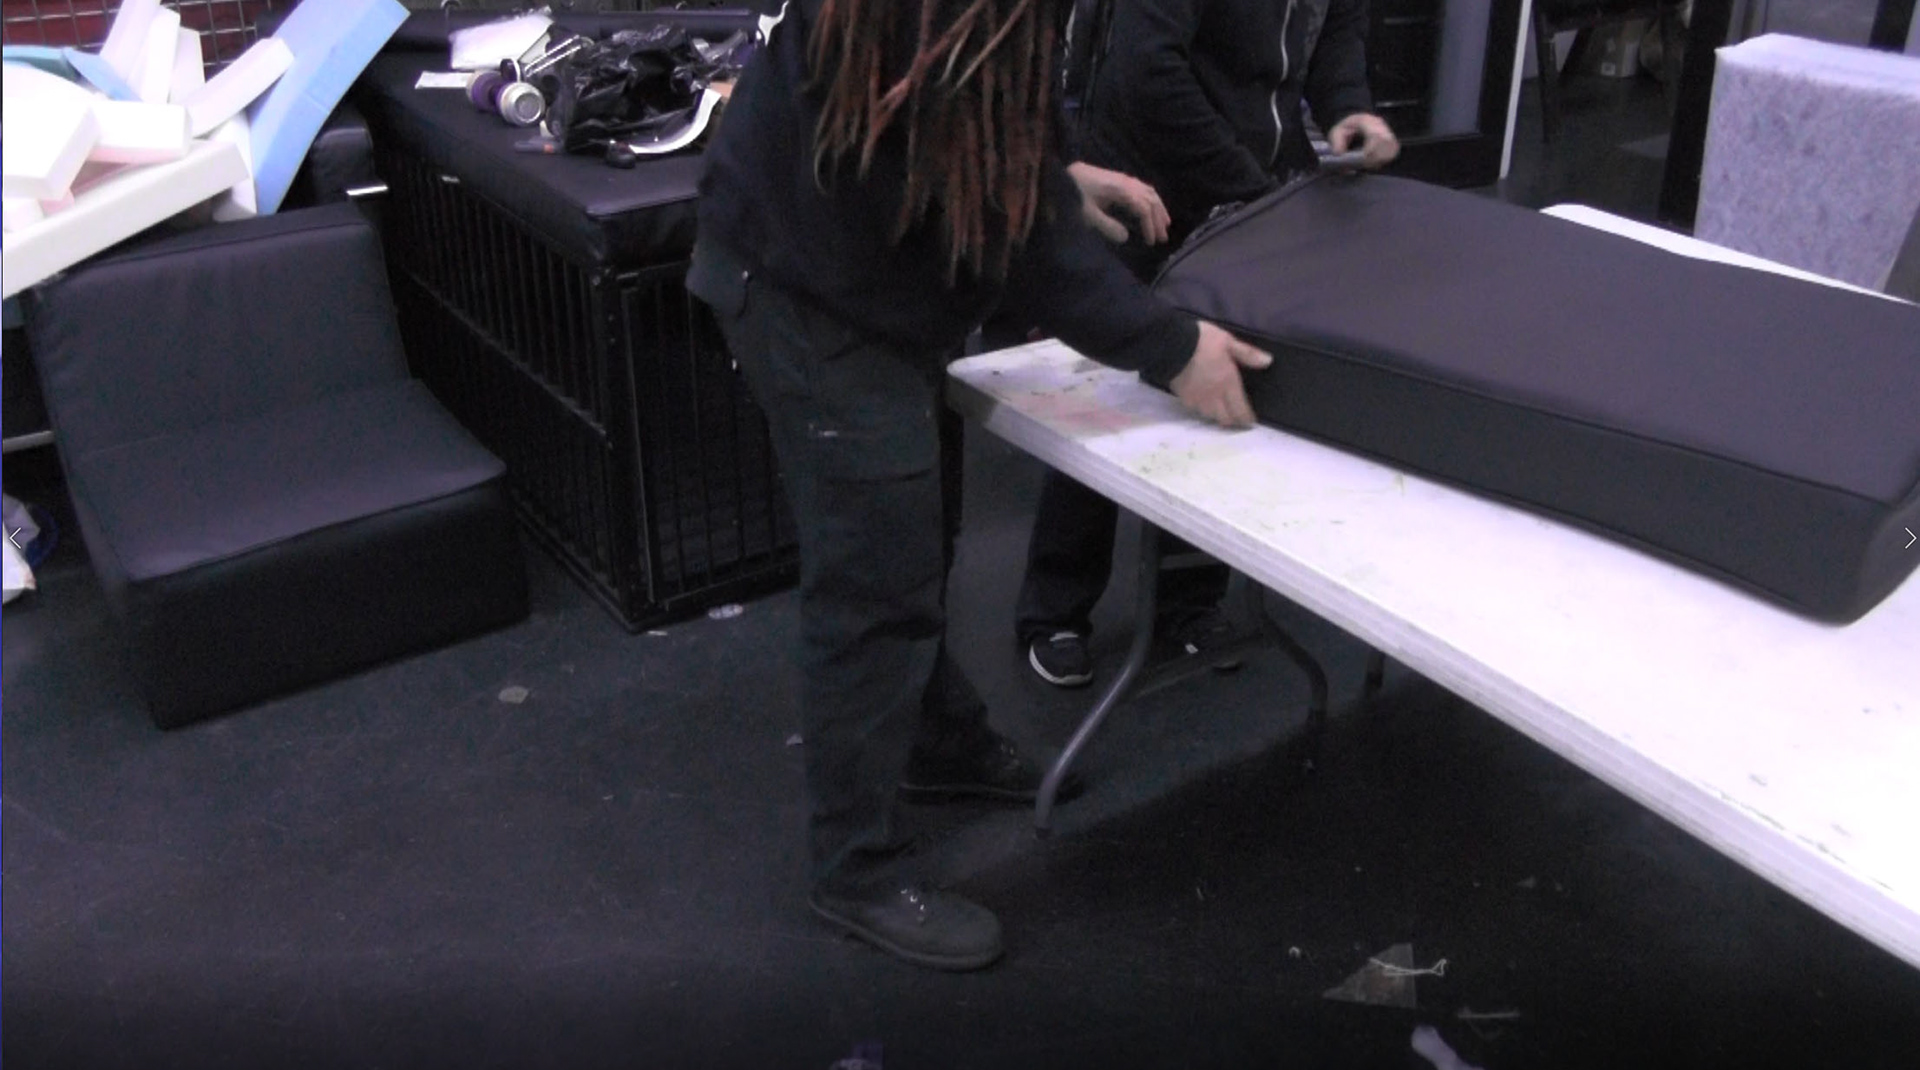
Because the removable center cushions were sewn on all side, the foam would have to be inserted and the last bit hand sewn. To keep this to a minimum, the foam was put in a bag and vacuumed down so it could fit through a smaller opening.
Because the removable center cushions were sewn on all side, the foam would have to be inserted and the last bit hand sewn. To keep this to a minimum, the foam was put in a bag and vacuumed down so it could fit through a smaller opening.
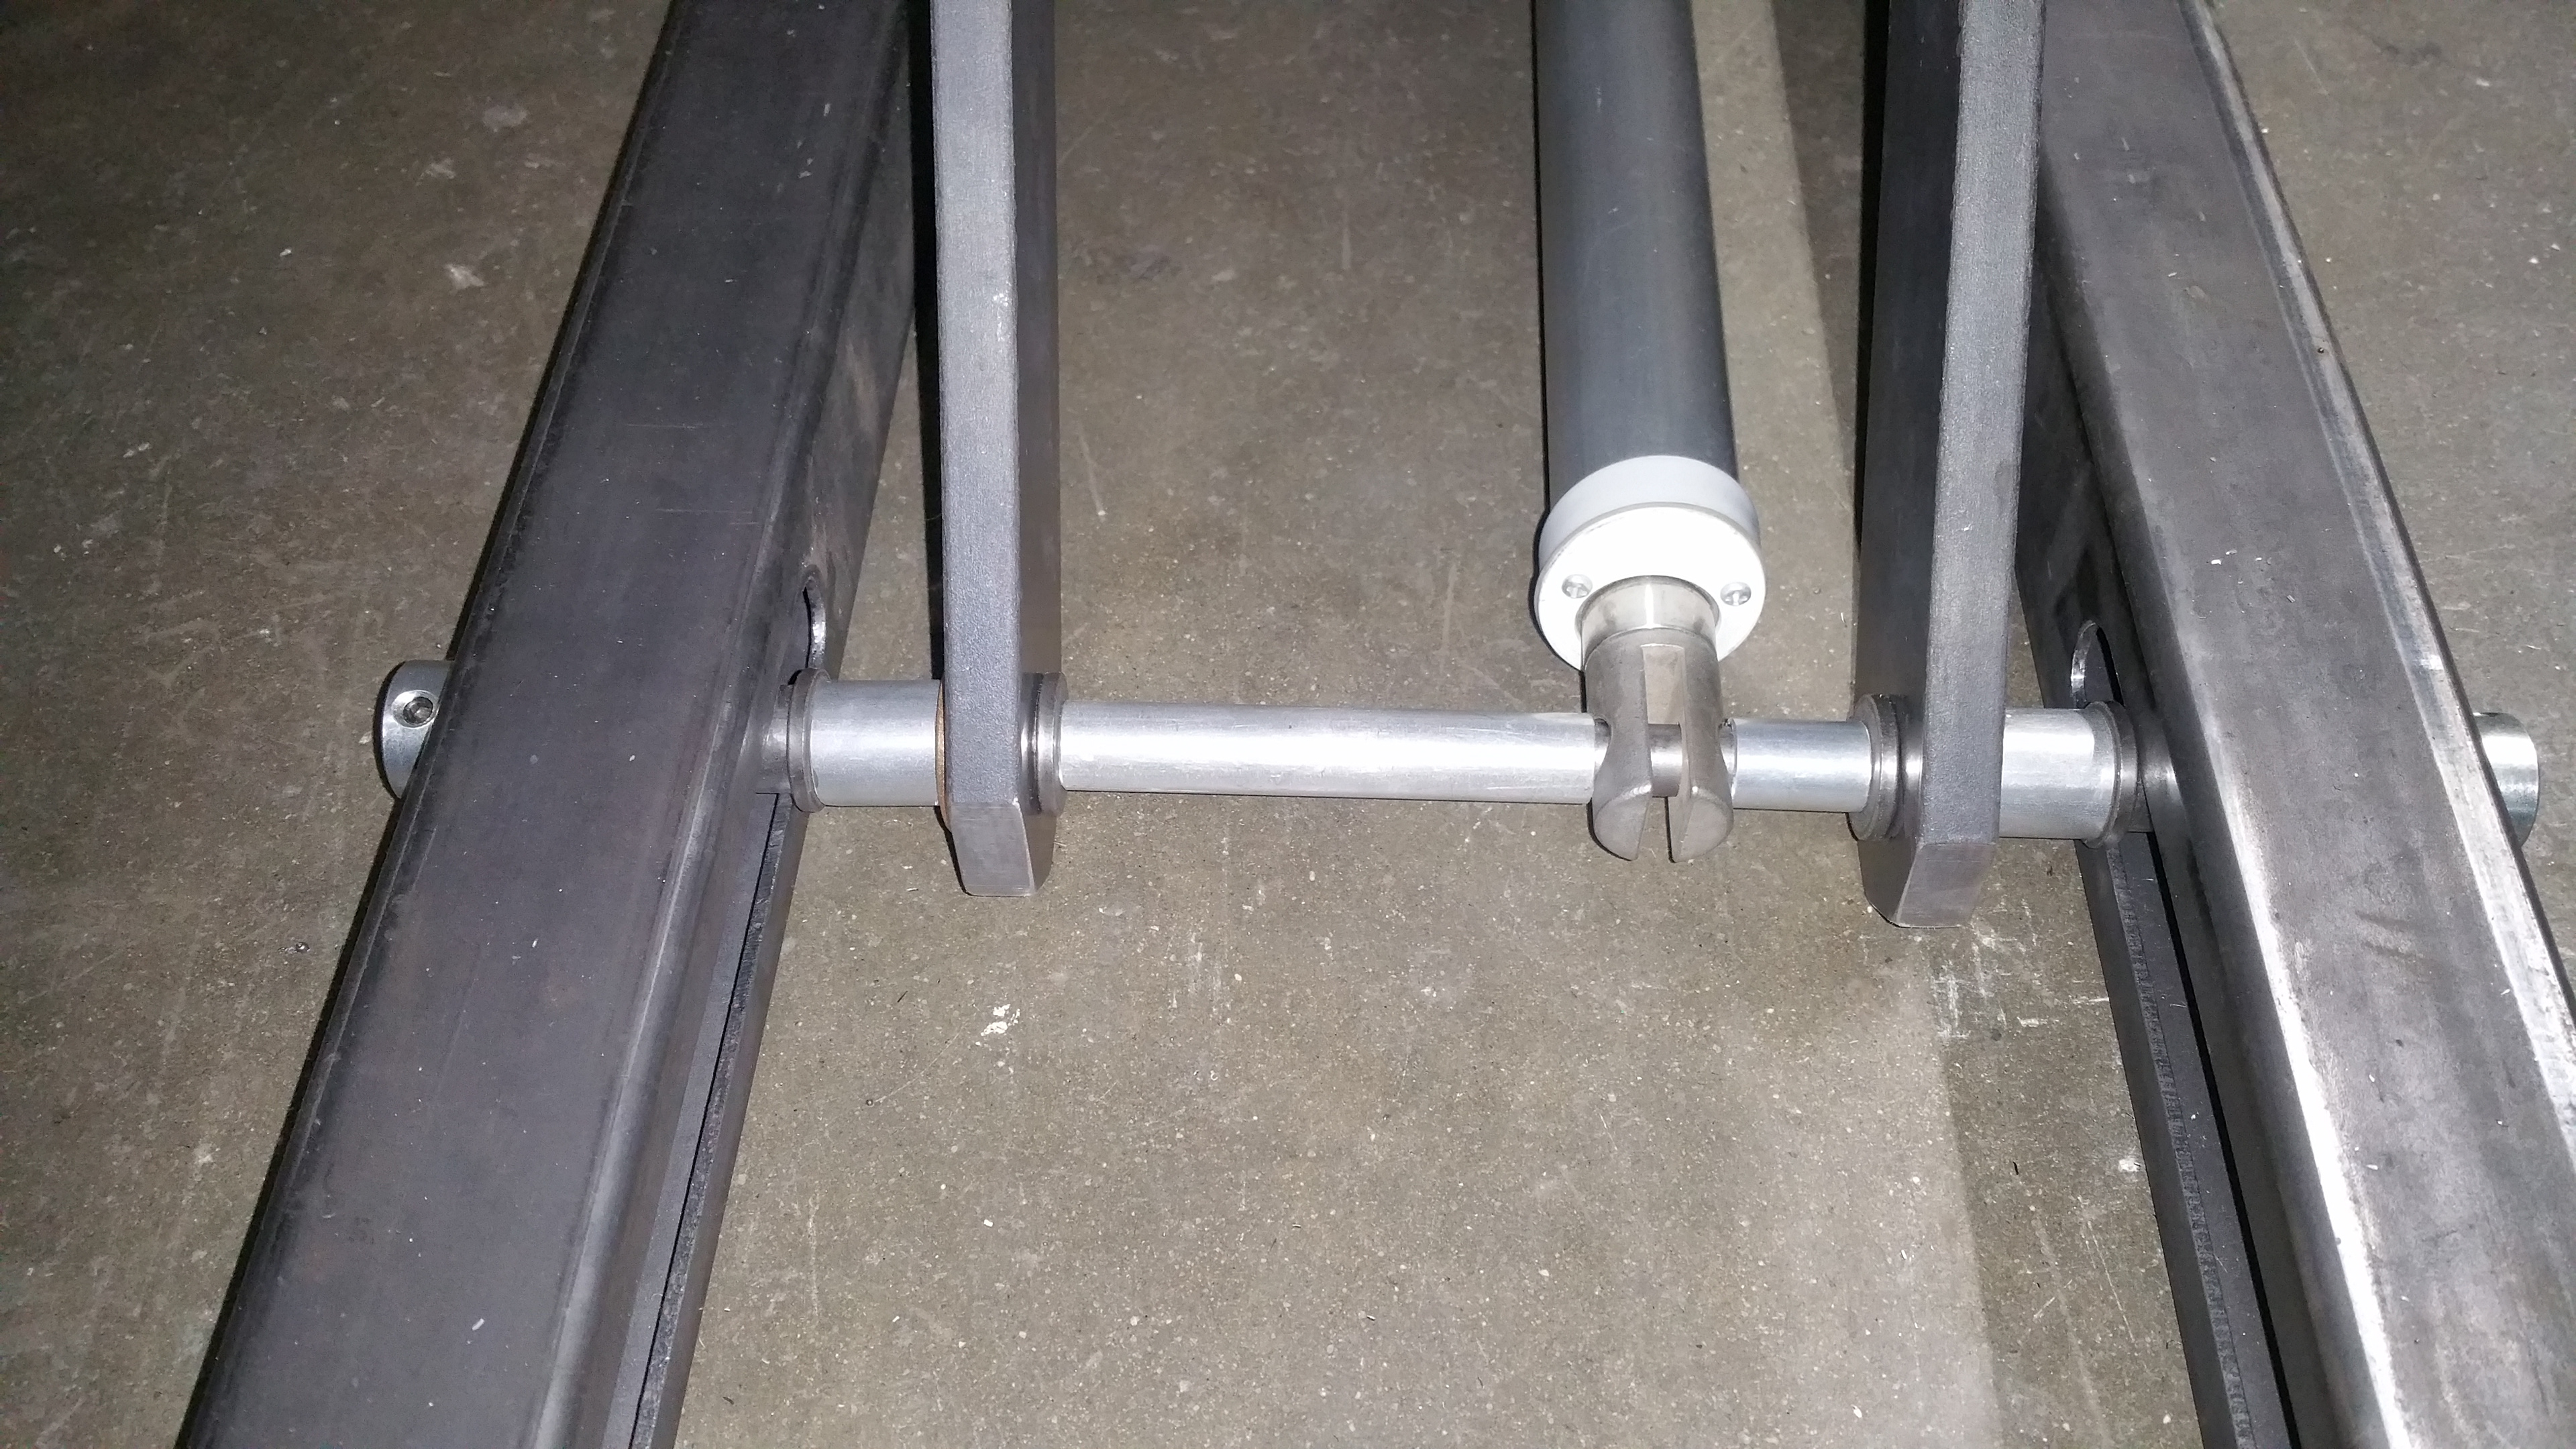
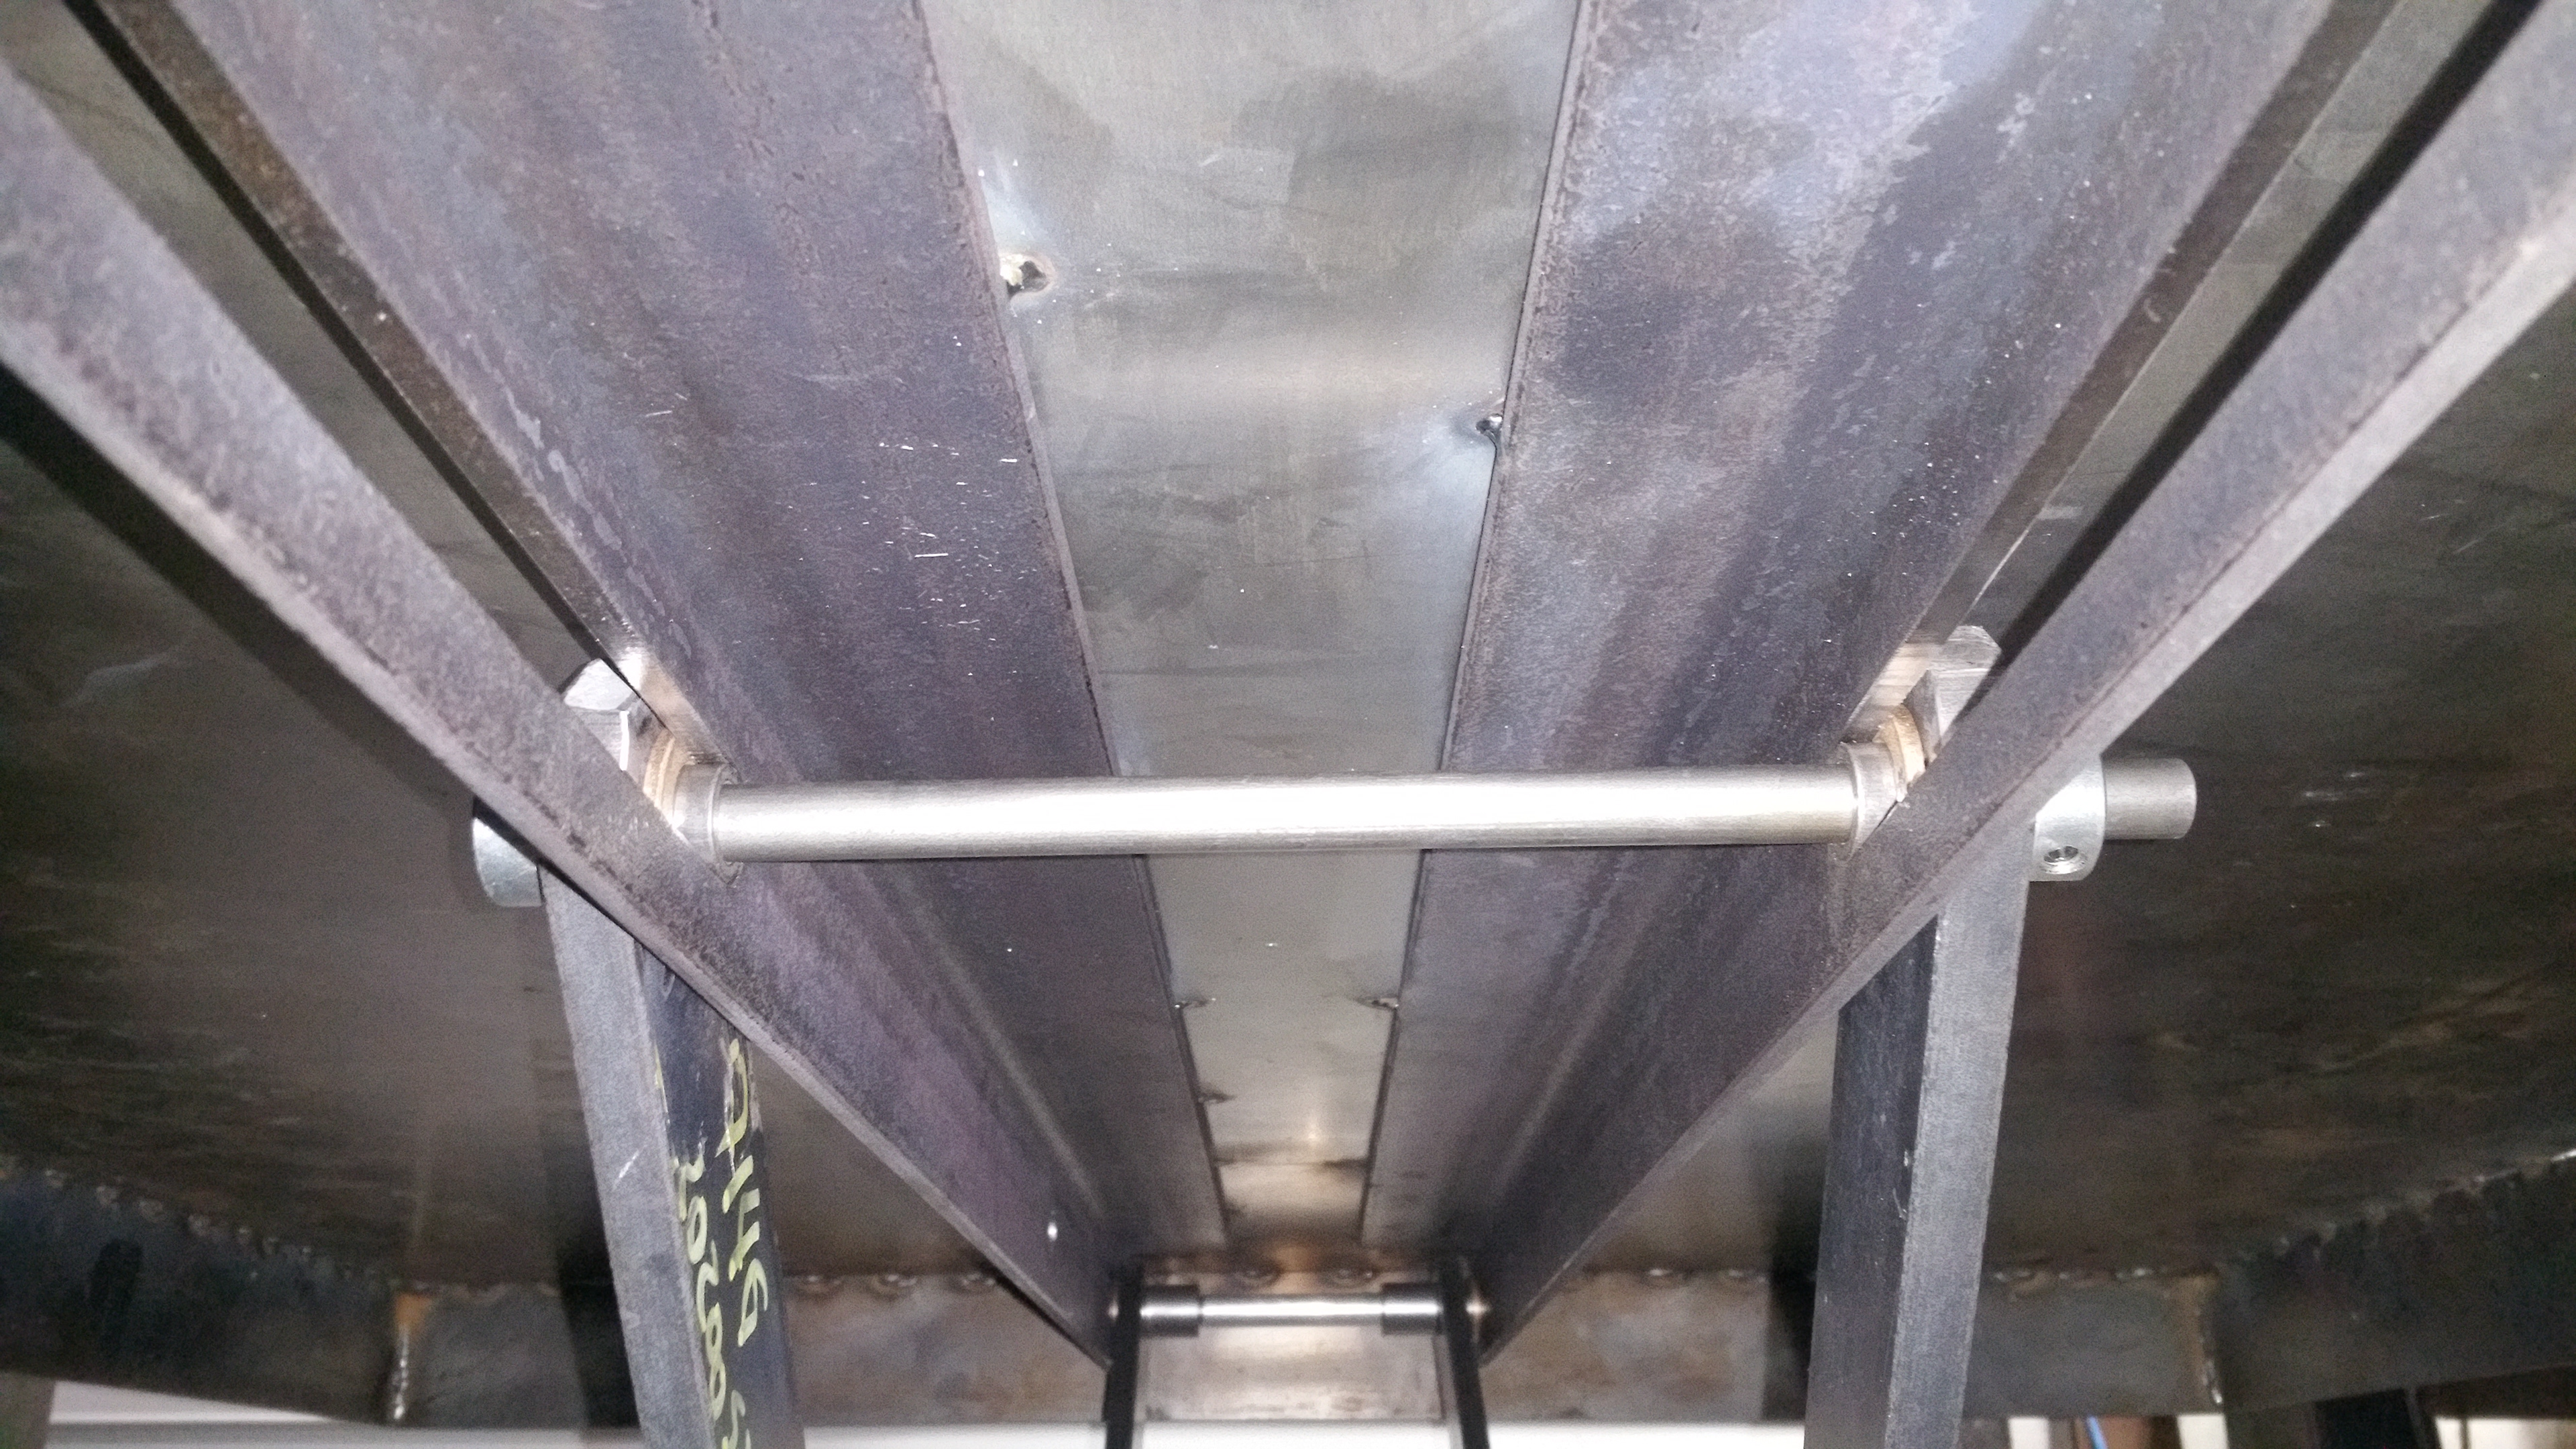
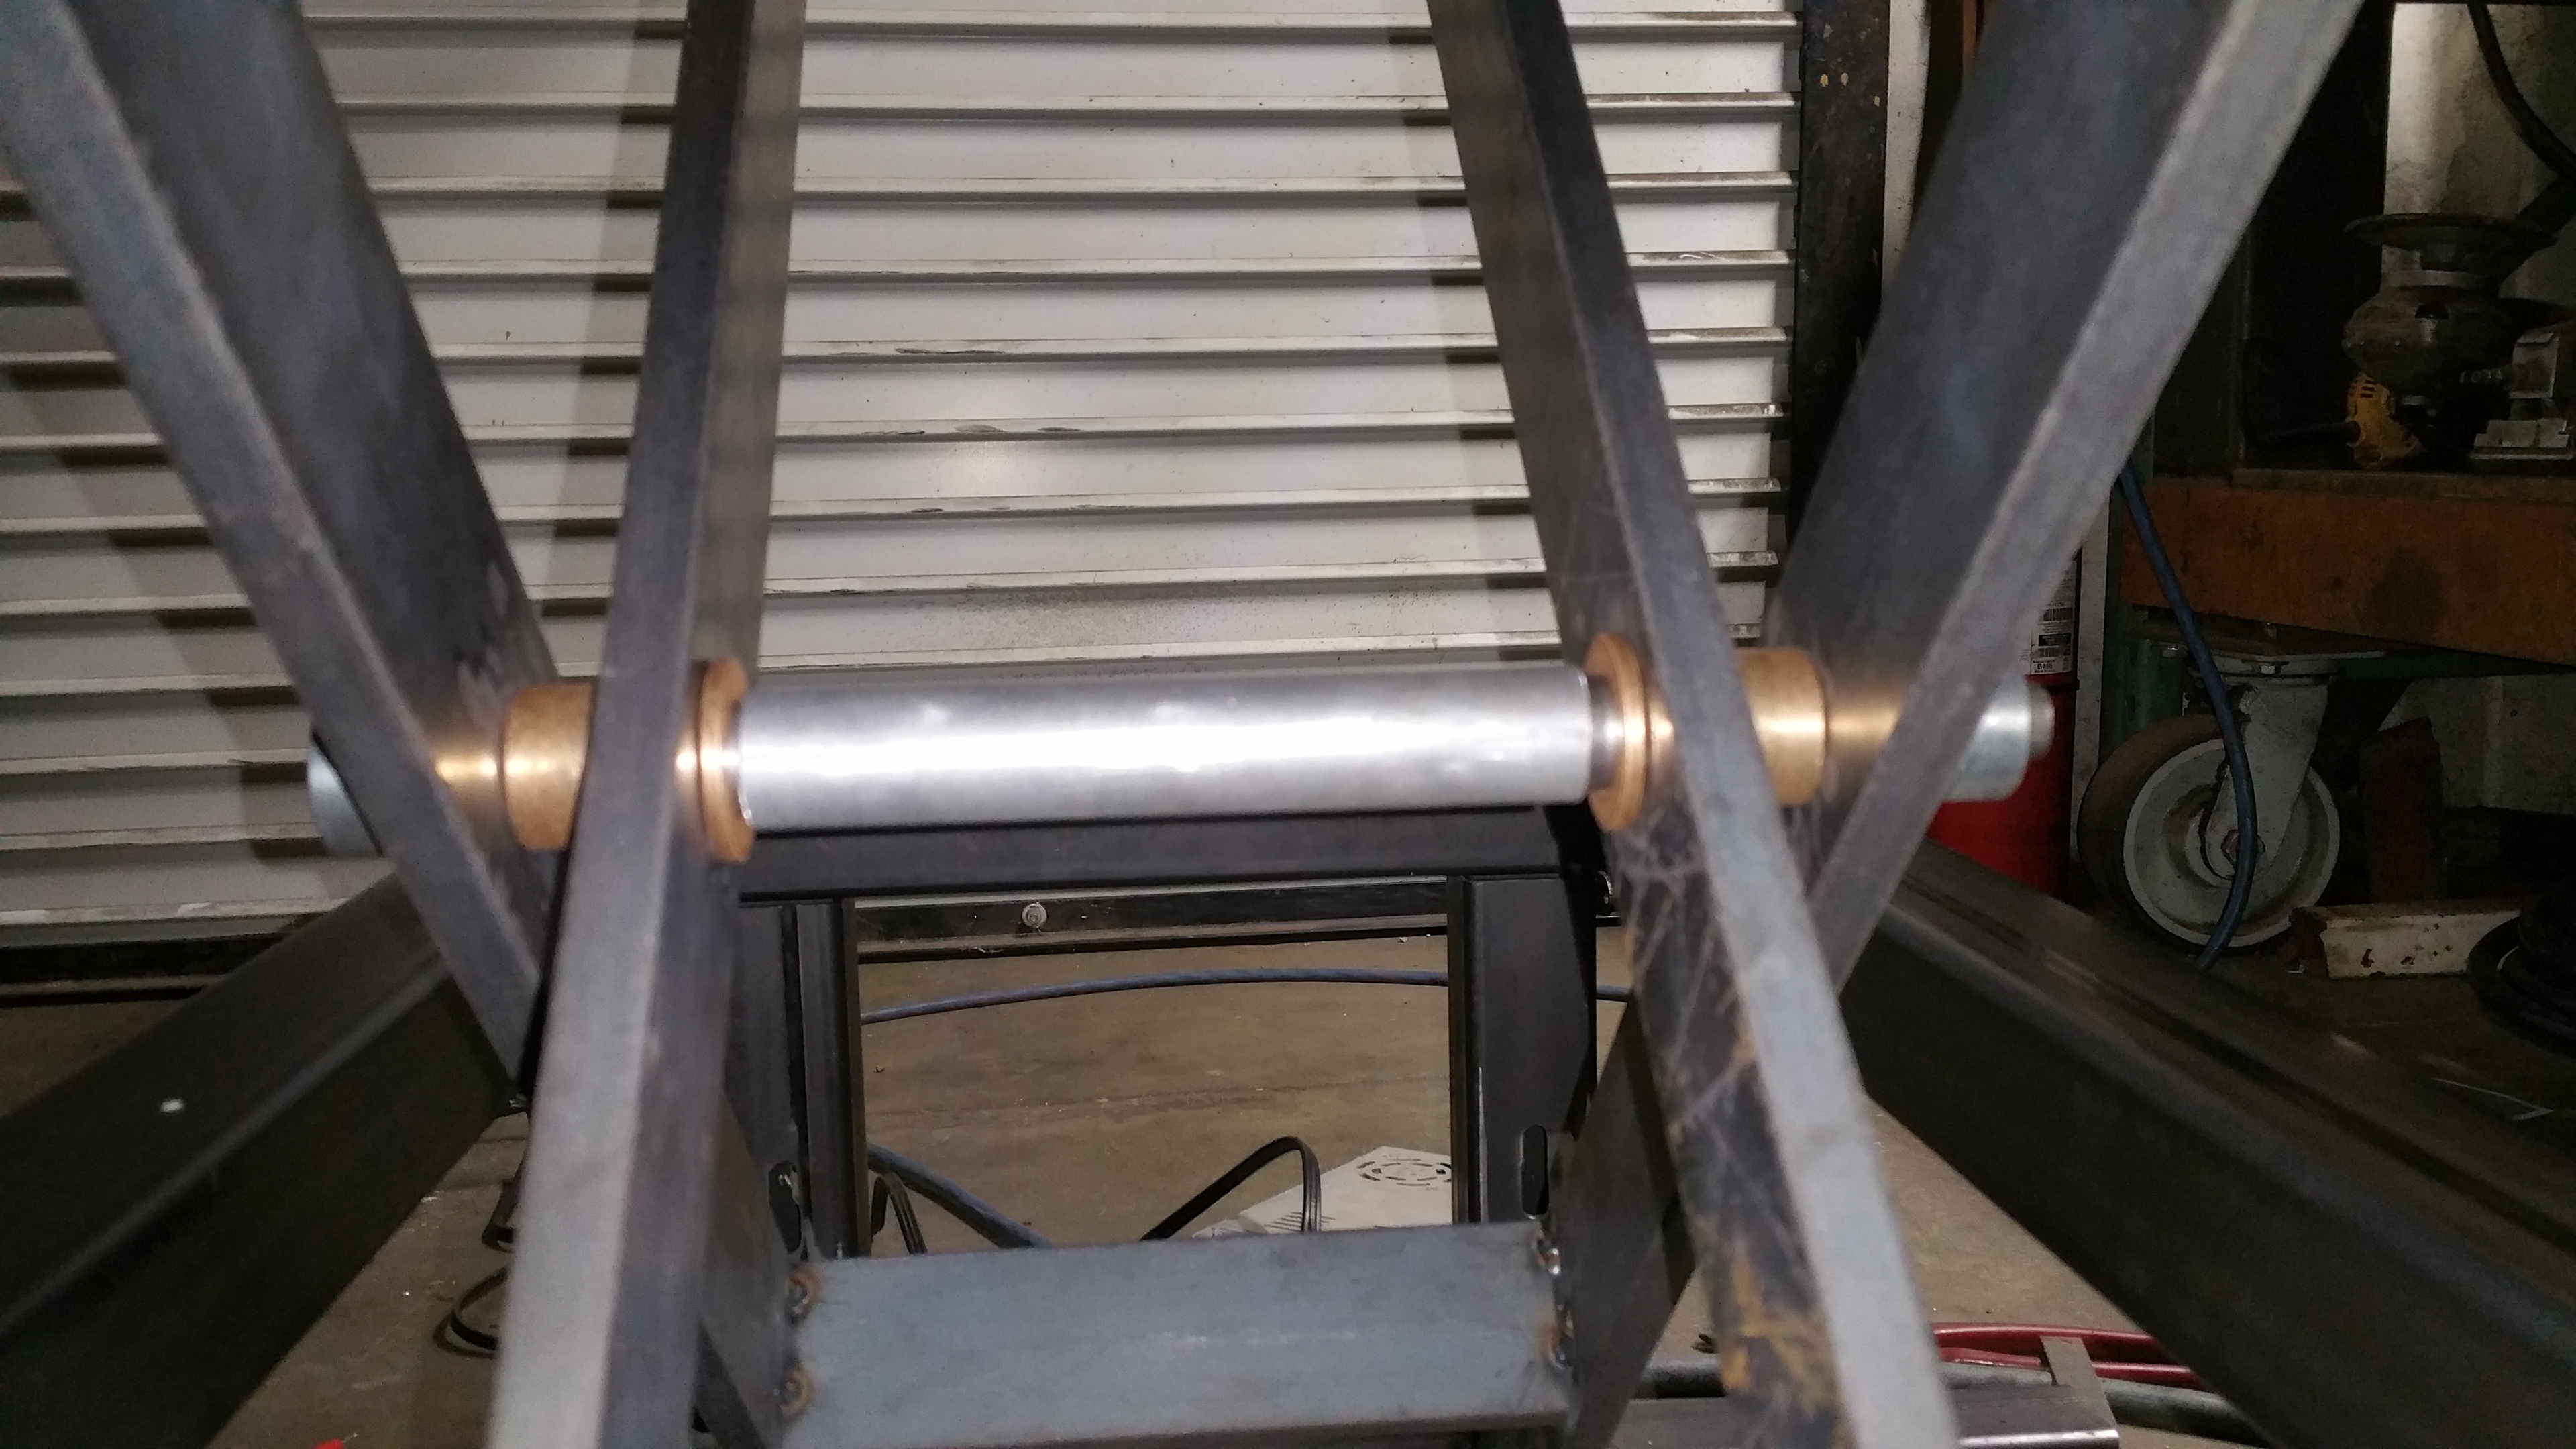
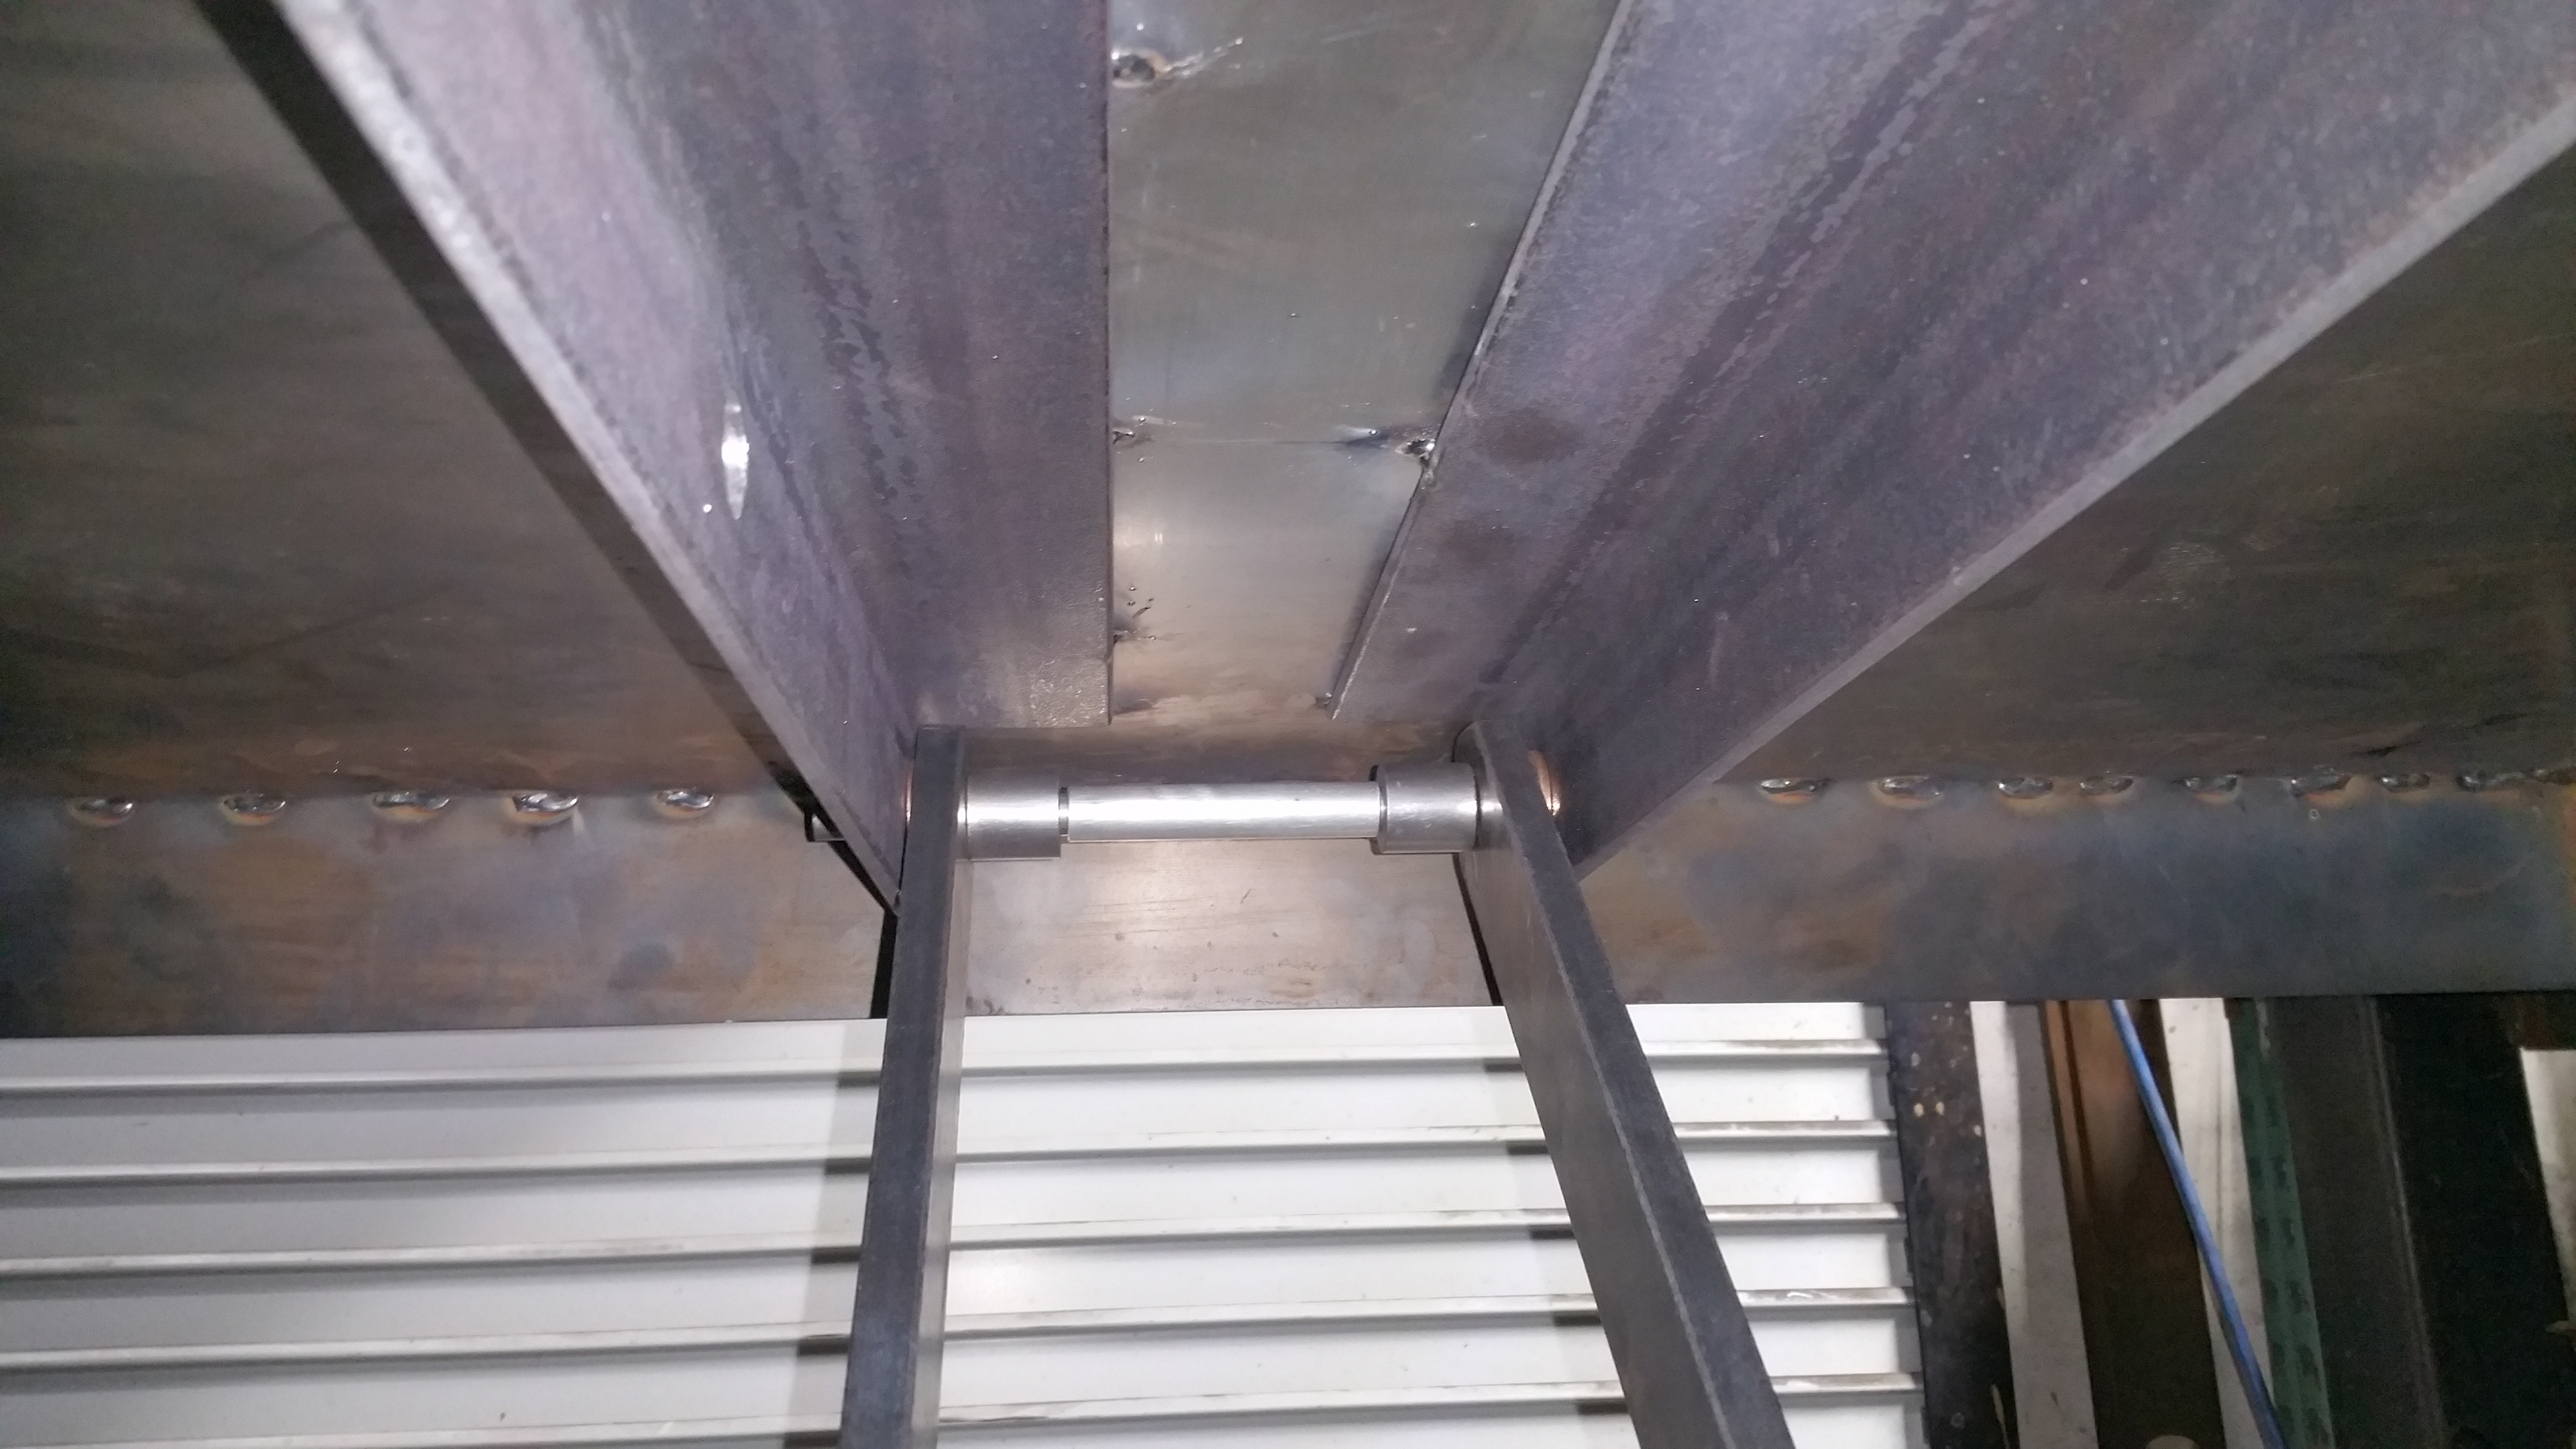
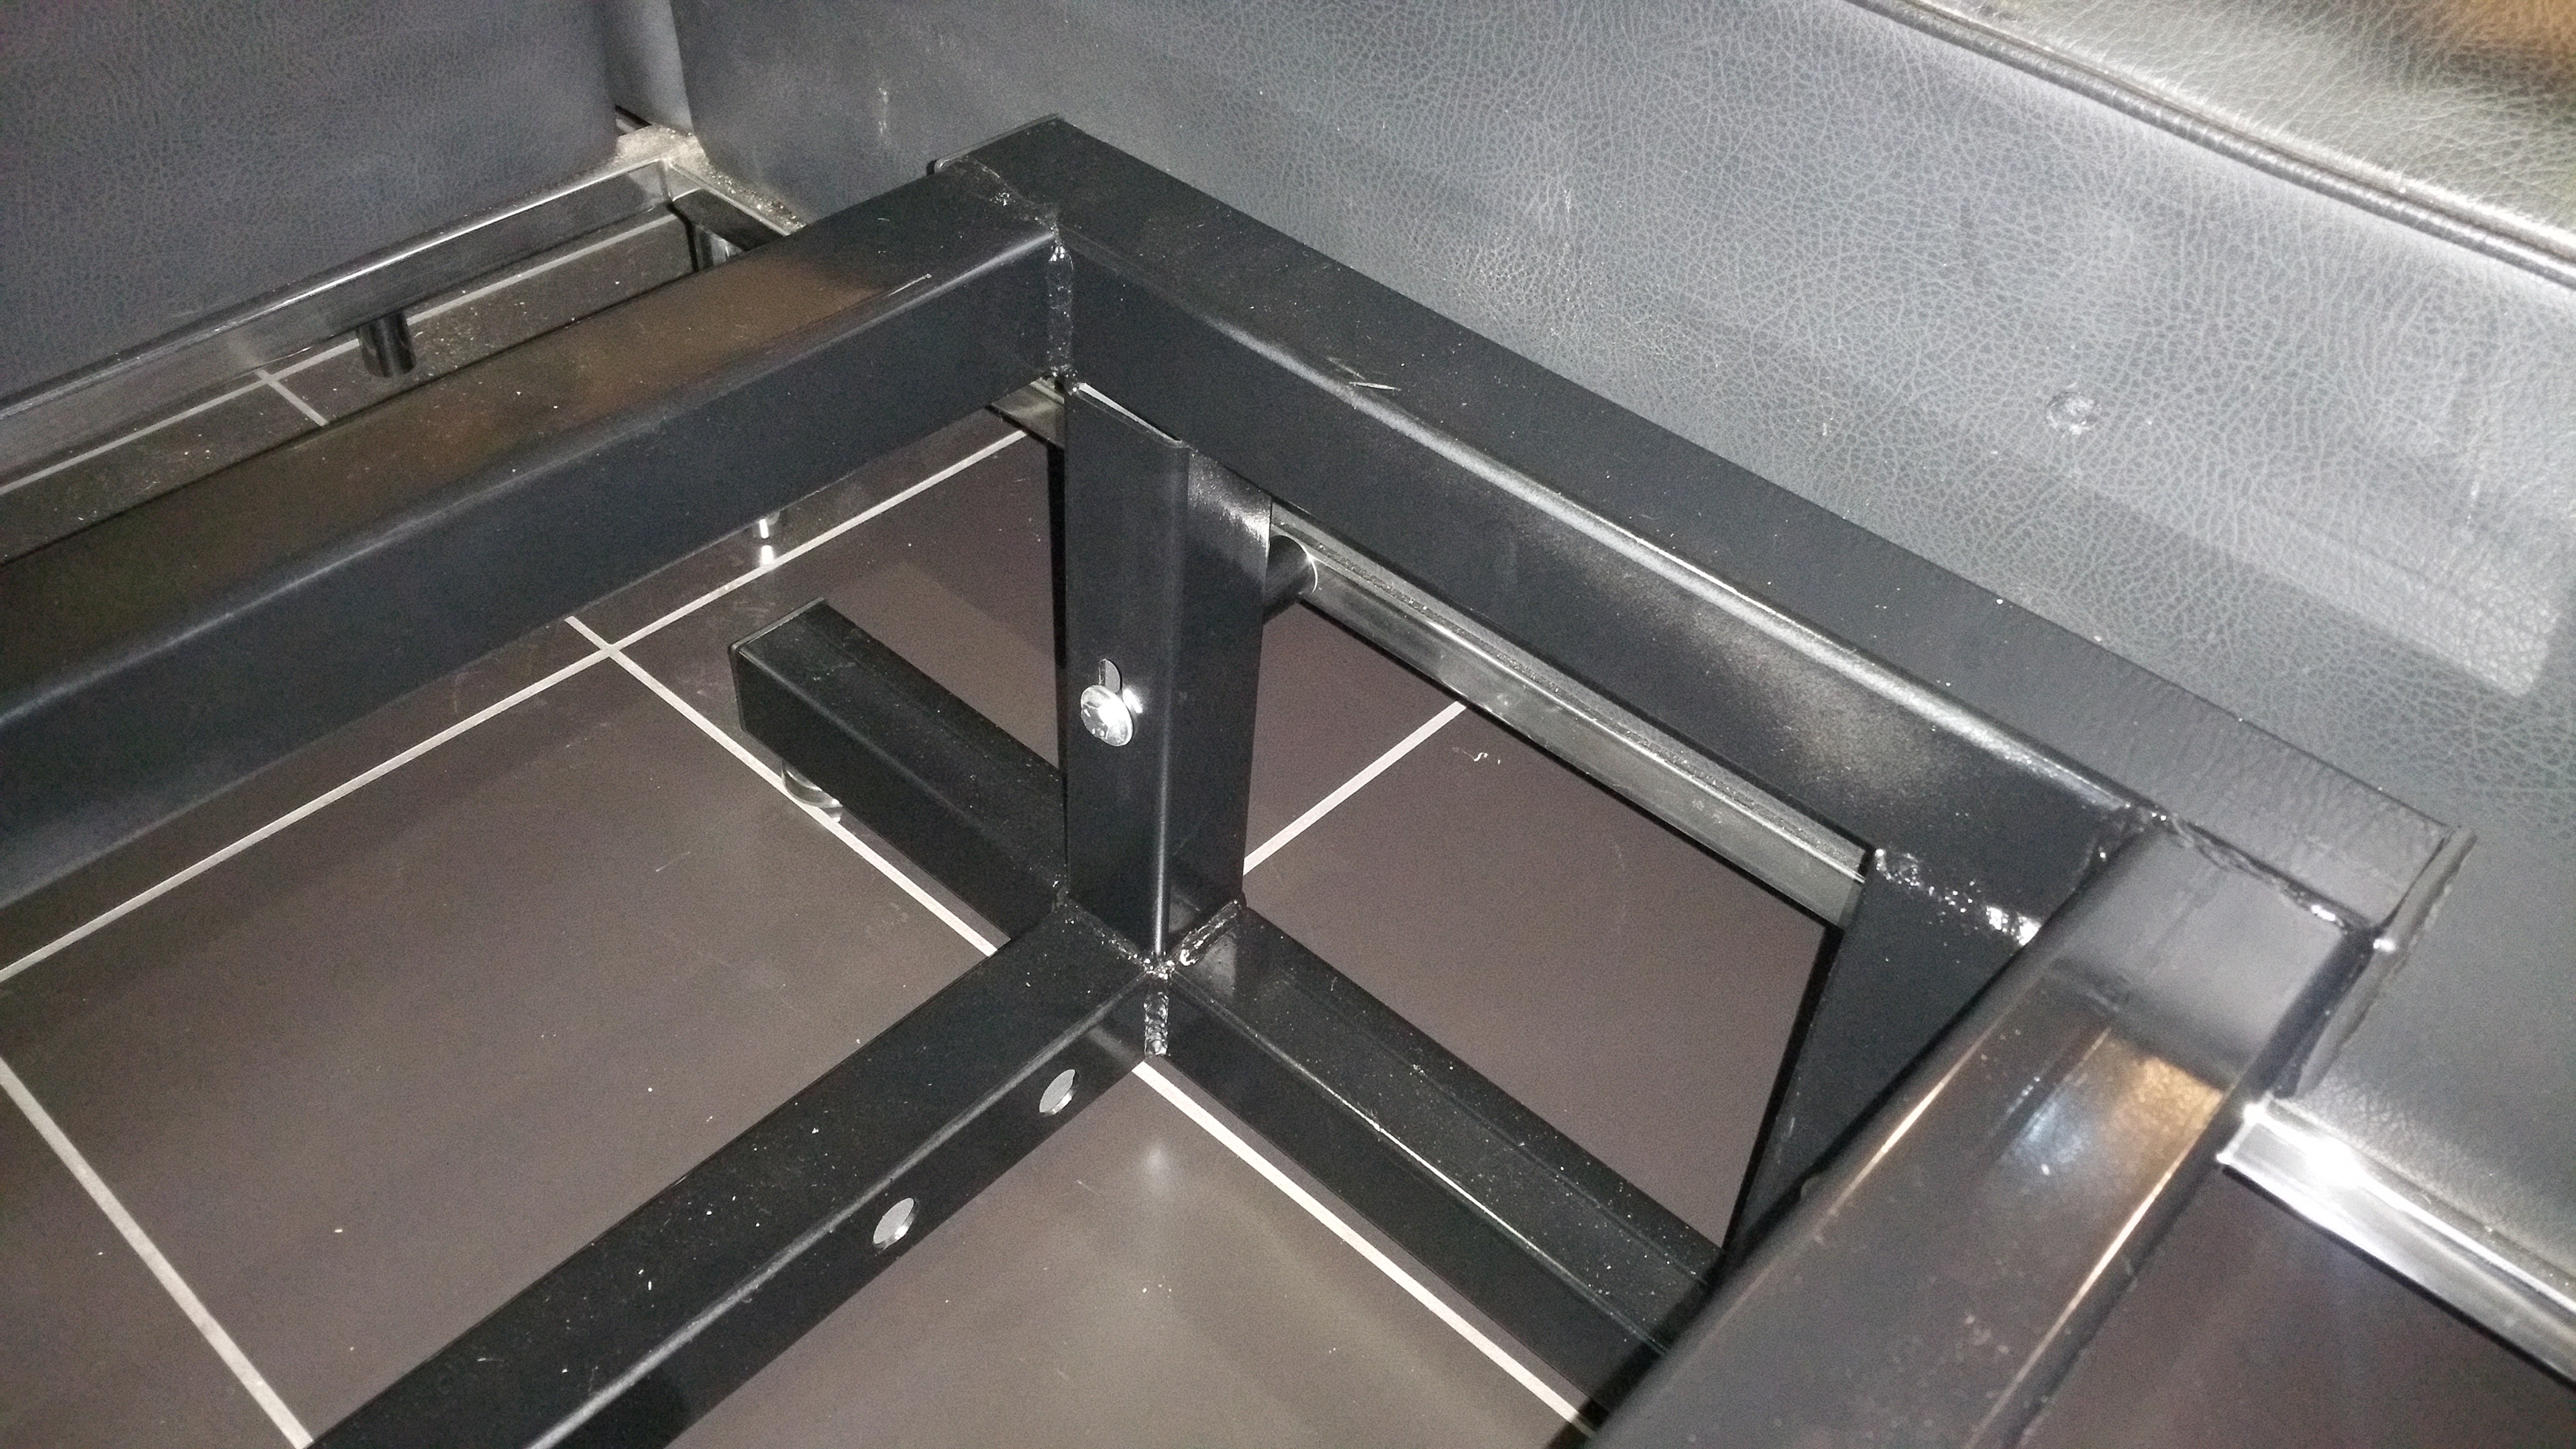
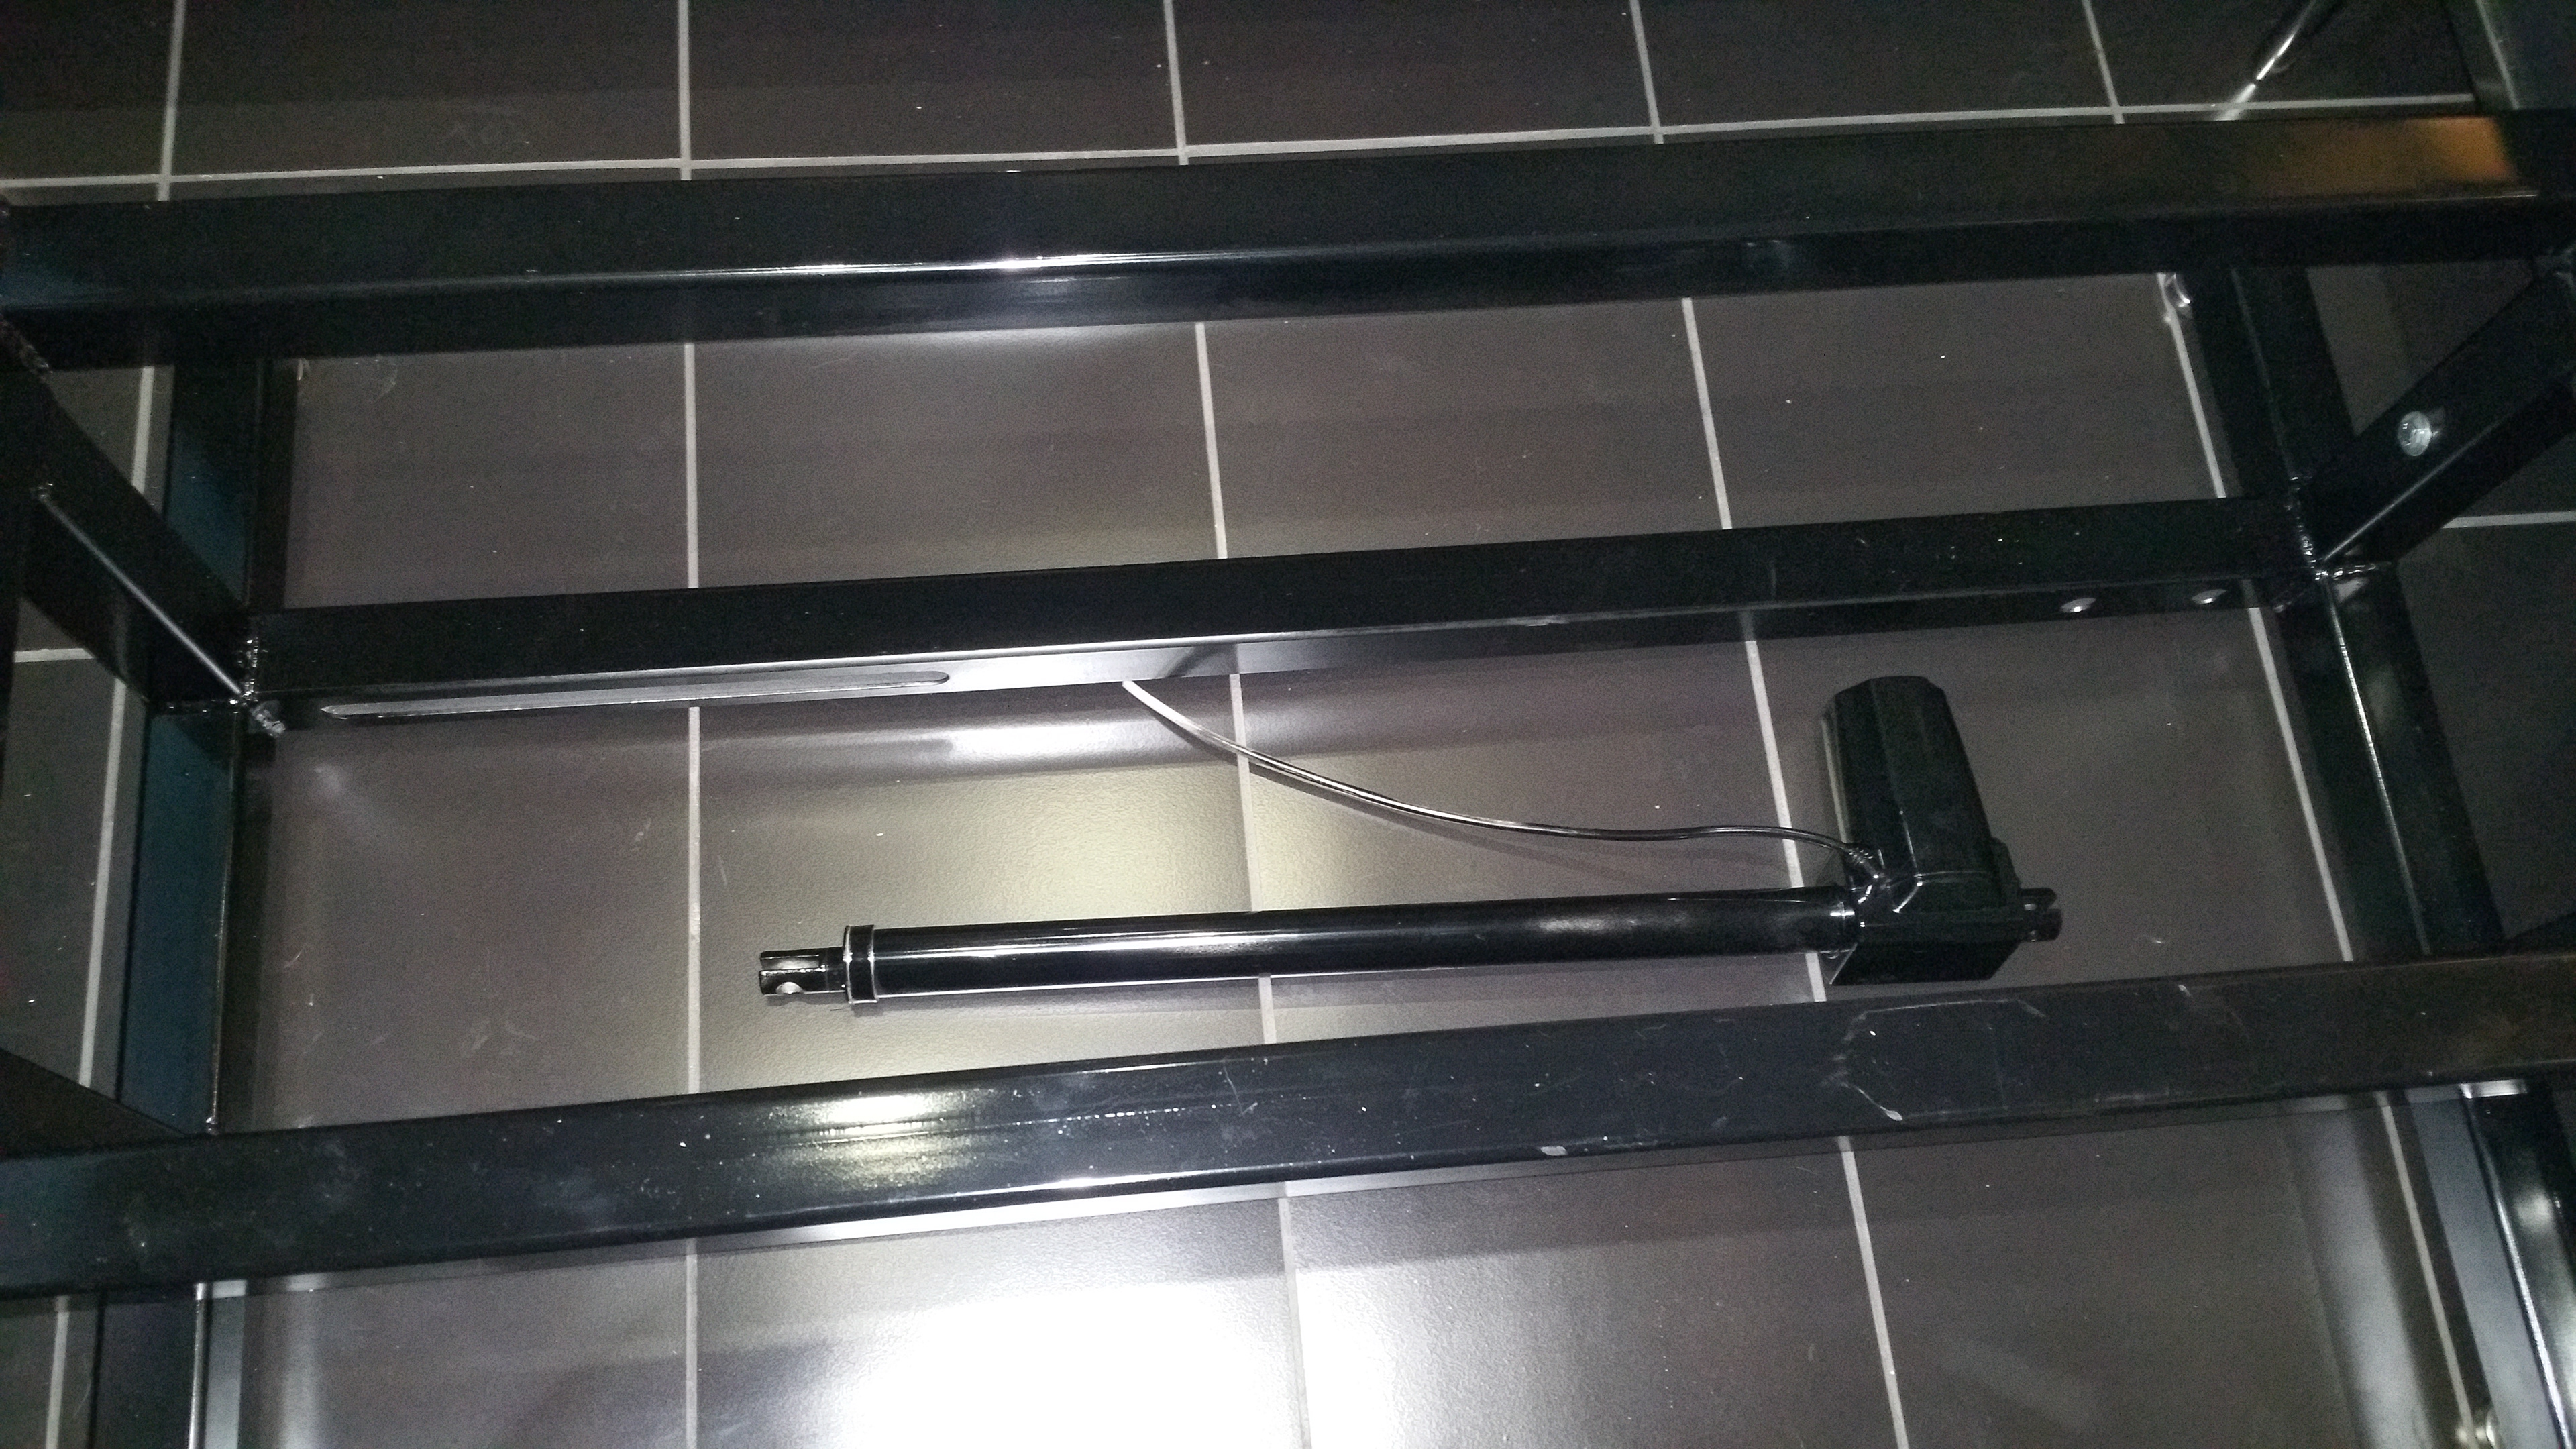
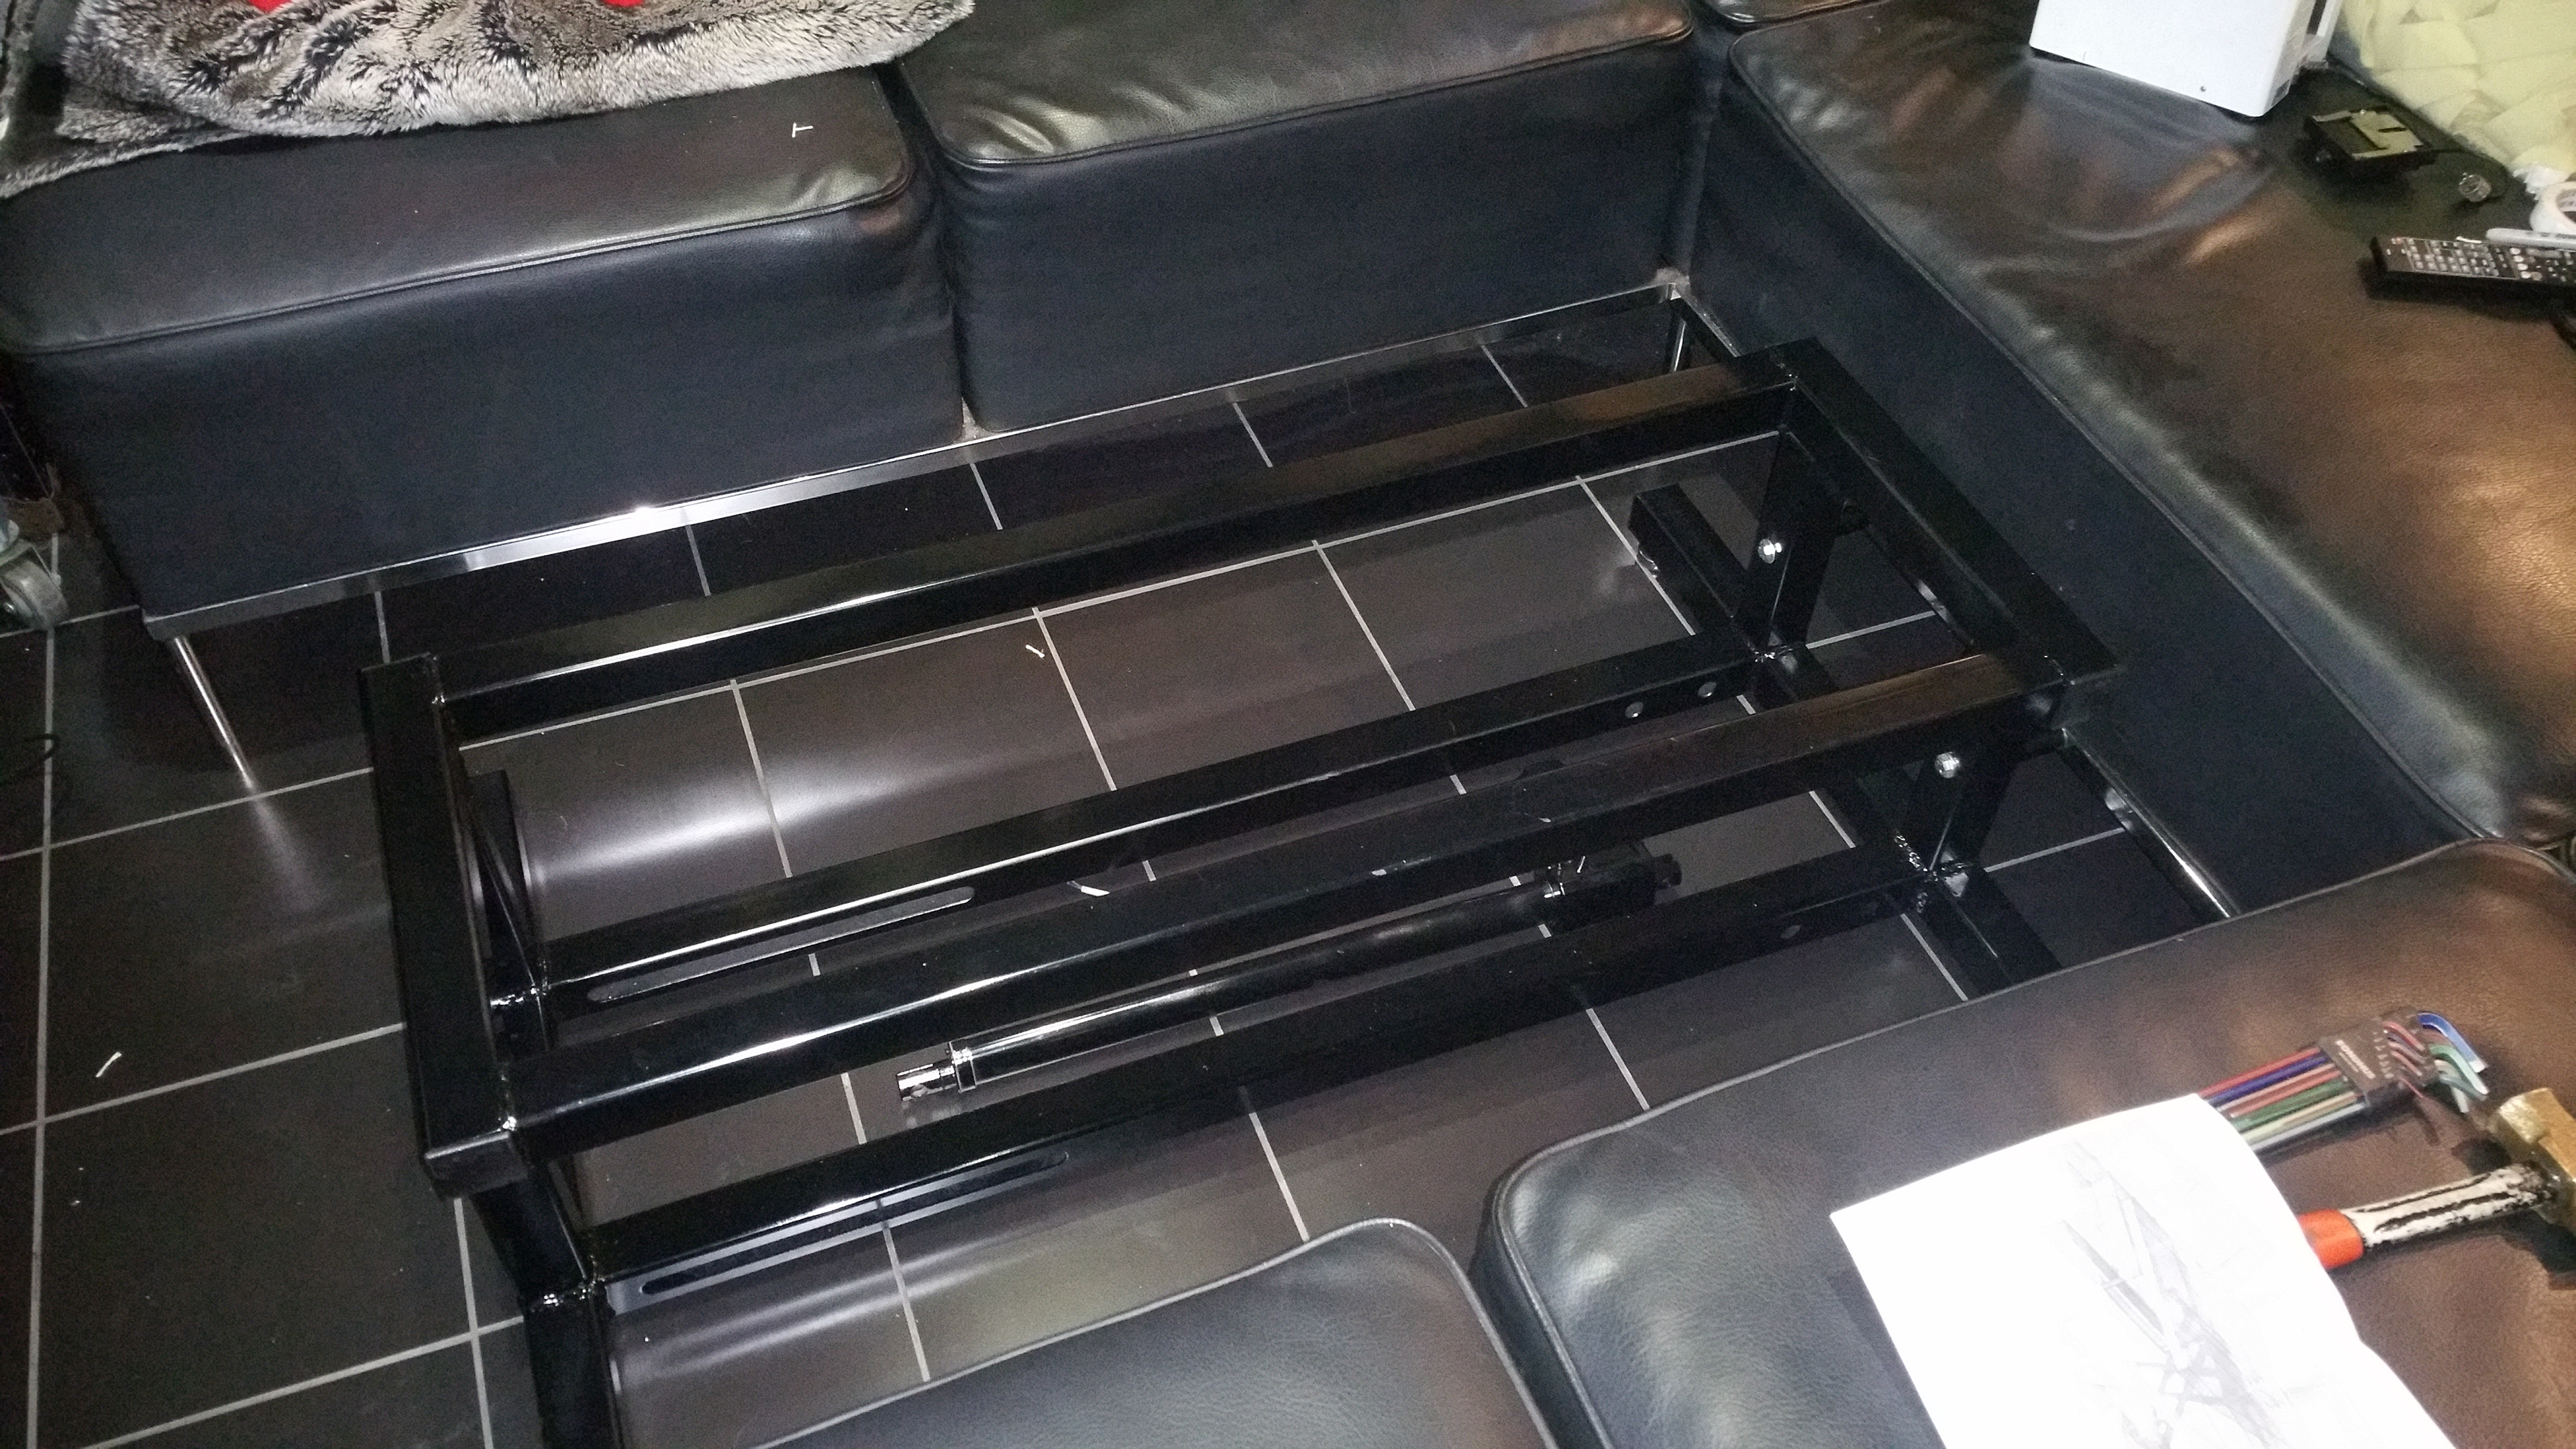
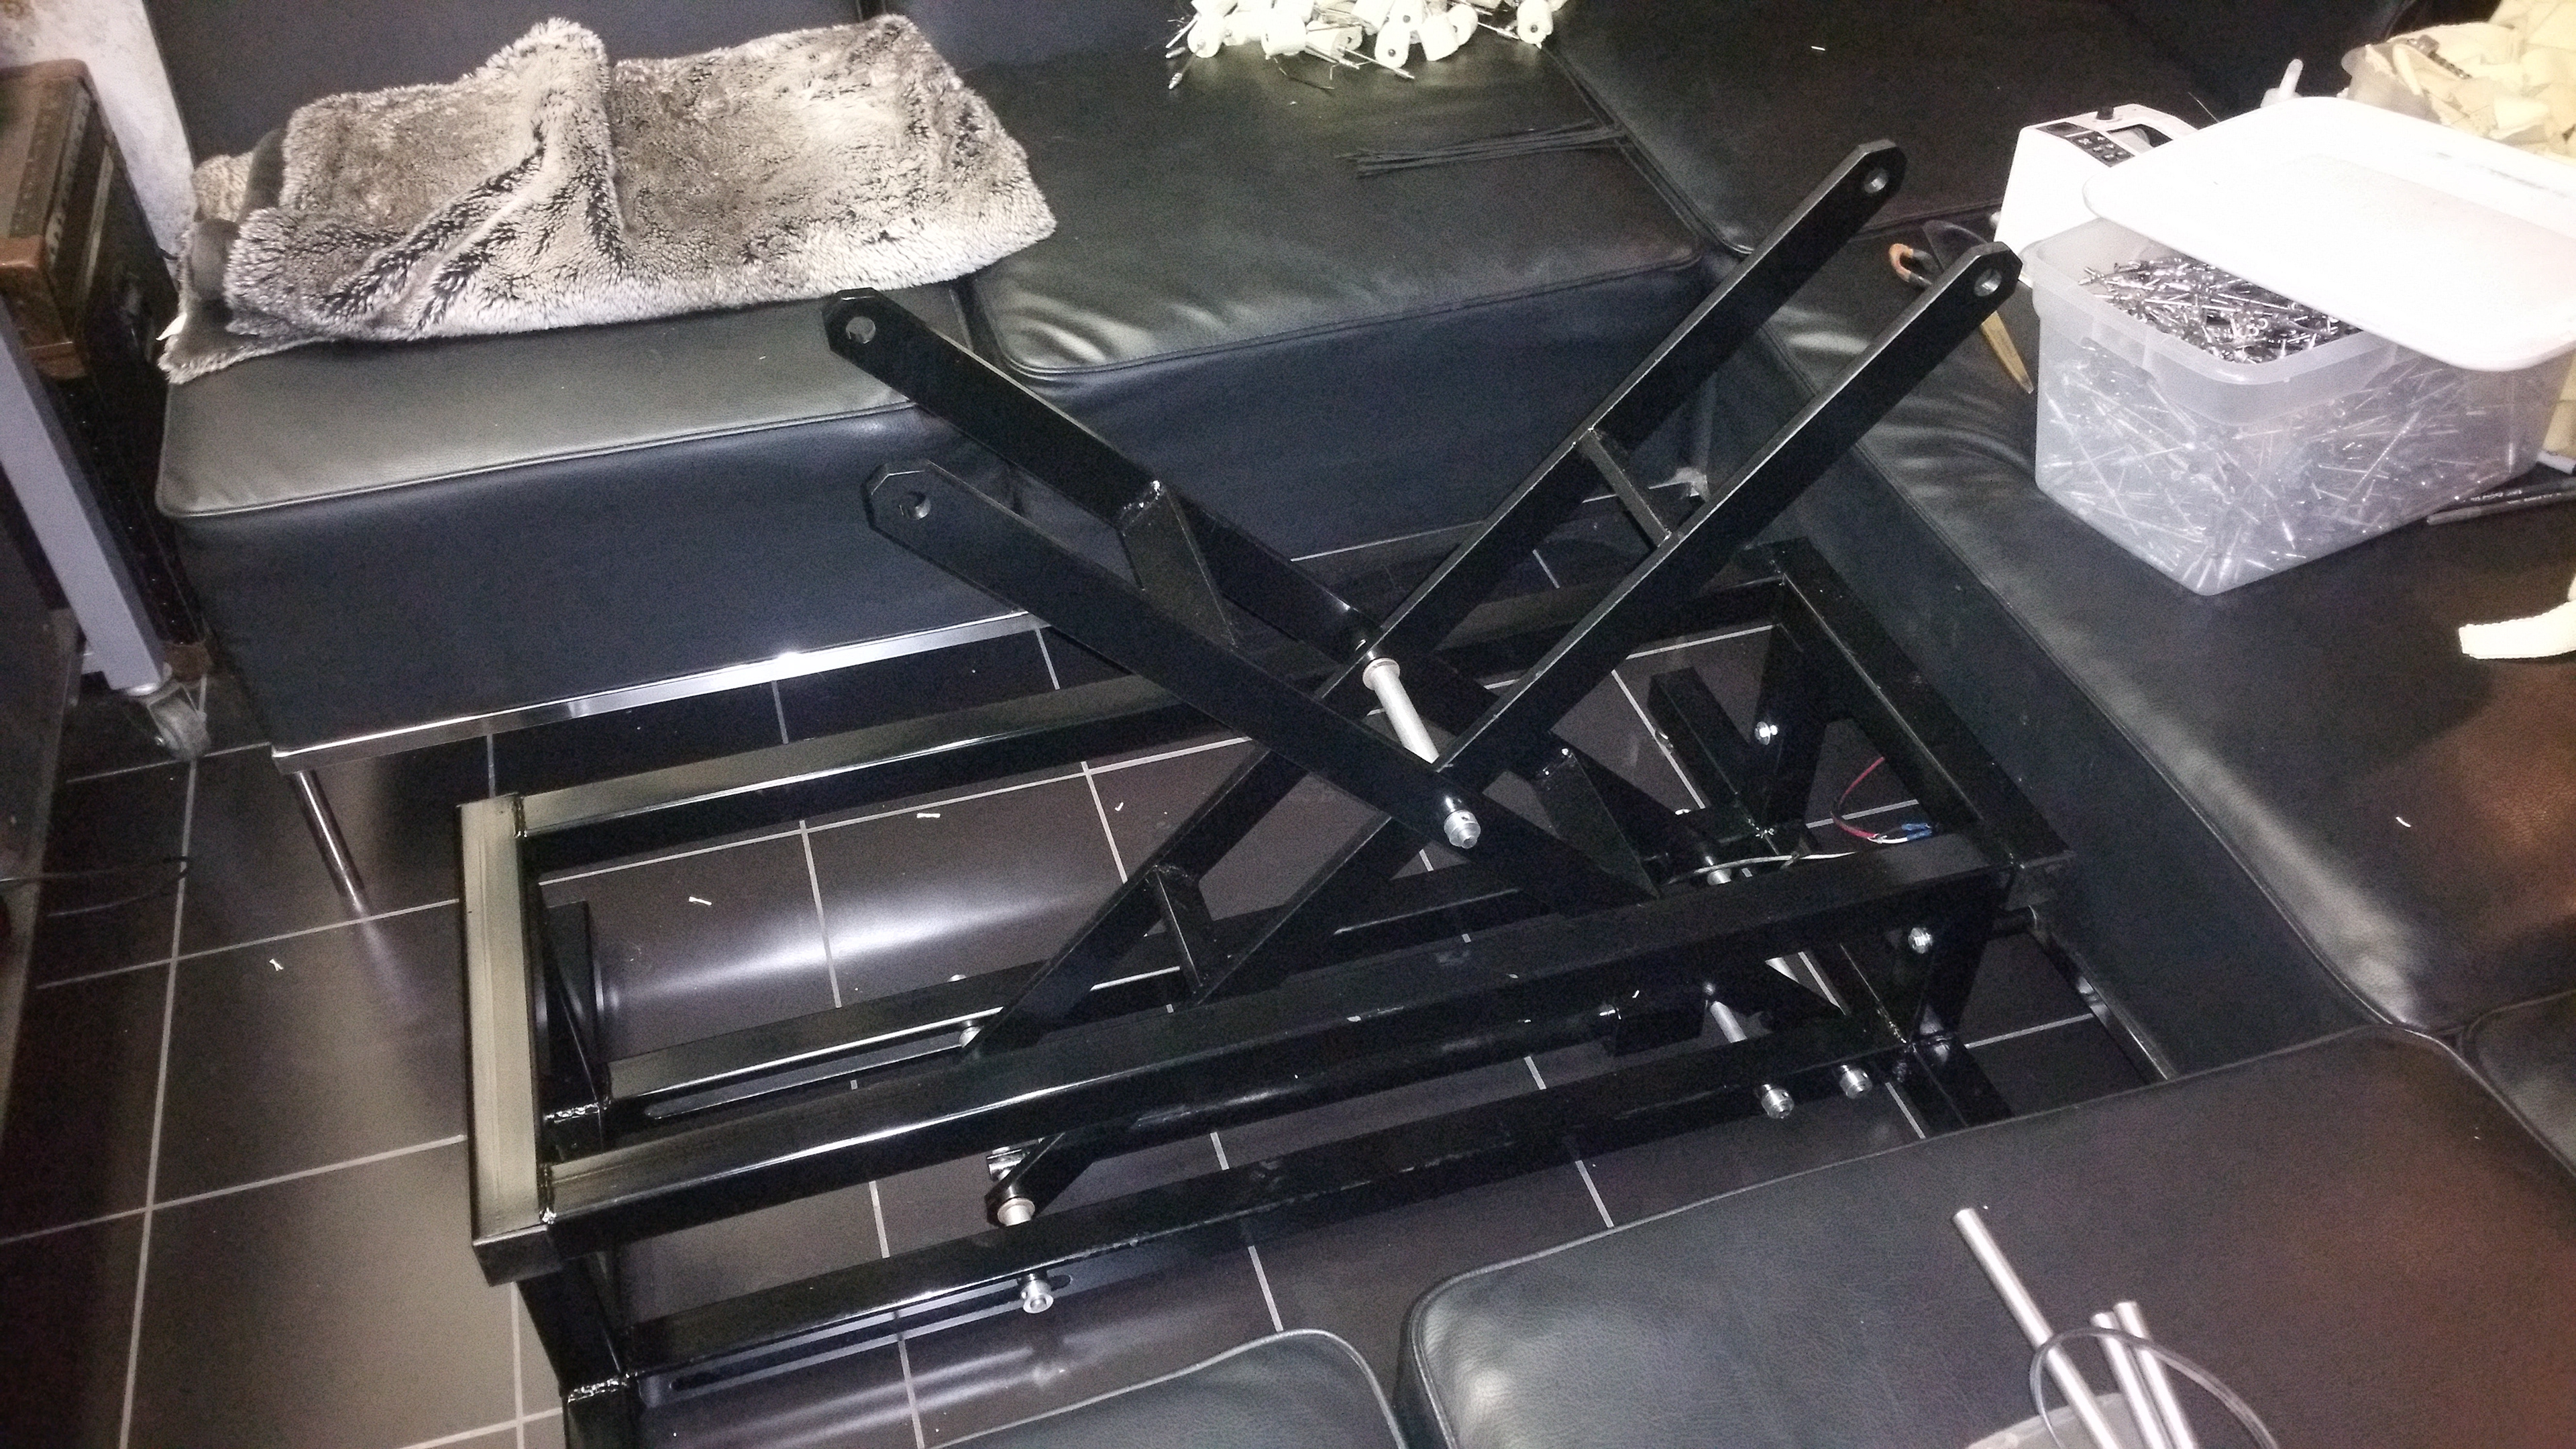
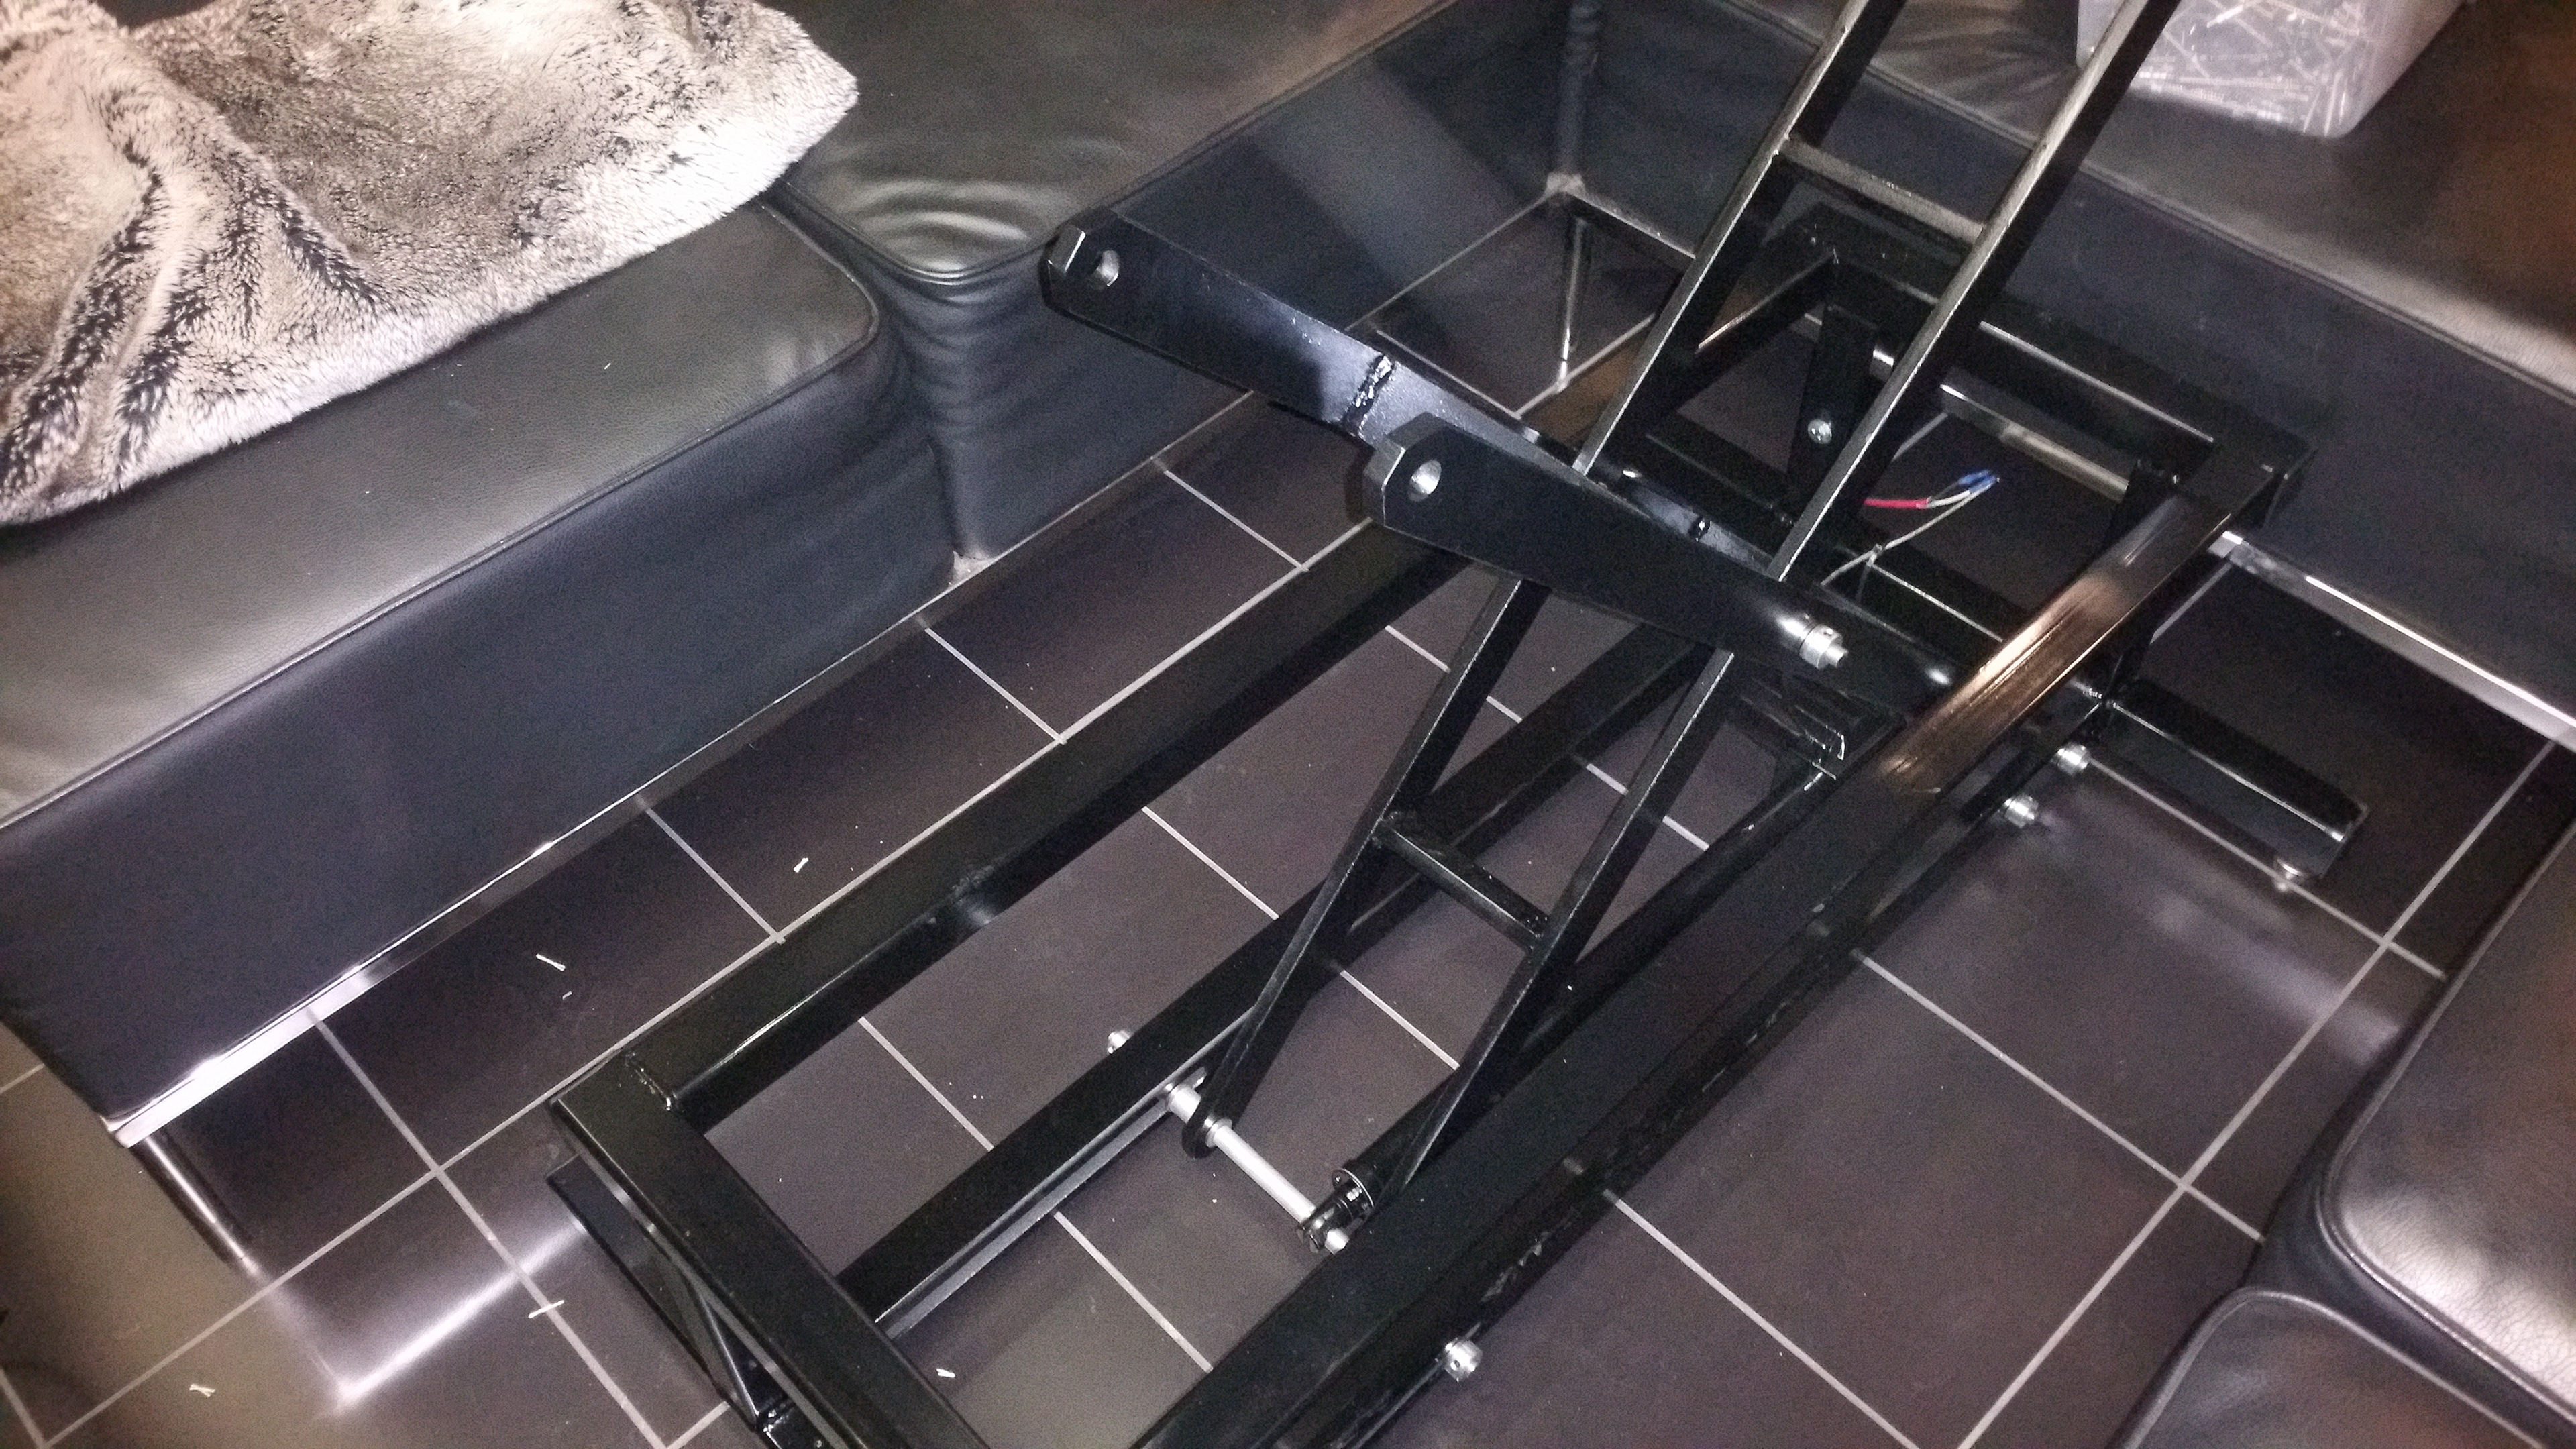
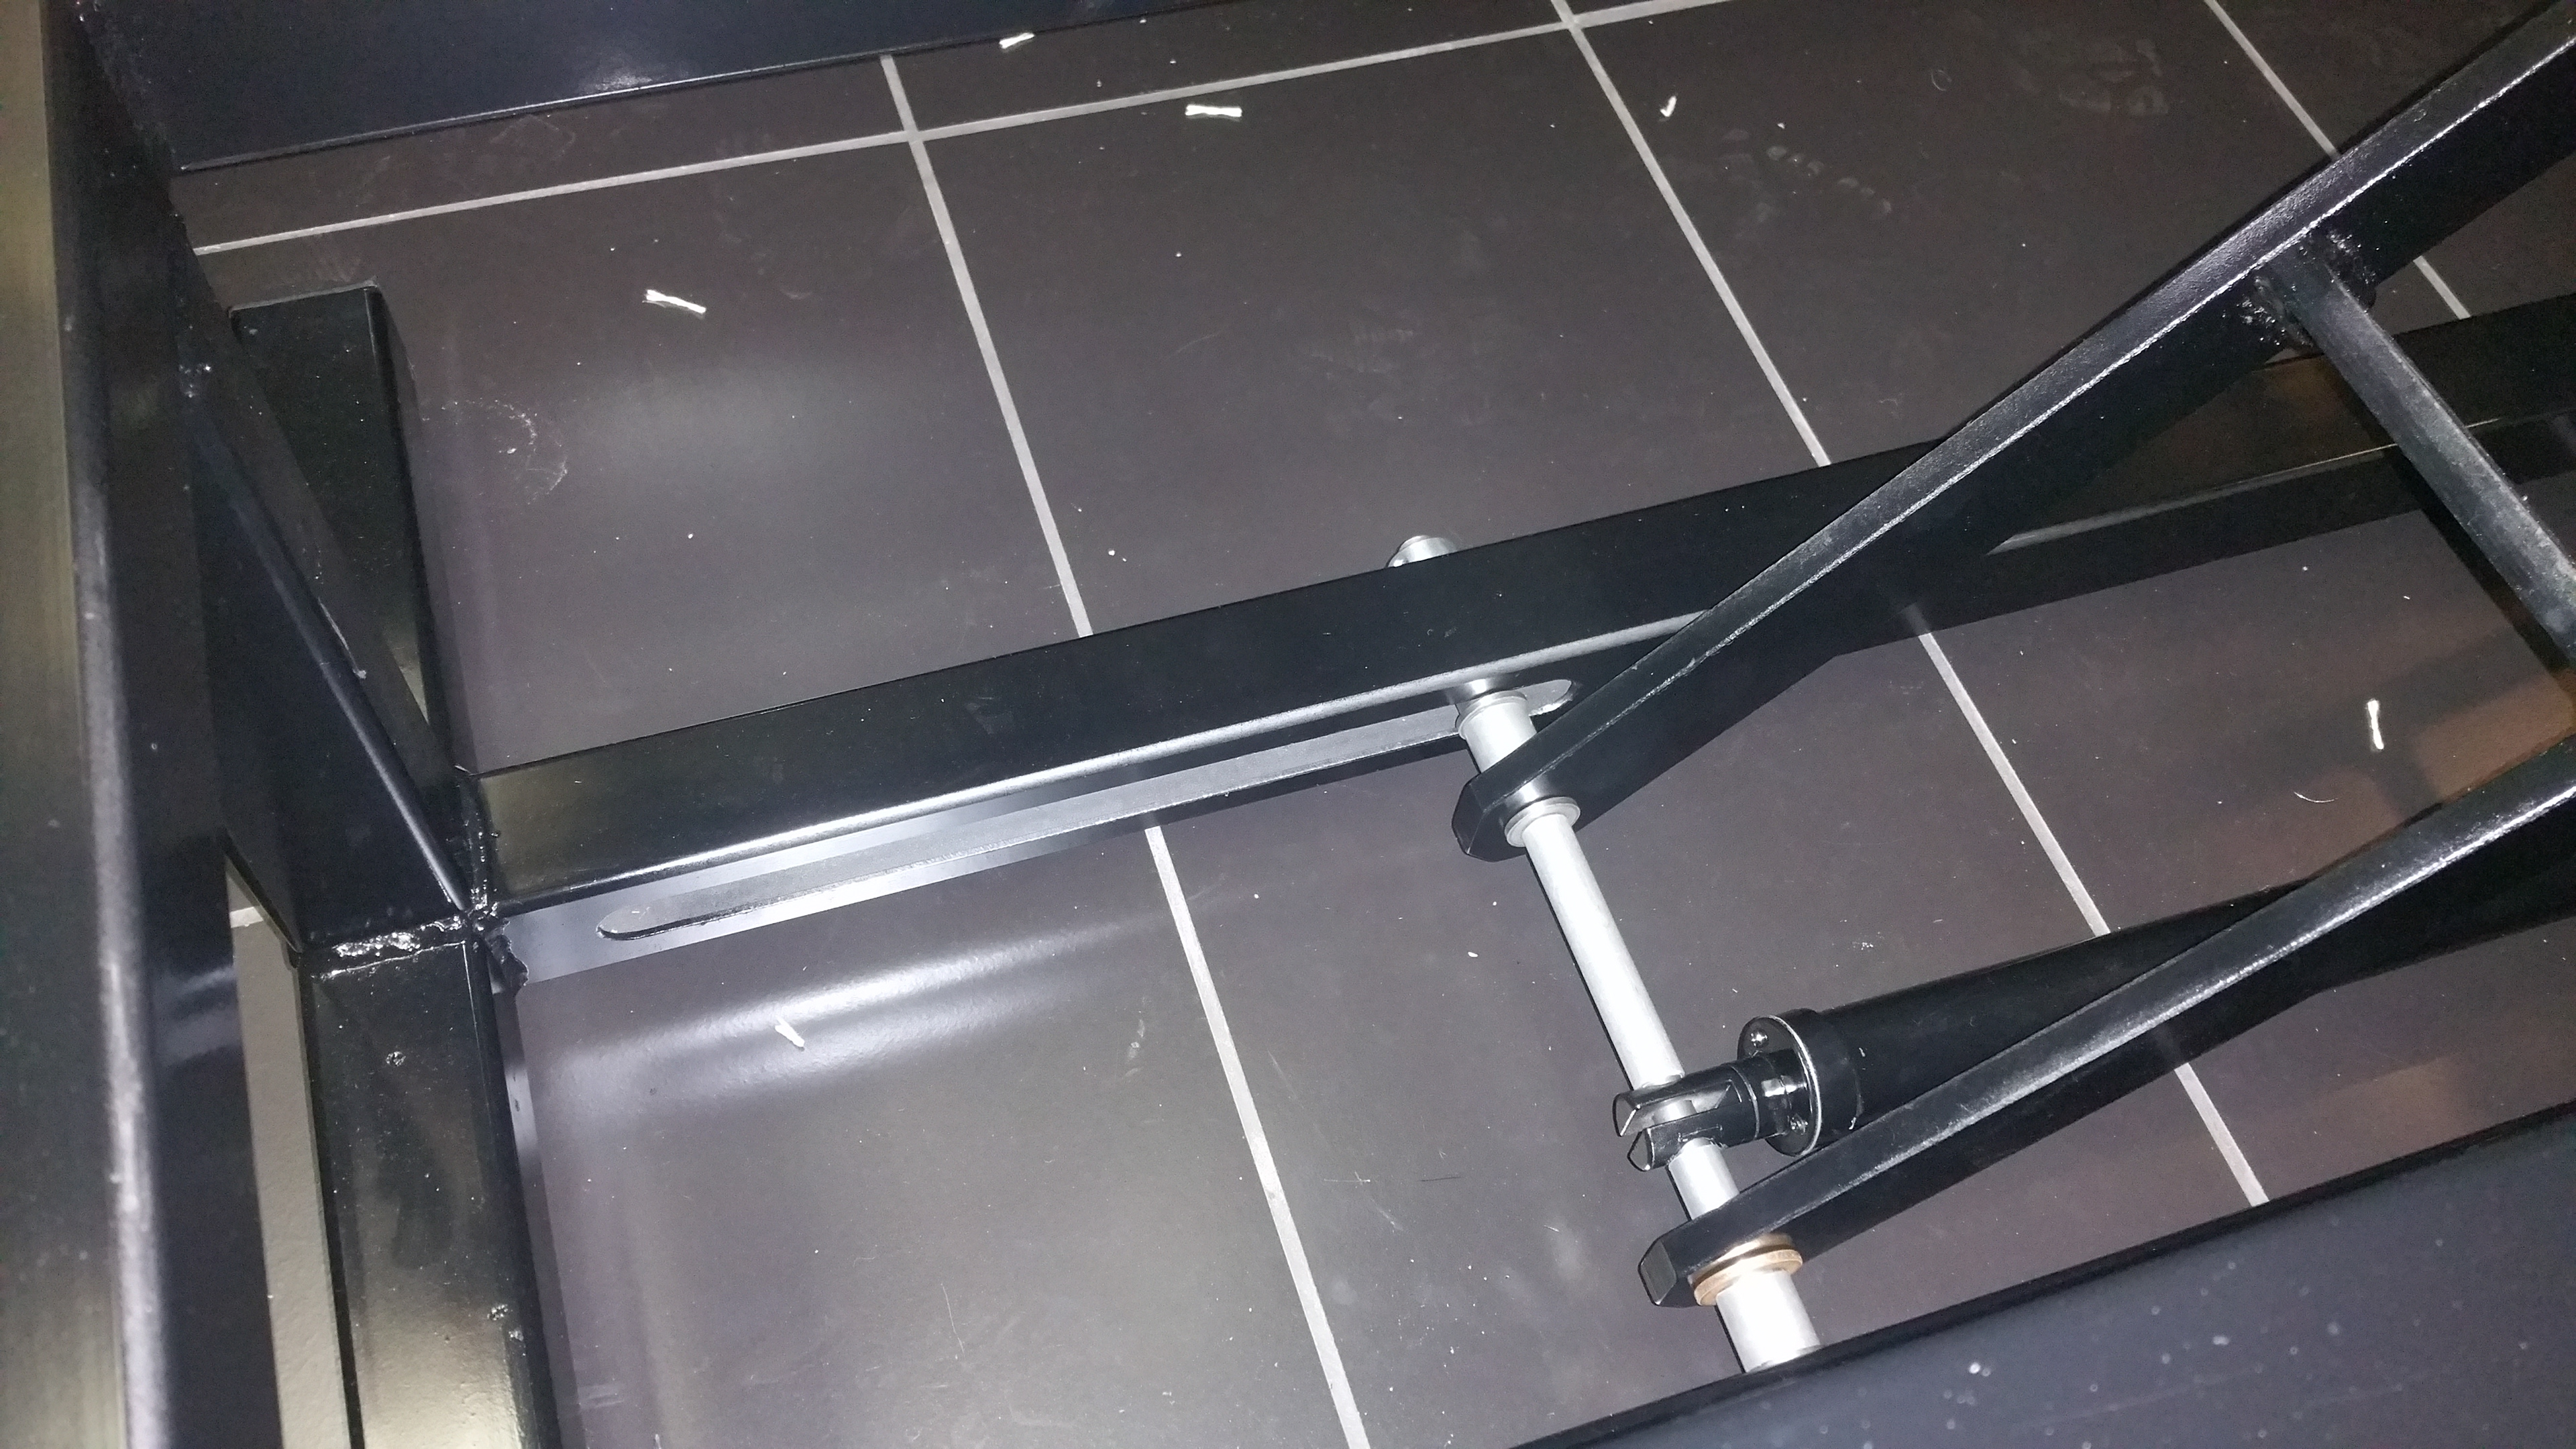
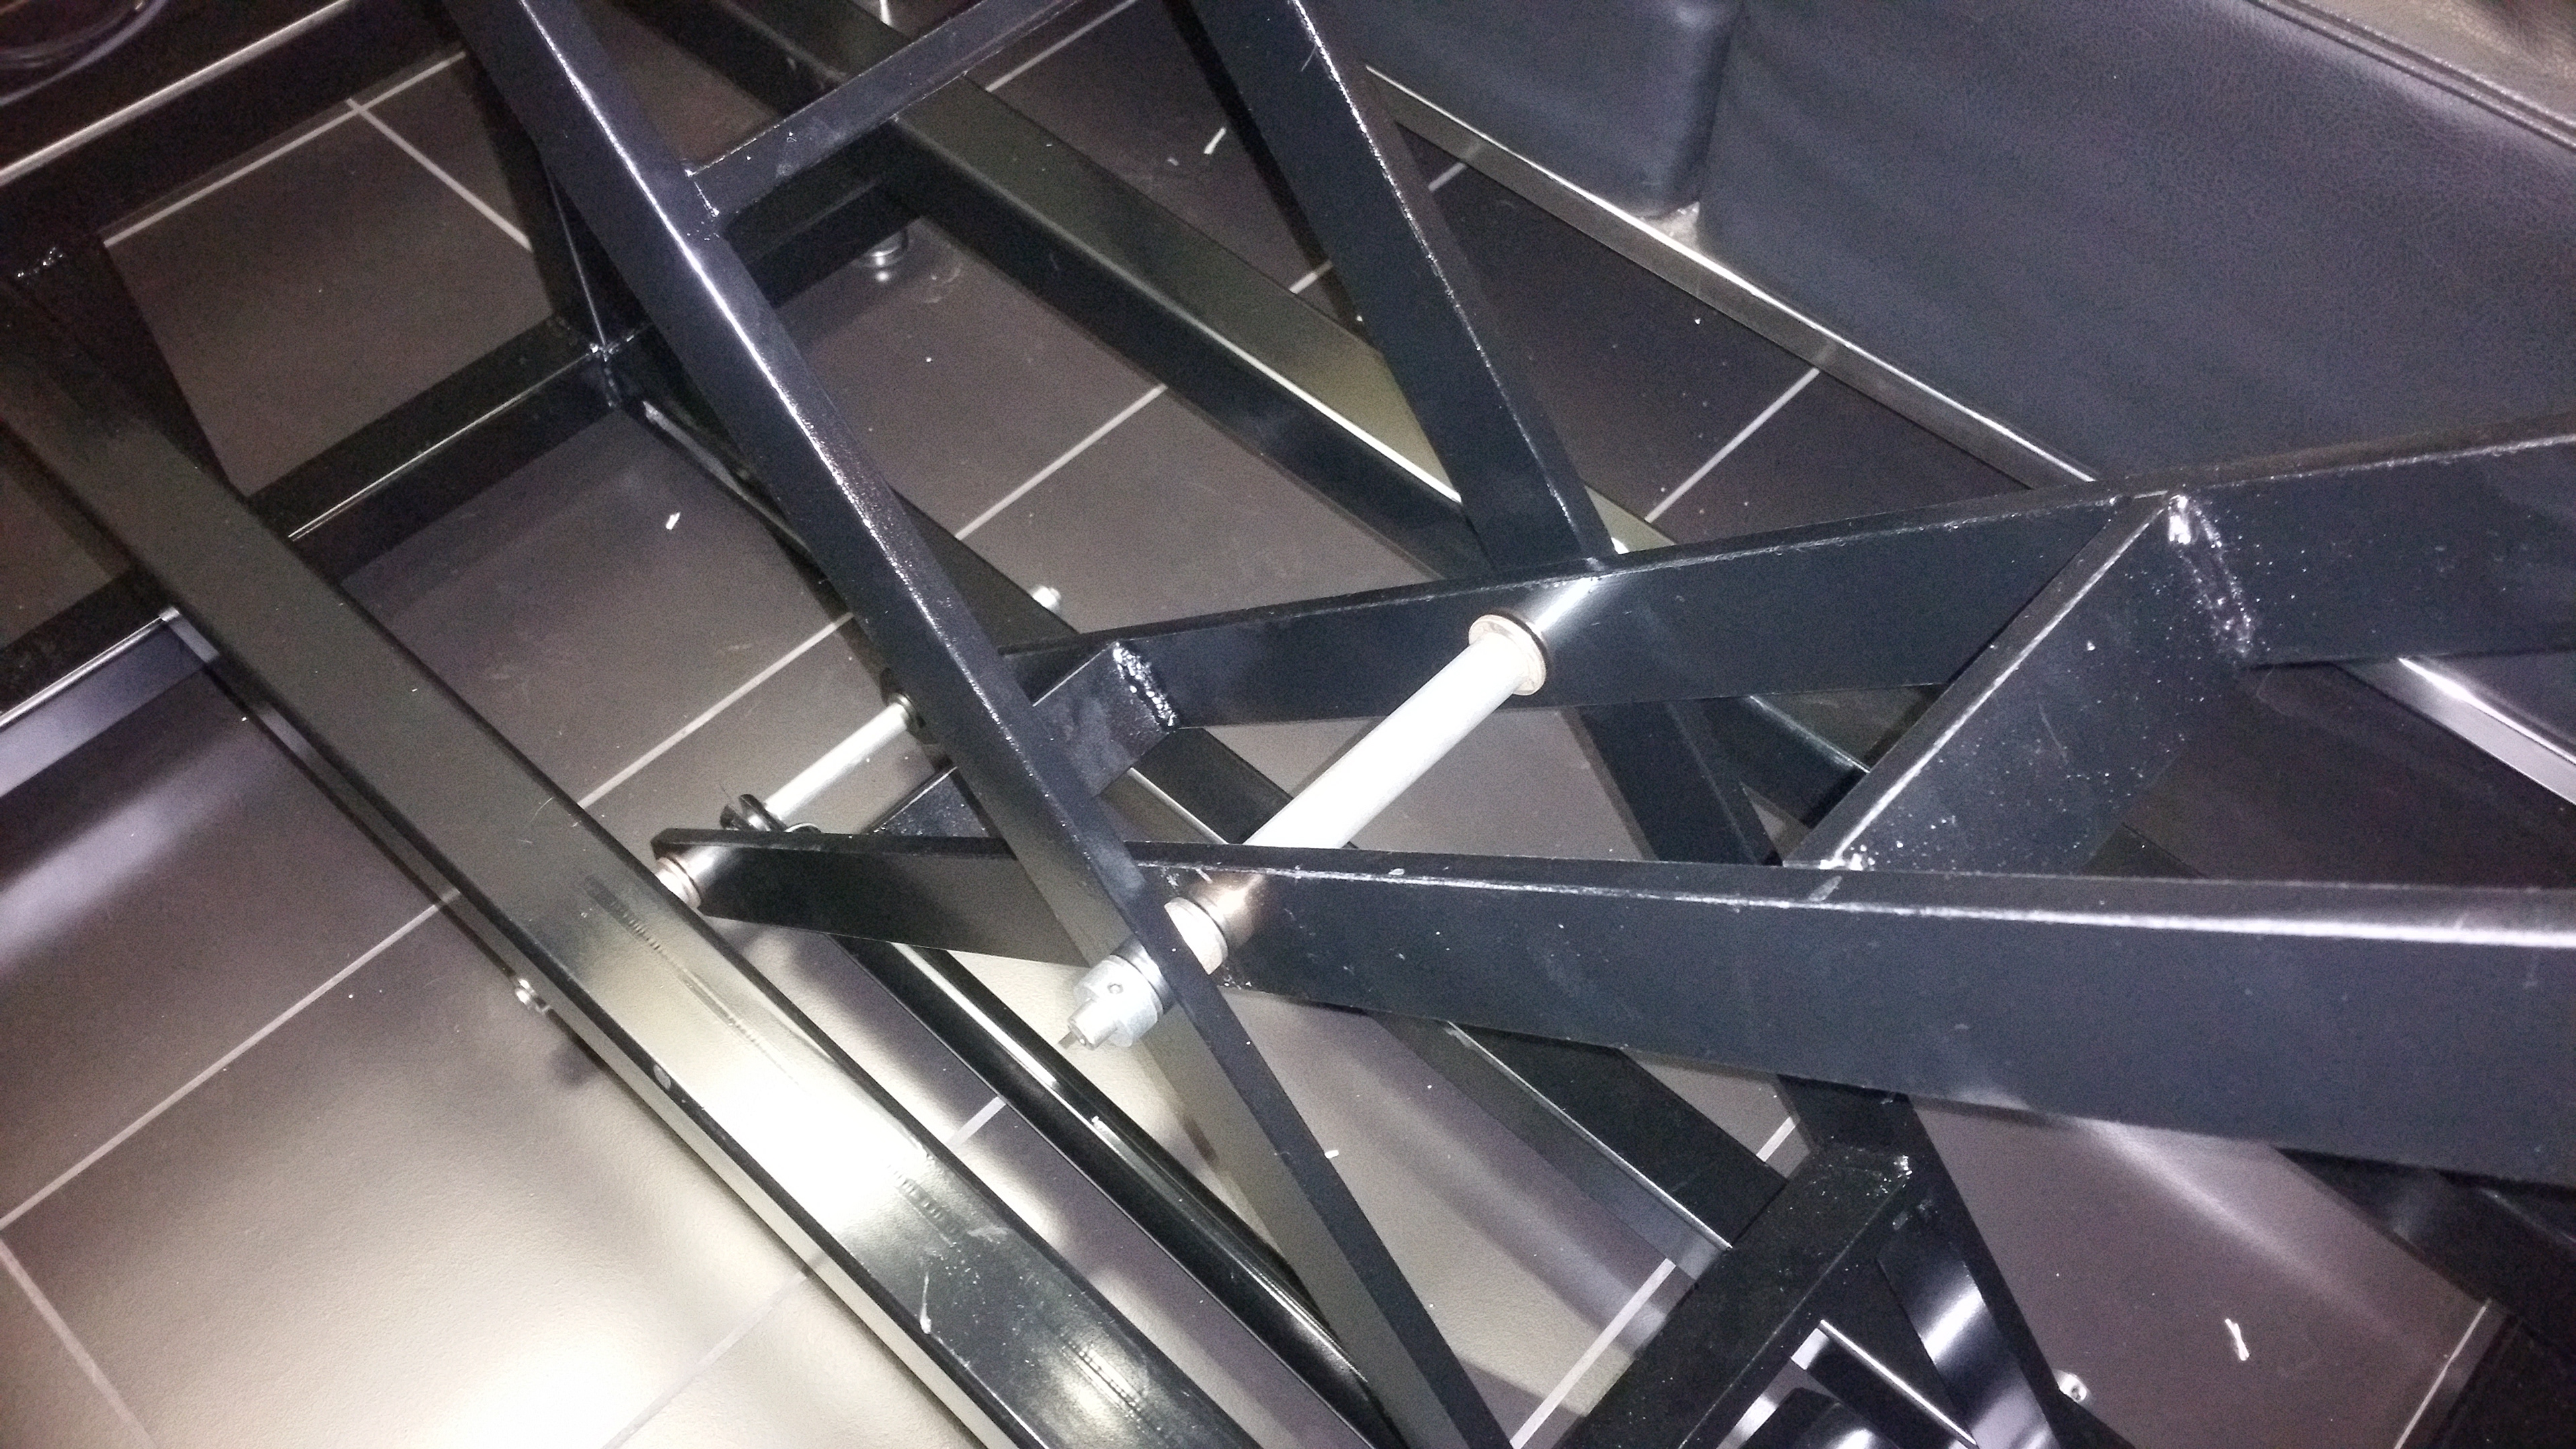
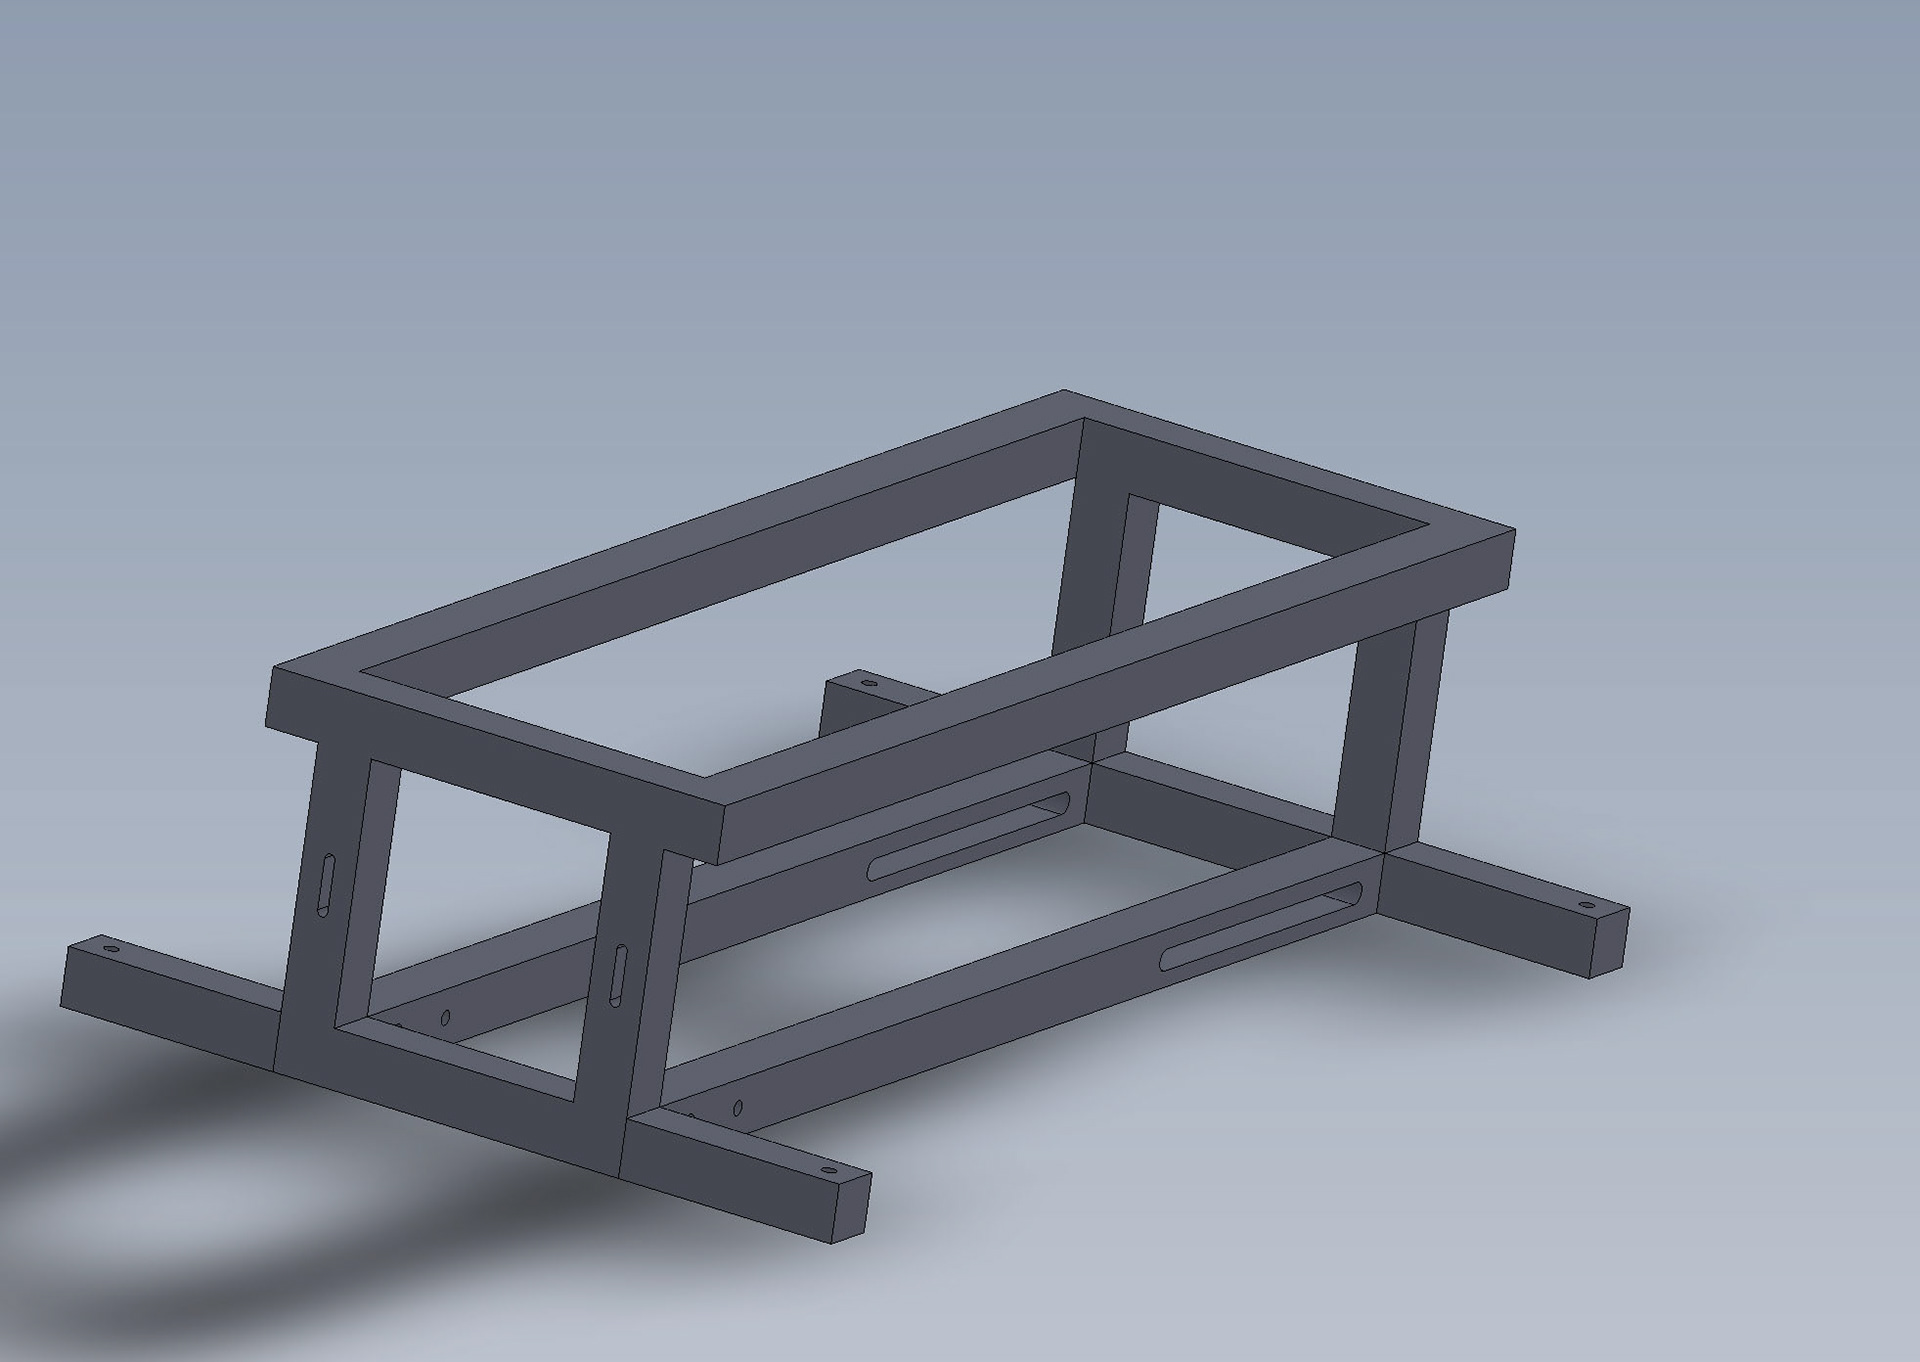
Here are some photos of the table base I made that goes in the middle of the couch. I need to get some more photos with the top in place. When the table is down, the 2 cushions made in the previous step sit on top of it to fill in the whole couch as a square.
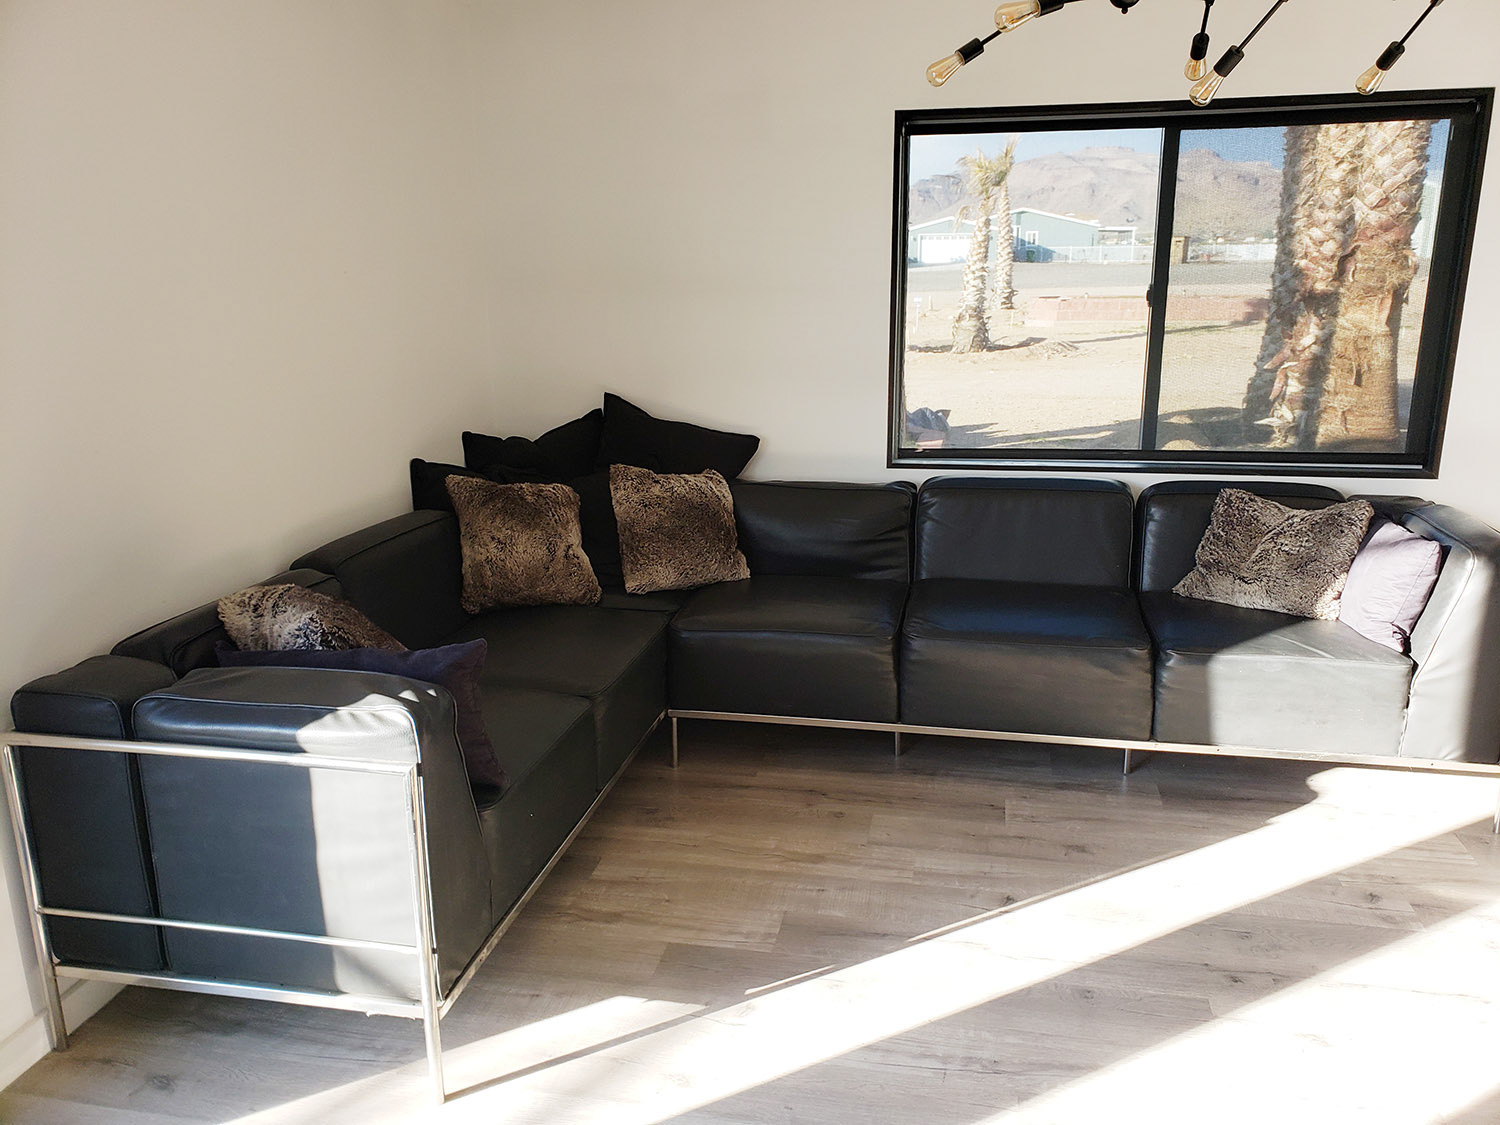
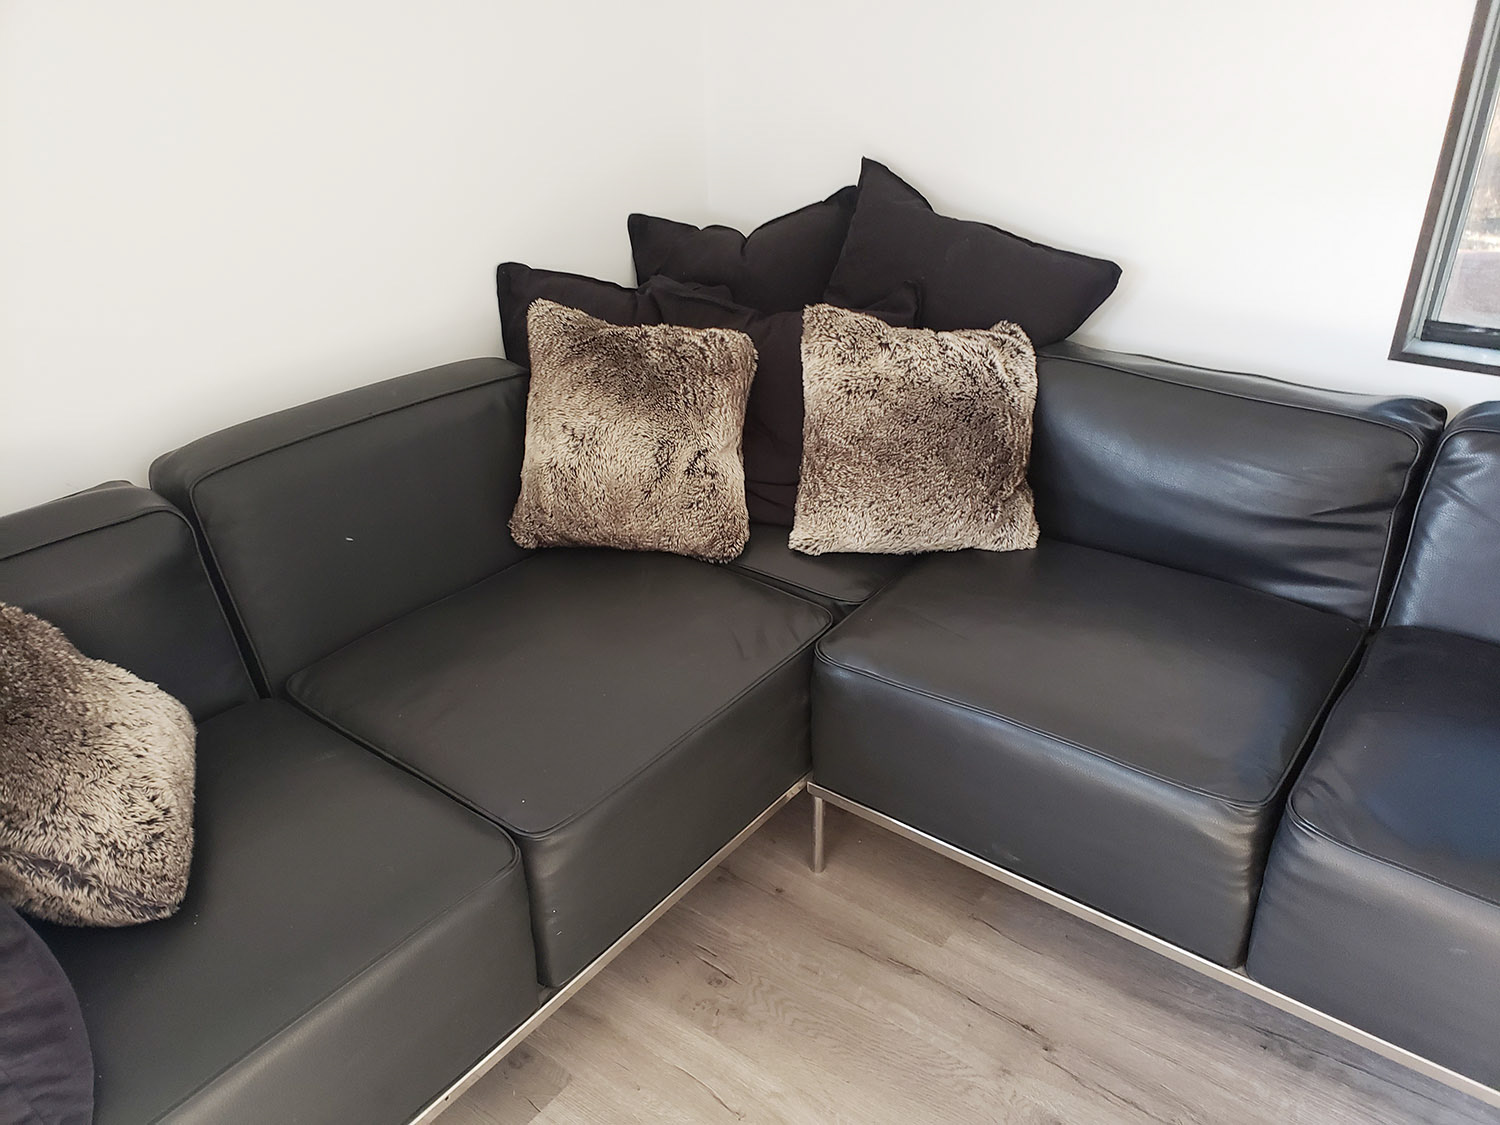
Right now I have the couch in a different configuration because it is in a temporary location. The short section and the table is not being currently used.
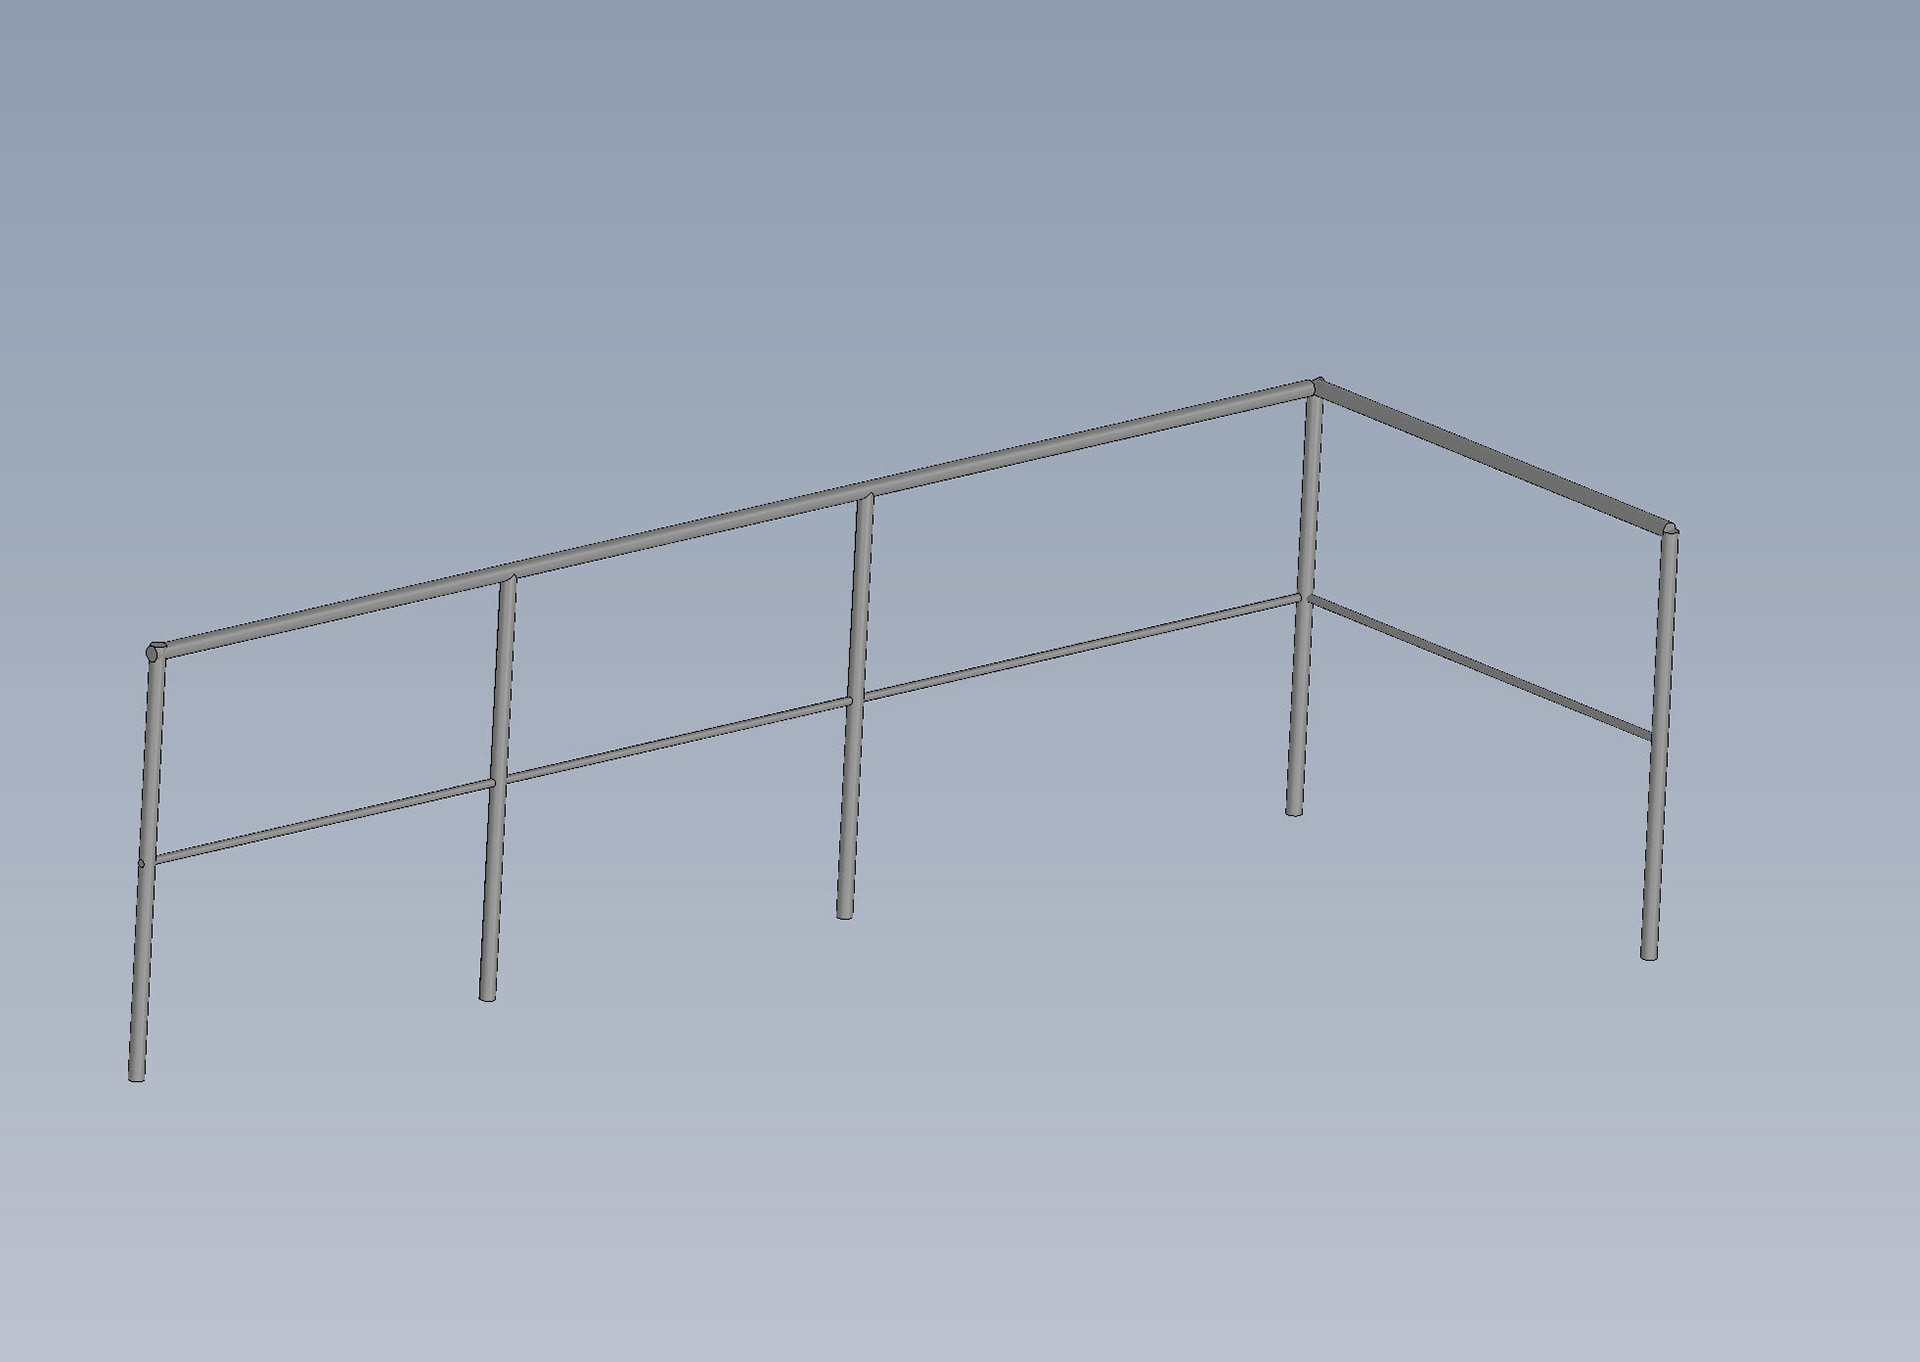
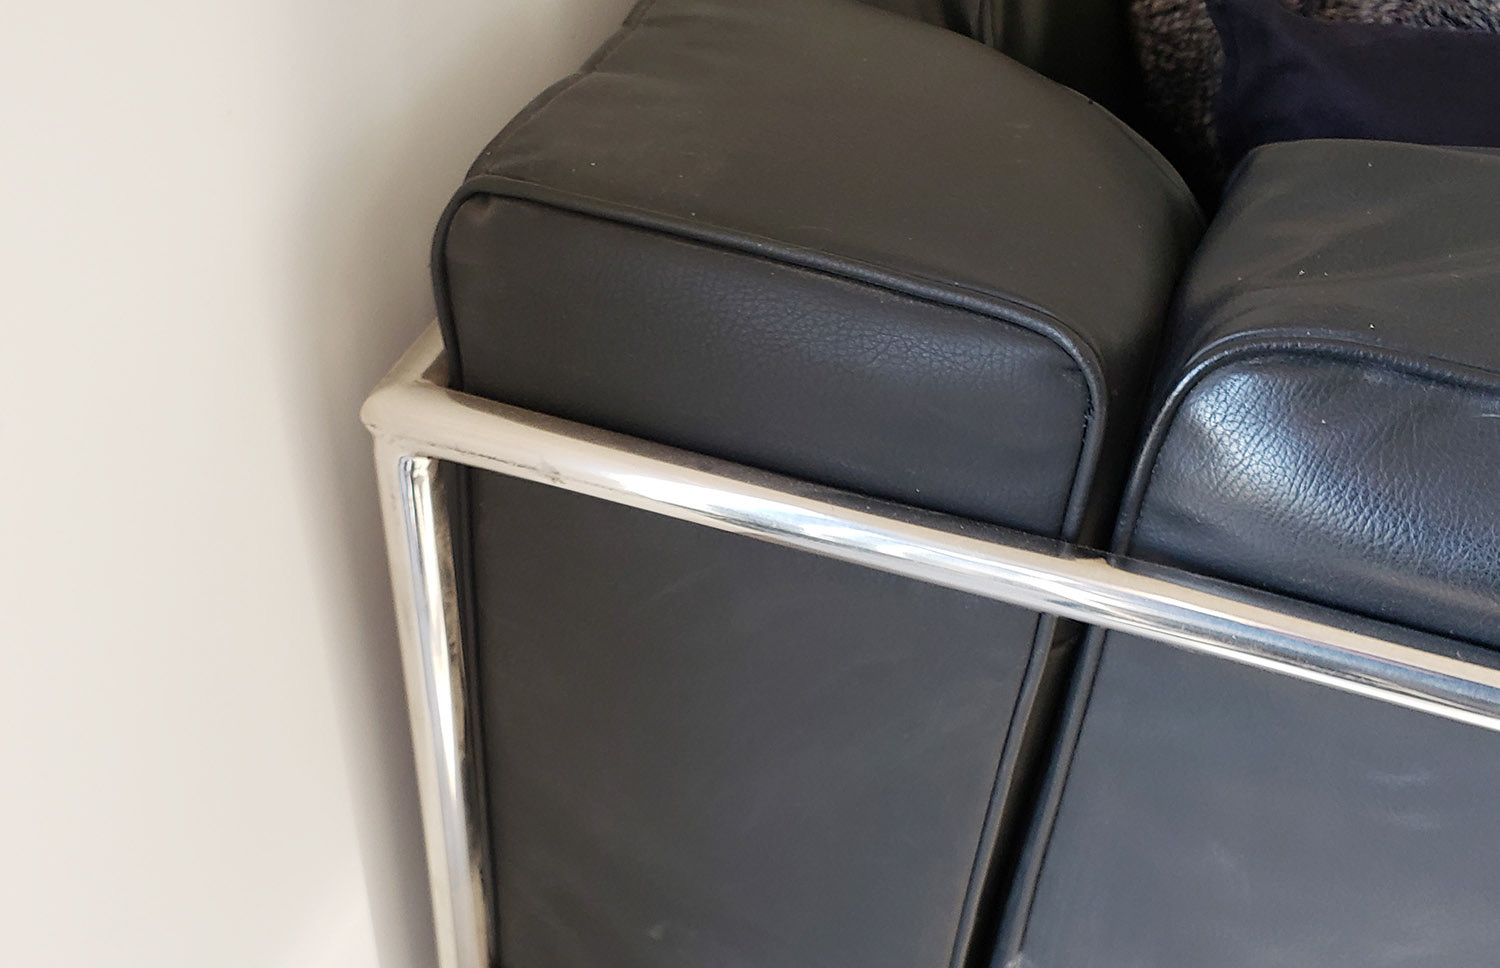
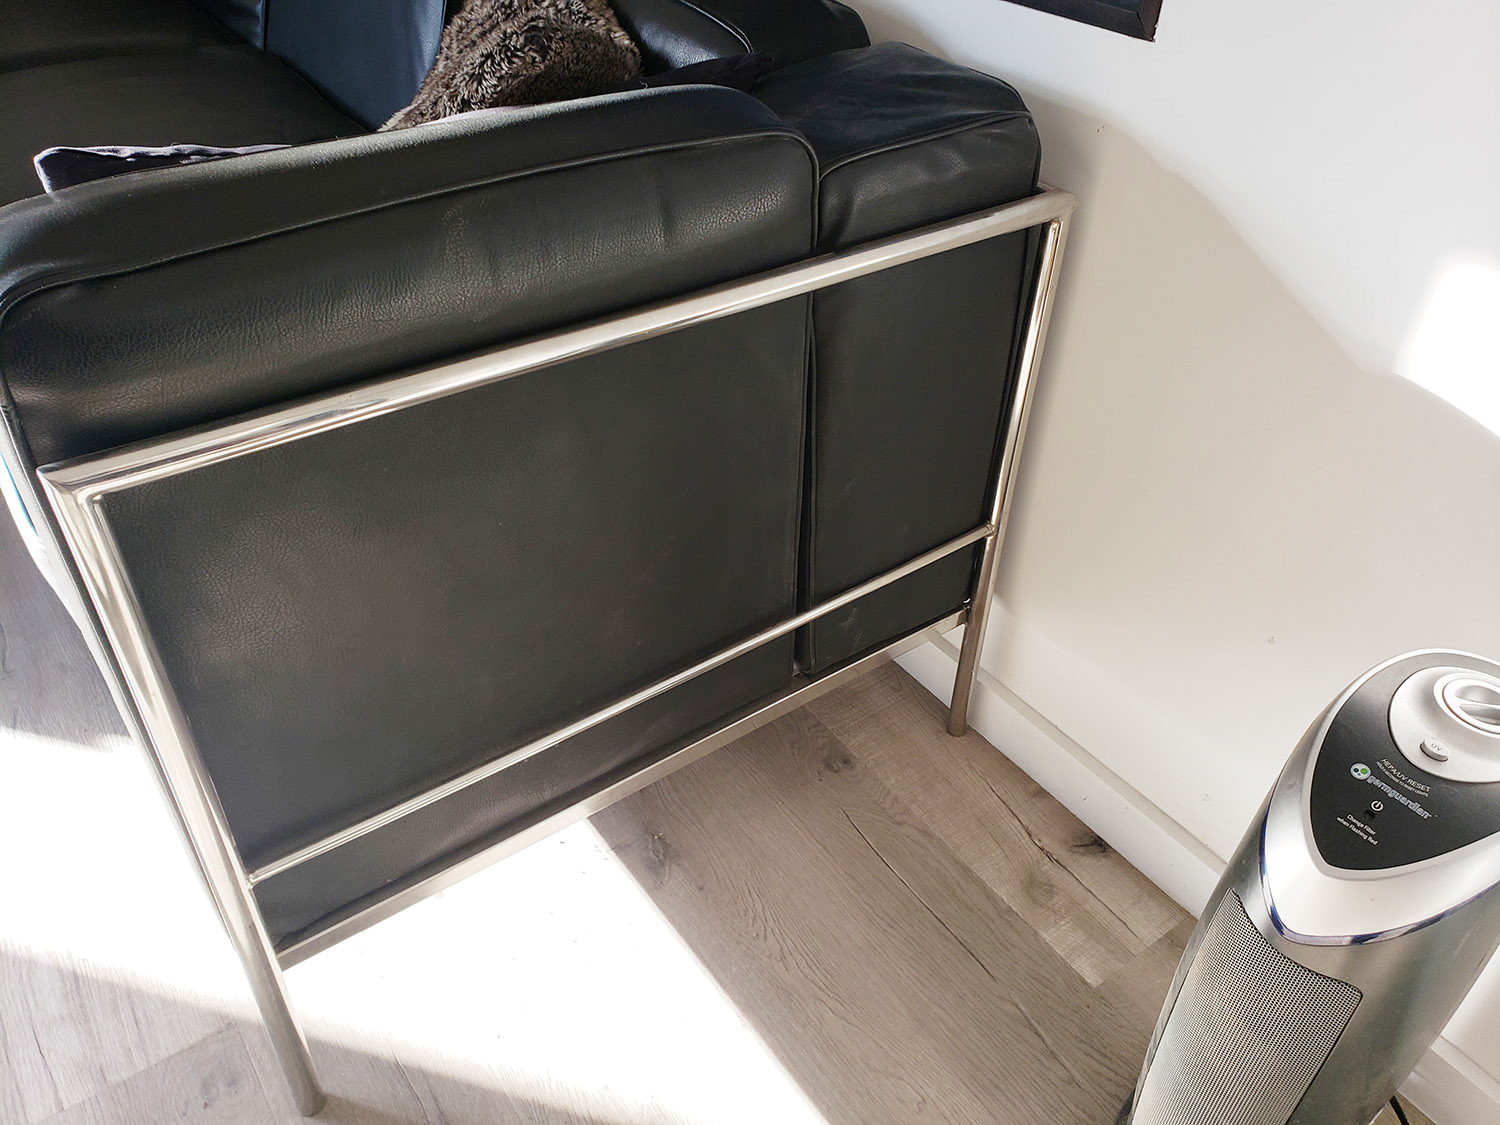
In these photos you can see the stainless frames that I TIG welded and polished to trim it out.
This was definitely an ambitious project, but besides a couple pieces of foam shifting, it was a complete success.
In these photos you can see the stainless frames that I TIG welded and polished to trim it out.
This was definitely an ambitious project, but besides a couple pieces of foam shifting, it was a complete success.

